DIY Making a Christmas Tree w/ an Arduino - Star Wars Lighting Pattern

My version of a DIY Christmas Tree made with redwood and plywood. Perfect for an apartment and easy to move around. As a bonus this tree is powered by an Arduino and LED strip lights playing Star Wars Darth Vader's Theme.
DIY Standing Lamp Shelf
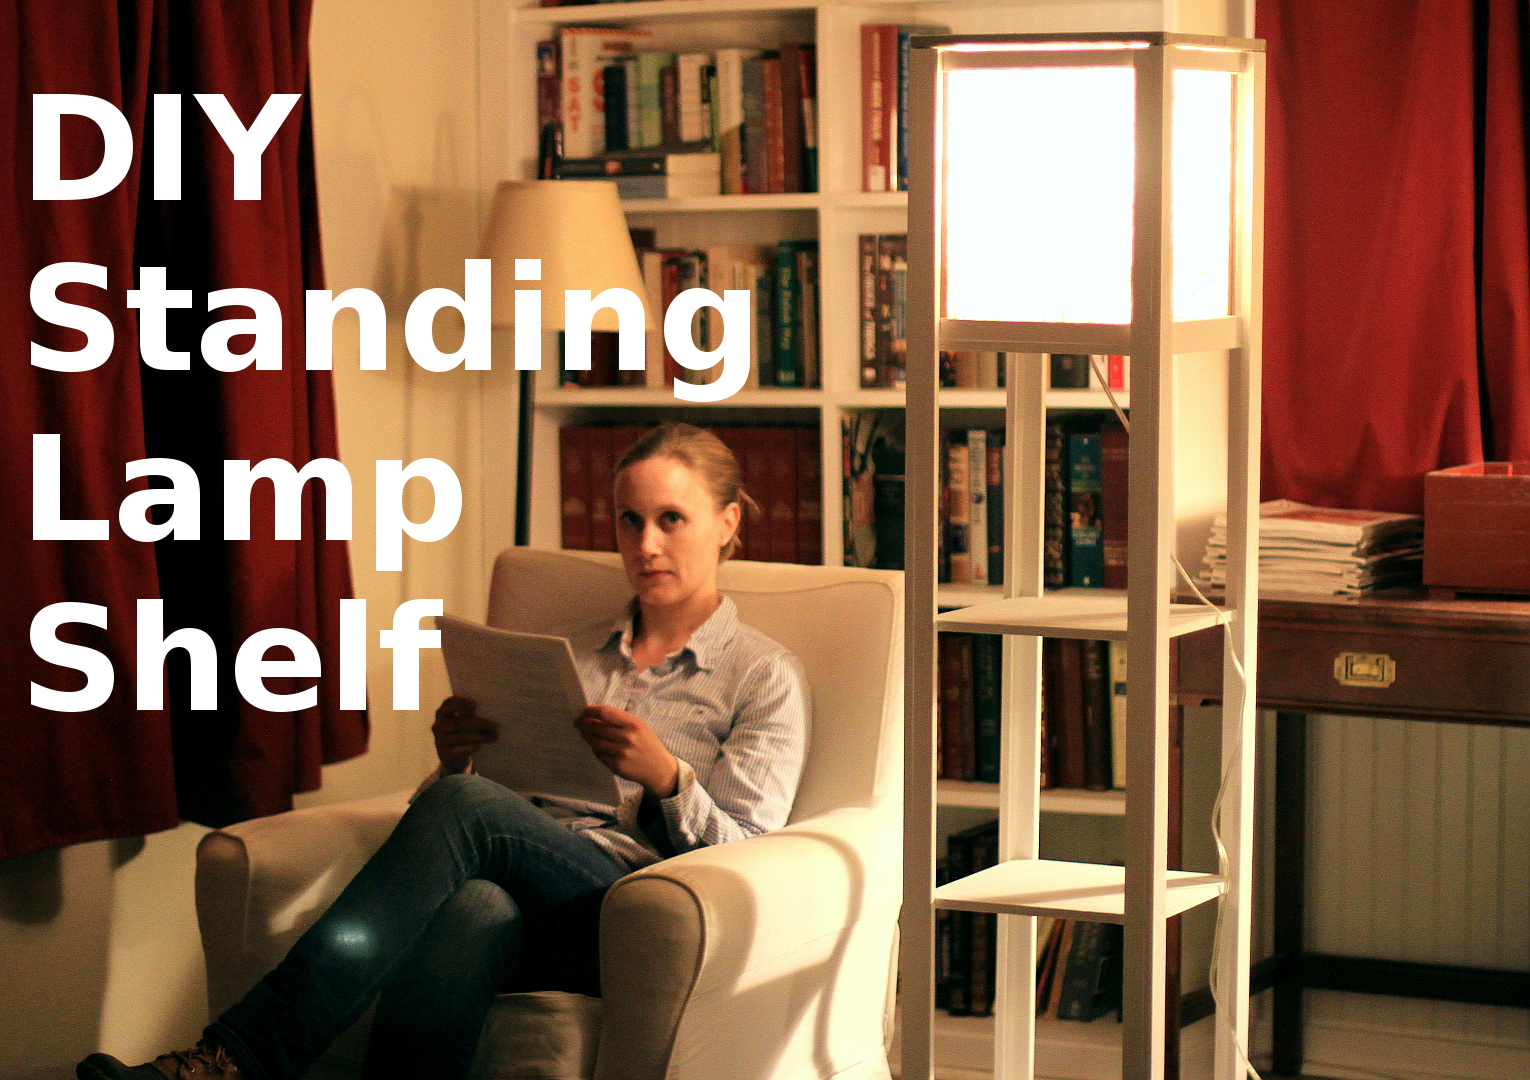
DIY Standing Lamp & Shelf
If you want to try you hand at making a lamp this is a really great and simple project that combines a lamp with a piece of furniture. Storage shelves are always in demand and pairing that with a lamp makes a lot of sense. This written tutorial is a companion to the video to make the whole process easier.
Please read through instructions fully before cutting any pieces.
Materials
Plywood
Glue
1 ¼” Drywall Screws
Drill with counter-sink bit
Lamp Kit or Old Lamp Parts
LED Bulb (40-60 watt)
Fabric
Staples
Velcro or Epoxy
Magnets to secure fabric frame top
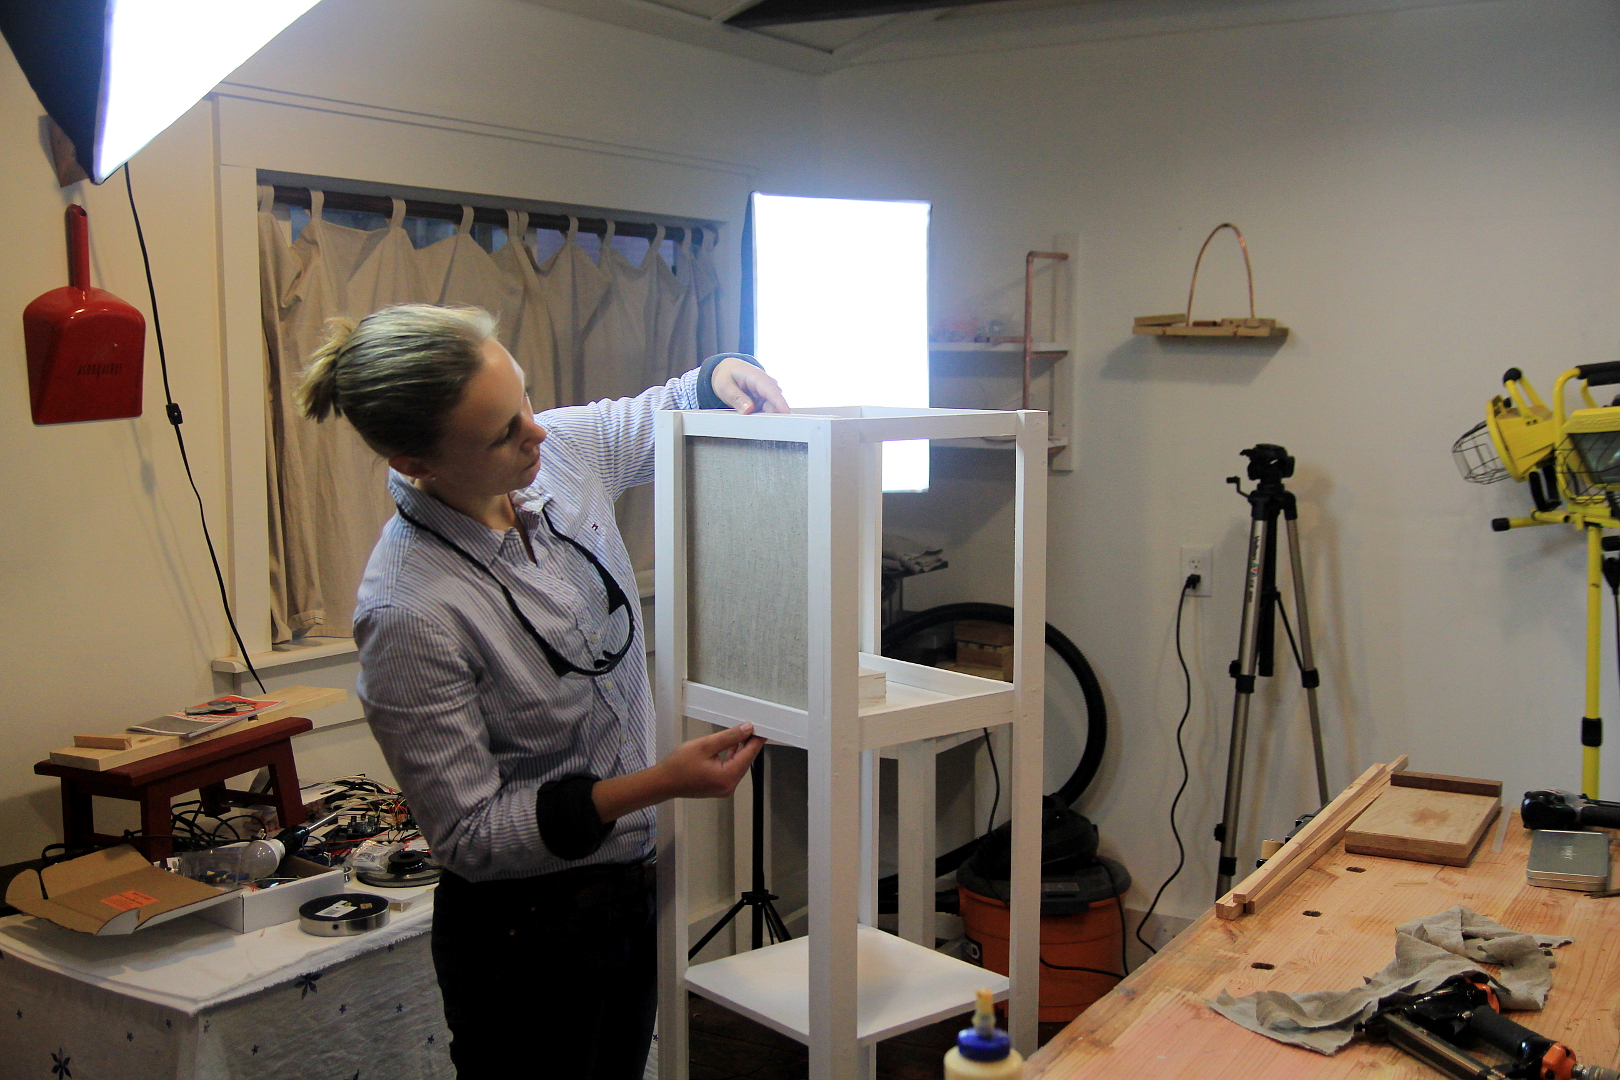
Cut List – Main Shelf
Legs
4 pieces – 60 x 1 x 1 inches
4 pieces – 60 x 1 x 1½ inches
Shelves
4 pieces – 12 x 12 inches square
Fabric Frame
Top of Frame
- 2 pieces – ½” x ¾” x 11 ½”
- 2 pieces – ½”x ¾” x 13”
Frame Sides
- 8 pieces ½” x ¾” x 13 ½”
- 4 pieces ½” x ¾” x 9 ½”
- 4 pieces ½” x ¾” x 8 ¾”
Top Shelf Frame (for fabric frames to attach to)
- 4 pieces 1" x ½" x 11"
- 4 pieces 1" x ½”x 11 ¾”
Method
Base Shelf
To make the legs glue and screw the 1 inch piece to the 1 ½ inch piece to make evenly sized legs. Counter-sink the screws but remember to pre-drill for all the holes with an 1/8” bit. Once you have your 4 legs finished, measure 6 inches off each leg to make a place for the first shelf with a pencil. Place the first shelf on the mark and secure with glue and screws. Repeat with the other shelves by marking off whatever distance you like, I make each shelf 13 inches apart.
Finishing
I used white paint but whatever you use finish it before you add the lamp parts.
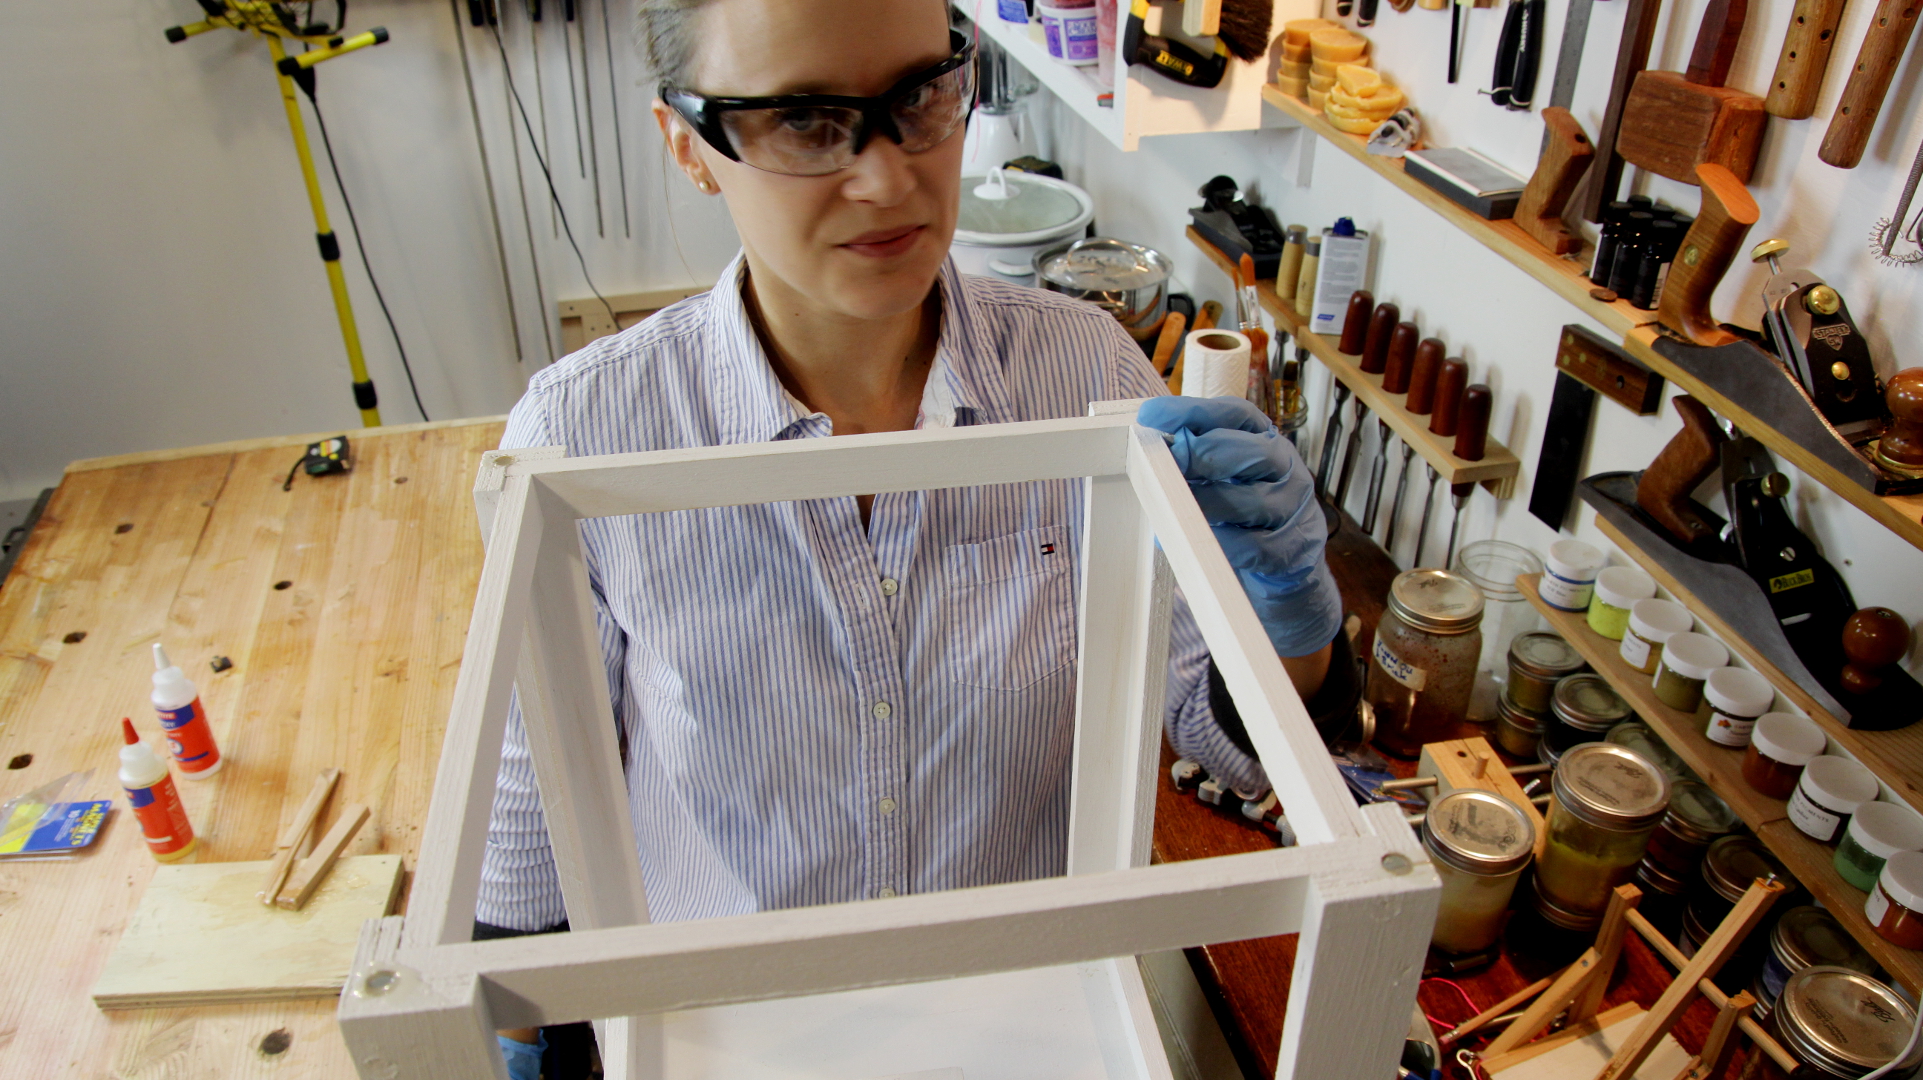
Fabric Top & Lamp
Drill a hole in the top shelf to accommodate the lamp wire and secure your lamp to the top shelf. I used a cut-off 2x4 block to secure the lamp post into but each lamp may be different. Either way it should not be too much trouble to secure the lamp parts.
Once the top lamp shelf was in place, I added four strips at the top of the lamp, and four strips at the bottom of the top shelf to create a frame. I measured what size my corner posts was and cut out these 8 strips to fit inside of it, to create a frame that the panels could rest on.
For the fabric panels, I used linen but any fabric will work safely provided you use a low-power LED bulb. These do not make much heat so the fabric will work well.
For the frames of the fabric panels I turned up the ½” x ¾” x 8 ¾” pieces on their side to make the frame narrower. Before making these frames do a little test to make sure the pieces are not too tight in the shelf frame and to make sure everything fits properly.
Secure the fabric to the frames by using 5/16” staples. I added some magnets to the top to make sure the top frame did not fall off too easily but you could always use a small amount of velcro to do the same thing.
See the video if you are having any trouble.
Making Simple Christmas Presents from Baltic Birch Plywood
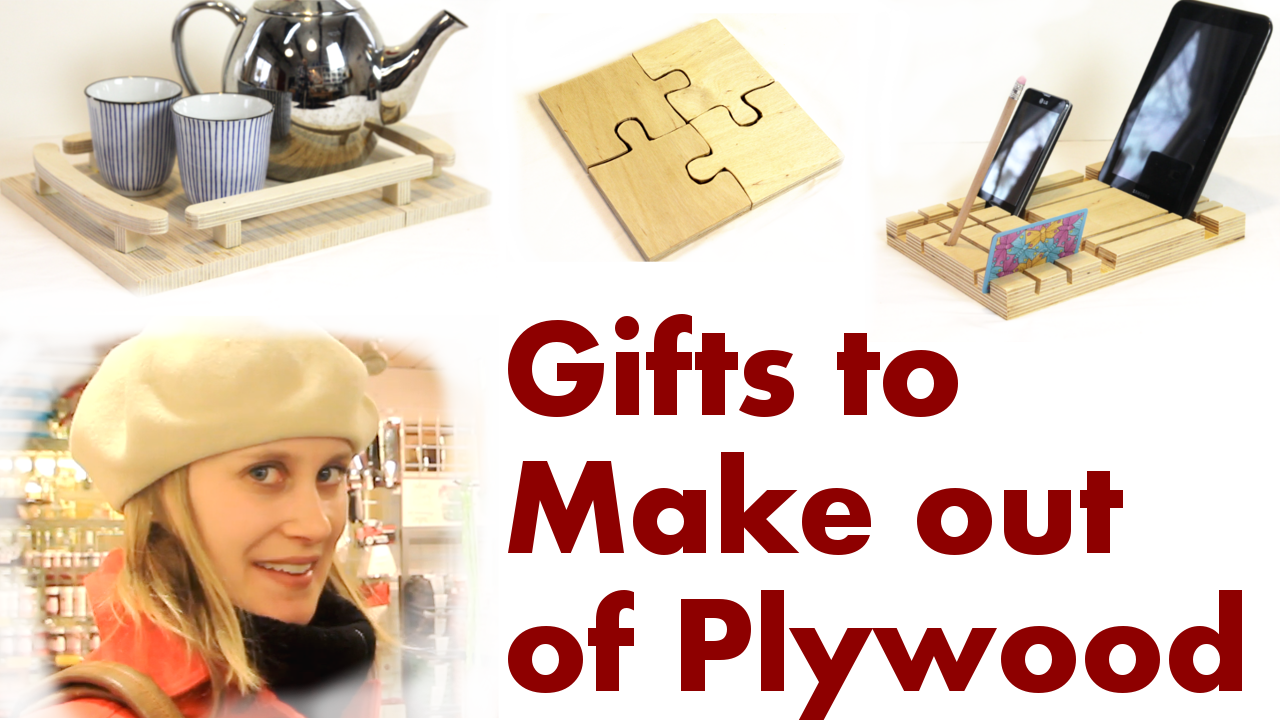
Puzzle Coaster Trivet
Materials Needed:
- 1 piece of 1/2 inch plywood (about 12 x 12 inches)
- Puzzle template, printed out
- Glue stick
- Sandpaper
- Polyurethane
Tools Needed:
- Band Saw / Jig Saw or Scroll Saw
Method:
For this project I used Baltic Birch plywood, however any higher grade plywood would work well.
I started with printing out the puzzle template. I cut out each individual paper puzzle piece and glued them to the plywood with a glue stick. I found that it's easier to cut out each piece individually as opposed to cutting out the whole puzzle from one piece of wood.
After gluing on the puzzle pieces I cut them up on the band saw, however you could also use a jig saw or a scroll saw. Once the plywood puzzle pieces were cut up I sanded them and finished with two coats of polyurethane for protection.
DIY Tablet & IPhone Organizer
Materials Needed:
- 1/2 inch high grade plywood, such as Baltic Birch, 20 x 12 inches total
- Glue
- Sandpaper
- Polyurethane
Tools Needed:
- Table Saw
- Miter Saw
- Drill
Method:
Cut out two pieces of plywood, that measure around 8 x 11 inches. Apply an even amount of glue on both pieces and glue them together, securing with clamps. Let dry.
Once dry, cut the piece to measure 7 x 9 1/2 inches on the table saw/ miter saw.
Next, setting the blade on your table saw to 1/2 inch depth and a 10 degree bevel, start making several cuts to create a wide enough groove to hold your tablet or phone. Continue making groves, some on the long side, some on the short side. Some at an angle, and some straight in different thicknesses, until you have a pattern you're satisfied with (for a clearer view, watch the video).
To give it some protection, finish off with two coats of polyurethane.
Edge Grain Plywood Tray
Materials Needed:
- 1 piece of 1/2 inch of high grade plywood, such as Baltic Birch (about 2 sq ft)
- Sandpaper
- Glue
- Nails
- Polyurethane
- Template
Tools Needed:
- Table Saw Band Saw / Jig Saw / Scroll Saw
- Clamps
- Belt sander / Palm Sander
- Nail gun
Method:
Start by cutting out 25 strips of plywood on the band saw that measure 1/2 inch x 10 1/2 inches. Apply a thin amount of glue to each side of the strips and glue them together. Secure with clamps and let the board dry.
Once dry, scrape the glue squeeze-out off and sand smooth with a belt sander or palm sander on both sides.
Clean up the glued ends by cutting the board to measure 9 1/2 inches wide.
Print out the template and cut out the pieces for the handles and the rails (2 handles, 2 rails). Attach the four pieces with a glue stick onto the plywood, and cut out the pieces with a band saw/jig saw or scroll saw.
Next cut up a 3/4 inch strip of plywood and cut eight 3/4 inch small pieces of plywood out of that. Sand the handles, rails and small strips of wood smooth.
Now, for assembling: Glue two pieces of the small plywood on the sides of each handle and rail. (Watch video for clearer view). Secure with glue. Next position each handle and rail on to the glued up board, secure with glue and nail gun, from top as well as the bottom.
Let dry and finish off with two coats of clear polyurethane for protection.
DIY Copper Wire Shelf with Oak


It doesn't take too much to create your own cool shelves with metal. Copper is inexpensive when used carefully and this easy copper wire shelf uses less than 3 feet of wire and a small oak board.
Using copper pipes is really easy, just get yourself a cheap hacksaw or heavy wire cutters to cut the wire.
In the plumbing aisle there is a wealth of parts to use, including pvc, steel and copper. Most of these are really easy to cut with a hacksaw.
Here is just one example of a simple DIY Copper Shelf
Materials
- 6 feet of 6 gauge copper wire - enough to make two shelves (~ $1.50 foot)
- 10" x 6" x 3/4" oak board
- 1/4" crown stapler or bent nails, or hot glue
Method
With the 6 gauge wire, create a form from something else, or shape it to be a shelf with your hands. Just place the oak board on the metal and either hot glue it or nail the wire to the board. Simply hang the shelf on a nail or screw from the wall.
A couple of shelves like this will easily hold a few light-weight objects and should cost you about $6 - $8 per shelf.
Building a Step Stool
If you are a beginner or would like to tackle a quick project in just a few hours here are some simple plans to build this really useful step stool. You don't need many tools or materials and the overall cost is very low. I recommend using pine or other soft white wood because it is cheap and easy to cut.
Materials List:
8 ft - 1x2, pine
2 ft - 1x10, pine
2 ft - ¾ inch dowel, pine or other white wood
Upper Rail B template - see diagram
Tools:
Miter Saw
Pocket Hole Jig + 1 ¼” Screws
Drill
¾ inch drill bit
Yellow Glue
Sandpaper
Cut List:
Top: 9 ¼ x 13 ½ inches
4 Legs: 6 inches, mitered at 5 degrees at top and bottom (set your miter saw to 85 degrees)
2 Front rails: 6 11/16 inches long
2 Side rails: 8 inches on long side, mitered at 5 degrees (set your miter saw to 85 degrees)
2 dowels: 8 1/8 inches long
Method
For the legs, cut a 1x2 6 inches long, with a 5 degree miter angle on both sides (set your miter saw to 85 degrees). If you're unsure of how to do the miter cuts, print out the template, glue on the wood with a glue stick, make the cuts according to the template. Once your cuts are made, make sure the template is attached to the legs and drill the hole for the dowel per the template, all the way through. Repeat for each leg.
Cut the long rails, which measure 8 inches on the long side (7 5/8 inches on the short side), with a 5 degree miter on both sides, so that the miters oppose each other (set your miter saw to 85 degrees). Again, if you're unsure of how to do the mitered cuts, print out the the Upper Rail B template, attach to wood, and make the cuts according to the template.
Cut the short rails, which measure 6 11/16 inches long, with straight cuts on both sides.
Cut the dowels at 8 1/8 inches long.
Where to Drill Pocket Holes
For this design you only need one pocket hole drilled on each side of the upper rails, both the two A rails, and the two B rails.
On the diagram I have added black ovals to denote the placement of the pocket hole drill locations. Remember they are to be placed toward the inside, and NOT on the outside of the upper rails.
Note that on the Upper Rails B there are two added drill locations oriented towards the top. There (4) pocket screws are to attach the top.
Assembly
To assemble the step stool attach Upper Rail B to each of the legs to make one side of the leg assembly. Add glue for extra strength at all the joint locations. Then repeat on the other side. Once the two side assemblies are formed add Upper Rails A and screw them together.
At this point you should have a base.
Place the base on the middle of the top, so there is an even amount of space on all the sides. Attach the top to the base, attaching 4 pocket screws through the holes you've already drilled on Upper Rails B.
Once the top is attached, slide the two dowels through the legs, adding some glue to secure them.
Sand down the sides of the dowels, if they're protruding through a little bit.
To finish off the step stool, you can add a chamfer detail to the top. Using sandpaper, or a plane, cut down the edges of the top a little, starting with the end grain sides and continuing with the long grain sides. By smoothing the edge, the step stool will look a bit more finished.
For a great video from the CraftyGemini check out her video tutorial: https://www.youtube.com/watch?v=8XGlvKpUdG0
Or her great blog post: http://craftygemini.blogspot.com/2014/11/how-to-build-step-stool-video-tutorial.html