DIY Standing Lamp Shelf
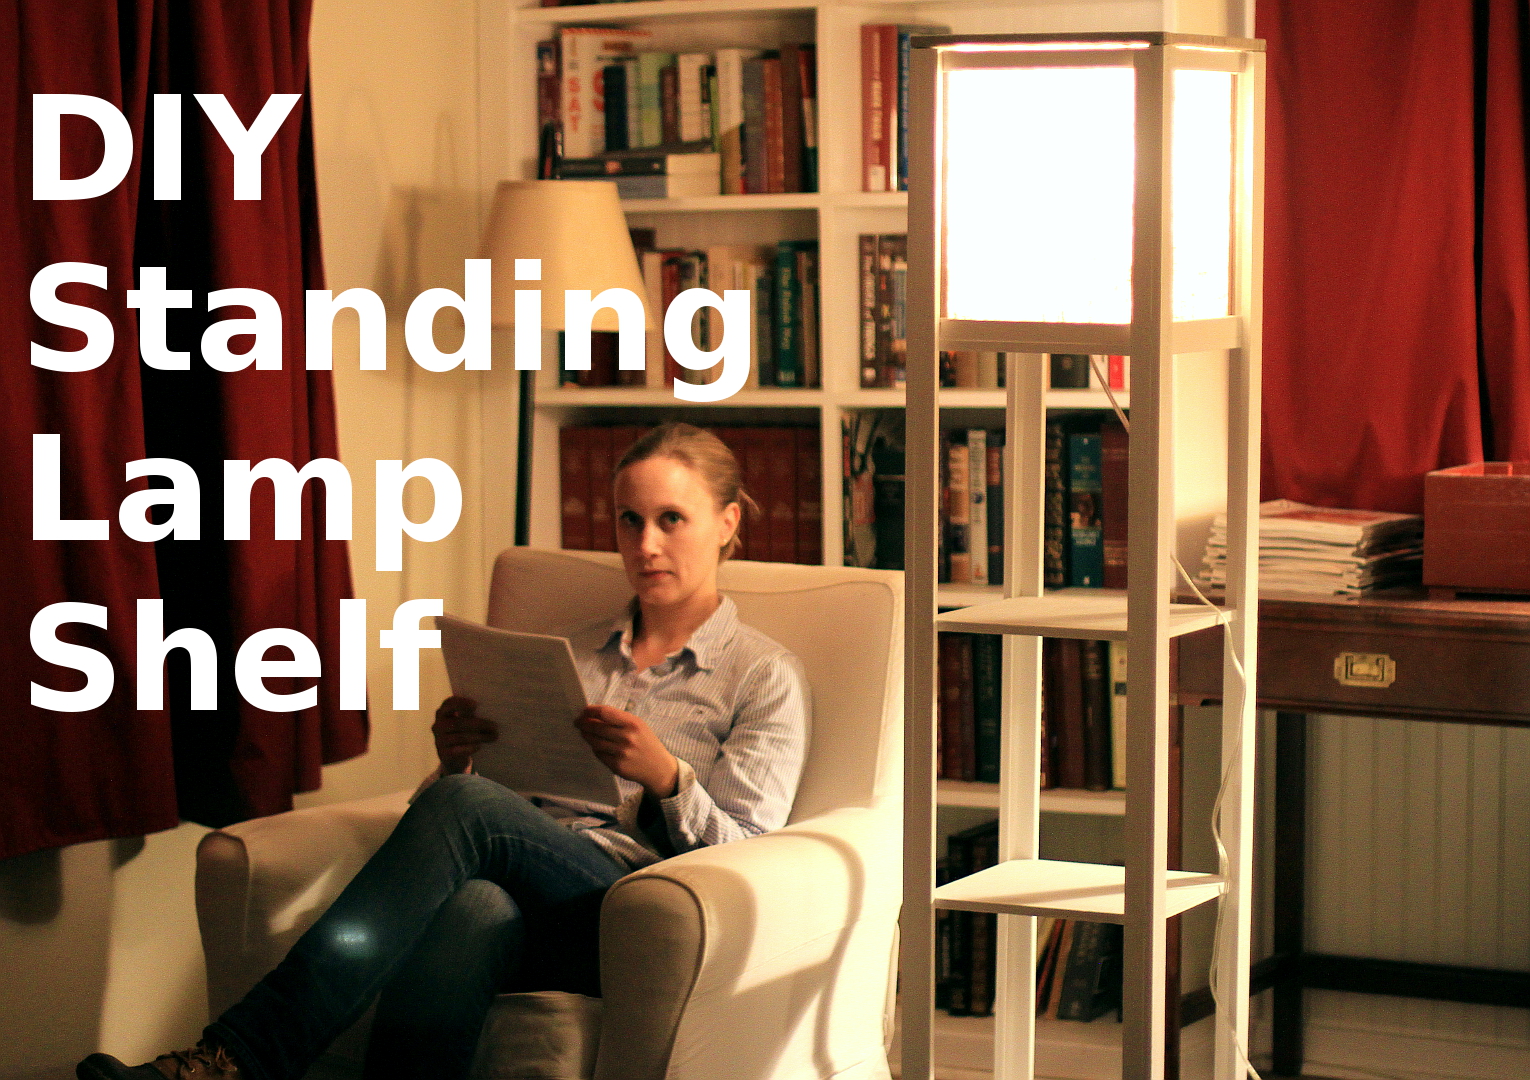
DIY Standing Lamp & Shelf
If you want to try you hand at making a lamp this is a really great and simple project that combines a lamp with a piece of furniture. Storage shelves are always in demand and pairing that with a lamp makes a lot of sense. This written tutorial is a companion to the video to make the whole process easier.
Please read through instructions fully before cutting any pieces.
Materials
Plywood
Glue
1 ¼” Drywall Screws
Drill with counter-sink bit
Lamp Kit or Old Lamp Parts
LED Bulb (40-60 watt)
Fabric
Staples
Velcro or Epoxy
Magnets to secure fabric frame top
Cut List – Main Shelf
Legs
4 pieces – 60 x 1 x 1 inches
4 pieces – 60 x 1 x 1½ inches
Shelves
4 pieces – 12 x 12 inches square
Fabric Frame
Top of Frame
- 2 pieces – ½” x ¾” x 11 ½”
- 2 pieces – ½”x ¾” x 13”
Frame Sides
- 8 pieces ½” x ¾” x 13 ½”
- 4 pieces ½” x ¾” x 9 ½”
- 4 pieces ½” x ¾” x 8 ¾”
Top Shelf Frame (for fabric frames to attach to)
- 4 pieces 1" x ½" x 11"
- 4 pieces 1" x ½”x 11 ¾”
Method
Base Shelf
To make the legs glue and screw the 1 inch piece to the 1 ½ inch piece to make evenly sized legs. Counter-sink the screws but remember to pre-drill for all the holes with an 1/8” bit. Once you have your 4 legs finished, measure 6 inches off each leg to make a place for the first shelf with a pencil. Place the first shelf on the mark and secure with glue and screws. Repeat with the other shelves by marking off whatever distance you like, I make each shelf 13 inches apart.
Finishing
I used white paint but whatever you use finish it before you add the lamp parts.

Fabric Top & Lamp
Drill a hole in the top shelf to accommodate the lamp wire and secure your lamp to the top shelf. I used a cut-off 2x4 block to secure the lamp post into but each lamp may be different. Either way it should not be too much trouble to secure the lamp parts.
Once the top lamp shelf was in place, I added four strips at the top of the lamp, and four strips at the bottom of the top shelf to create a frame. I measured what size my corner posts was and cut out these 8 strips to fit inside of it, to create a frame that the panels could rest on.
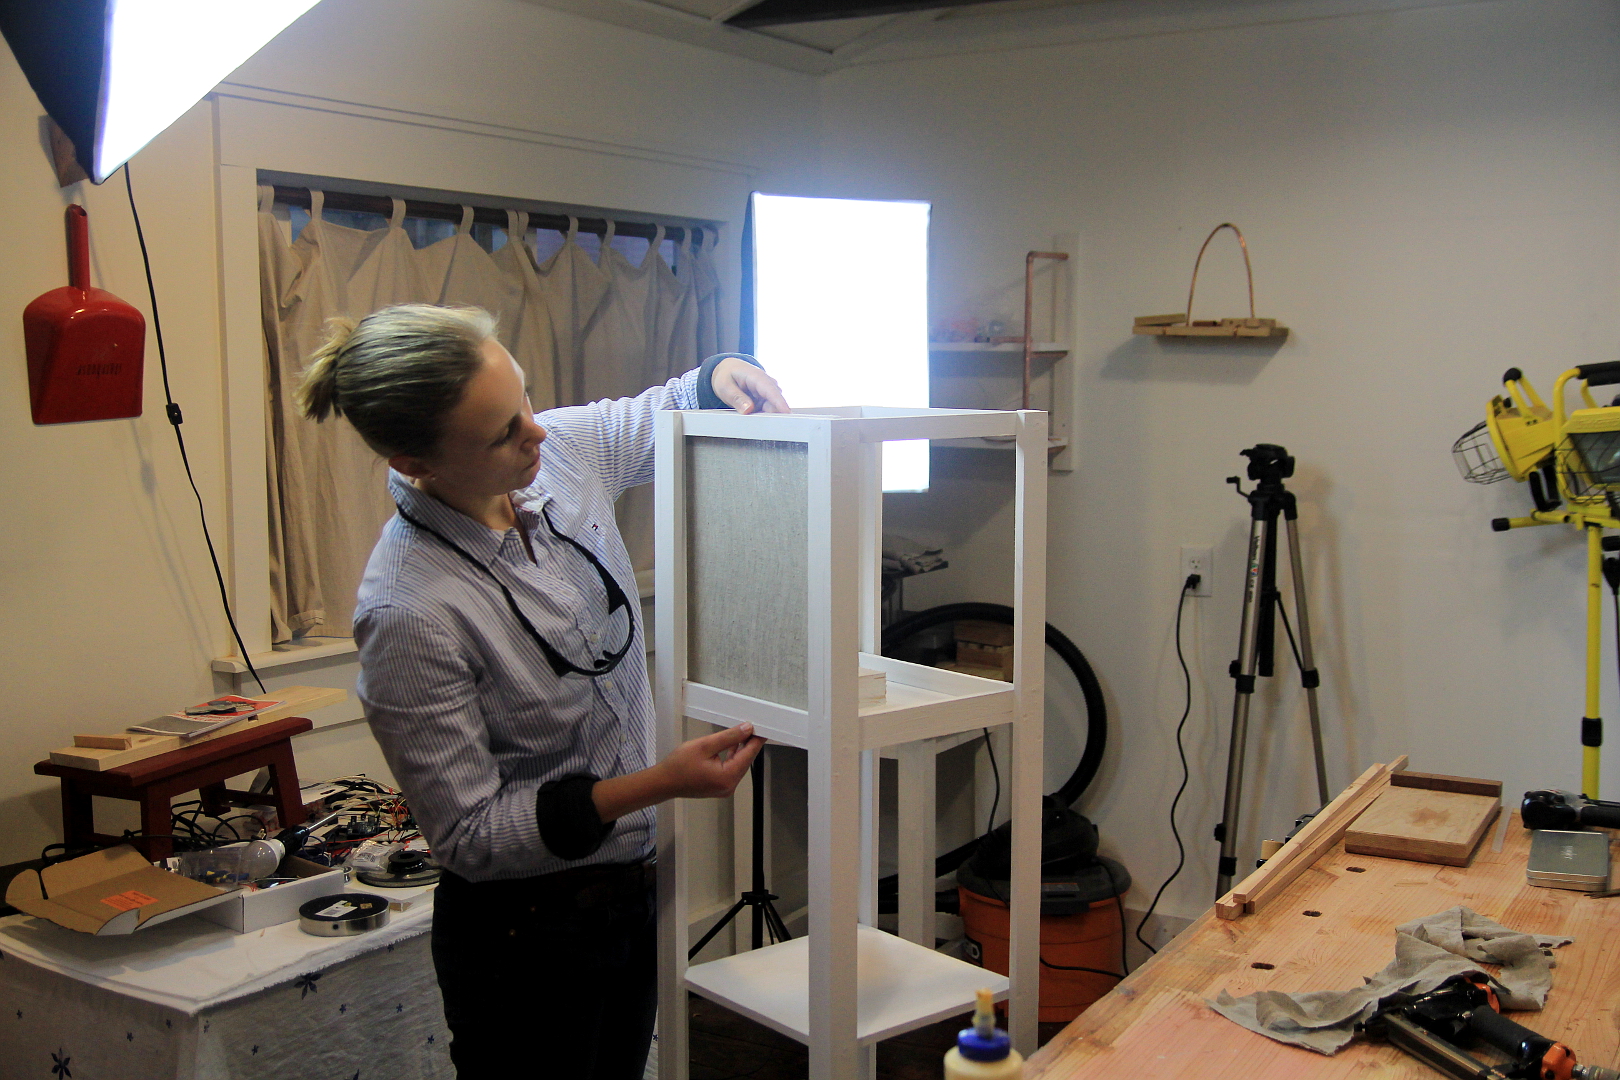
For the fabric panels, I used linen but any fabric will work safely provided you use a low-power LED bulb. These do not make much heat so the fabric will work well.
For the frames of the fabric panels I turned up the ½” x ¾” x 8 ¾” pieces on their side to make the frame narrower. Before making these frames do a little test to make sure the pieces are not too tight in the shelf frame and to make sure everything fits properly.
Secure the fabric to the frames by using 5/16” staples. I added some magnets to the top to make sure the top frame did not fall off too easily but you could always use a small amount of velcro to do the same thing.
See the video if you are having any trouble.