Building a Step Stool
If you are a beginner or would like to tackle a quick project in just a few hours here are some simple plans to build this really useful step stool. You don't need many tools or materials and the overall cost is very low. I recommend using pine or other soft white wood because it is cheap and easy to cut.
Materials List:
8 ft - 1x2, pine
2 ft - 1x10, pine
2 ft - ¾ inch dowel, pine or other white wood
Upper Rail B template - see diagram
Tools:
Miter Saw
Pocket Hole Jig + 1 ¼” Screws
Drill
¾ inch drill bit
Yellow Glue
Sandpaper
Cut List:
Top: 9 ¼ x 13 ½ inches
4 Legs: 6 inches, mitered at 5 degrees at top and bottom (set your miter saw to 85 degrees)
2 Front rails: 6 11/16 inches long
2 Side rails: 8 inches on long side, mitered at 5 degrees (set your miter saw to 85 degrees)
2 dowels: 8 1/8 inches long
Method
For the legs, cut a 1x2 6 inches long, with a 5 degree miter angle on both sides (set your miter saw to 85 degrees). If you're unsure of how to do the miter cuts, print out the template, glue on the wood with a glue stick, make the cuts according to the template. Once your cuts are made, make sure the template is attached to the legs and drill the hole for the dowel per the template, all the way through. Repeat for each leg.
Cut the long rails, which measure 8 inches on the long side (7 5/8 inches on the short side), with a 5 degree miter on both sides, so that the miters oppose each other (set your miter saw to 85 degrees). Again, if you're unsure of how to do the mitered cuts, print out the the Upper Rail B template, attach to wood, and make the cuts according to the template.
Cut the short rails, which measure 6 11/16 inches long, with straight cuts on both sides.
Cut the dowels at 8 1/8 inches long.
Where to Drill Pocket Holes
For this design you only need one pocket hole drilled on each side of the upper rails, both the two A rails, and the two B rails.
On the diagram I have added black ovals to denote the placement of the pocket hole drill locations. Remember they are to be placed toward the inside, and NOT on the outside of the upper rails.
Note that on the Upper Rails B there are two added drill locations oriented towards the top. There (4) pocket screws are to attach the top.
Assembly
To assemble the step stool attach Upper Rail B to each of the legs to make one side of the leg assembly. Add glue for extra strength at all the joint locations. Then repeat on the other side. Once the two side assemblies are formed add Upper Rails A and screw them together.
At this point you should have a base.
Place the base on the middle of the top, so there is an even amount of space on all the sides. Attach the top to the base, attaching 4 pocket screws through the holes you've already drilled on Upper Rails B.
Once the top is attached, slide the two dowels through the legs, adding some glue to secure them.
Sand down the sides of the dowels, if they're protruding through a little bit.
To finish off the step stool, you can add a chamfer detail to the top. Using sandpaper, or a plane, cut down the edges of the top a little, starting with the end grain sides and continuing with the long grain sides. By smoothing the edge, the step stool will look a bit more finished.
For a great video from the CraftyGemini check out her video tutorial: https://www.youtube.com/watch?v=8XGlvKpUdG0
Or her great blog post: http://craftygemini.blogspot.com/2014/11/how-to-build-step-stool-video-tutorial.html
Making Elsa's Tiara from the Movie Frozen
Making Elsa's Tiara
First, I started out with making a basic mold of my head with a piece of wire. I transferred this to a piece of paper and also sketched out the other parts to cut out. This template is available free for downloading on my website. (Download the template for the Elsa Tiara)
Next, I glued the paper to a piece of 1/2 inch plywood and cut out the pieces on a band saw, but you could also use a jigsaw.
Then I sanded the individual pieces. And then attached everything with hot glue. Once it was dry, I sanded the entire tiara, making sure to round the front line where all the pieces are connected and also the sides.

After that I painted the tiara with metallic oil paint which I had on hand, however you could also use a spray can. Last but not least, I hot glued on some plastic jewel embellishments to complete Princess Elsa's tiara.
This is a really fun simple project that anyone can do, and it costs just a few dollars and scrap plywood.
DIY Making a Rustic Fall Theme Sign & Collab
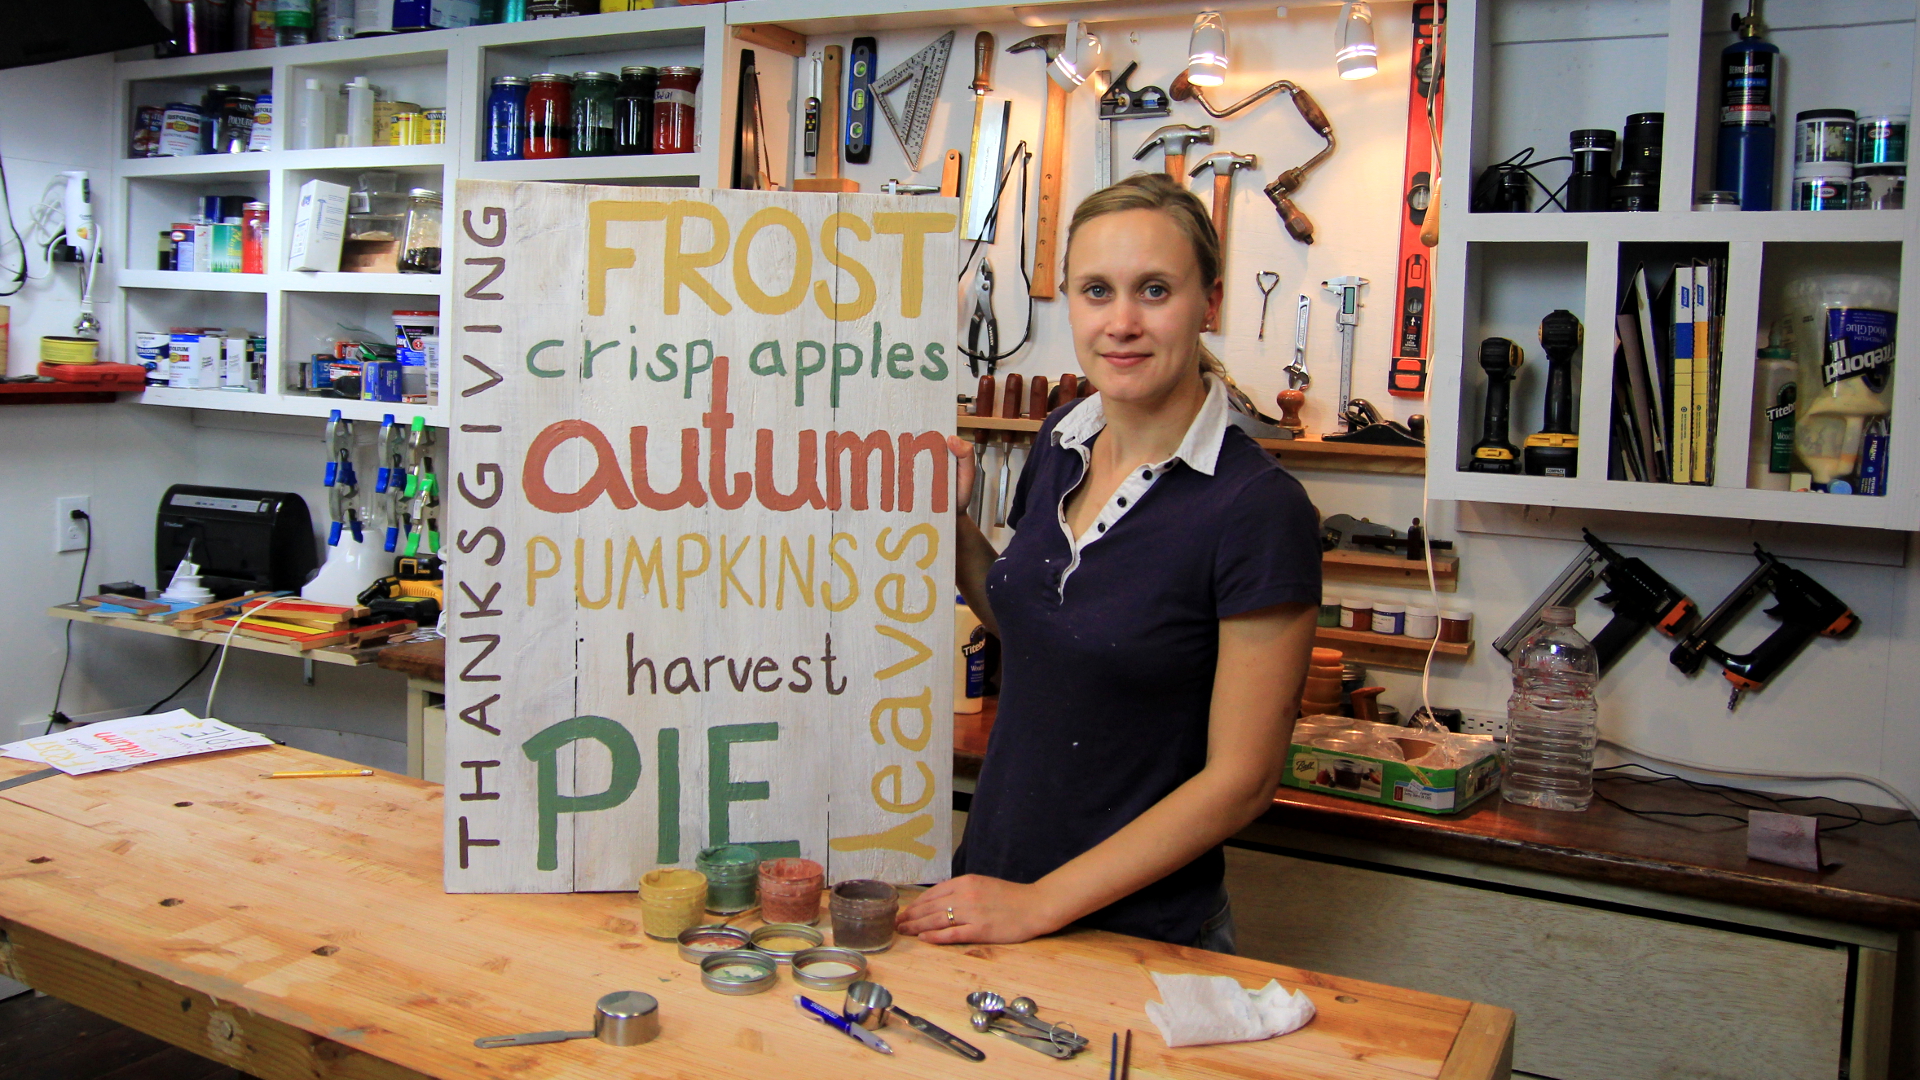
DIY Fall Themed Sign Made w/ Milk Paint & Collab with April Wilkerson
#womeninwoodworking
This simple DIY project is a great example of just how easy and affordable creating your own holiday decoration can be. With a few fence boards I had lying around from last year I was able to put together a beautiful and original fall-themed sign in just a few hours.
Step 1: Assembly.
Grab some old, or new cedar fence boards. Home Depot, Lowes or your local hardware store has these type of boards year round, and they are very inexpensive. I used of 1 x 6 inch boards, but use what you have.
Cut List:
- 4 @ 30 inches long
- 2 @ 20 inches long
Place the four cut at 30 inches on a table and the two cut at 20 inch across the top and bottom of the boards when placed side by side. Get some exterior nails, or screws that are about 1½ inches long and attach them on an angle to draw the boards together through the 20 inch boards that make the back.
Step 2: Sanding.
Sand a little with 150 grit paper just to knock off any sharp areas.
Step 3: Making the Milk Paint.
Milk paint expires quickly so I used just enough for this project.
Ingredients:
- 2 cups of Milk Powder (the kind from the grocery store)
- ¾ cups water
- 1 teaspoon Type S Lime (Calcium Hydroxide)
- 1 tablespoon white pigment
In a blender, or whisk and bowl, mix together all the ingredients and blend until smooth. You can then use the paint right away.
Step 4: Painting the sign.
With milk paint there is no need to use any primer so if you use a common paint brush you can paint the board white just like any latex paint. It goes on glossy and dries within 2 hours in typical conditions. If you want more coverage you can add another coat or just leave it a little rustic.
This type of water-based paint will raise the grain so you should do a light sanding before you write the letters with pencil.
Step 5: Coming up with the word design once the board is completely dry.
using paper and markers to work on the design
This is your choice. When I set about choosing words I was trying to fill the board. I first used markers and paper to get an idea of the relative size and spaces that would be needed and what words I wanted to use. I then used a pencil to sketch the letters on the sign to make it easier to paint on top of.
Step 6: Taking the base white paint and separating it into small mason jars to add pigments.
After I was through with the white paint for the base, I had four 4 ounce mason jars which I used to pour 2 ounces of paint into from the blender. In each jar I added the pigments I wanted to create the colors I would use to paint the letters. I added about 2 teaspoons of pigment to each jar and thoroughly mixed the pigments. You can paint the letters right away. Note that milk paint goes bad in just a few days so try and make just what you need. It does not store very well.
I let the paint dry and completely washed the brushes in soap and water.
Step 7: Oiling the board.
Once the paint was completely dry I applied an optional coat of raw linseed oil. You could also use polyurethane, spray lacquer or shellac to protect your project. You could also just leave it as is.
I applied the oil with a brush, it soaks in pretty quick. Give it a few hours to dry.
I plan to leave the sign outside for the holidays. Milk paint with the calcium hydroxide is pretty resistant to the weather, so it should be fine. Adding some sort of varnish will definitively protect it more. I also like to use the cedar boards so that when it comes time to store the sign in the attic or garage it is resistant to rot and insects.

I hope a lot of people try these types of projects, and I want to thank April over at Wilker Do's for participating in this collaboration. Don't forget if you would like to share your projects with us use the tag #womeninwoodworking on facebook, youtube, pinterest, twitter and tumblr.
Don't forget to check out April's beautiful DIY pumpkins.
And here is a tutorial on her blog:
http://wilkerdos.blogspot.com/2014/09/diy-fall-pumpkin-decorations.html
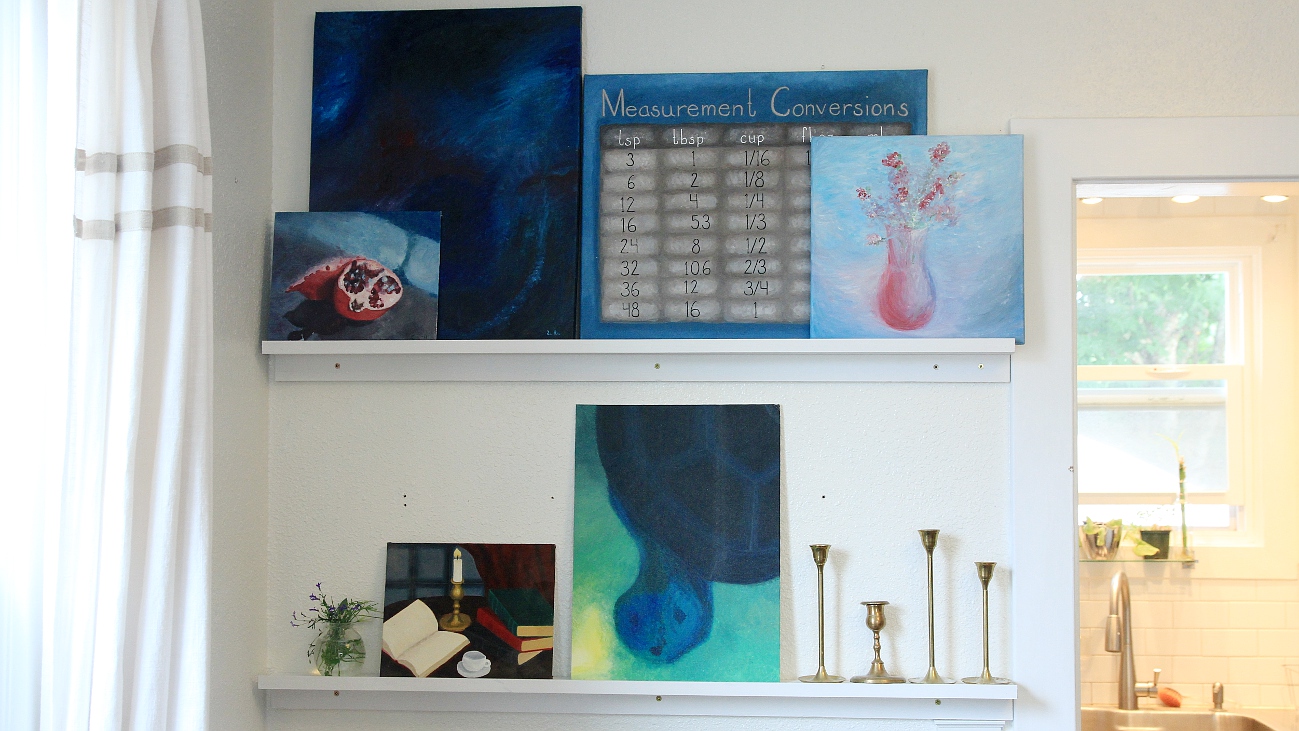
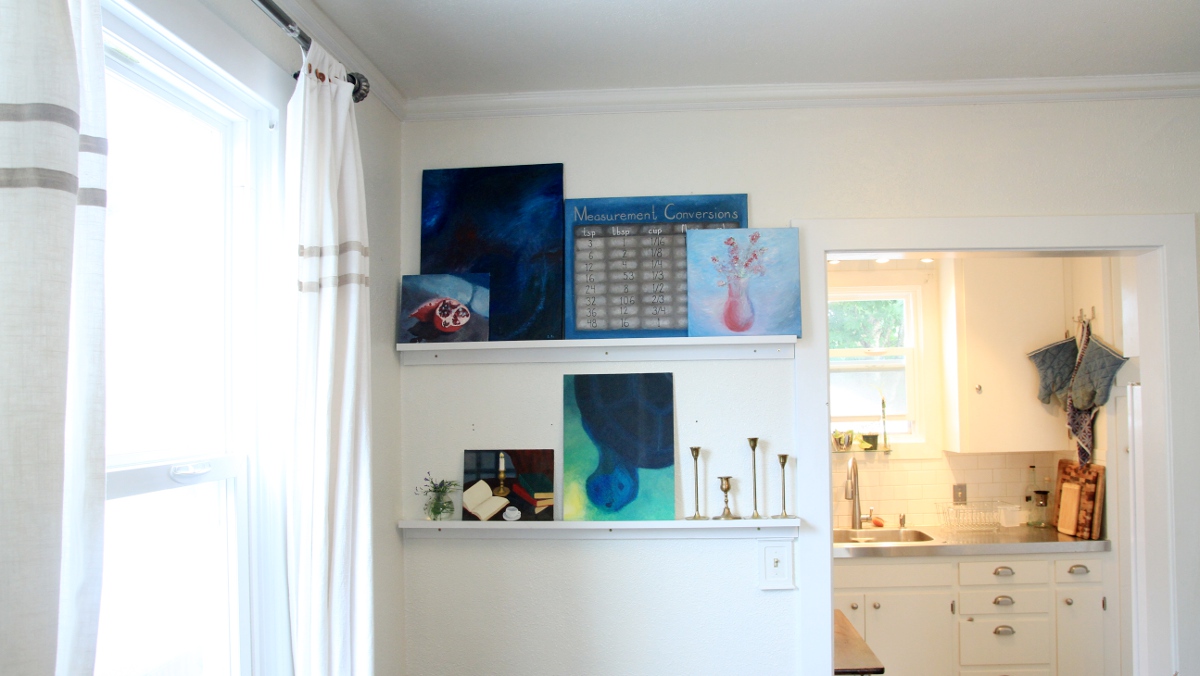
DIY Building & Designing an Art Shelf

Watch the Video: DIY Building and Designing Art Shelves
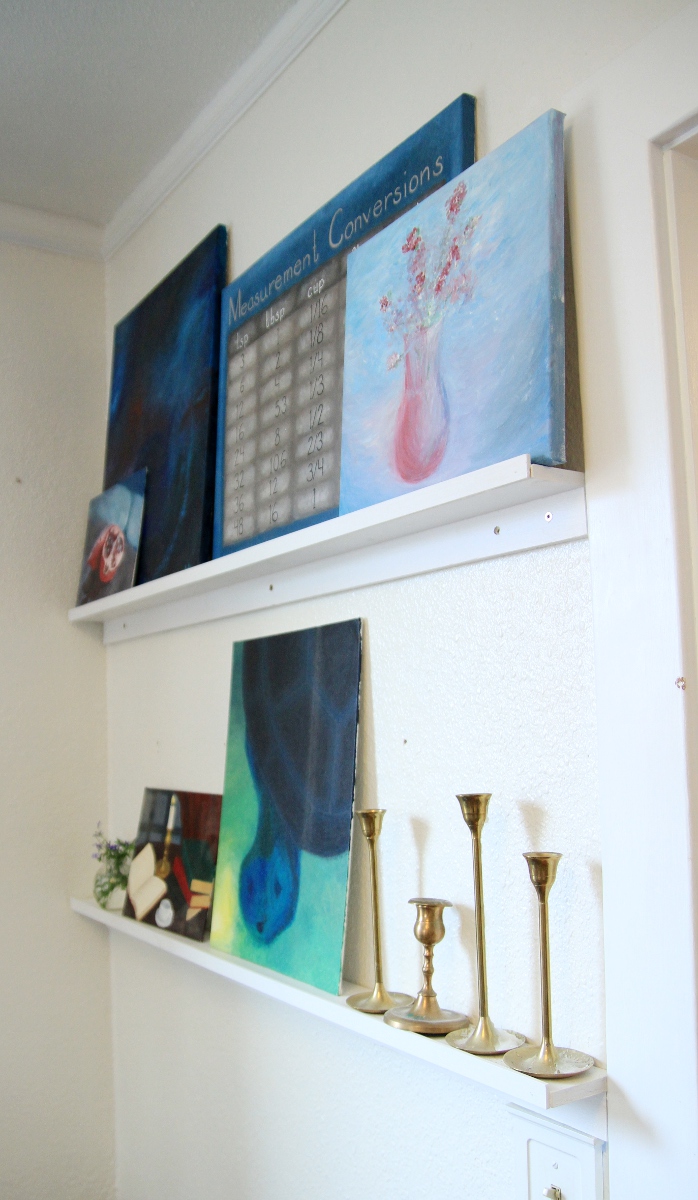
I started with measuring and cutting up the wood for the shelves on my table saw and miter saw. I started with a 1x6 that I ripped down to 3 1/2 inches for my top shelf, and the underneath bracket I ripped to 1 1/2 inches. I cut them both to 43 inches on the miter saw. However at the home improvement store you can find 1x3 and 1x2 whitewood boards which would be perfect here, and then you wouldn't need to rip any wood at all, and you could use a simple hand saw to cut the wood to length, or you could have them do it for you at the store.
I made the shelves 43 inches long to fit the wall, however you could make them any size you wanted.
These kinds of shelves are really nice because you don't any brackets because they're so shallow.
To assemble, I glued one piece on top of the other and used my brad-nailer to secure it in place. However you could use just 1 1/4 inch drywall screws or glue and handfinished nails.
I also decided to use a thin strip of wood on the edge of the shelf for a lip, however this is a completely optional part that you don't really need to do, because most things are going to stay on the shelf just fine without it.
After some painting, these guys were ready to be put up on the wall.