Building a Step Stool
If you are a beginner or would like to tackle a quick project in just a few hours here are some simple plans to build this really useful step stool. You don't need many tools or materials and the overall cost is very low. I recommend using pine or other soft white wood because it is cheap and easy to cut.
Materials List:
8 ft - 1x2, pine
2 ft - 1x10, pine
2 ft - ¾ inch dowel, pine or other white wood
Upper Rail B template - see diagram
Tools:
Miter Saw
Pocket Hole Jig + 1 ¼” Screws
Drill
¾ inch drill bit
Yellow Glue
Sandpaper
Cut List:
Top: 9 ¼ x 13 ½ inches
4 Legs: 6 inches, mitered at 5 degrees at top and bottom (set your miter saw to 85 degrees)
2 Front rails: 6 11/16 inches long
2 Side rails: 8 inches on long side, mitered at 5 degrees (set your miter saw to 85 degrees)
2 dowels: 8 1/8 inches long
Method
For the legs, cut a 1x2 6 inches long, with a 5 degree miter angle on both sides (set your miter saw to 85 degrees). If you're unsure of how to do the miter cuts, print out the template, glue on the wood with a glue stick, make the cuts according to the template. Once your cuts are made, make sure the template is attached to the legs and drill the hole for the dowel per the template, all the way through. Repeat for each leg.
Cut the long rails, which measure 8 inches on the long side (7 5/8 inches on the short side), with a 5 degree miter on both sides, so that the miters oppose each other (set your miter saw to 85 degrees). Again, if you're unsure of how to do the mitered cuts, print out the the Upper Rail B template, attach to wood, and make the cuts according to the template.
Cut the short rails, which measure 6 11/16 inches long, with straight cuts on both sides.
Cut the dowels at 8 1/8 inches long.
Where to Drill Pocket Holes
For this design you only need one pocket hole drilled on each side of the upper rails, both the two A rails, and the two B rails.
On the diagram I have added black ovals to denote the placement of the pocket hole drill locations. Remember they are to be placed toward the inside, and NOT on the outside of the upper rails.
Note that on the Upper Rails B there are two added drill locations oriented towards the top. There (4) pocket screws are to attach the top.
Assembly
To assemble the step stool attach Upper Rail B to each of the legs to make one side of the leg assembly. Add glue for extra strength at all the joint locations. Then repeat on the other side. Once the two side assemblies are formed add Upper Rails A and screw them together.
At this point you should have a base.
Place the base on the middle of the top, so there is an even amount of space on all the sides. Attach the top to the base, attaching 4 pocket screws through the holes you've already drilled on Upper Rails B.
Once the top is attached, slide the two dowels through the legs, adding some glue to secure them.
Sand down the sides of the dowels, if they're protruding through a little bit.
To finish off the step stool, you can add a chamfer detail to the top. Using sandpaper, or a plane, cut down the edges of the top a little, starting with the end grain sides and continuing with the long grain sides. By smoothing the edge, the step stool will look a bit more finished.
For a great video from the CraftyGemini check out her video tutorial: https://www.youtube.com/watch?v=8XGlvKpUdG0
Or her great blog post: http://craftygemini.blogspot.com/2014/11/how-to-build-step-stool-video-tutorial.html
Building a Tile Tray with Marble and Mahogany
In this video I really wanted to show something I have been wanting to integrate for a while: tile. I also needed a tray for coffee in the morning, or a little bit of whiskey in the shop so it was just a perfect project to do with scraps.
I had some plywood scraps, a few pieces of 1 x 2 mahogany I cut up a while ago, and some marble tile from the chess table I made last year. It was just about enough to get together a small tray. I cut a piece of ½” plywood 11 ½ x 9 ½ inches. The next step was prepping this piece for tile. I use a product called red guard. It is a sealer that goes on pink and dries pretty quick to a deep red color. It is often used on bathroom projects in the shower/tub area. I have used this product on some outdoor tile projects and it works very well.
You just paint it on, let dry for an hour or so, and then get started cutting tile. I planned on cutting marble, which is a very soft stone, so I added some water to the wet saw and measured out how many pieces in a running bond pattern I would need for the size plywood I was using. A wet saw is a pretty inexpensive investment (~ $125), but it is obviously not for everyone. I have used it quite a few times for tables, including my coffee table, side table and I tiled my entire kitchen (floor and walls).
So after I cut all the tile I needed some mortar to attach the tile. In a previous video (Building a Fire Pit) I made my own mortar to lay the brick. Well this time I need a lot less and the mix I used is a little different.
The following are volume relationships. Typically you would use mass measure but for amounts as small as I am using for a tile tray you need to use volume.
Mortar Ingredients
- 3 parts sand (sifted, > 0.5 mm particles)
- 1 part portland cement
- 1 part lime (calcium hydroxide)
Method
Just mix the ingredients together very well and add small amounts of water at a time. You want to create a paste, too much water tends to crack when it dries.
I made some layout lines on the plywood with a pencil then I back-buttered each small piece of tile and placed each piece down firmly and left a 1/16” gap between each piece for grout.
I left it to dry over night. The next day I miter cut the 1 x 2 mahogany carefully on a manual miter box. If you go slow they work pretty well. I turned the tray upside down to pre-drill and attach the mahogany with some 1 ½” screws. A couple pieces of tile fell off. I cleaned up the dried mortar, made up a new batch and reattached them while the mahogany pieces were in place.
Next up was to grout the tile. Even though I had to reattach a few pieces of tile I did not wait overnight. It will work out fine.
Grout
- 4 parts stone dust
- 1 part portland cement
- ½ part lime
- red, brown and black pigment to color the grout
Just like the mortar add a little water at a time to form a firm paste.
I used some painters tape to protect the wood from the grout. I waited overnight for the grout to dry and then cut a few thin pieces of mahogany to cover up the plywood base. They were attached with glue and 5/8” brads.
Sealing the Grout
I used unwaxed shellac to seal the grout. Using a shop towel I applied thin coats over the tile and waited about 2 hours for it to dry.
To finish the box I made a couple of handles from another piece of scrap mahogany that was a little lighter and attached them with a screw and some glue. I then coated the wood portions of the box with a 4:1 mix of linseed oil:wax and buffed it dry.
Building Thor's Hammer for a Costume
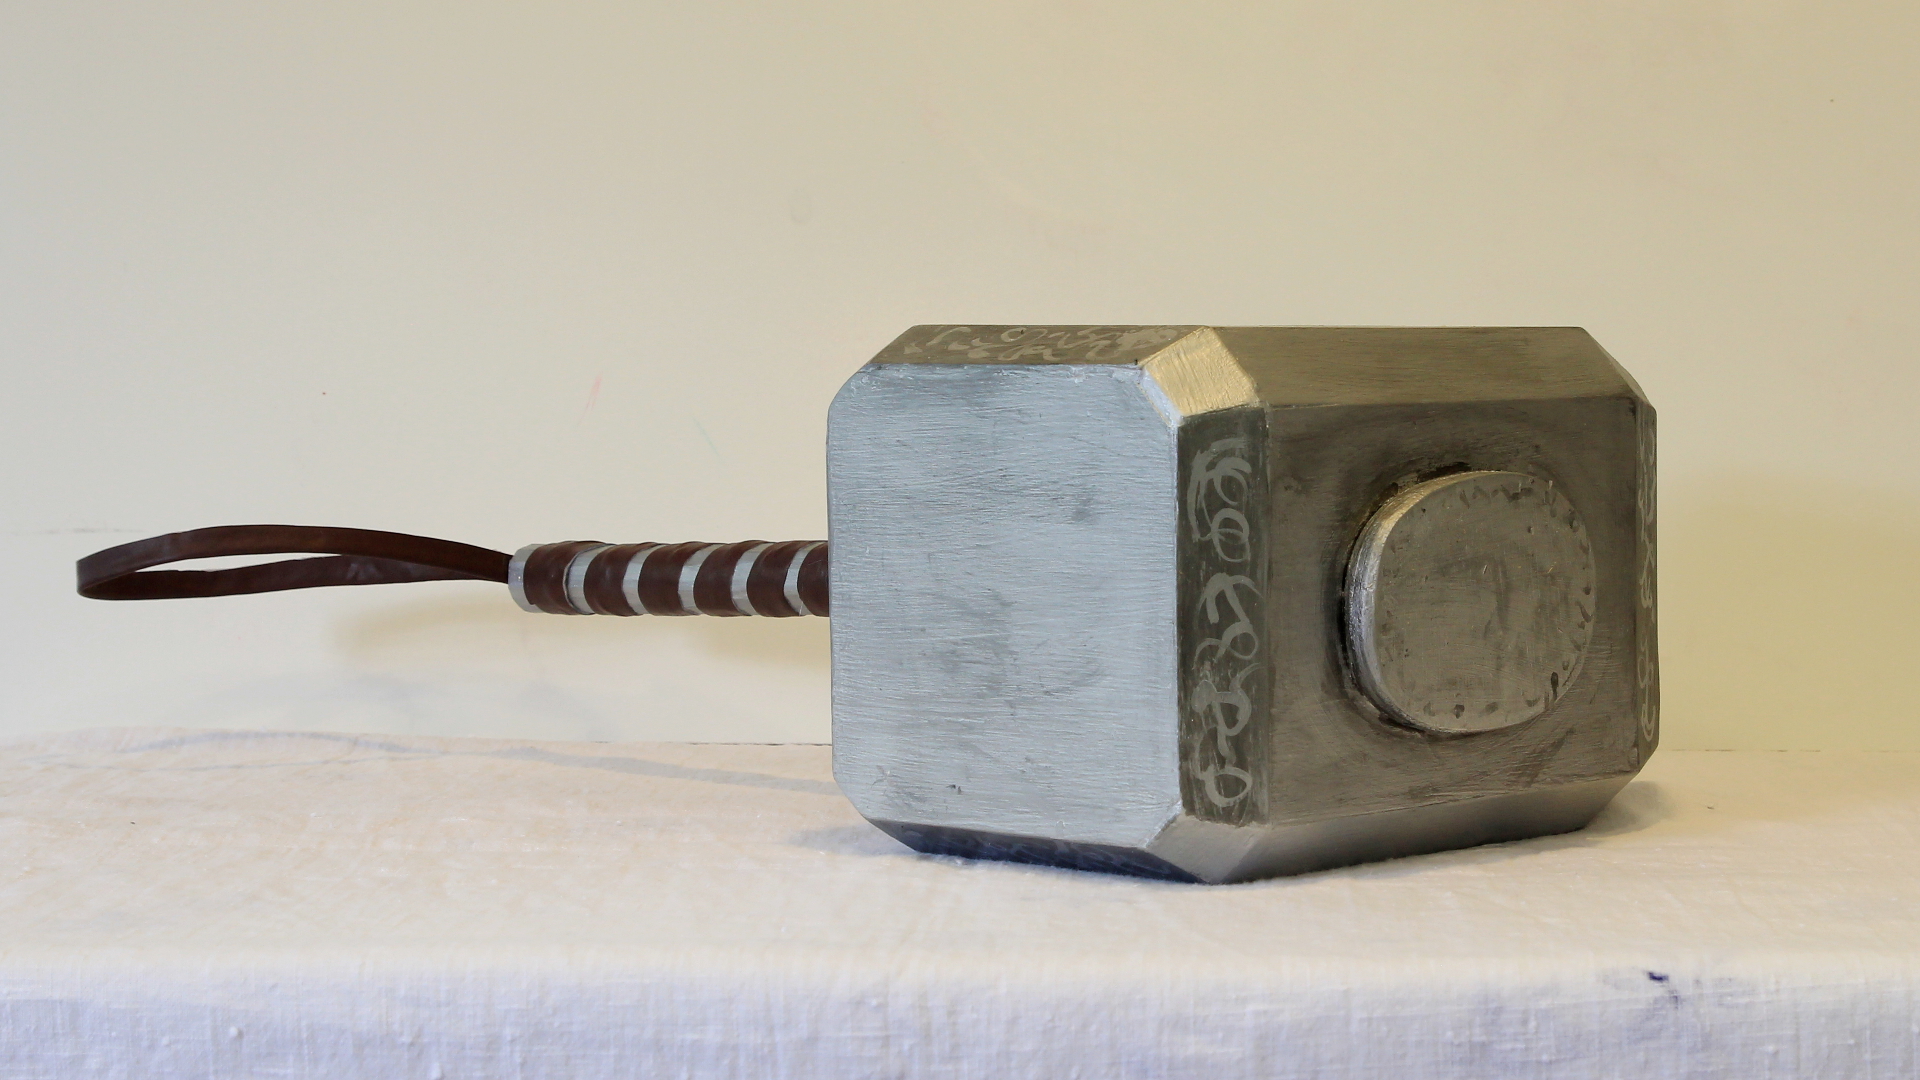
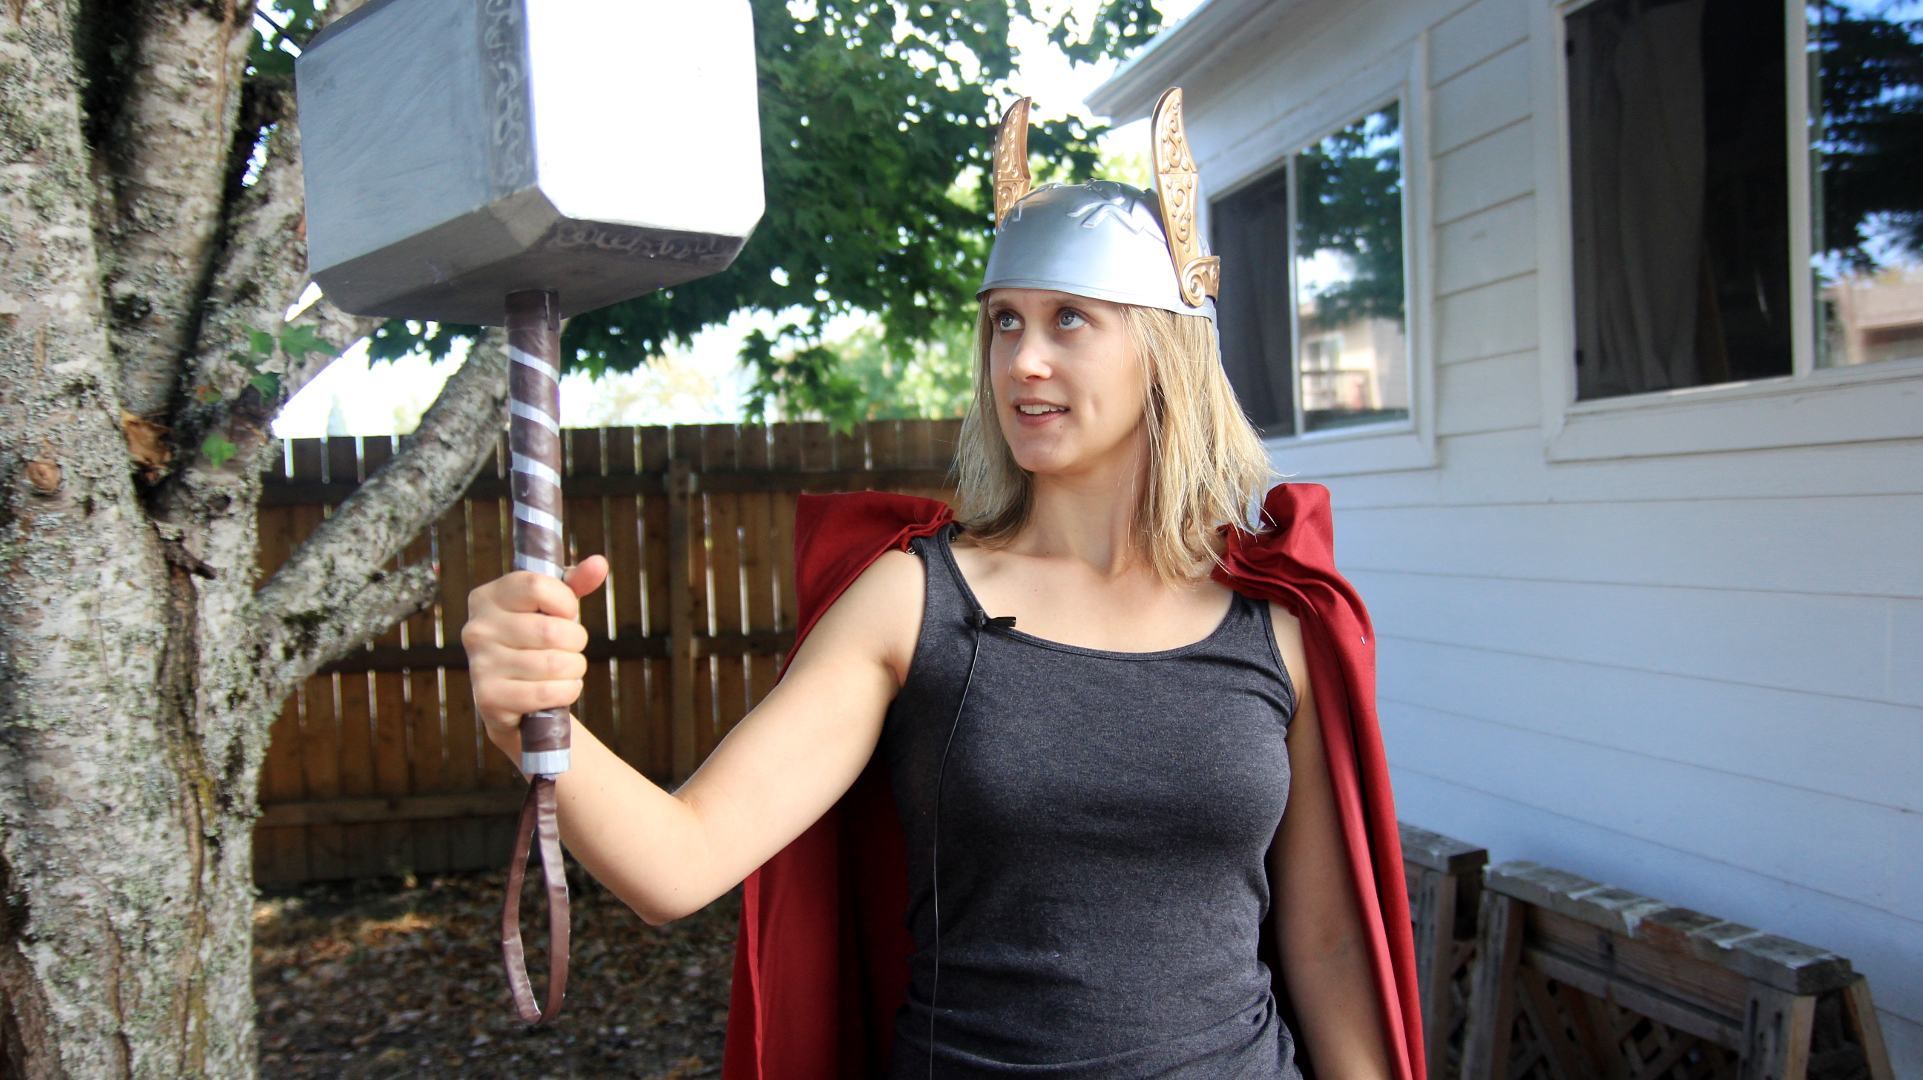
Instructions to Make Thor's Hammer
Wood Purchase List:
1 half sheet - ½”, 3/8”, or ¼” plywood – you either go for weight reduction or strength, your choice. I used ½” plywood. ¼” would be better for children. In case any mistakes are made it is good to have a little extra around
1 - 2 x 2, or 2 x 4 ripped in half or 1 dowel 1 1/8” - 2' long


Cut List:
Four faces ripped 22 ½ degrees on the long side – 8” x 5” - (as measured on the long bevel)
Four thin post pieces ripped 22 ½ degres on the long side – 8” x 1 1/8” - (as measured on the long bevel)
Eight pieces 5 1/8” on the long side, compound mitered 11 ¼ degrees and beveled 22 ½ degrees on each side
Eight pieces 1 ¼” on the long side, compound mitered 11 ¼ degrees and beveled 22 ½ degrees on each side
Two pieces 6” square mitered at 45 degrees on all sides and then cut all 4 points of the square 45 degrees at ½”
One 2 x 2 rounded to 1 1/8” approx 14” long, depending on your size
One 4” piece of 2 x 4 for attaching the handle inside the hammer
One oval 5” x 3 ¼” at the extremes made of ½” plywood
Other materials:
approx 30” of vinyl that simulates leather for the handle covering
metallic paint, spray or brush, latex or oil
black paint, brush, latex or oil
a tack for the bottom of the handle
hot glue gun
small paint brush for the symbols, mixing black and metallic
Tool List:
Table Saw
Miter Saw
Power drill with a 1/8” bit and a 1 1/8” spade bit
Jig Saw, coping saw or band saw
Hammer
Sand paper or Sander
Hot glue gun or carpenters glue & brad nailer (hot glue is much easier)
note: You can't really avoid these tools for this project
Method:
Creating the main faces and basic box:
Set your table saw fence to 5” and your blade to 22 ½ degrees, and rip down the ½” plywood. The final top bevel width of the wood will be 5 ¼”. Cut 4 pieces to 8” on the miter saw.
Repeat the operation, but set your fence to 1” and cut 8 pieces to 8” on the miter saw.
Drill into one of the larger faces in the very center with the 1 1/8” spade bit to make room for the handle.
Use a hot glue gun to glue up the 8 pieces to use as a guide for the rest of the build.
Creating the side faces:
At the table saw with the fence still at 1” rip numerous pieces with the 22 ½ degree bevel on both sides. The lengths should be about 2' to handle easily on the miter saw.
Set your compound miter saw to a 11 ¼ degree miter and a 22 ½ degree bevel. With the bevel down cut the 2' beveled piece from above anywhere on the end to start the angle. Once that cut is made take the piece over to the box you have so far and place the piece on the long side of the box (see the video for a visual) to mark for the cut. Using a bevel hand tool really helps to line up your cut at the miter saw unless you have a laser.
Repeat for the 8 long pieces and then the 8 small pieces.
Use hot glue to attach all the small pieces to the sides of the hammer box. Make note that we have not yet cut the two face covers so that we have access to attach the handle.
Cut a piece of 2 x 4 four inches and drill a 1 1/8” hole in the center.
Cut the dowel or any 1 1/8” handle to 14 inches (or whatever fits your hand better) and put it through the hole in the bottom of the hammer box, and then place the part of the 2 x 4 that you cut at 4 inches inside to cap the handle. If everything fits then remove it, add yellow glue and secure the handle to the box by drilling a 1/8” pilot hole into the long grain of the 4” piece of 2 x 4 and either side of the handle, use a 2” drywall screw to secure it on either side.
With the handle attached securely we are ready to cut the final two pieces of the hammer to close it up.
On your table saw, with the blade set at 45 degrees and the fence set to 5 1/2", cut a 6” square. Once you have the square keep the blade angled and tilt your table saw's miter gauge to 45 degrees and knock off a ½” of each of the 4 corners. Repeat one more time.
Attach the final pieces with hot glue.
Using a jig saw, coping saw or band saw cut an oval approx 5” x 3 ¼” and hot glue it to the center top of the hammer.
Finishing
If you desire you can fill in any gaps with spackle or putty. Let dry and sand smooth.
Add the metallic paint. A few coats are suggested. Color and design are up to you. See the video for how I managed it.
Handle Covering
Cut the vinyl to about a 1 inch strip, approx 20” long. Wrap around the handle, when satisfied attach with hot glue.
what was left after the pumpkin test...
Making a Workbench Table w/ 2 x 6's for a Band Saw
Making a Band Saw Table from 2 x 6's with Mortise and Tenon Joinery
working on making a plan using sketchup.
A few weeks ago I bought a small hobby band saw. So far its been great, although it has been taking up some room in my carport shop area. So in order to free up the table saw island I decided to build a workbench just large enough to hold the saw, while being stable enough to absorb the vibration of the band saw, and fit a small shop vac underneath.
At first I was thinking plywood, but then realized how much I hate plywood, so I went for a laminated top using split 2 x 6's. The whole point was to make it heavy and stable, so using nothing but 2 x 6's split I made the top, legs and rails all the same base material. Although I will probably use plywood for the shop vac shelf on the bottom.
The top is 14 split 2 x 6's 23 inches long, all glued together. The legs are 2 split 2 x 6's laminated together that are 27 inches long. The rails are a single split 2 x 6, 4 at 17 7/8” and 4 at 16”.
Cut List:
- 14 @ 26" - table top
- 8 @ 27" - legs
- 4 @ 16" - rails
- 4 @ 17 7/8" - rails
Step 1: Split all the 2 x 6's. Then square them up on the table saw and plane them. You don't really need to square them up, but I did. You are going to need about 31', so three or four 2" x 6" x 12' boards will be necessary, depending on how picky you are with the boards. If you want to exclude knots, and other imperfections, be prepared to go through more wood. I wasn't so careful.
Step 2: Cut the top pieces at least 23 inches, really you should allow for some room to square the top up. The final top dimensions are 21 1/2" x 22 1/2" Make sure they are pretty smooth and use lots of glue. Clamp it up with as many clamps as you have.
Step 3: Laminate the legs by cutting them to the height you want. A normal table top is 30 inches, a counter is 36 and if you want wheels think about how high you really want the end result. I cut the legs to 27 inches. The 2 ½” top, plus the 27” legs get me pretty close to 30”. The band saw is also pretty tall, so it is perfect for me, you may want to alter this for your purposes. Glue up the legs just like the top.

Organizing all the rails.
Step 4: Cut the rails, 4 @ 17 7/8” and 4 @ 16”. I used a 1 inch tenon, so you must account for that. Cut the tenons on the table saw, or by hand. I went with about 5/8” wide and 1 ¾” tall tenons. You really do need to properly account for this measure.
I made a simple table saw jig to cut the tenons.
note: If you wanted to butt glue the joint, use pocket screws, or regular screws just remove 2 inches from each rail measure.
Step 5: Cut all 16 mortises. A drill really helps to remove material quickly, then chop out the remaining material with a chisel. I set the mortises based on where I wanted a bottom shelf. But you can place them anywhere you need to. The mortises near the table top come up as far as possible.
Step 6: Glue the joints together. Make sure you add plenty of glue to the tenon and the mortise. Clamp everything, and give it a good 8 hours or so to dry.
gluing up the base...
Step 7: With the base all glued up, turn it upside down and countersink your drill bit about a half an inch and use 2 - 3” screws all the way around the top. You don't want to attach the top to the base too tight. There will be a fair amount of contraction over time as the wood dries. 2 x 6 lumber tends to be wet. If this is a concern you could use 2 x 12 lumber and select the best parts of it.
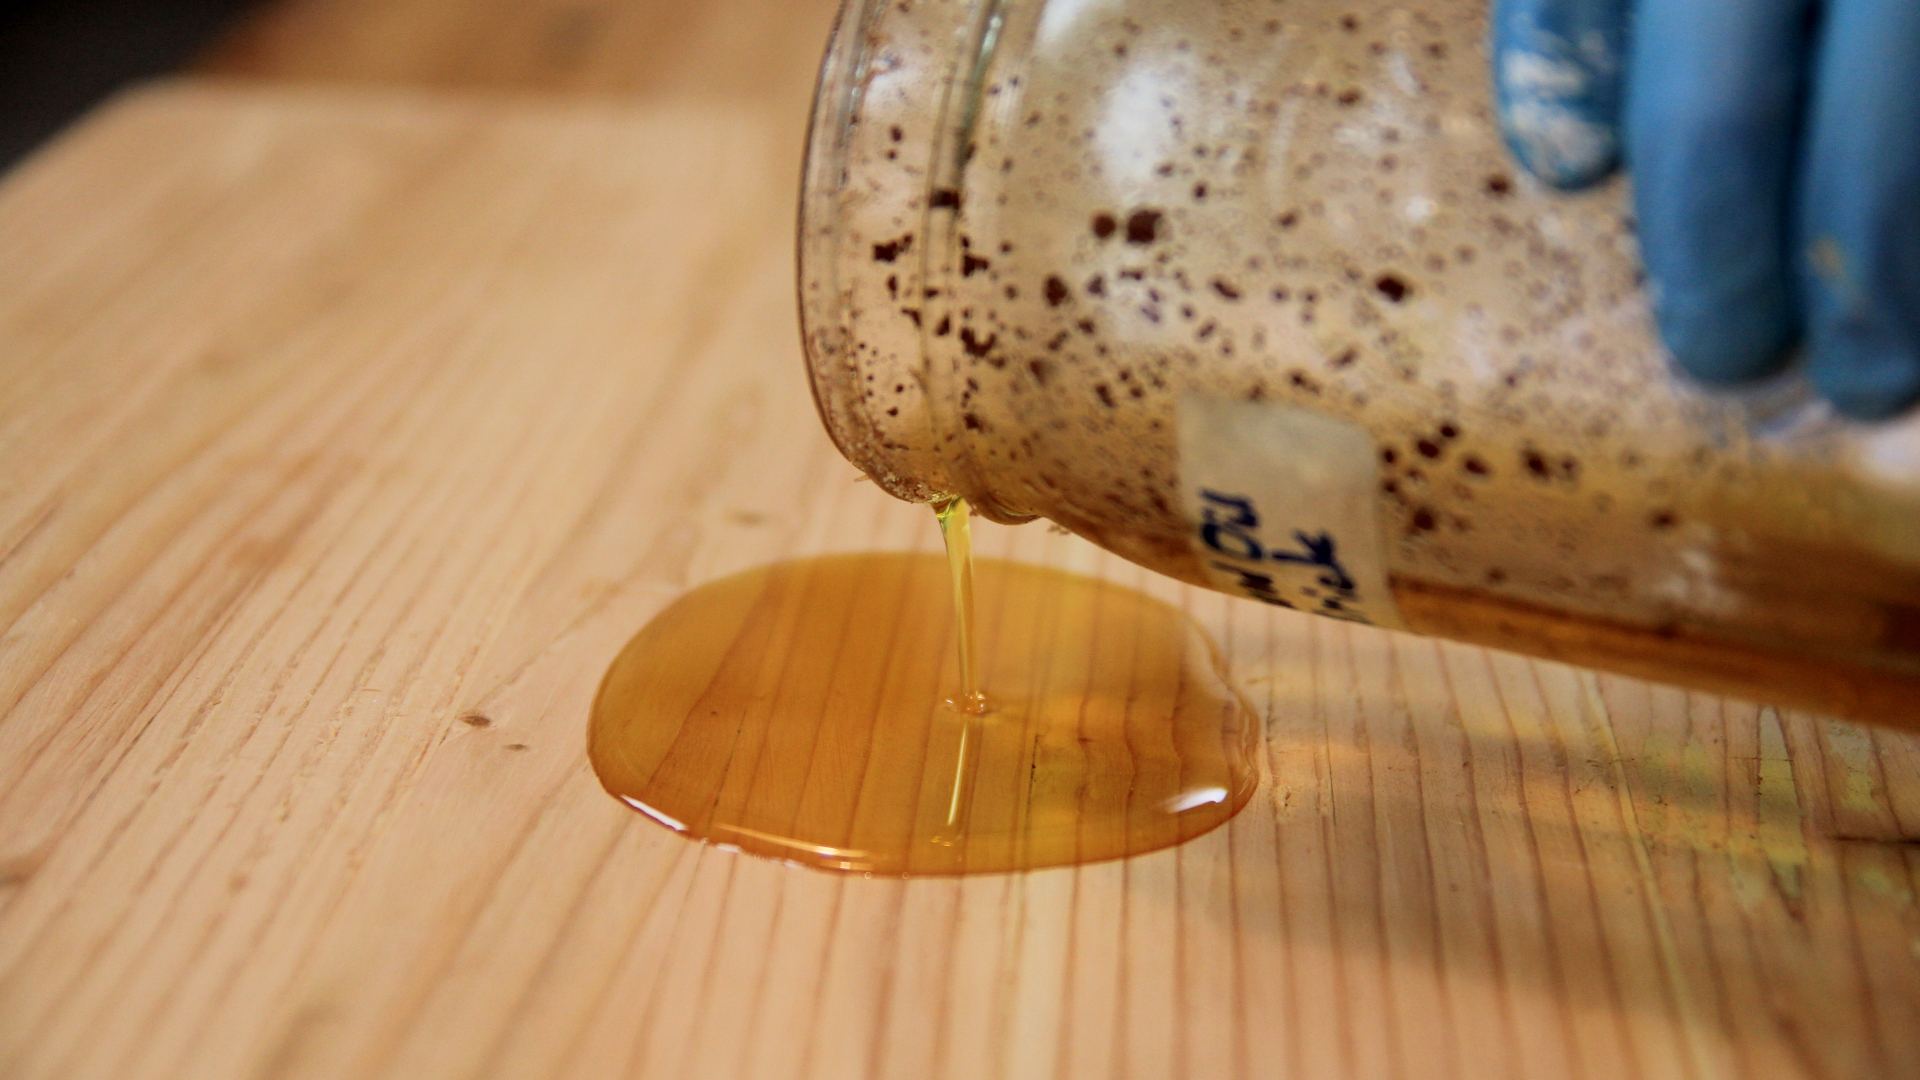
add linseed oil...
Step 8: You don't really need to finish the table. I did add a few coats of linseed oil. You could always stain it, paint it, or coat is in a varnish. It is all up to you.
The basic construction of this table is perfect for a kitchen island, a baking table or even a larger workbench. Just extend the dimensions and it would make a great base for just about anything.
Making a Plane Handle with my New Hobby Band Saw
So I'm finding my way with the band saw, and figuring out what kind of curves I can make, and when I need to track back. I think a band saw is really a great beginner tool, because it's not nearly as intimidating as a table saw or a miter saw. Besides, there are so many cool projects you can do with it.
When I used the full 2 inch piece of mahogany, I realized it was bit too big to go through, so I had to trim it a little. Then I had no problem. I took my time with all the cuts, and I used a table saw jig as a fence to slice off a piece.
I brought out a chisel to round the corners and just shape it some. This wood was a real pleasure to work with. Working with sharp chisels is quite fun.
I was trying to be mindful of the wood grain when shaping it, and switch the direction I was working in whenever I hit a curve where the grain changed.
To make it even rounder and smoother I used a beltcsander that I secured to a vice, this works quite well. And I finished hard to reach areas with a rasp.
I finished the handle with raw linseed oil and drilled the holes to fit the plane. You don't really have to wait too long to dry the handle before attaching it.