Making a Workbench Table w/ 2 x 6's for a Band Saw
Making a Band Saw Table from 2 x 6's with Mortise and Tenon Joinery
working on making a plan using sketchup.
A few weeks ago I bought a small hobby band saw. So far its been great, although it has been taking up some room in my carport shop area. So in order to free up the table saw island I decided to build a workbench just large enough to hold the saw, while being stable enough to absorb the vibration of the band saw, and fit a small shop vac underneath.
At first I was thinking plywood, but then realized how much I hate plywood, so I went for a laminated top using split 2 x 6's. The whole point was to make it heavy and stable, so using nothing but 2 x 6's split I made the top, legs and rails all the same base material. Although I will probably use plywood for the shop vac shelf on the bottom.
The top is 14 split 2 x 6's 23 inches long, all glued together. The legs are 2 split 2 x 6's laminated together that are 27 inches long. The rails are a single split 2 x 6, 4 at 17 7/8” and 4 at 16”.
Cut List:
- 14 @ 26" - table top
- 8 @ 27" - legs
- 4 @ 16" - rails
- 4 @ 17 7/8" - rails
Step 1: Split all the 2 x 6's. Then square them up on the table saw and plane them. You don't really need to square them up, but I did. You are going to need about 31', so three or four 2" x 6" x 12' boards will be necessary, depending on how picky you are with the boards. If you want to exclude knots, and other imperfections, be prepared to go through more wood. I wasn't so careful.
Step 2: Cut the top pieces at least 23 inches, really you should allow for some room to square the top up. The final top dimensions are 21 1/2" x 22 1/2" Make sure they are pretty smooth and use lots of glue. Clamp it up with as many clamps as you have.
Step 3: Laminate the legs by cutting them to the height you want. A normal table top is 30 inches, a counter is 36 and if you want wheels think about how high you really want the end result. I cut the legs to 27 inches. The 2 ½” top, plus the 27” legs get me pretty close to 30”. The band saw is also pretty tall, so it is perfect for me, you may want to alter this for your purposes. Glue up the legs just like the top.

Organizing all the rails.
Step 4: Cut the rails, 4 @ 17 7/8” and 4 @ 16”. I used a 1 inch tenon, so you must account for that. Cut the tenons on the table saw, or by hand. I went with about 5/8” wide and 1 ¾” tall tenons. You really do need to properly account for this measure.
I made a simple table saw jig to cut the tenons.
note: If you wanted to butt glue the joint, use pocket screws, or regular screws just remove 2 inches from each rail measure.
Step 5: Cut all 16 mortises. A drill really helps to remove material quickly, then chop out the remaining material with a chisel. I set the mortises based on where I wanted a bottom shelf. But you can place them anywhere you need to. The mortises near the table top come up as far as possible.
Step 6: Glue the joints together. Make sure you add plenty of glue to the tenon and the mortise. Clamp everything, and give it a good 8 hours or so to dry.
gluing up the base...
Step 7: With the base all glued up, turn it upside down and countersink your drill bit about a half an inch and use 2 - 3” screws all the way around the top. You don't want to attach the top to the base too tight. There will be a fair amount of contraction over time as the wood dries. 2 x 6 lumber tends to be wet. If this is a concern you could use 2 x 12 lumber and select the best parts of it.
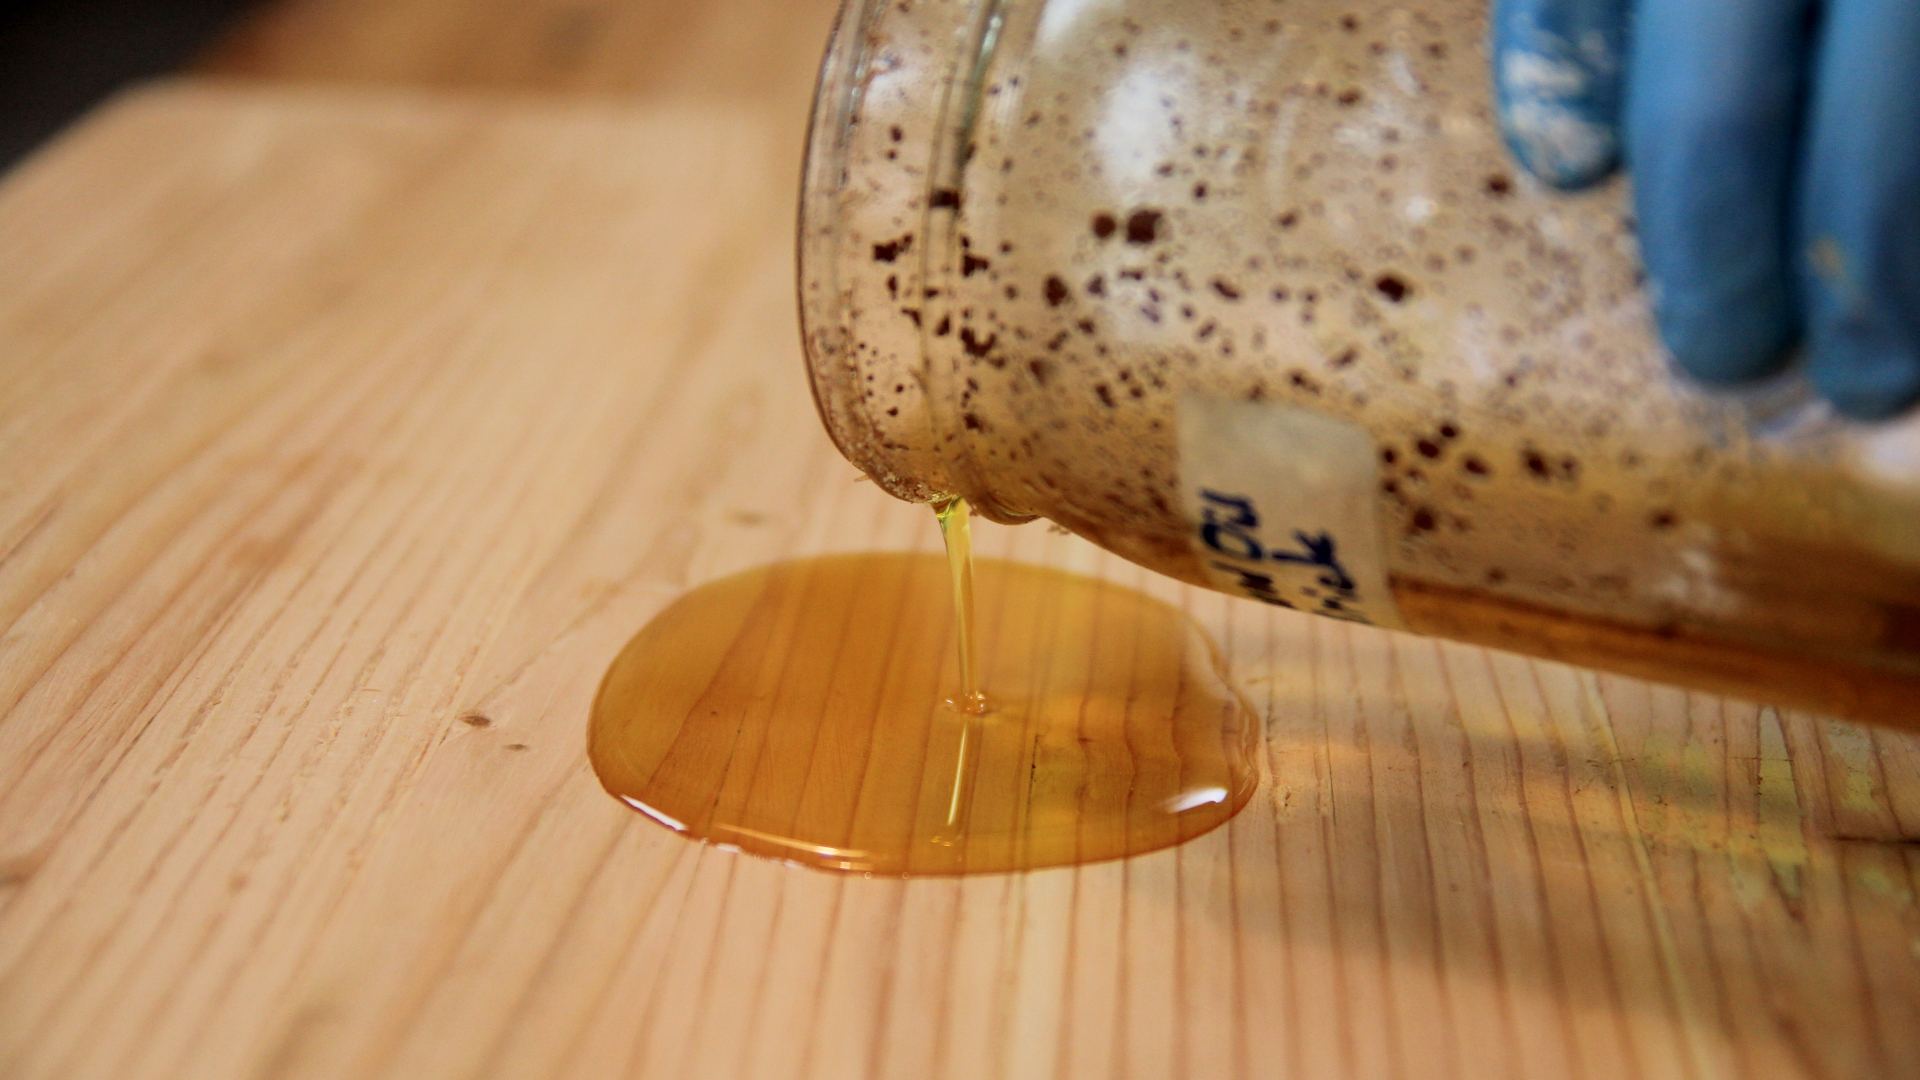
add linseed oil...
Step 8: You don't really need to finish the table. I did add a few coats of linseed oil. You could always stain it, paint it, or coat is in a varnish. It is all up to you.
The basic construction of this table is perfect for a kitchen island, a baking table or even a larger workbench. Just extend the dimensions and it would make a great base for just about anything.