15 Awesome Wax Hacks
15 Awesome Wax Hacks
Wax is used for all kinds of uses, here I have gathered a couple of cool ideas. When combining these wax combination you need to heat up the oil or spirits first. Then you can add solid or melted beeswax to form a concoction. Beeswax was used in all of these applications.
1. Furniture Polish
4:1 Linseed Oil / Wax
2. Sawblade
4:1 Mineral Oil / Wax
3. Fabric Waterproofing
1:1 Mineral Spirits / Wax
(Dip fabric in melted wax & mineral spirits and let dry)
4. Cutting Board
4:1 Mineral Oil / Wax
5. Dry Skin
4:1 Olive Oil / Wax + Aromatic Oils (optional)
6. Table Saw
4:1 Mineral Oil / Wax
7. Leather Care
4:1 Linseed Oil / Wax
8. Make your own Sinker Nails
3:1 Mineral Spirits / Wax
(Coat nails in melted mineral spirits and wax, let dry)
9. Wooden Spoons
4:1 Mineral Oil / Wax
10. Waterproofing Matches
3:1 Mineral Spirits / Wax
(Coat matches in melted mineral spirits and wax, let dry)
11. Waxified Danish Oil
4:1 Danish Oil / Wax
12. Rust Protection
4:1 Mineral Oil / Wax
13. Protecting Outdoor Furniture
4:1 Linseed Oil / Wax
14. Drawer Sliders
4:1 Mineral Oil / Wax
15. Fire Starters
1:1 Sawdust / Wax
(Combine melted wax with sawdust and pour into wooden mold that can be taken apart or silicon mold. Remove from mold when stiff and cut into smaller pieces.)
Tips:
1: When melting a large amount of beeswax, using a dedicated shop slow cooker will do the job easily.
2. Looking for cheaper mineral oil? Pick up baby oil instead, it's made of 100% mineral oil.
Making a Workbench Table w/ 2 x 6's for a Band Saw
Making a Band Saw Table from 2 x 6's with Mortise and Tenon Joinery
working on making a plan using sketchup.
A few weeks ago I bought a small hobby band saw. So far its been great, although it has been taking up some room in my carport shop area. So in order to free up the table saw island I decided to build a workbench just large enough to hold the saw, while being stable enough to absorb the vibration of the band saw, and fit a small shop vac underneath.
At first I was thinking plywood, but then realized how much I hate plywood, so I went for a laminated top using split 2 x 6's. The whole point was to make it heavy and stable, so using nothing but 2 x 6's split I made the top, legs and rails all the same base material. Although I will probably use plywood for the shop vac shelf on the bottom.
The top is 14 split 2 x 6's 23 inches long, all glued together. The legs are 2 split 2 x 6's laminated together that are 27 inches long. The rails are a single split 2 x 6, 4 at 17 7/8” and 4 at 16”.
Cut List:
- 14 @ 26" - table top
- 8 @ 27" - legs
- 4 @ 16" - rails
- 4 @ 17 7/8" - rails
Step 1: Split all the 2 x 6's. Then square them up on the table saw and plane them. You don't really need to square them up, but I did. You are going to need about 31', so three or four 2" x 6" x 12' boards will be necessary, depending on how picky you are with the boards. If you want to exclude knots, and other imperfections, be prepared to go through more wood. I wasn't so careful.
Step 2: Cut the top pieces at least 23 inches, really you should allow for some room to square the top up. The final top dimensions are 21 1/2" x 22 1/2" Make sure they are pretty smooth and use lots of glue. Clamp it up with as many clamps as you have.
Step 3: Laminate the legs by cutting them to the height you want. A normal table top is 30 inches, a counter is 36 and if you want wheels think about how high you really want the end result. I cut the legs to 27 inches. The 2 ½” top, plus the 27” legs get me pretty close to 30”. The band saw is also pretty tall, so it is perfect for me, you may want to alter this for your purposes. Glue up the legs just like the top.

Organizing all the rails.
Step 4: Cut the rails, 4 @ 17 7/8” and 4 @ 16”. I used a 1 inch tenon, so you must account for that. Cut the tenons on the table saw, or by hand. I went with about 5/8” wide and 1 ¾” tall tenons. You really do need to properly account for this measure.
I made a simple table saw jig to cut the tenons.
note: If you wanted to butt glue the joint, use pocket screws, or regular screws just remove 2 inches from each rail measure.
Step 5: Cut all 16 mortises. A drill really helps to remove material quickly, then chop out the remaining material with a chisel. I set the mortises based on where I wanted a bottom shelf. But you can place them anywhere you need to. The mortises near the table top come up as far as possible.
Step 6: Glue the joints together. Make sure you add plenty of glue to the tenon and the mortise. Clamp everything, and give it a good 8 hours or so to dry.
gluing up the base...
Step 7: With the base all glued up, turn it upside down and countersink your drill bit about a half an inch and use 2 - 3” screws all the way around the top. You don't want to attach the top to the base too tight. There will be a fair amount of contraction over time as the wood dries. 2 x 6 lumber tends to be wet. If this is a concern you could use 2 x 12 lumber and select the best parts of it.
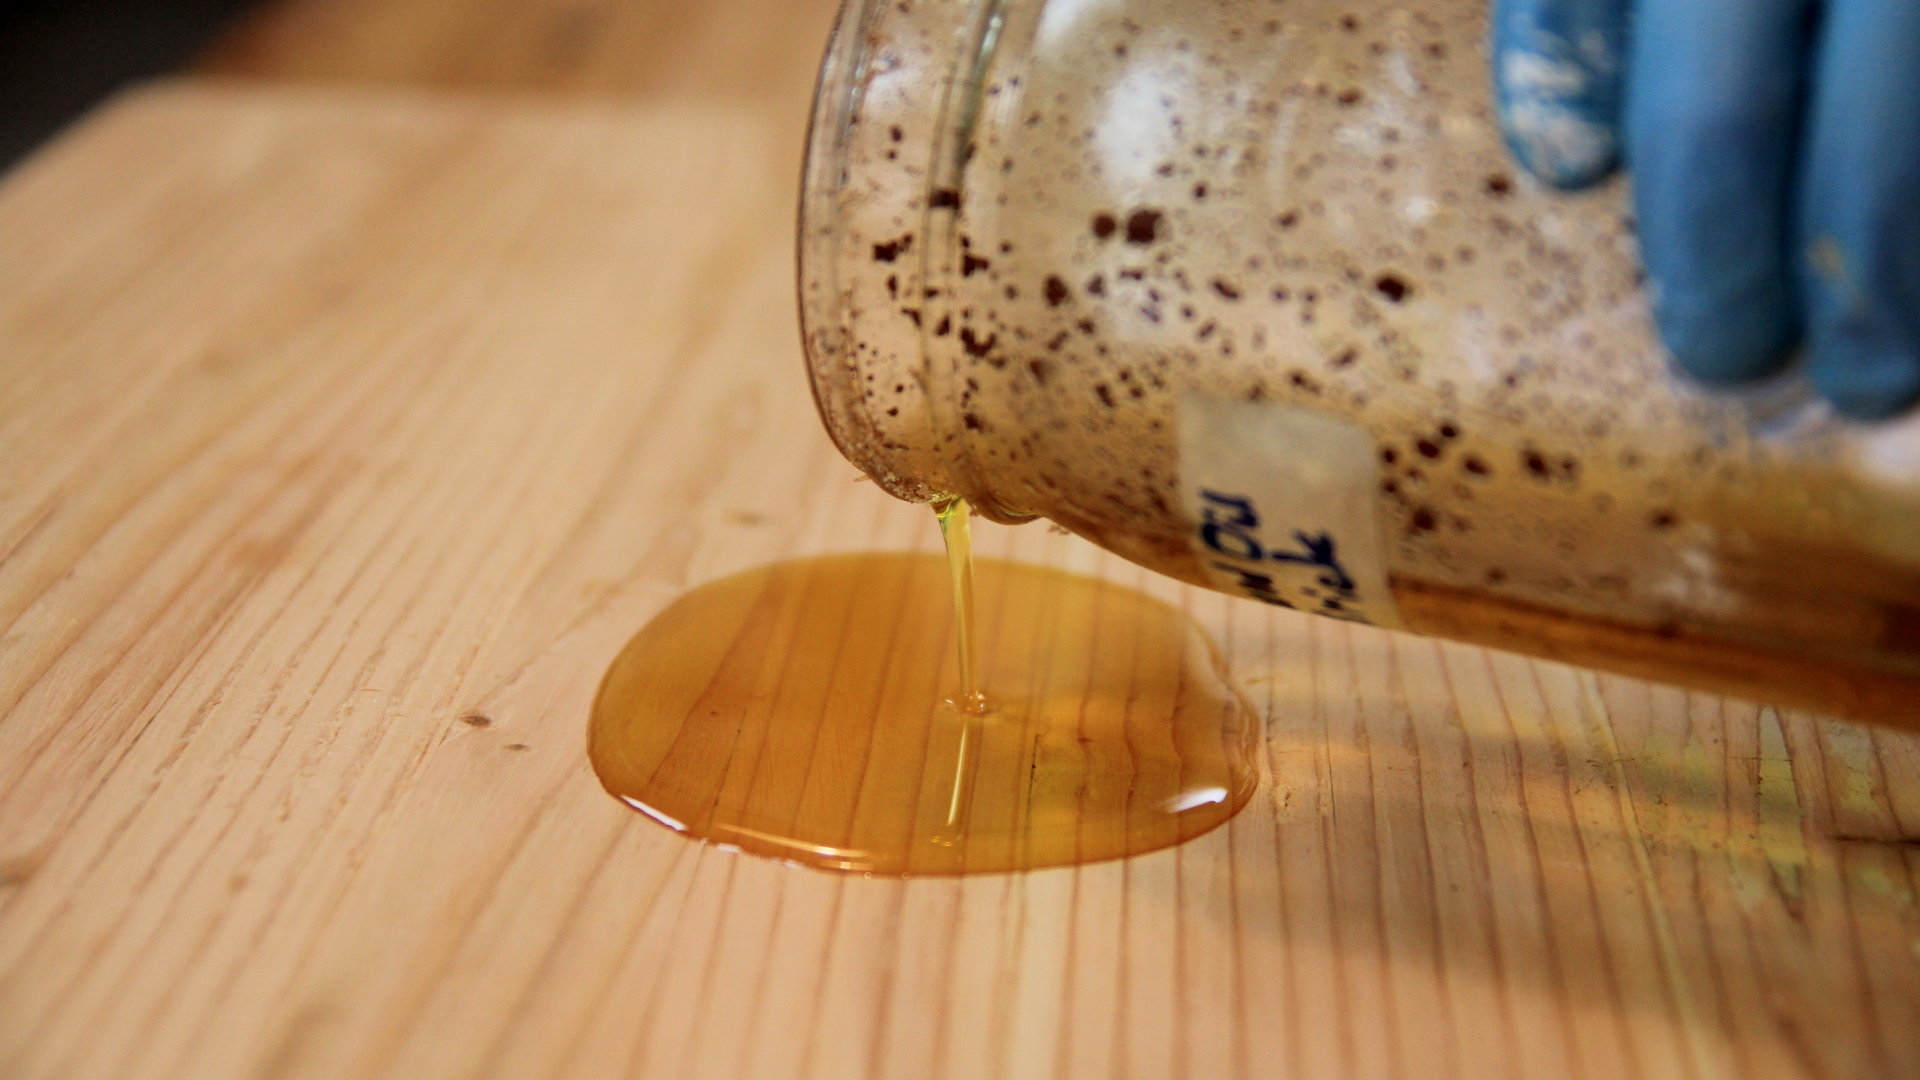
add linseed oil...
Step 8: You don't really need to finish the table. I did add a few coats of linseed oil. You could always stain it, paint it, or coat is in a varnish. It is all up to you.
The basic construction of this table is perfect for a kitchen island, a baking table or even a larger workbench. Just extend the dimensions and it would make a great base for just about anything.
DIY Making a Rustic Fall Theme Sign & Collab
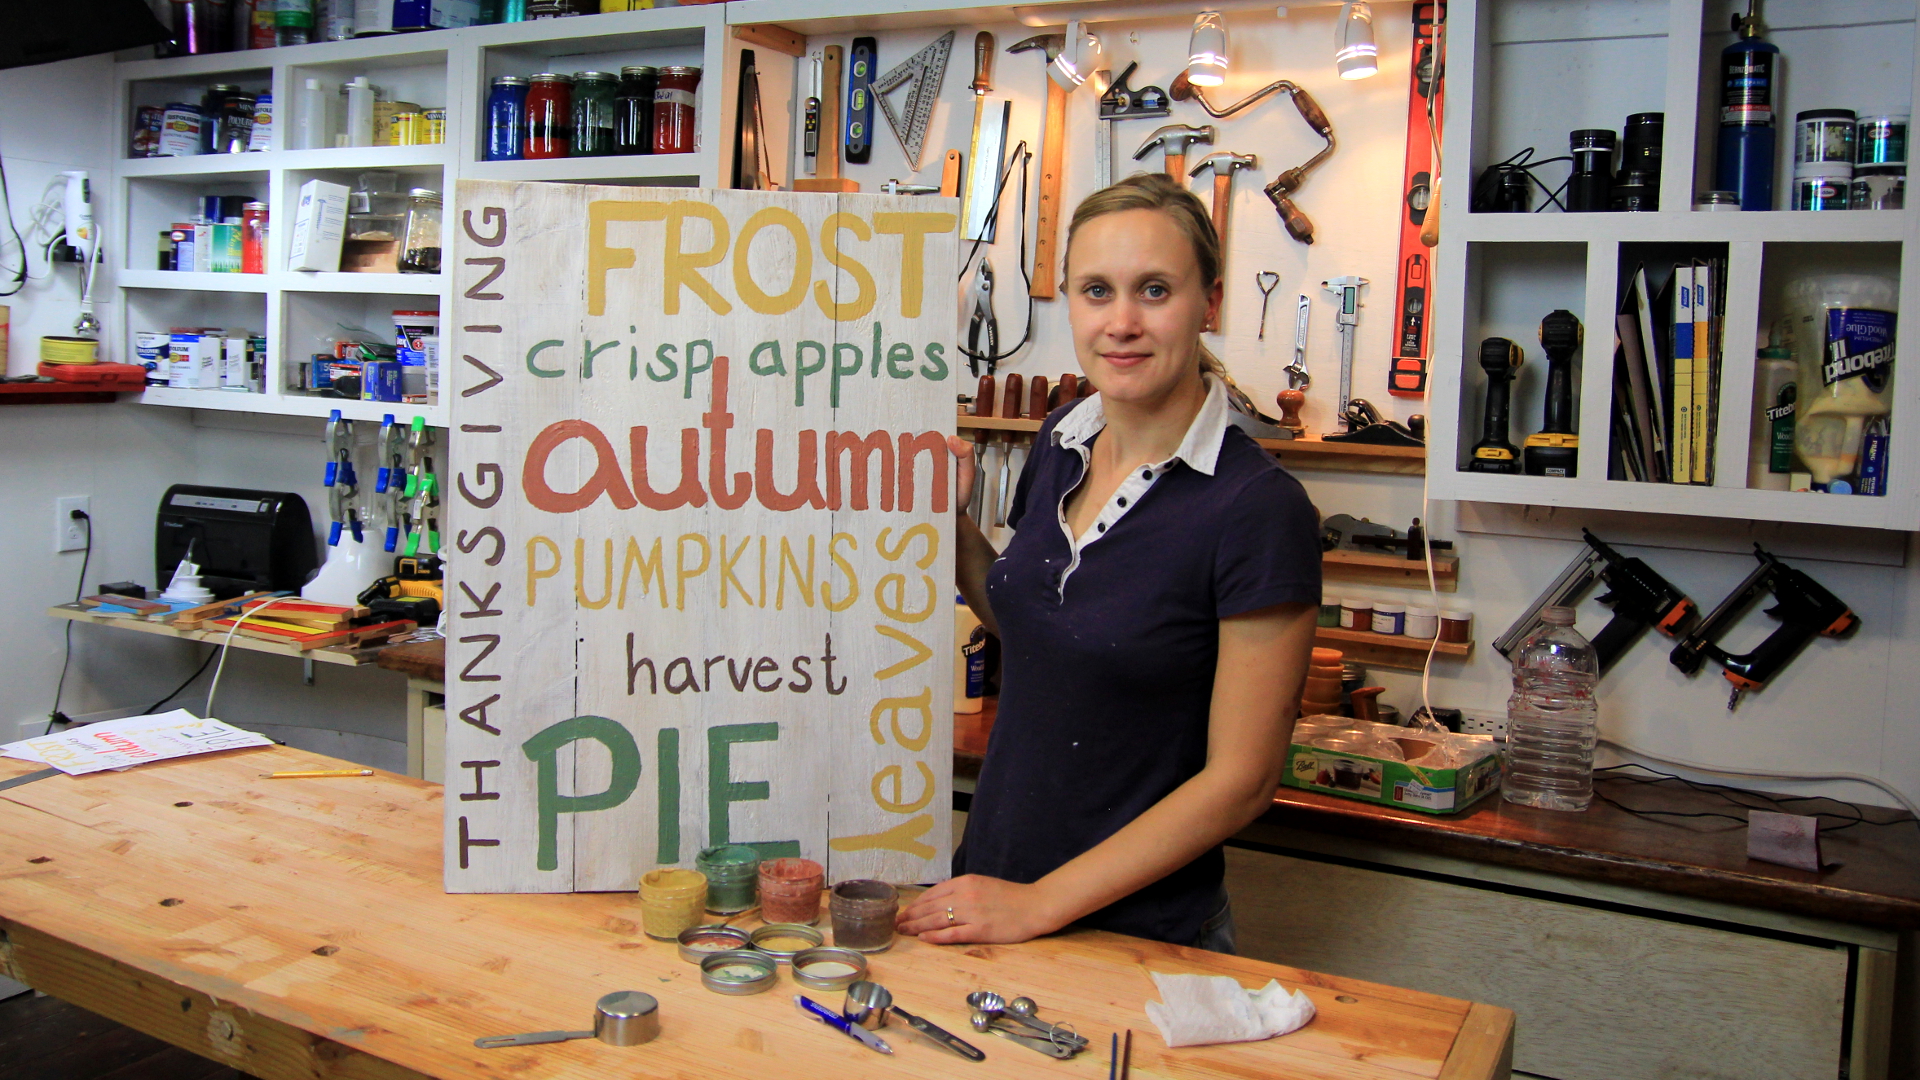
DIY Fall Themed Sign Made w/ Milk Paint & Collab with April Wilkerson
#womeninwoodworking
This simple DIY project is a great example of just how easy and affordable creating your own holiday decoration can be. With a few fence boards I had lying around from last year I was able to put together a beautiful and original fall-themed sign in just a few hours.
Step 1: Assembly.
Grab some old, or new cedar fence boards. Home Depot, Lowes or your local hardware store has these type of boards year round, and they are very inexpensive. I used of 1 x 6 inch boards, but use what you have.
Cut List:
- 4 @ 30 inches long
- 2 @ 20 inches long
Place the four cut at 30 inches on a table and the two cut at 20 inch across the top and bottom of the boards when placed side by side. Get some exterior nails, or screws that are about 1½ inches long and attach them on an angle to draw the boards together through the 20 inch boards that make the back.
Step 2: Sanding.
Sand a little with 150 grit paper just to knock off any sharp areas.
Step 3: Making the Milk Paint.
Milk paint expires quickly so I used just enough for this project.
Ingredients:
- 2 cups of Milk Powder (the kind from the grocery store)
- ¾ cups water
- 1 teaspoon Type S Lime (Calcium Hydroxide)
- 1 tablespoon white pigment
In a blender, or whisk and bowl, mix together all the ingredients and blend until smooth. You can then use the paint right away.
Step 4: Painting the sign.
With milk paint there is no need to use any primer so if you use a common paint brush you can paint the board white just like any latex paint. It goes on glossy and dries within 2 hours in typical conditions. If you want more coverage you can add another coat or just leave it a little rustic.
This type of water-based paint will raise the grain so you should do a light sanding before you write the letters with pencil.
Step 5: Coming up with the word design once the board is completely dry.
using paper and markers to work on the design
This is your choice. When I set about choosing words I was trying to fill the board. I first used markers and paper to get an idea of the relative size and spaces that would be needed and what words I wanted to use. I then used a pencil to sketch the letters on the sign to make it easier to paint on top of.
Step 6: Taking the base white paint and separating it into small mason jars to add pigments.
After I was through with the white paint for the base, I had four 4 ounce mason jars which I used to pour 2 ounces of paint into from the blender. In each jar I added the pigments I wanted to create the colors I would use to paint the letters. I added about 2 teaspoons of pigment to each jar and thoroughly mixed the pigments. You can paint the letters right away. Note that milk paint goes bad in just a few days so try and make just what you need. It does not store very well.
I let the paint dry and completely washed the brushes in soap and water.
Step 7: Oiling the board.
Once the paint was completely dry I applied an optional coat of raw linseed oil. You could also use polyurethane, spray lacquer or shellac to protect your project. You could also just leave it as is.
I applied the oil with a brush, it soaks in pretty quick. Give it a few hours to dry.
I plan to leave the sign outside for the holidays. Milk paint with the calcium hydroxide is pretty resistant to the weather, so it should be fine. Adding some sort of varnish will definitively protect it more. I also like to use the cedar boards so that when it comes time to store the sign in the attic or garage it is resistant to rot and insects.

I hope a lot of people try these types of projects, and I want to thank April over at Wilker Do's for participating in this collaboration. Don't forget if you would like to share your projects with us use the tag #womeninwoodworking on facebook, youtube, pinterest, twitter and tumblr.
Don't forget to check out April's beautiful DIY pumpkins.
And here is a tutorial on her blog:
http://wilkerdos.blogspot.com/2014/09/diy-fall-pumpkin-decorations.html
Making a Plane Handle with my New Hobby Band Saw
So I'm finding my way with the band saw, and figuring out what kind of curves I can make, and when I need to track back. I think a band saw is really a great beginner tool, because it's not nearly as intimidating as a table saw or a miter saw. Besides, there are so many cool projects you can do with it.
When I used the full 2 inch piece of mahogany, I realized it was bit too big to go through, so I had to trim it a little. Then I had no problem. I took my time with all the cuts, and I used a table saw jig as a fence to slice off a piece.
I brought out a chisel to round the corners and just shape it some. This wood was a real pleasure to work with. Working with sharp chisels is quite fun.
I was trying to be mindful of the wood grain when shaping it, and switch the direction I was working in whenever I hit a curve where the grain changed.
To make it even rounder and smoother I used a beltcsander that I secured to a vice, this works quite well. And I finished hard to reach areas with a rasp.
I finished the handle with raw linseed oil and drilled the holes to fit the plane. You don't really have to wait too long to dry the handle before attaching it.
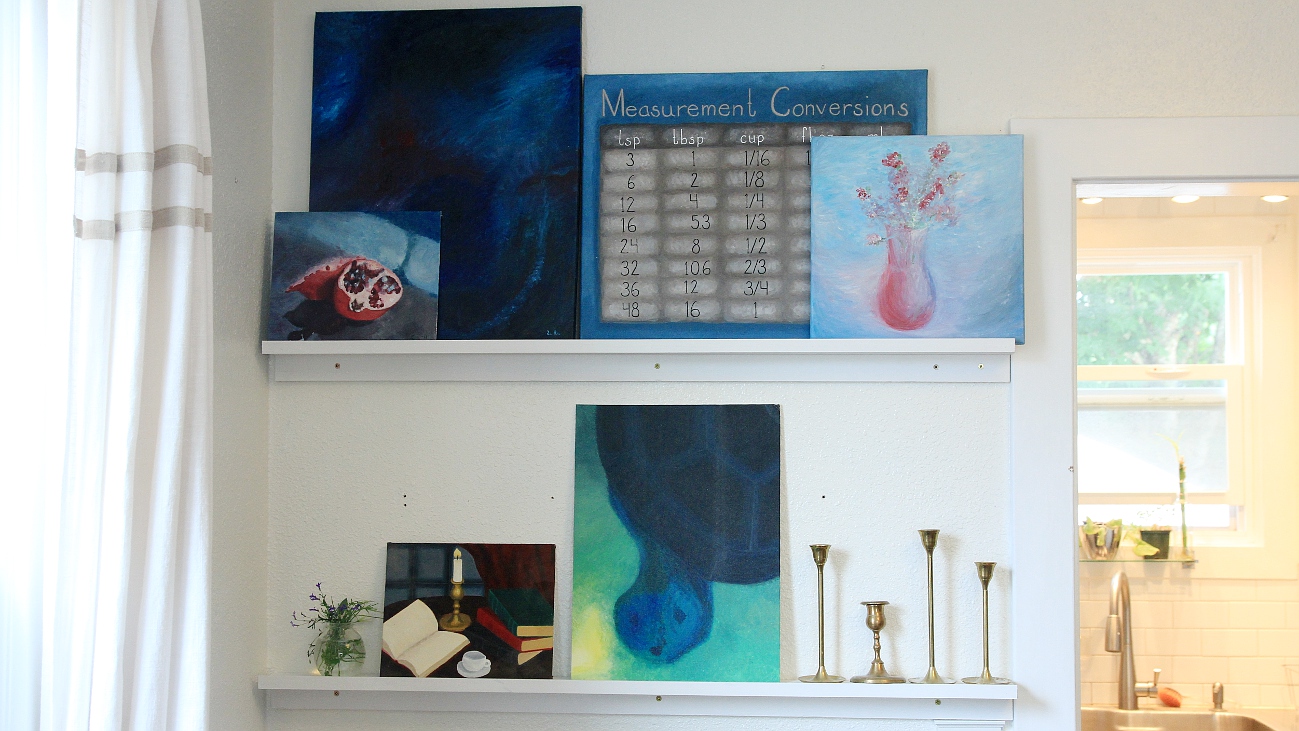
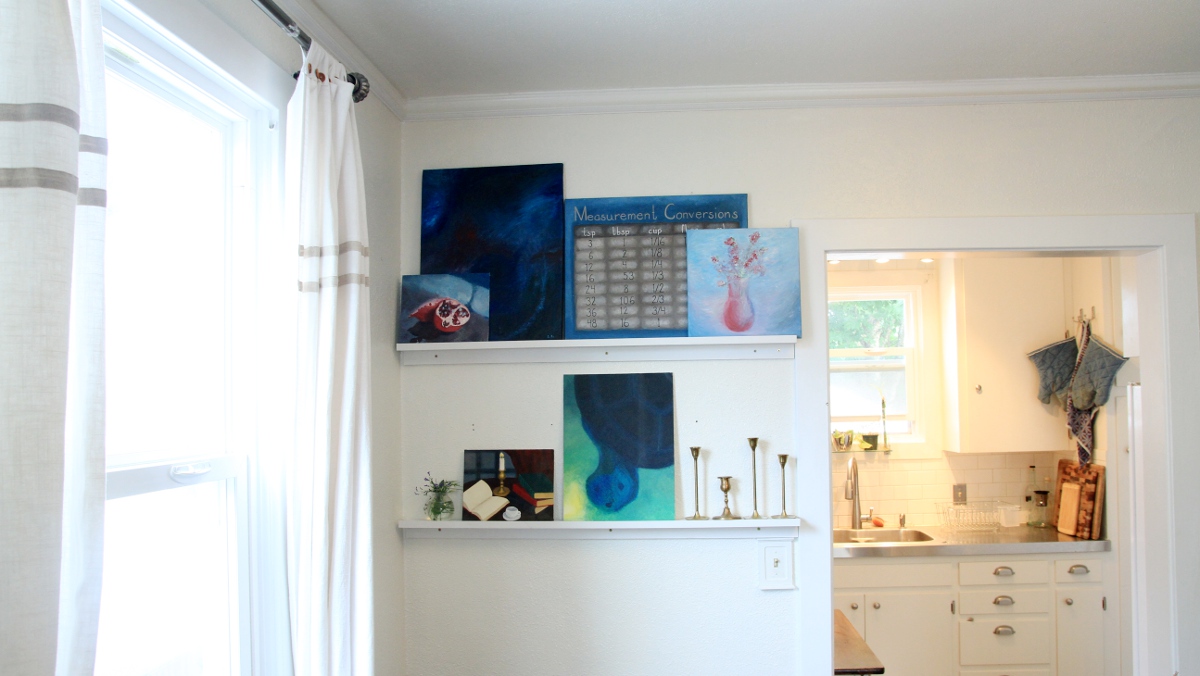
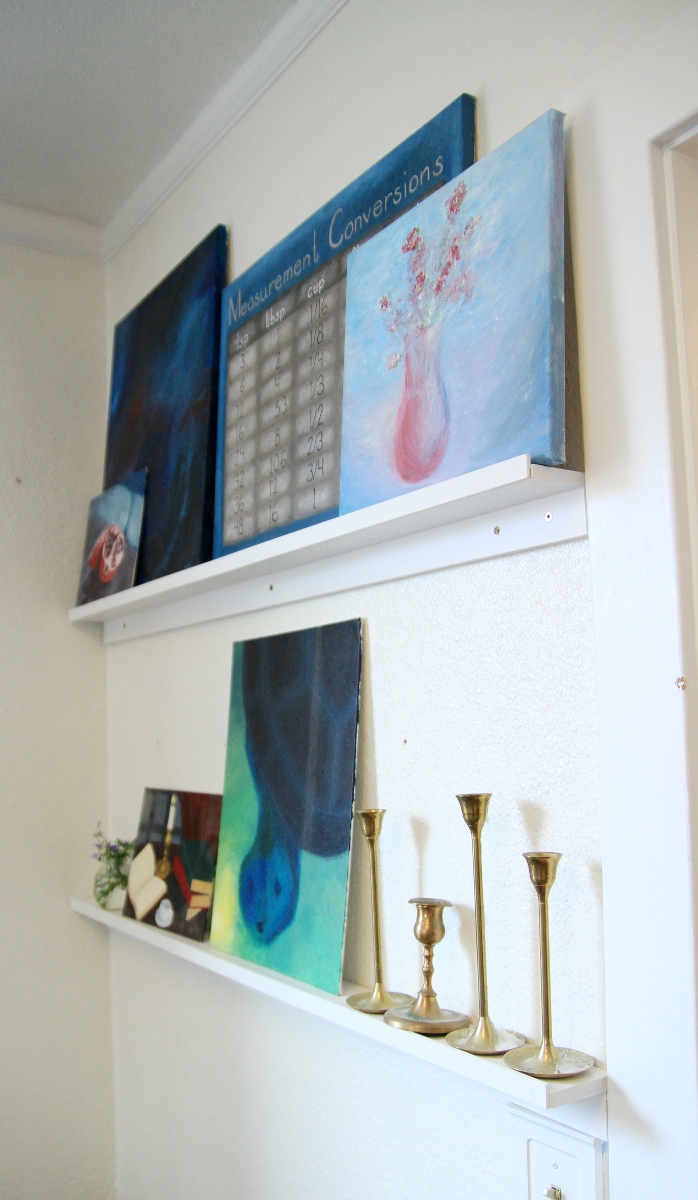
DIY Building & Designing an Art Shelf

Watch the Video: DIY Building and Designing Art Shelves
I started with measuring and cutting up the wood for the shelves on my table saw and miter saw. I started with a 1x6 that I ripped down to 3 1/2 inches for my top shelf, and the underneath bracket I ripped to 1 1/2 inches. I cut them both to 43 inches on the miter saw. However at the home improvement store you can find 1x3 and 1x2 whitewood boards which would be perfect here, and then you wouldn't need to rip any wood at all, and you could use a simple hand saw to cut the wood to length, or you could have them do it for you at the store.
I made the shelves 43 inches long to fit the wall, however you could make them any size you wanted.
These kinds of shelves are really nice because you don't any brackets because they're so shallow.
To assemble, I glued one piece on top of the other and used my brad-nailer to secure it in place. However you could use just 1 1/4 inch drywall screws or glue and handfinished nails.
I also decided to use a thin strip of wood on the edge of the shelf for a lip, however this is a completely optional part that you don't really need to do, because most things are going to stay on the shelf just fine without it.
After some painting, these guys were ready to be put up on the wall.