Ultimate DIY Small Parts Organization Caddy
This mdf based project is a great solution for organizing small parts, including screws, wires, lego or any other small parts for your projects.
Building & Making on Youtube
Darbin Orvar - Girl in a Shop
My adventures in building, diy, construction, testing and finishing.

This mdf based project is a great solution for organizing small parts, including screws, wires, lego or any other small parts for your projects.
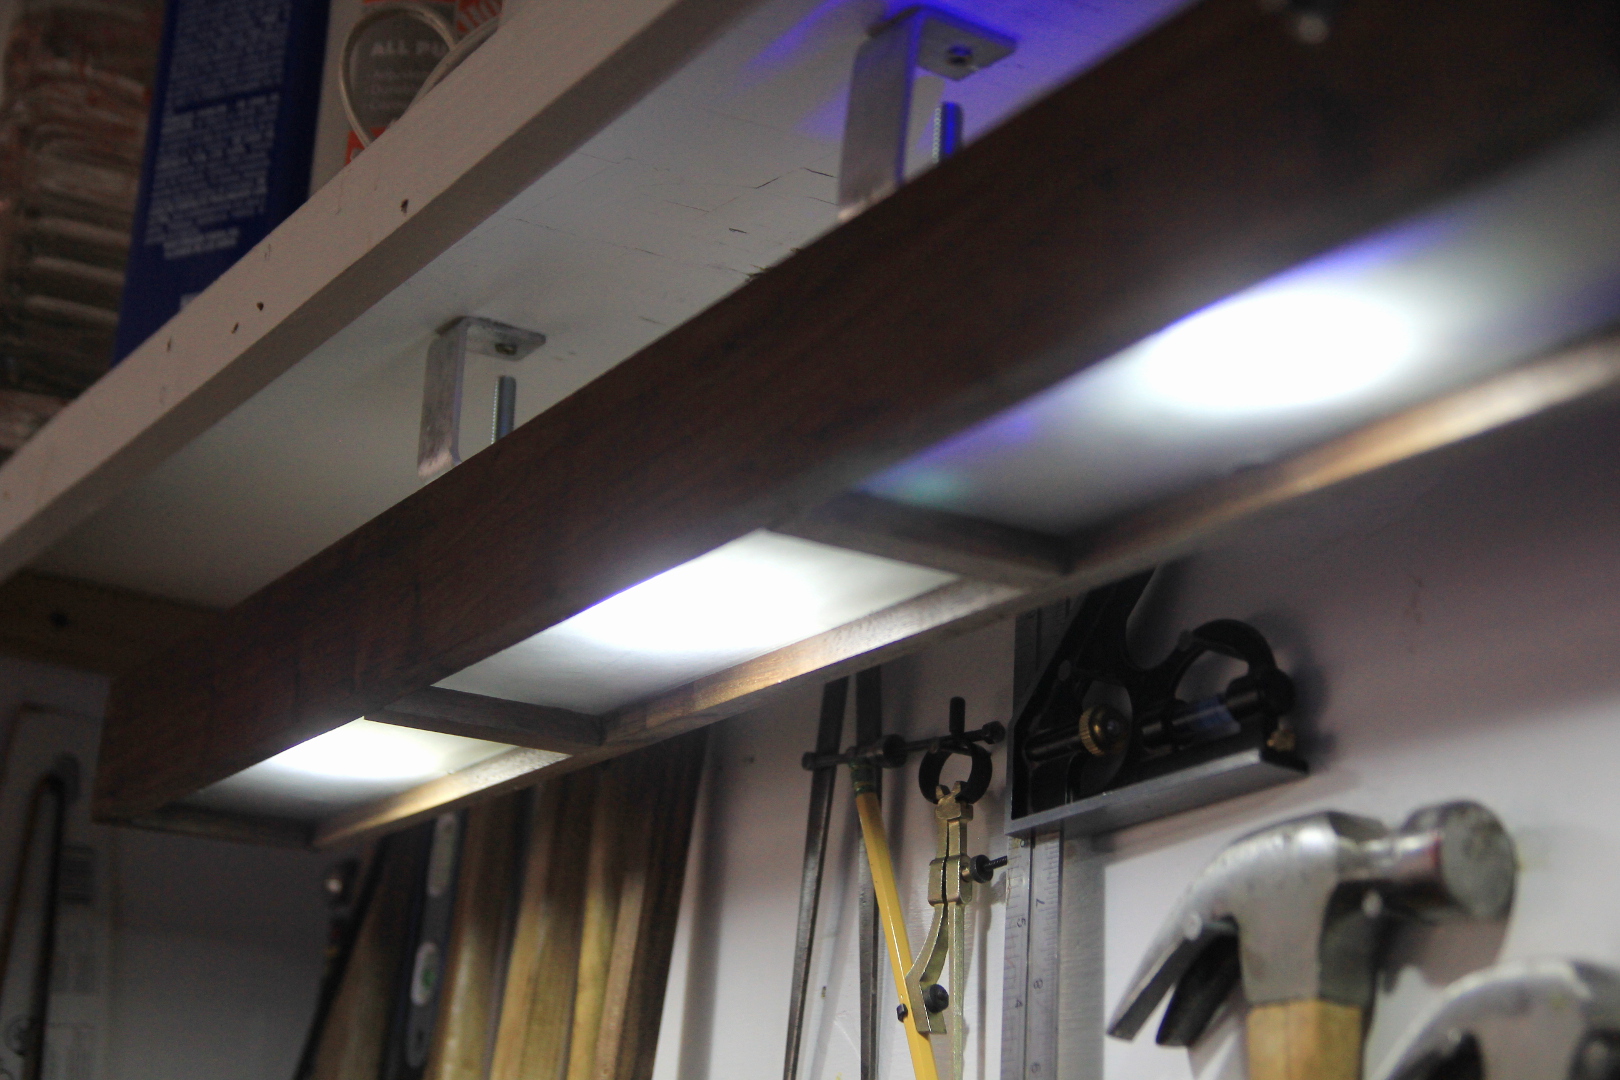
This project, published on the Make channel, is all about using the latest high-powered LEDs for a modern lighting fixture. Unlike LED strip lights which utilize 12 volts, and often come paired with dimmers and remotes I wanted to design an interior light with high-powered LEDs which had a modern look and was able to be dimmed.
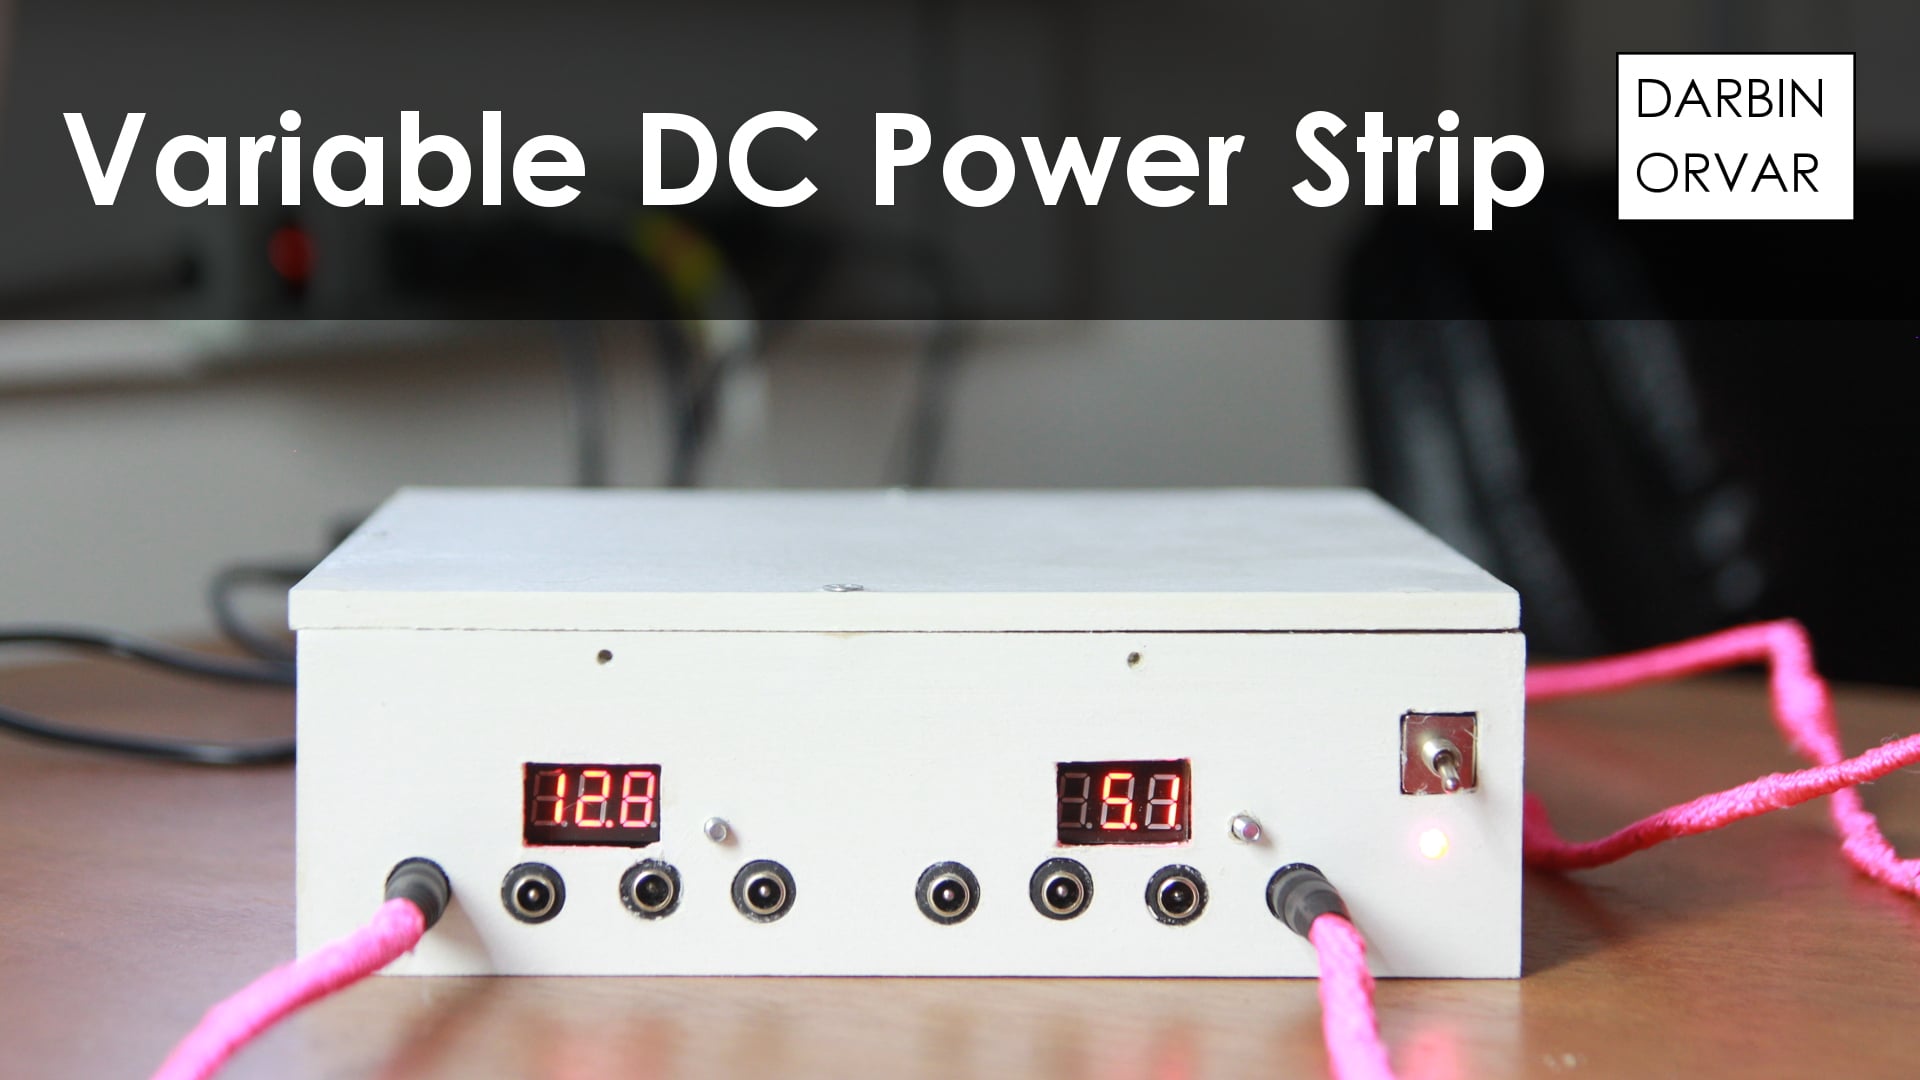
A variable DC power supply is really useful to keep on your desk for charging your phone, plugging in a raspberry pi or any other low voltage electronic devices. By using voltage regulators you can set just the amounts to output, whether you need 3.3, 5, 12 or any other amount. This is a really fun project that you can customize to your needs, varying the amount of plugs, set the voltage, choose the size etc... I used MDF for the build, however you could make a box out of anything really to house the electronics.
Products Used in this Build (Affiliate Links)
Voltage Regulator for DC Power - http://amzn.to/1mD8Pze
Pigtail Connectors - http://amzn.to/1PdDx96
Hot Glue Gun - http://amzn.to/1PdDx96
Hook Up Wire - http://amzn.to/1PdDx96
Soldering Iron - http://amzn.to/1PdDx96
Swtiches - http://amzn.to/1PdDx96
LED indicator light - http://amzn.to/1PdDx96

So I started with making a sketch of the design. For this build I need to use two voltage regulators, I picked mine up online. I also need a switch, and then I'm going to add a series of outlets that you can plug male pigtails into. Here I'm just confirming the current draw of an LED I want to wire so that I can determine the size of the resistor I need.
So this is kind of the design that I'm thinking. The rectangles in the middle is to show the screens on the voltage regulators, then we have outlets underneath, a switch and a light to signify the unit is on.
Now let's start working on the front of the box. So first I'm getting the dimension of the plug, setting up a compass. So drawing a circle, then seeing how far I want the outlets apart, and 3/4 of an inch in between each center seems like a good distance. All in all I want eight outlets, so drawing those all out.

Sketching out the space for the switch and the position of the voltage regulators. Also measuring out where the screens are, and where the holes need to go for those on the board, as well as where the little button that changes the output on the screen is located. And there it is, all marked out.
So I'm starting with drilling out the holes for the outlets using the drill press and a 7/16 inch bit. I'm also drilling holes in the center for where the screens will display to remove some material. And then cleaning up those rectangles with some chisel work.
Also drilling holes for areas that I need to access on the voltage regulators, a hole where you can insert a screwdriver to change the output, and a spot with a button to push to change the display on the screen.
Then doing a little sanding, a little cleaning up with a chisel, and I'm ready to assemble the box together. So measuring out 1/8 of an inch around the top wher I'm going to drill holes to screw it in. Doing some countersinking here.

Now to put the box together, I'm starting with yellow glue around the edges, then I'm adding small amounts of hot glue on one piece at a time, because it stiffens up so quickly, and this basically acts as a clamp while the yellow glue dries. It works really well. And then simply screwing the top in place.
I decided to paint this box white for some contrast, and I'm just using cheap basic white paint here. To paint the inside of those little holes I'm using a small brush. Then once the paint dried I put on two coats of waterbased polyurethane which is nice because it doesn't add a yellow tone and it dries quickly, and of course it adds some additional protection.
So real quick, let's go over the electronics here. So I have 20 volt ac dc power supply, first there is a switch, and we have an LED light which I need a resistor for, then this is hooked up to a voltage regulator and that connects to several output plugs.

So soldering a 2600 ohm resistor on the LED light here, and fitting everything in the box. I drilled a hole on the backside too, to connect a plug in to power the whole unit. Then soldering everything together. A lot of people don't like soldering, but it's really easy and fun, plus as you make more projects you get more practice. Just putting the wires into the voltage regulators, putting in the plugs and doing a little more soldering. Hooking this is and making sure it works.
So on the voltage regulators there is this potentiometer on top that you can control and change the output. I'm also going to use this small mechanical screw here and enter it through one of the holes I drilled. Then on the regulator there is this little button to change whether to show the voltage output or input on the screen and now when I put the unit up here the screw is right on the button so I can push it to change the screen.
Next I'm hot gluing some wooden dowels in the corners here, and this so I can glue those to the box to secure the board. Then I'm hot gluing the plugs in, the switch, as well as the dowels on the boards.
Now I put together a couple of cords with pigtails on both sides to plug into the unit to power different things, however to protect the wires, I figured why not secure some mason line, which happens to be bright pink with some hot glue. And I'm just adding a little glue, spinning the cord around and so on.
So the device works really well. To alter the voltage output all I do is to insert a small screwdriver into the top hole and turn it to get just the amount I need. And if I want to see what the input is, then I just click the button with the mechanical screw I put in. Now it's ready to use - set it to whatever voltage you need, plug in your phone, your raspberry pi, charge up your bluetooth speaker and so on....
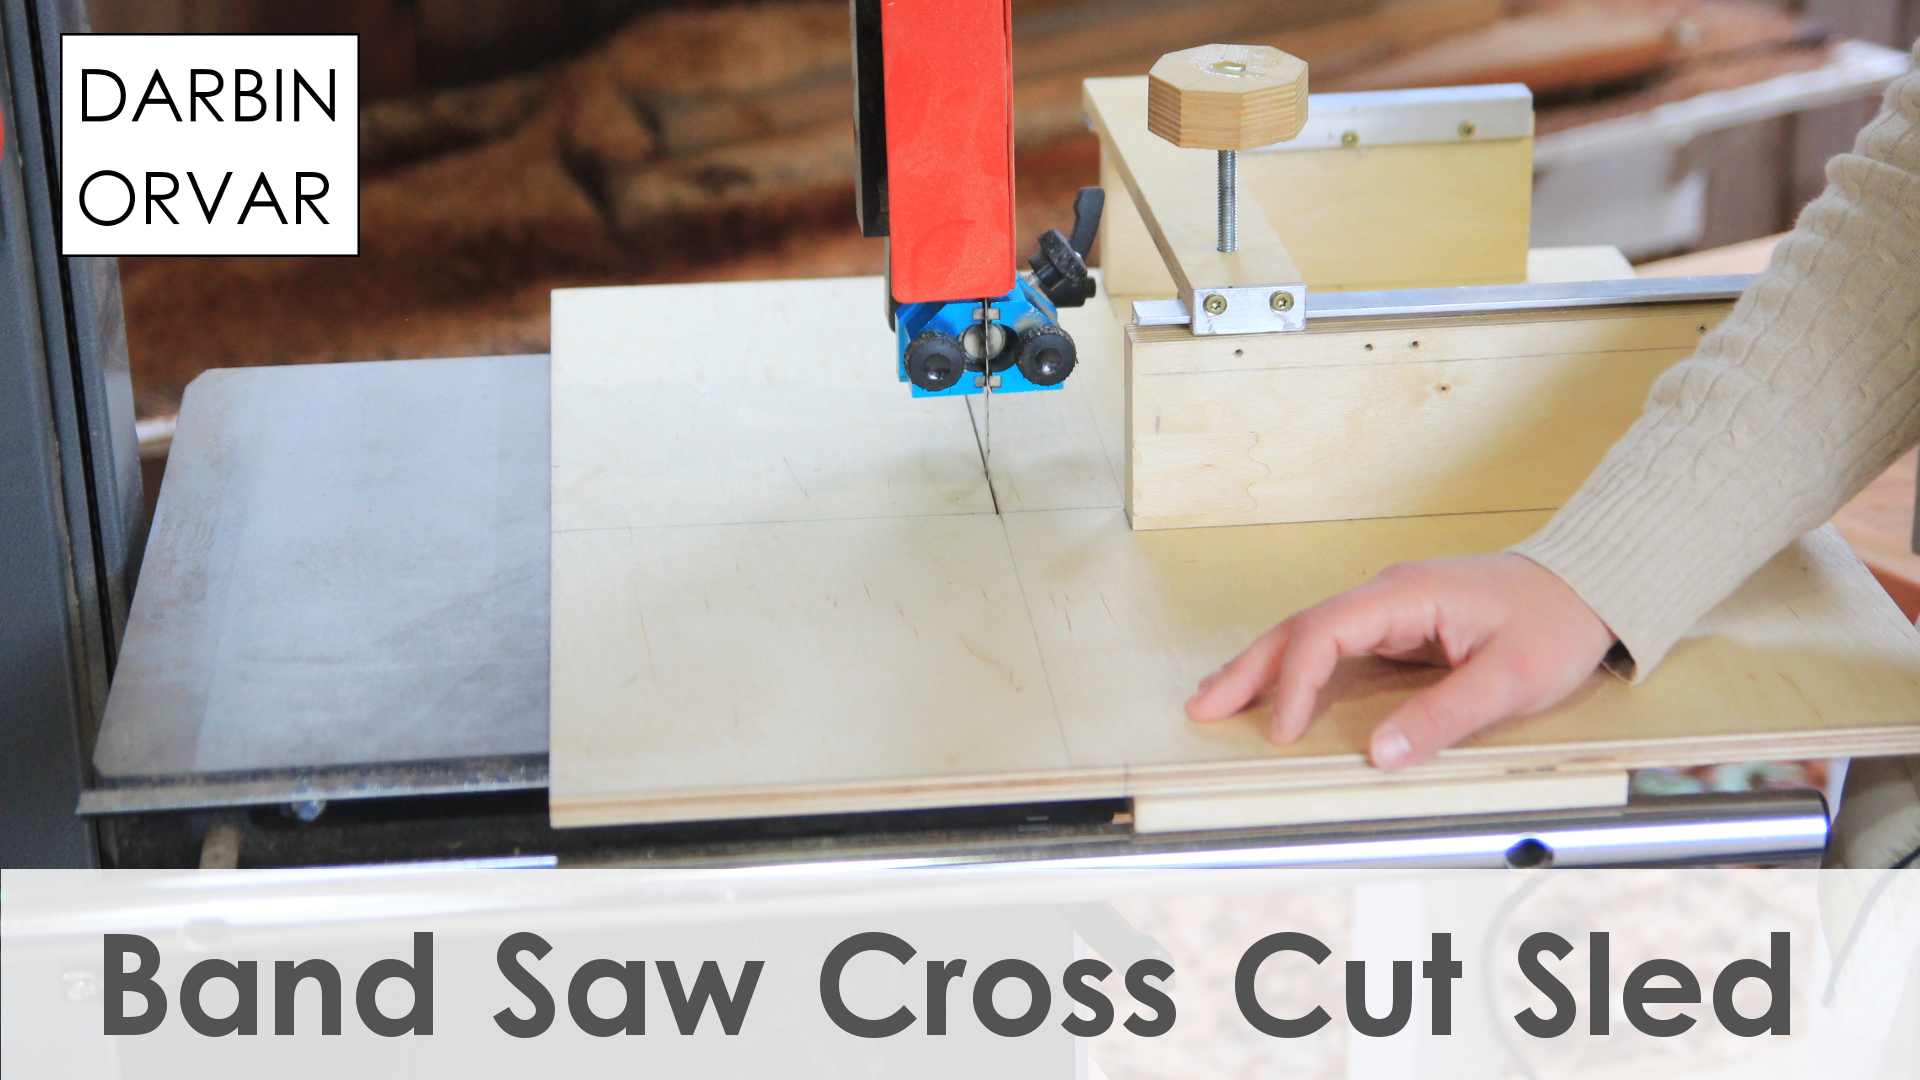
A cross cut sled for band saw is a very useful addition to any shop and will make it a lot easier to get straight cuts on the band saw. This particular jig features a very useful clamping system which makes it easy to hold the wood in place, and make mitered cuts too.
So let's go over how to build this jig!
This cross cut sled is designed for my Laguna 14-12 bandsaw, however you could utilize the same concepts and adapt them to whatever bandsaw you have. I wanted a jig with plenty of support on both sides of the blade. This jig also has a stop block underneath, so it stops right at the leading edge of the fence.

For this build I'm using half inch baltic birch plywood. So first I'm going to need the main piece, this one measures 20 by 20 inches. For the runner I'm using a piece of tropical camaru wood, but any hardwood would work. Then I need a couple of additional pieces of plywood for the front fence, the back fence and the bottom sled stop. I'm also going to need some 1/8 inch, 3/4 inch angled aluminum, the clamp bar and knob, which I'll go over how to make as well as some screws.
First of all, let's prepare the wood for the fences.
So I'm going to cut some of the plywood up so I can glue two pieces together, to get thicker pieces for a more stable fence. Then gluing and clamping.
I need a piece for the stop block, so cutting one of the glued up pieces on the table saw and the miter saw.
Then I'm going over the concept here by bandsaw. So I have my piece of camuru that slides in the track.

So bringing the main piece over to the bandsaw and seeing where I want it positioned. This is not critical, it's more for balance. So I want to makw sure it's straight, and I'm marking out where the blade is as well as where the track is underneath.
I want this jig to be very precise, so it can cut very straight lines lines which is why the runner needs to be very square with 90 degrees to the front edge.
It's important that you figure out the right position for the fence. So here you can see when I'm cutting, the front fence lines up with the blade. And once I'm done with the cut, the jig is stopped by the stop block underneath. So the fence needs to be positioned at the same point as where the blade stops cutting.
So planning out the where the fences should go, and also seeing how far in they should be so they don't interfere with the blade guards when they are all the way down. If you'd put the fence all the way to the blade, then you'd have to have raise up the guards to the height of the fence which does not leave as good of a cut.
After making some marks, I brought it back in the shop. I find it useful to mark everything as clearly as possible, ideally on both sides of the piece. So bringing down the lines here of where the track needs to go, as well as where the blade will end up, and then carrying those lines to the underside.

But before attaching the track, I'm going to pre-drill holes for where the front fence is going. So predrilling on the top, where I have marked out the position, then turning it around and countersinking, cause you don't want any screws scraping the top of the bandsaw table.
Next I'm clamping down the back stop first, and then gluing the runner in place, clamping, and putting down some screws.
Then countersinking, gluing and securing the back stop down with some screws.
Now time to mark out where the back fence will go. And as you can see here, the position of the back fence is related to the length of clamp.
So I have marked out where it needs to go, and then just drawing the lines here so I can pre-drill and countersink from the back.
Then after marking & predrilling the fence pieces here, I'm attaching them to the board with some screws.

And now the basic concept of the jig is finished and I can take it out to the bandsaw and make that first cut. Now, let's work on the clamp feature. So for the rails I'm using angled aluminum. And as you an see on the cross cut sled here it's important that the rails are up a bit so you have that space in between the plywood and the metal. So drilling holes in the aluminum and making sure to drill on the bottom side to account for that. So I start with presinking the holes with a large bit. Then I drill all the way through with a smaller bit.
Now I have removed the fences from the board, and I'm attaching the metal to the plywood, making sure to raise it up a bit from the edge to provide that lip. And you need plenty of room so you can move the bar freely. Then I cut the aluminum on the bandsaw, and I'm just using a regular 1/4 inch blade for this.
Then once they're cut to size, I screwed the aluminum back on the fences. So to make the knob, I'm using one of the glued up pieces of plywood here. I made a circle using a compass, and then I'm using angle bisecting to create an octagon for a nice knob. Then I mark out the head of a 5/16 inch bolt, drill a 5/16 inch hole. And then I chisel out the head for the bolt to sink it in. Making sure it fits and then I cut the octagon to size on the bandsaw.
Now I need a smaller knob for the bottom of the bolt, so I have another piece of glued plywood here, then marking and chiseling out a space for a 5/16 inch nut.
Next I'm drilling and chiseling a hole in a piece of plywood for the bar for another 5/16 inch nut, and here you can see the pieces for the clamp feature.
Then I'm epoxying in the bolt in the knob, the nut in the holder, and the nut in the bar.Then I have two small pieces of aluminum measuring the width of the plywood bar, and I'm securing those on the ends, again making sure to leave some extra room in between the plywood and the metal.
So now the bar can slide in in between the two fences here. And it's easy to secure something in position. This also makes it a lot easier to make angled cuts since you can draw your angle and then secure it in place with the clamp to follow that line.
To protect the jig, I'm putting on some shellac. And to protect the bandsaw and making the jig slide better, I'm putting down some mineral oil wax polish. Also giving the bottom of the jig a nice coat.

So the cross cut sled is finished, I can move it in, it's nice and balanced on both sides, and I can secure any material with the clamp. I can also make angled mitered cuts really easily using this. And then of course you can also just hold the wood to the fence without the clamp to gain support for a nice straight cut.
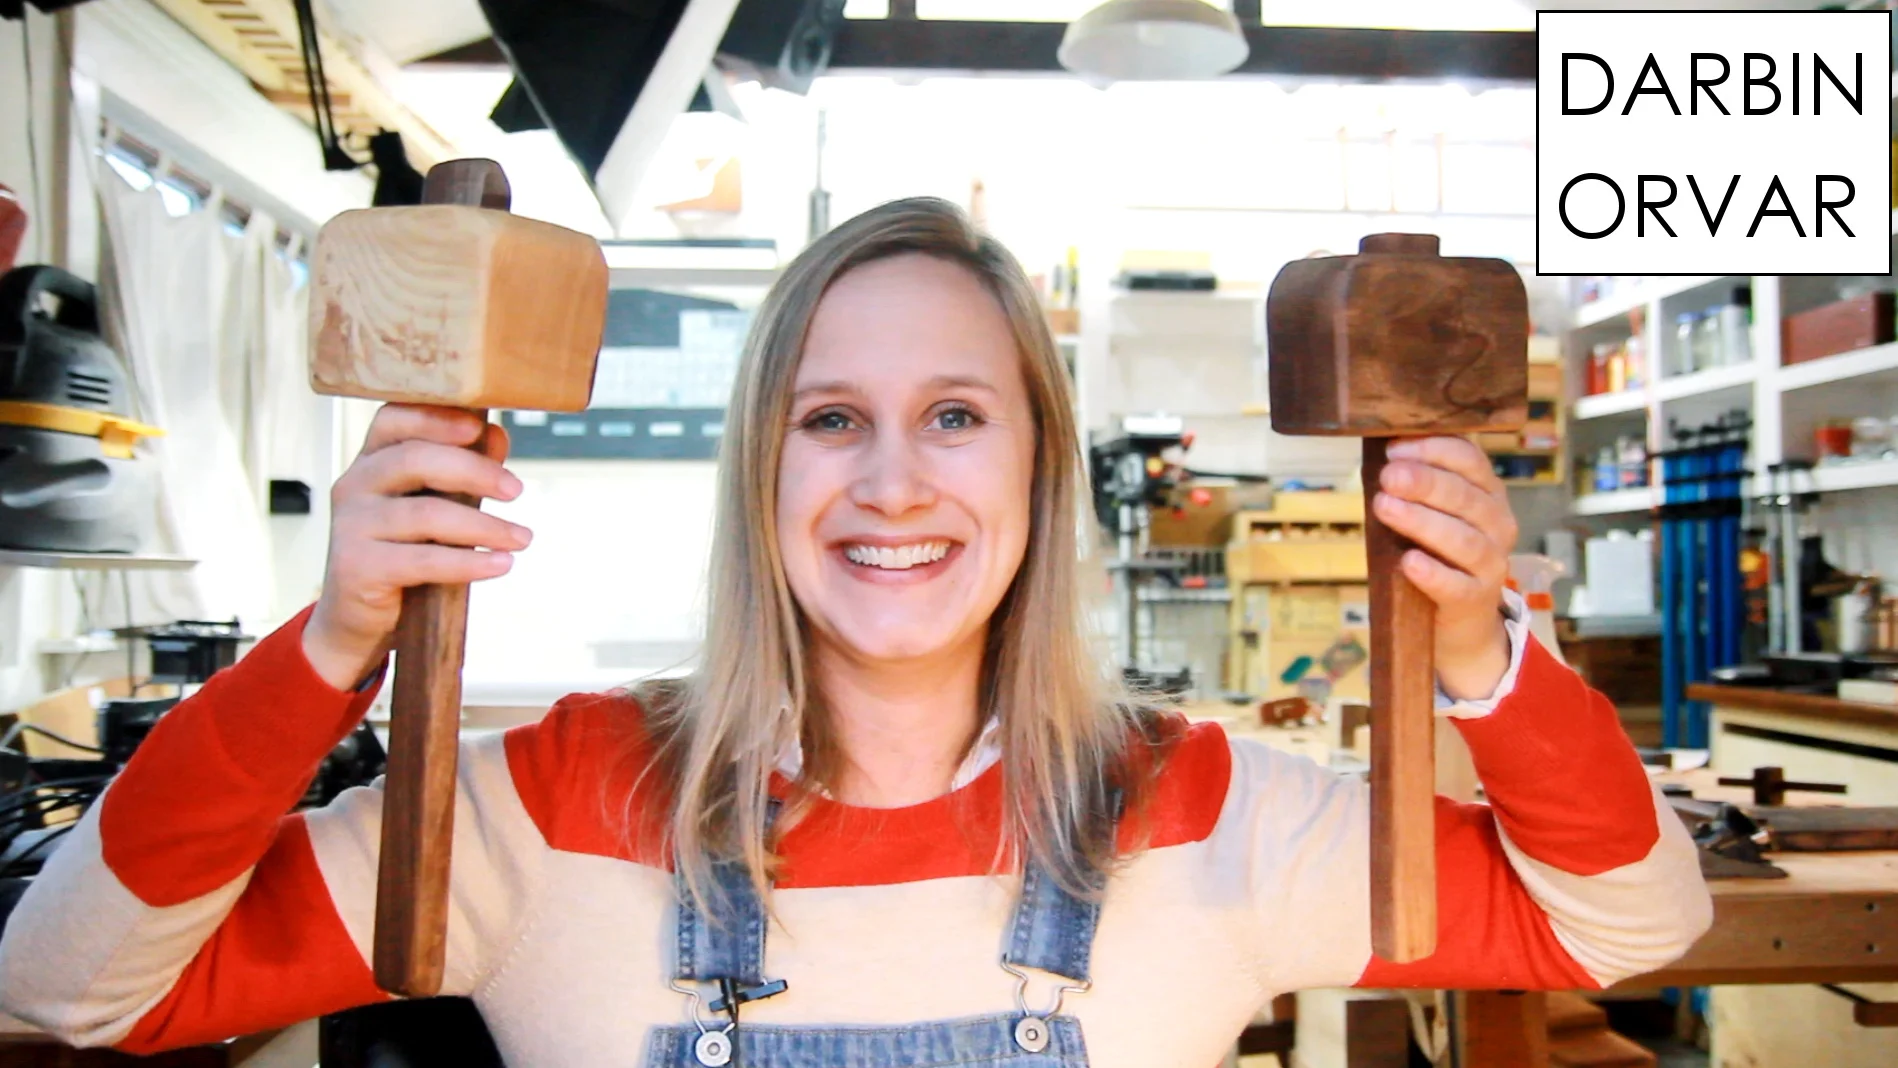
When should you use which type of mallet, or wax - what is it like to use which wood? In this shoppe faq I go over that and more.