Bookbinding plans & handmade wax polish
Build your own tools. Put the finishing touch on your next project.
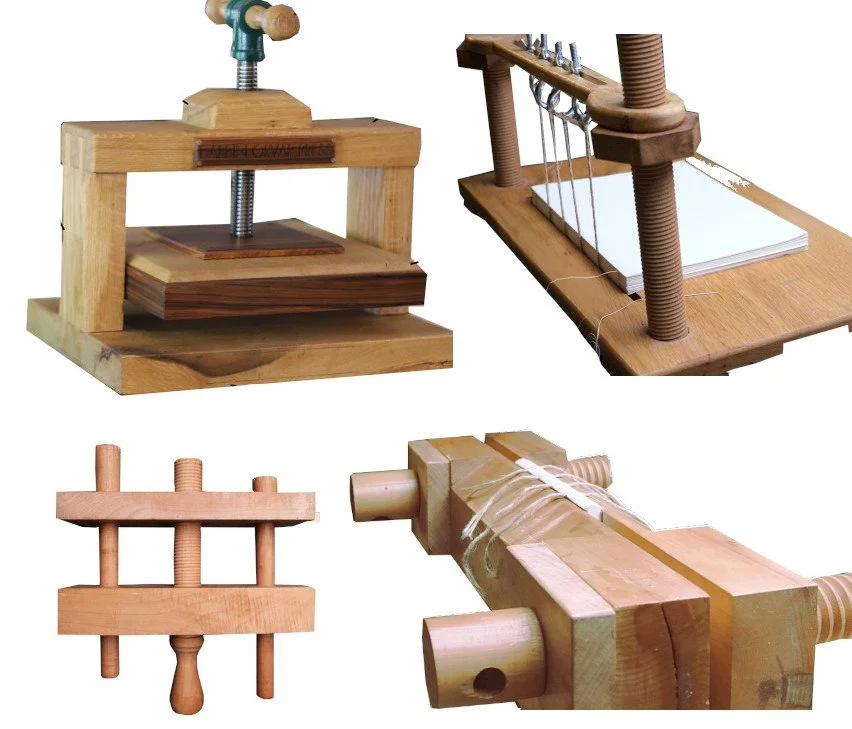
Build your own bookbinding tools
Make a practical home bindery with detailed building plans, cut lists, diagrams and step-by-step instructions.
- Book press
- Sewing frame
- Book vise
- Cutting plough
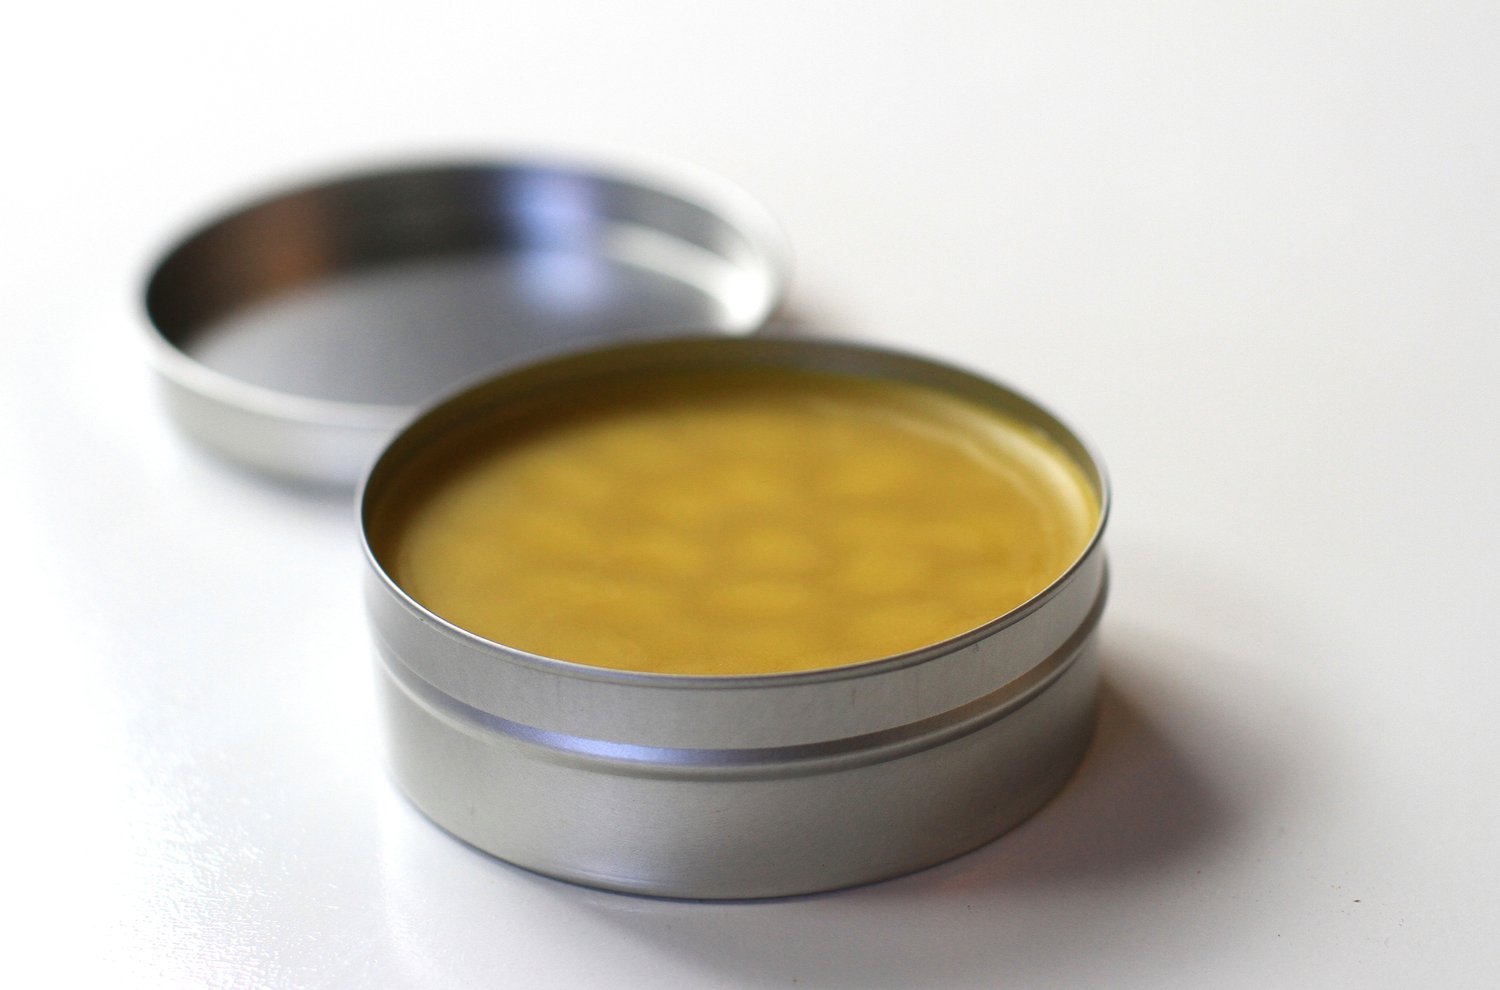
Handmade beeswax polish
A fresh batch of linseed oil, tung oil and mineral oil polishes, made in small batches for your projects.
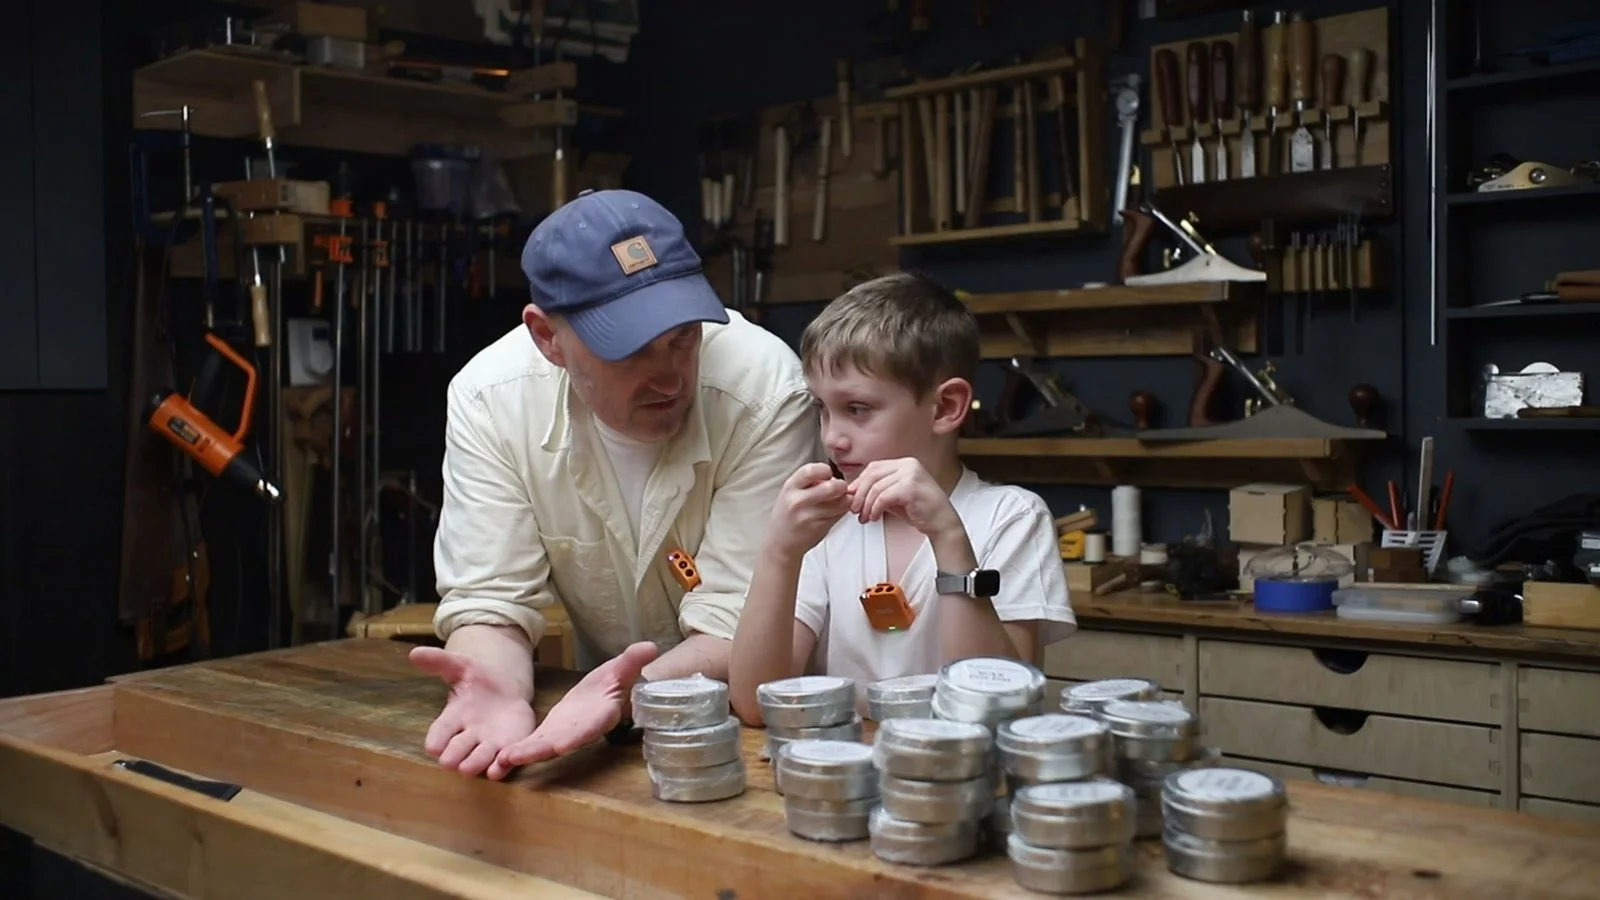
Shop wax polish →My son and I are making a video about how we make the polish and use it on projects. Coming soon.
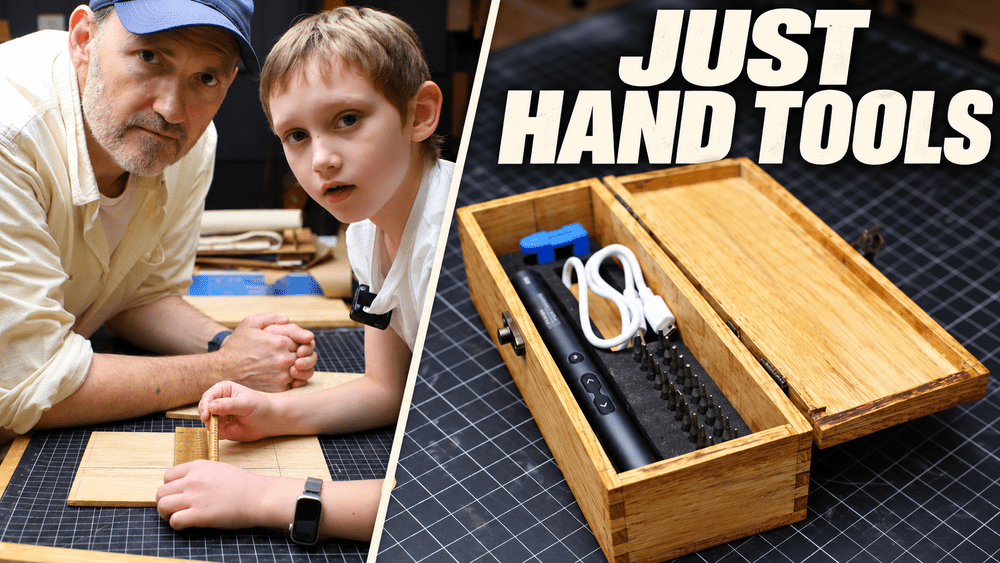
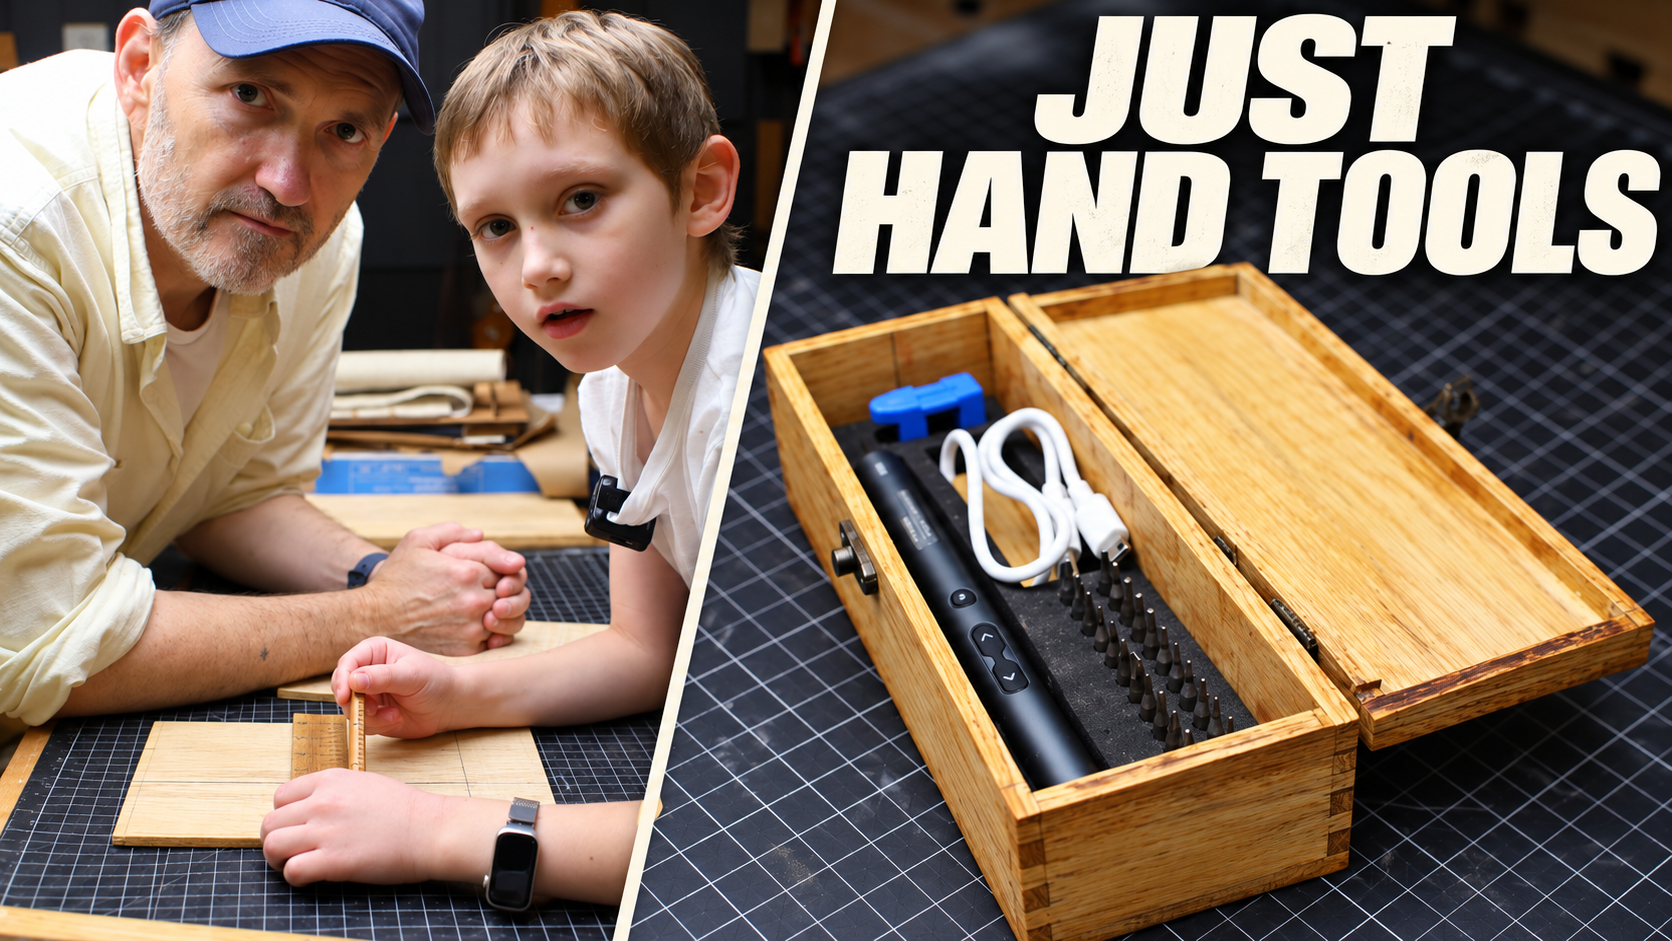
A small white oak box, made together
My son and I build a home for his screwdriver, with hand-cut box joints and a wax-polished finish.
Read the project & watch the video →Notes from the workshop
New projects, plans and occasional shop updates.

In this combined digital bundle, you’ll get ALL of our bookbinding tool plans in order to build the following:
Book Press
Sewing Frame
Book Vise
Cutting Plough
Bonus:
Hole-Punch Cradle SVG Plan
All three plans file ready for studio.darbinorvar.com
All of the plans include cutlists, step by step instructions and helpful tips and information. The sewing frame also contain .svg files if you want to cut out those pieces on a CNC machine (or using traditional tools.)
For all of the tools you’ll need access to woodworking equipment as well as wood, glue, clamps etc…
For the press you’ll a press screw and a metal plate.
For the sewing frame, book vise and cutting plough you’ll also need access to a 1 1/2” tap and die set in order to make wooden screws.
For the cutting plough you’ll need a block plane blade.
More detailed information on what’s needed specifically can be found in each plan.
If you prefer, you can purchase each plan individually instead, however if you buy this bundle, you’ll get a discount

Build two quick and highly functional shop projects from a single 8 foot 2x4: a Small Parts Table Saw Sled with Clamp and a Bench Hook. Both tools are designed to improve safety and precision when working with small pieces of wood— something that’s often awkward or risky on a table saw.
Materials needed to build this project:
• One 8' 2x4 (or just use 3/4" boards)
• 5/16" Tbolt (2 1/4")
• 5point star knob
• Wood glue
The sled includes an integrated clamping system using a homemade Tslot and adjustable clamp to secure small workpieces, while the bench hook is perfect for handsaw work and generalpurpose bench support. With just a table saw and a drill, you can build both of these projects in a weekend using basic joinery, and end up with tools you’ll reach for again and again in your workshop

Included in this plan are the design .svg and .pdf files to cut out the sections to make this plywood computer case + basic step by step instructions.
To create the case you'll need: 1/2" plywood, 1/4" plywood, 1/8" plywood and 1/4" MDF.
This case was designed for a 10" HDMI screen and a 60% mechanical keyboard. If you use other products, I cannot guarantee the fit will be perfect. Here are links to the screen and the keyboard:
10.1" Screen - https://amzn.to/442X6C7
Keyboard - https://amzn.to/3FIneIH
This case was also create to house a Raspberry Pi Zero 2 W, however, there’s plenty of room inside the case, making it easy to modify for other uses or components if needed.
Check out the blog!
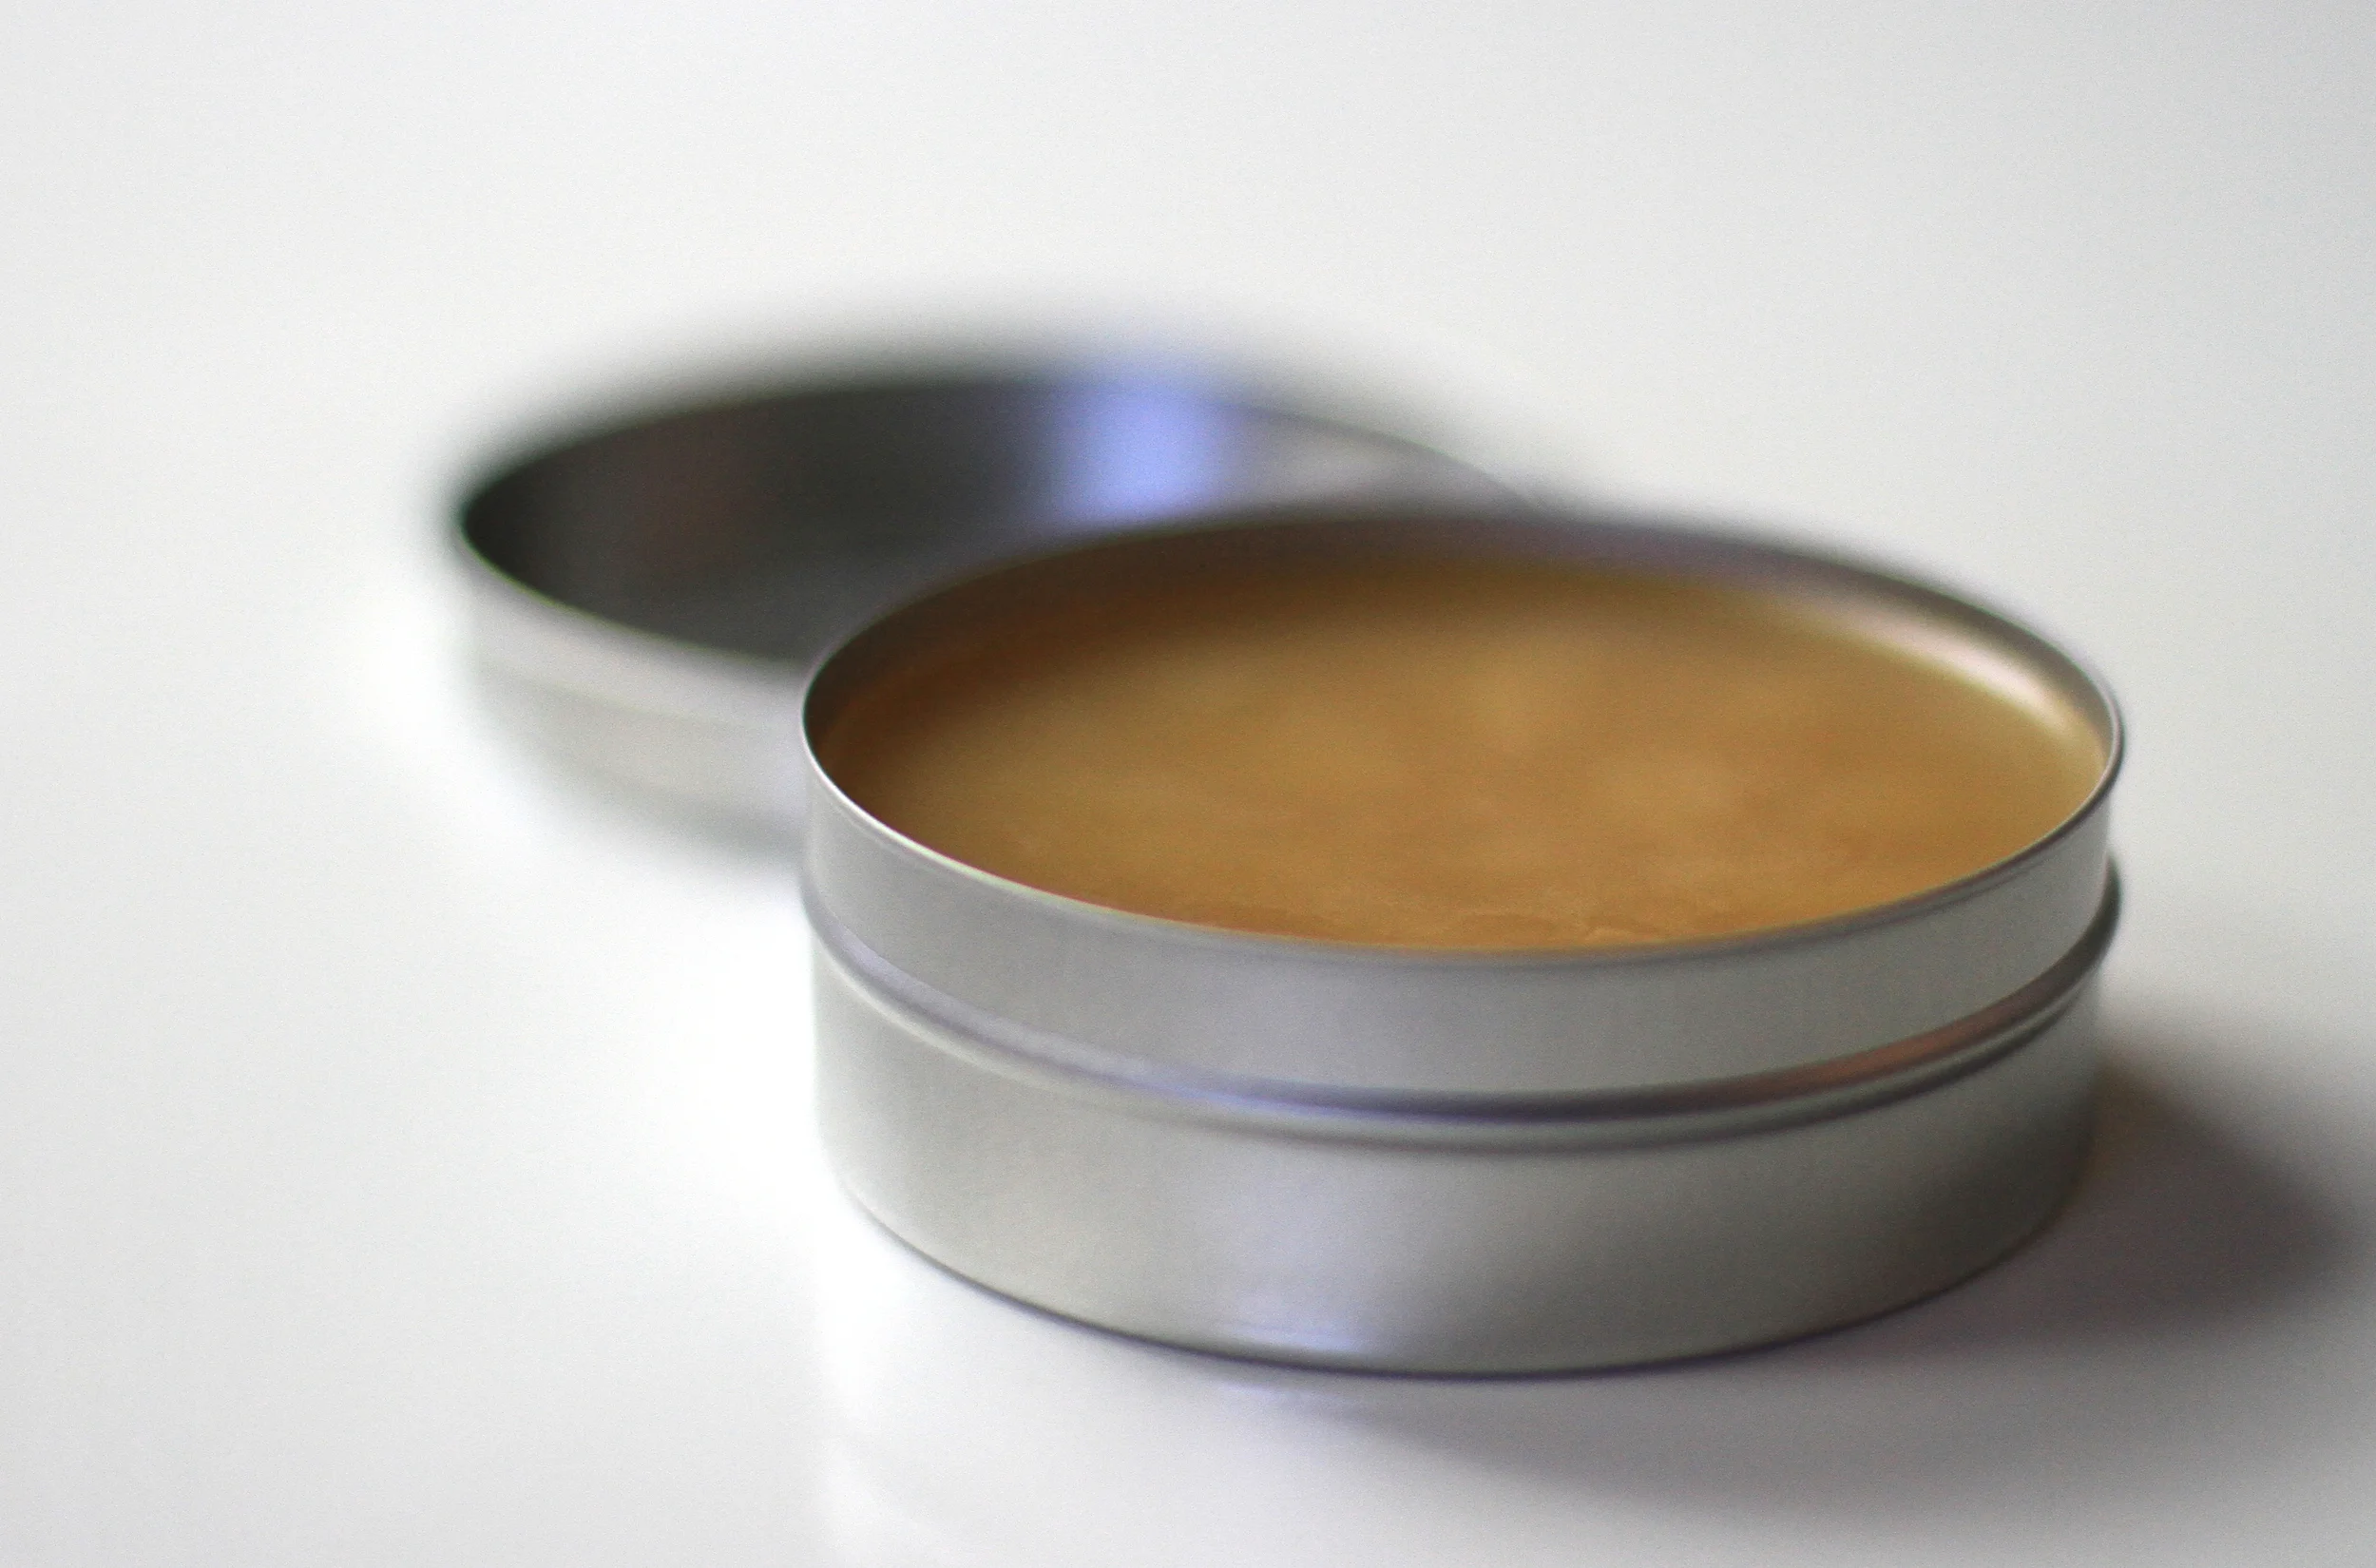
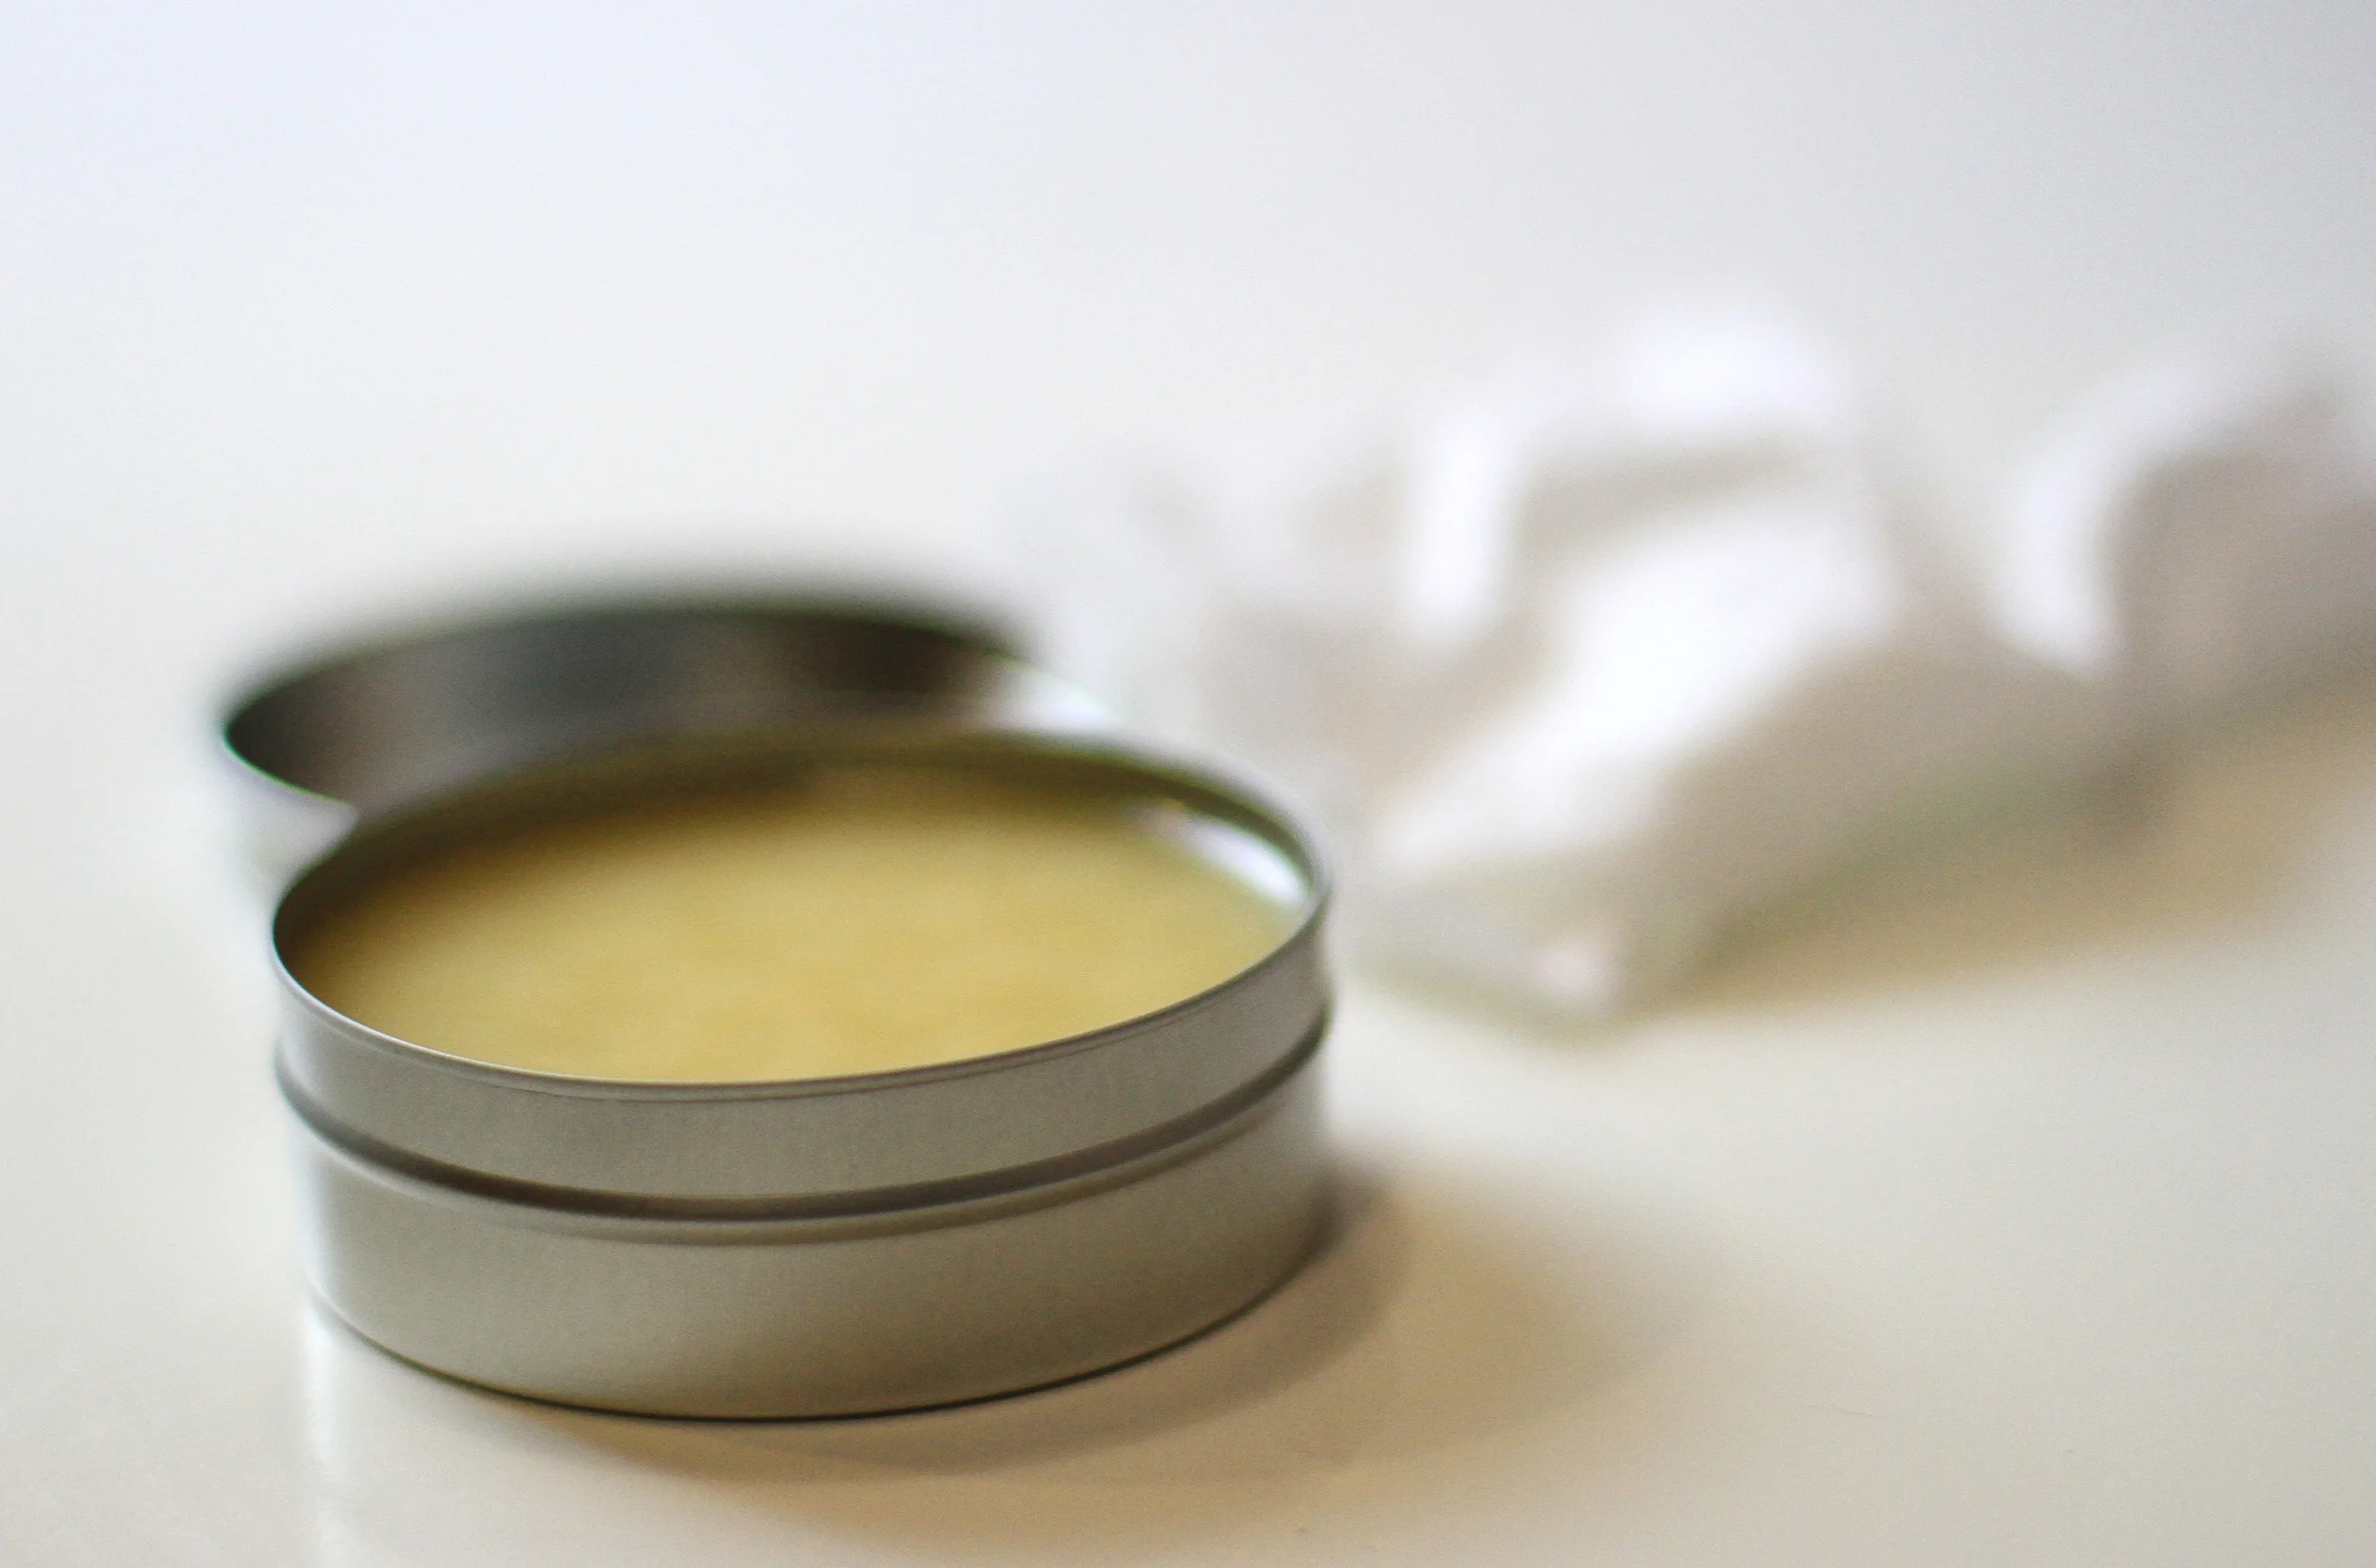


The 100% natural wax polish contains raw linseed oil and natural beeswax in a 4:1 ratio. This polish can be used directly on bare wood, over painted surfaces, over polyurethane, shellac, lacquer and I have even used it outdoors on a work table.
The uses of wax are numerous and I love the raw linseed oil's natural scent and its ability to darken bare wood and its smooth coverage. I have made numerous videos showing both how to make wax polishes and showing how versatile the waxes can be.
How To Apply
To apply this wax/oil polish simply use either an old shirt, rag, steel wool or even a paper towel if you can't find anything else. Apply a thin coat, wait a few minutes and buff the work with a clean rag or paper towel. Paper towels tend to leave pieces on the work piece so be aware of that. I like to use a lint-free cloth if at all possible.
This container holds 4 fluid ounces of wax polish and the weight of the container with the polish is 4 1/2 ounces.
Testimonials
See what some great woodworkers have to say about the waxes!