Darbin Orvar

Building & Making on Youtube

Darbin Orvar - Girl in a Shop

My adventures in building, diy, construction, testing and finishing.

DIY Beeswax Polish Mix on Furniture

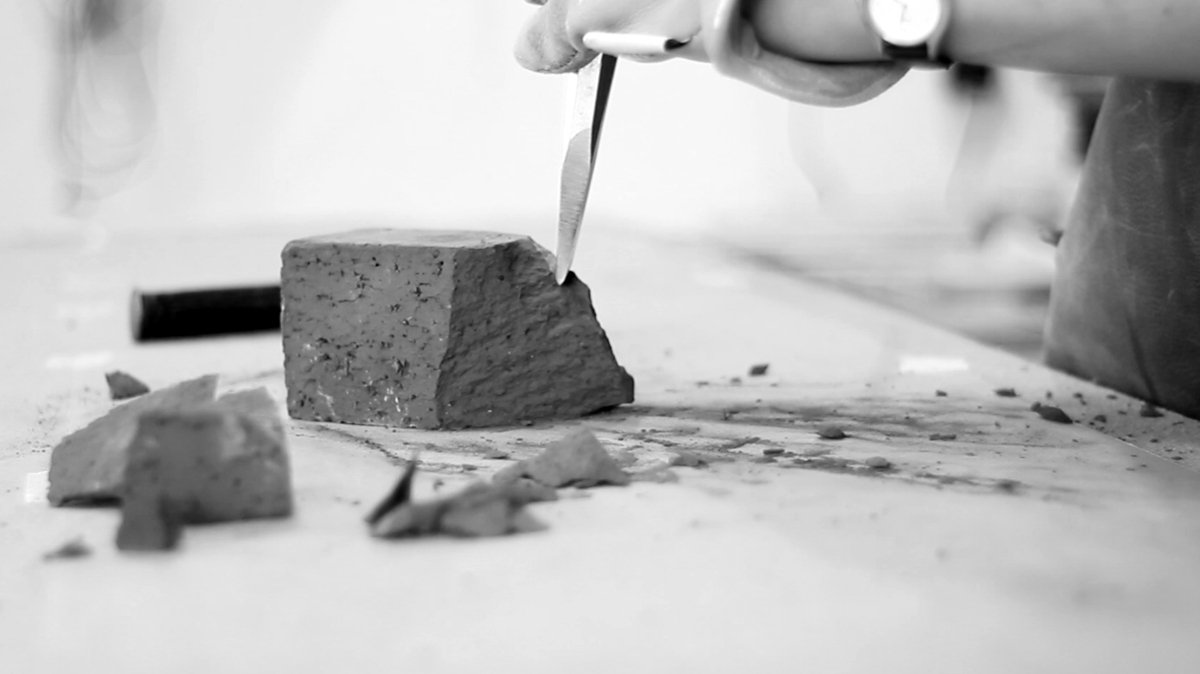
After almost 8 weeks the brick dust with linseed oil finish is ready for the beeswax polish. The stool has been curing, in the sun, on the shelf and in the air for a while now. The colors are complex and the piece really has an aged look, very similar to the honeyed fir floors in some older homes. The sun-baking process created a variety of color changes, depending on where and for how long the sun was able to reach the surface.

This process is very similar to how bricks are created in hot ovens, the color depends on how close the bricks are to the heat source. The whole piece has a very organic nature to it. This is as far from plastic as you can get.

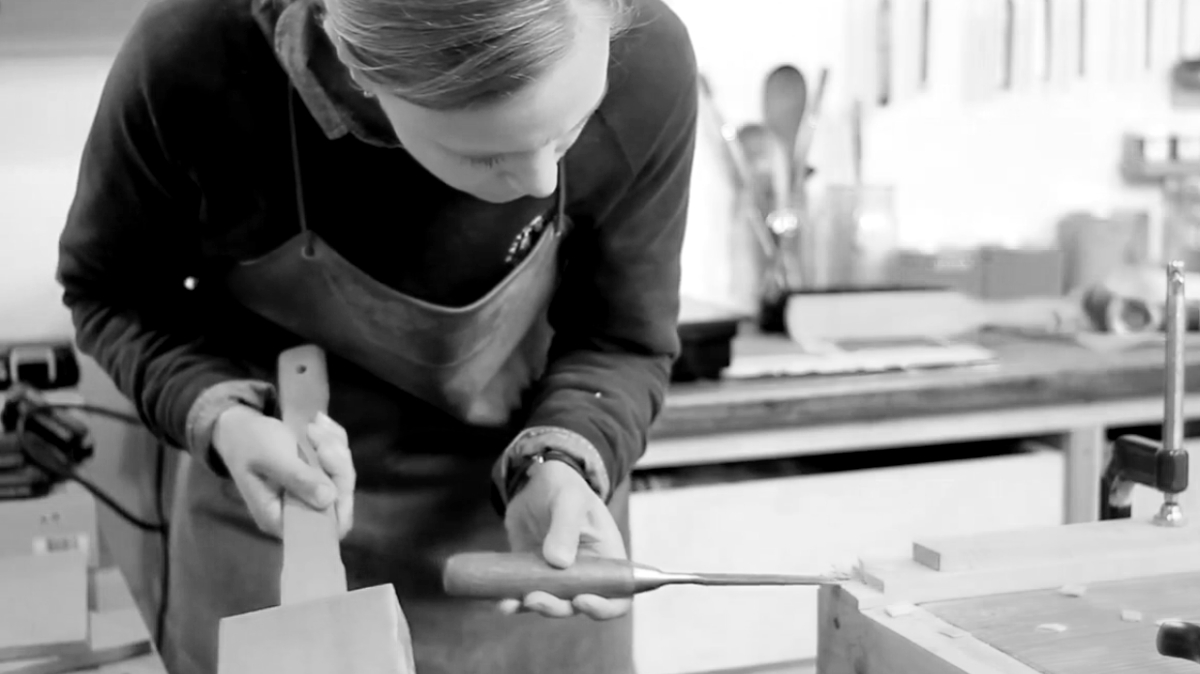
I prepared the surface by sanding with a 220 grit and decided to smooth it further to 320. Contrary to my expectations the surface was not oily at all, despite using a raw linseed oil over a number of weeks. I think the sun is really a key ingredient to curing the oil and making sure the oil has dried properly.

Whenever you are using oil and a wax finish like this there is even more pressure to get the wood right. Sanding and smoothing are critical, and glue squeeze-out is a real problem because you can see any imperfection so easily.

Beeswax Finish

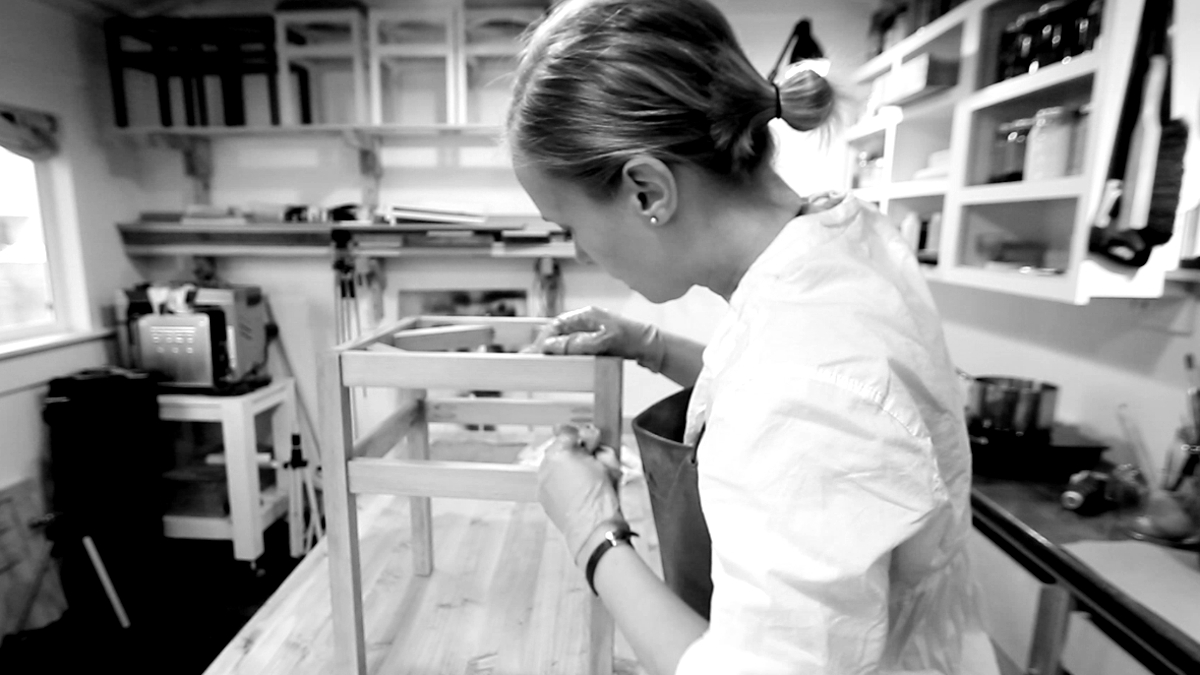
A beeswax finish is one of the oldest and most natural methods for finishing furniture. Waxing in general is a simple method for achieving a very smooth silky surface on any properly prepared wood. It would be hard to find a finish simpler or easier than this.

You can place this wax on top of just about anything. In some of my earlier videos you will have seen me apply wax over paint, polyurethane, oil and shellac, it is just that versatile. Most of the reason people like wax is the very smooth feel you get with it. Typically it does take the shine off a glossy finish like polyurethane and therefore makes the wood look more natural according to some, and I agree. Too much gloss does have an unnatural look.

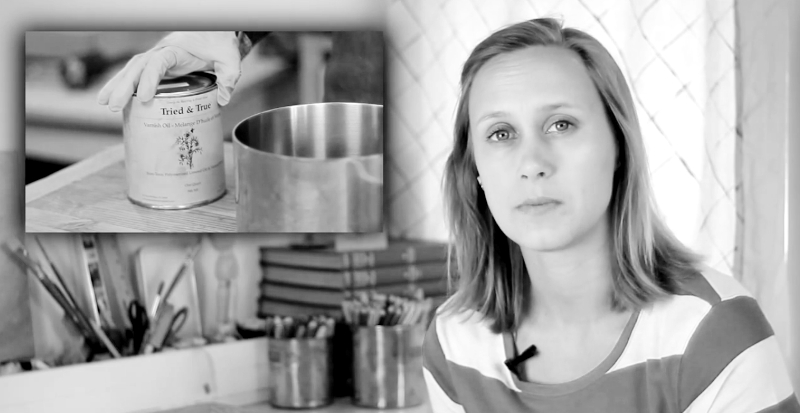
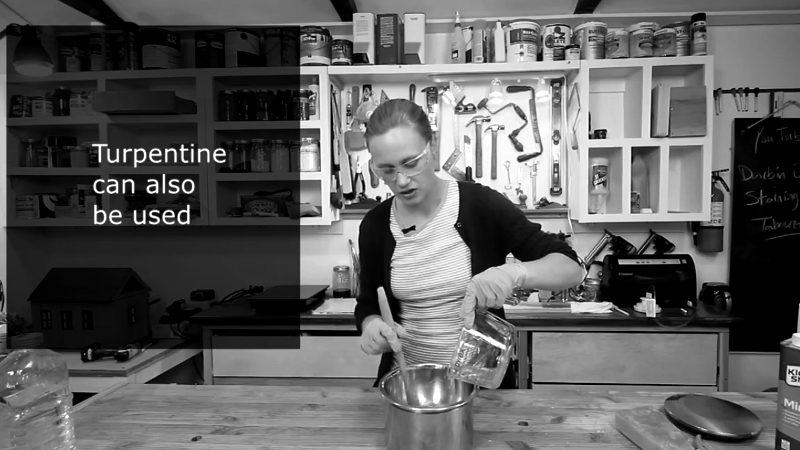
To make your own mix is pretty easy. You can buy beeswax online or locally from an apiary, and it comes in blocks or cut up in bags. Melt the beeswax and add the mineral spirits to create your mix. You can play with the ratios but 1:1 seems like a good number for general use in terms of waxing furniture. If you add too much solvent sooner or later it will not solidify at all. A 4:1 (solvent : wax) mix might be better for brushing on the wax though as it would be a lot softer.

There are lots of paste waxes on the market and for the most part they are pretty similar. They usually contain beeswax, carnauba, paraffin, solvents and scents in a variety of proportions. When you make your own you can really play with the mix, adding more or less of any ingredient you wish.

Over the next few weeks I will be exploring further into these concepts with waxes, oils, scented oils, and pigments. Hope you stay tuned.

If you would like to watch the process of creating the wax polish check it out here:

http://youtube.com/user/darbinorvar

Building a Tiny Tiny House with a 2 x 4

Using Milk Paint on the Tiny House.

Using Milk Paint on the Tiny House.

A tiny house in the woods, hidden away from the world. That sounds like something I could get used to. A place to read, think and live, without the concern of others. Of course it's not so much a far removed dream at all, because there are many people who are actually doing that. Perhaps not moving out to the woods, but taking back control over their lives, and creating something for themselves that gives them more freedom.

People are taking back their skills. While you may hear on the news that people are unskilled – there are many people who are re-learning what their parents and grandparents tried to get away from while they hid away in the suburbs or packed themselves into the cities. Skills on how to build, grow food and live independently were seemingly lost to the industrial process.

There's nobody telling anyone to go and pick up that hammer and learn how to build a tiny house. They do it often because they want to take back their economic power. They don't want to work a job they don't necessarily love, just to keep up a standard they don't necessarily need. I think it comes back to freedom ultimately here, and people are revolting, it's just not very loud, or large.

I hope it stays quiet though, and underground. I think the danger would be to institutionalize these efforts. Under a false premise some want an authority involved to create laws, incentives and kickbacks to get people to do something they already are. But it is better to leave it alone. I love that people are trying new things, however I think it's when you want everybody to act the way you think they should, that it becomes a problem. I think we should watch out from trying to make a movement like this too formal, that's when you make it worse. The beginning is always better than the end.

When you build a house for yourself you are confronted with things you normally don't interact with. Most people are far-removed from the process of building and construction, they generally don't think about the forces that affect a house. Forces such as weights, wind and water, or resources like electricity are often left for another to think about. Building a house, building furniture – making anything really, is a journey in problem solving. Figuring things out as you go along, because you have no other choice.

When building your own house, you're in control, and for better or worse you don't necessarily have to conform to convention. In my tiny house model I wanted 24 inch centers instead of 16. It is funny how we tend to see the number of timbers as important but fail to realize the most damaging force affecting a structure is water. And then I also realize how I can fit 2 foot wide windows without needing headers, saving material and weight. As you can see in my 1/12 scale model, it definitely looks proportional. When building a structure you're forced to think of spacing - wasted space is unappealing as is wasted wood. It's appealing when things are in order, when it fits, and we usually just know when it does.

It's not that I think that using less material is good in and of itself, especially if you need it. But if you don't, then why waste them. Along the same lines – I don't think that living big is necessarily bad. As someone who does a lot of projects – you often need a lot of space to do things, and there is nothing wrong with that. Even though you can write a book in a tiny house – you can't necessarily build large things, piece a quilt together or paint large canvases. But then again, not everybody wants to do that.

In many ways, the individual does not need much to live and thrive. Every great thing started with a table and a chair. You can sleep on the ground, you can leave comfort behind, but you work at a table, sit on a chair, write with a pen, study books and observe the world around you.

Fundamentally, I don't want a world where anybody tells you what you should be doing, you should do what you want. And if you want to learn how to build your own tiny house and live differently from the way your parents did, you should, and that's just the kind of dynamic world we should want. I think this whole process is very much about learning and realizing that success is not necessarily income. So many people who have contributed great amounts to the world were not well off – it's much more interesting to be curious and learn things along the way. So in that sense – success is about knowing more so you can make better choices for yourself and your future.

So what does a structure mean to a human life? I think a home, a house, a place of your own, is so fundamentally important to one's happiness. If freedom is the control of one's self then you must have the space in which to exercise the self-control to be free.

While listening to the news, you sometimes get a sense that people are no longer interested in have a home. Well, maybe to some extent that's true, but perhaps only in the conventional sense. I think most people want something of their own, they might just not want a mortgage and the limited freedom that comes with a traditional life. The tiny house movement, while being focused on sustainability and one's environmental impact, I think when it comes down to it, is really about people taking control of their economic future, and taking back their skills and independence, striving to live more authentic lives.

If you would like to see how I built this tiny model home please take a look at my channel and subscribe:

http://youtube.com/user/darbinorvar

Using a Varnish Oil and Thinking about Durability

There are a few different concepts I wanted to cover in this week's blog and video. So this is less of a project piece and more of a thought piece. Not everyone is concerned with what I am concerned with but please bare with me as I go over what I think is a subject deserving of more coverage.

Last week I made a sort of silent film where I constructed a sheet music box and finished it with a wipe-on varnish oil. Because it was silent I did not go into why I chose it nor how I came upon the product. I covered some of this in the last blog post but I want to expand upon some of the things I was concerned with in the Fine Woodworking piece I referred to last week.

A round up of products is always questionable. Did you include every product? Or, is there any bias in the tester? And so on. Letting go of those points for a minute I suppose there were really two points that struck me about the article. Firstly, Chris Minick is a scientist by trade, and product reviews are definitely not science. Second, I thought it was questionable to have a product round-up including oils, strongly oil-based finishes and a variety of wipe-on varnishes including polyurethane. Granted that the article was about wipe-on finishes, but why then would you have a set of criteria which when reviewed even cursively by a beginner would yield the same conclusion as the lab-coated reviewer?

To put this plainly: reviewing a product is not science. Science is to discover that which is unknown, these products are clearly known. Anyone even mildly familiar with finishes would not compare wipe-on type oils such as Watco Danish Oil or Boiled Linseed Oil in the same breath with a wipe-on poly where the criteria were strictly durability and water/heat resistance. Finishers use Waterlox Original Sealer/Finish or Tried and True Varnish Oil for very different reasons than they use other products, and durability alone rarely determines what one chooses.

I wrote to the company that makes Tried and True and asked where they saw their product. I mentioned the article by Fine Woodworking and asked them to clarify where they picture their product in relation to the polyurethanes mentioned in the round-up. In their response they believed that their product is not meant to compete against polyurethanes.

Given that, it is not hard to see that craftsmen of all types choose their finishes for more than just the simple concept of durability. Personally I am not looking for a perfect finish, or a fool-proof finish, a term I have read and heard one-too-many times. I am looking for what belongs on each and every project individually. There can't be a perfect finish for counter tops, violins, floors and sheet music boxes. Each project has different demands.

Which brings me to my next point: durability and product preservation. We often take the better-safe-than-sorry approach to finishing, especially when a client is involved. Better to go a little overboard with protection, than worry it is not enough. This makes sense. You don't want to go against a client's wishes or cause undo problems. So polyurethane and lacquers are certainly important to achieving this. So sometimes its just not worth taking the chance.

Since I made the box for myself and wanted to try something that was for myself, no clients or expectations were involved. I did not have to worry solely about durability and I could free myself and try out a product I had not used before. A can of Tried and True Varnish Oil had been sitting on my shelf for a while and this seemed like a great project to try it out on. I like to explore new finishes, so I buy a few and test them on scrap wood, later on coming back to them when an appropriate project comes up.

Such a small box doesn't need too much finish, and I could take my time applying it, so the rather finicky nature of the product could be explored. Overall I really liked the product and said as much in my last post.

I guess it comes down to what we expect and how we assume certain things in life. I often try and challenge my own assumptions about products and techniques, and one of the great problems I see is why would you use something that does not provide the utmost in protection for something that offers very little. That is the crux of the varnish vs. oil argument.

My real concern with scientific-style reviews is the misleading nature as to what science is and how it does not belong in product testing. Immediately it makes me imagine all sorts of absurd comparisons.

If I lined up water, motor-oil and olive-oil while donning my lab coat, and went on to test which was better for engine lubrication I obviously would have some instant winners. The point being water and olive-oil should not have been in the round-up to being with.

Nothing is the good-for-every-use product that everyone may want. I would not line up hard film finishes with oil. Even though many products attempt to cross the line between a varnish and an oil with varnish oils, there is some instant recognition that the durability of a finish is simply one of many factors that expert finishers consider.

The bottom line has to be that you have to do what you want to do, but know that there is no real restriction. You can safely use products in ways not necessarily recommended by the manufacturer or that are generally accepted. It's about understanding what may happen and your tolerance for accepting responsibility.

Making a Sheet Music Box & Using Tried and True Varnish Oil

Chiseling out the rabbet against the grain.

Chiseling out the rabbet against the grain.

Making a Sheet Music Box and Finishing w/ Tried and True Varnish Oil

I decided that I needed a little box to place some of my favorite sheet music. It was the opportunity I was looking for to try out an interesting finish. Tried and True Varnish Oil is thick, honey-like and a little tricky to work with.

A couple of years ago Chris Minick wrote a rather unflattering review and deemed it the worst performer in his round-up of wipe-on oil finishes. After using it I can see why he came to such harsh conclusions. It is a little weird. But I think weird in a good way. 

Before I rush into defending the finish let me give you a little background on the piece I am working on. I love to play the piano. I am not a professional, I just like to play and grew up playing for family all the time. Even though it has been a while I broke out my electric piano keyboard recently and wanted to practice up and needed a place to store some treasured sheet music.

Just for a little fun I wanted only to use hand-tools. Sometimes it is just zen-like to zone out to the process of building. In this case I figured it should be a simple box and using hand-tools makes that rather more effective. I don't want to make a box that is overly complicated that may take a few weeks, so I wanted simple straight-forward joinery. 

I thought rabbet joints made the most sense and they would simply be glued and held with some small brass tacks. That would be plenty to hold everything as the nails act as a reasonable clamp.

Measuring and laying out the pieces.

Measuring and laying out the pieces.

The box dimensions are pretty simple, just being large enough to hold some standard-sized paper.

Wood: CVG Fir

Cut List:

  •     2 @ 12 5/8”  x ¾ x 2 ½
  •     2 @ 9 ½”  x ¾ x 2 ½

    This is 1” x 3” nominal but this clear fir was actually 11/16” x 2 ½”.

  •     2 @ 11 7/8” x ½ x 5 ½, rip 1 piece down to 2 ¾”

    The ½” x 6 nominal was actually ½” x 5 ½. 
    This to be expected but you should really check to make sure what the true dimensions are.

Fasteners: Eight 1” brass tacks

I glued the bottom ½” pieces together to form the bottom of the box which is just large enough to hold a piece of standard 8 ½” x 11” paper.

When the rabbet cuts were with the grain I cut ½” x 11/32” joints. When the rabbets were against the grain on the 12 5/8” piece of wood the joints were cut 11/16” x 11/32”.

A little gluing, hand planing and chiseling, and in a few hours the piece is ready for some finish. After all the trickiest part of a project can many times be the finish.

When you pop the lid off the varnish it really looks like honey, and it has a distinctive smell. A rather natural smell, but it is distinctive nonetheless. Right off the bat the fact that this is a non-toxic finish is important to me. I don't like masks and if I wear some gloves it is because I want to rather than have to.

Some time ago I realized that many finishes go on much better when they are warm. By warm I mean somewhere between 100 and 140 degrees Fahrenheit, depending on your tolerance. So with this in mind I heated up about 2 cups of water using my portable induction cook top. I check it with a thermometer and when it hits 130 or so I take it off the heat and place as much finish as I think I need in a small mason jar and place it in the heated water. In just a couple minutes the varnish oil was much more workable, I then dipped in the rag and applied it liberally to the box.

Just about to apply the warmed finish.

Just about to apply the warmed finish.

It is definitely thick. As you apply it is feels sticky, but I just continued and really loved it. I believe the connection you feel with the box is as important as the final result. With this finish it warns on the container to apply “Very Thin Coats”, but as I continued I did not really heed this warning. I put on a couple of thick dabs and really rubbed it in. Maybe it is the choice of wood, or the heating of the mix or the vigorous way in which I rubbed the surface but as I continued the wood soaked it up pretty well.

Such a small item does not take very long to complete but I took my time and felt the tactile connection with the very smooth piece. I sanded pretty well to 220, so I think that was important, but you could have gone with 320 or even 180.

One of the notes in the piece by Minick was that after 30 days the piece was still not dry. I did not have this issue, I found that after a few hours in was reasonably dry and after 24 hours I could add another coat.

I followed the directions on the can and applied the varnish with a rag and then waited for a minimum of 60 minutes, although I think I usually waited over 2 hours. When I came back to it I used a clean cloth and in strong circular motions wiped away all the excess varnish. It is still very sticky but as you rub it off it has little trouble drying. My conditions for a proper dry are not ideal. My small shop is rather cold and it has been raining lately. It has been about 40 – 60 degrees Fahrenheit with nearly 100% humidity between the day and the night.

In the Fine Woodworking article Minick compared over a dozen products and I think that may be why he felt is was such a problem. Minwax Wipe-On-Poly is a very different product than Tried and True Varnish Oil. They are not even in the same world. Personally I would never use the Tried and True on a large piece. It is just too difficult to apply on a large dresser or intricate item. But on a table top in the kitchen, dining table, workbench, small chairs and many other flat or small items it would be a very top consideration for me.

I am not sure but there is something about it that appeals to me. The non-toxic nature, the thick honey consistency or just the smooth result, I am quite sure I like it and it feels real. I don't think I would choose this instead of a wipe-on-poly or brushing polyurethane for some applications, but you should remember that this does not smell, is non-toxic, can be applied in a kitchen, and repairs easily.

While the strange nature of the product is intriguing it should not limit its use. On smallish items that are not deserving of a rock-hard finish there is no reason that you can't use an oil that has a minimal film. Over the course of a couple days I applied and then polished three coats of the varnish oil and finally burnished the entire piece with 0000 steel wool.

I can tell you that after the three coats there is a minimal film, and certainly no gloss as you might wish with a lacquer or polyurethane, but that is the point to some degree. The speedy predictable application is often chosen in favor of the journey, and sometimes even in finishing the journey or connection you obtain can often improve the piece more than a dull repetition.

If you would like to see the video of the box being made and the finish being applied please visit my channel:

http://youtube.com/user/darbinorvar

Using Raw Linseed Oil and Brick on a Tabouret Stool

It's not hard to find articles that deal with finishing wood when a simple oil finish is applied. So what I wanted to do was show how well oil finishes really work and how beautiful they can truly be.

Working in my shop.

Working in my shop.

As one of the most inexpensive and safest choices, you have to wonder what is wrong with oil that it is generally passed over in favor of costly and toxic alternatives. For the most part it is the lack of permanence that turns people away from using oil in any real way. It is usually added to pop the grain of a wood with mineral spirits in a wash application. This is especially true for linseed oil as it has a great ability to highlight the grain of most woods from walnut to mahogany to fir.

Breaking the brick with a chisel.

Breaking the brick with a chisel.

I decided to try an old idea by mixing brick dust with raw linseed oil and applying the slurry to the wood with a cloth. I originally learned of this by reading the writings of Thomas Sheraton, an eighteenth century furniture designer.

Immediately this concept appeals to me. Sometimes you are just drawn to quality, and this is one of those times. Because it takes time and space and energy, you form a bond with each piece that starts the furniture off on a path that you just know will be appreciated for a long time to come. When you do not apply a film finish the wood remains exposed to the elements. Sunlight, moisture, hands, and feet all wear on the wood with each year. The furniture becomes darker from the air and the light, and where hands grab the piece the edge is smoother than another as the oil remains like a fingerprint that is unique to your family.

To complement the oil the brick adds a reddish grit that makes it feel like a sandpaper slurry. You can apply it with a cloth or paper towels, but you might need a lot of paper towels because of the abrasive nature of the mix.

Method

To make the mix you create a dust with a piece of a real brick. You can't use a modern brick, make sure it is a real fired clay brick. Modern “bricks” are really concrete and contain gravel, which does not easily grind to dust.

Iron mortar and pestle.

Iron mortar and pestle.

I first break up the brick with a cold chisel and then I use an iron mortar and pestle to create the fine powder, but you could use a marble or stone one instead. If you don't have a mortar and pestle you can use a hammer with a brick wrapped in some towels and crush it on a concrete driveway or garage floor. Of course you may damage your floor so consider that before grabbing your sledge hammer. Getting the brick to the powder stage will be difficult without the mortar.

In terms of proportions I added about a 1/2 cup of dust per 2 cups of linseed oil, by volume. You should experiment to find the proportion you like best. I also added heat to the mix on my induction top. I never let the oil go above 140 degrees because there is no need to. You don't want to cook the wood, just make the slurry easier to apply and adhere to the wood. Things don't generally go on well when they are cold.

Use a cloth to apply the mix generously to the wood. It doesn't matter if it drips or gets all over the place. I just wipe the excess into the workbench anyway. Of course the brick is very gritty and when it dries it gets everywhere.

When you let the piece dry make sure you put it somewhere that is dry. A cold, damp garage is probably not the best place for it. I wait about 2 days to wipe off the excess oil and grit, but you can adjust that to your schedule. When the piece is “fully” dry you can add another coat of the mix. That should be about 2 weeks or so, depending on where it is drying. Again wait a good while before wiping it off. I like to let the piece in the sun for a good while after it is oiled. It darkens quite a bit in the sunlight.

You can add as many coats as you want and let it age as much as you want. But eventually I am going to add a coat of wax made of turpentine and beeswax to finish it.

Over time you should wipe the piece down with mineral spirits to remove the wax and prepare it for more straight linseed oil. I would say every year or so you want to add additional oil, or even more often if you like. You can also add wax whenever you wish to revive the finish.