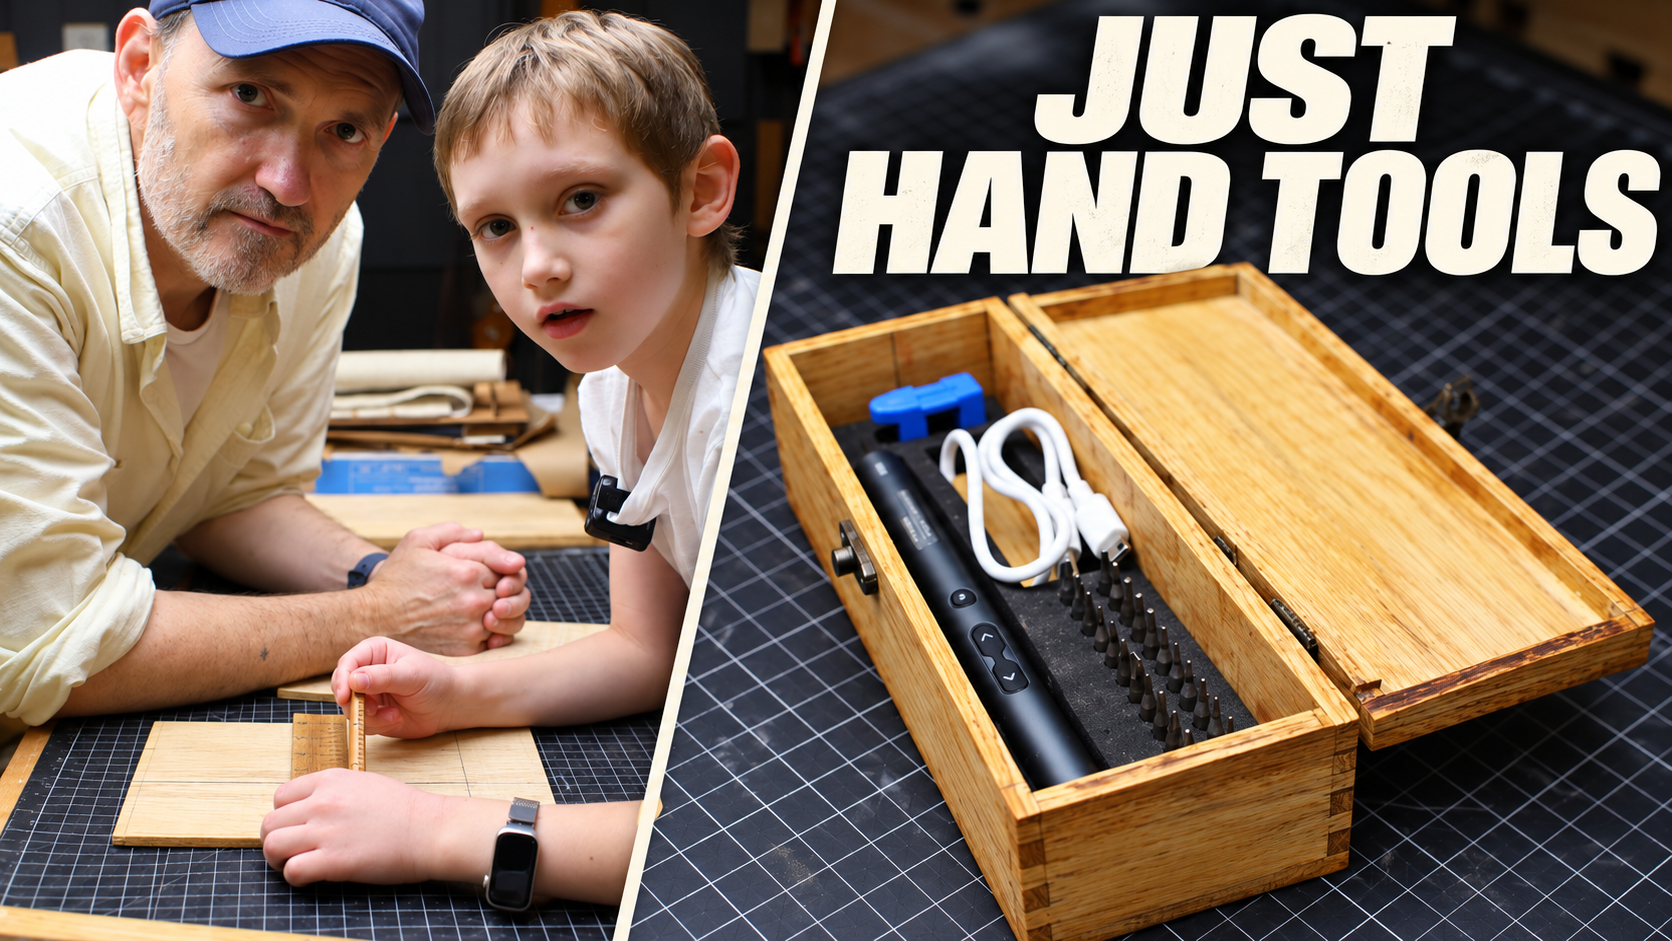
Making a Small White Oak Box with Hand-Cut Box Joints
August and I made a small white oak box for an electric screwdriver, with hand-cut quarter-inch box joints, a lid cut from a sealed carcass, and a simple wax finish.
The starting point for this project was not a drawing. It was a cardboard box.
August had a small electric screwdriver — driver, bits, charging cable, and a foam tray — all sitting in the kind of packaging that usually ends up in the trash. We wanted a proper home for it: a tight-fitting white oak box with a lid, a couple of small hinges, and a clasp.
And we wanted to cut the joinery by hand.
Sizing the box from the tool
The first job was simply to find the size.
We took the screwdriver out of its cardboard box, kept the foam holder, and set the whole arrangement onto 1/4" white oak. From there it was a matter of marking around it until the inside of the box would be a snug fit — not so tight that the foam would bind, and not so loose that the driver would rattle around.
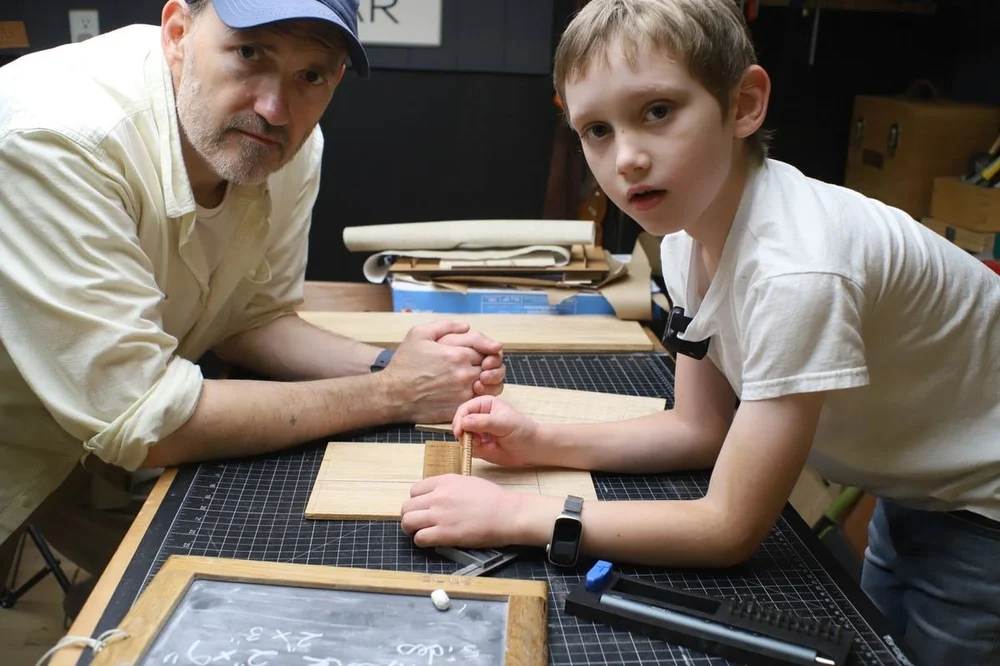
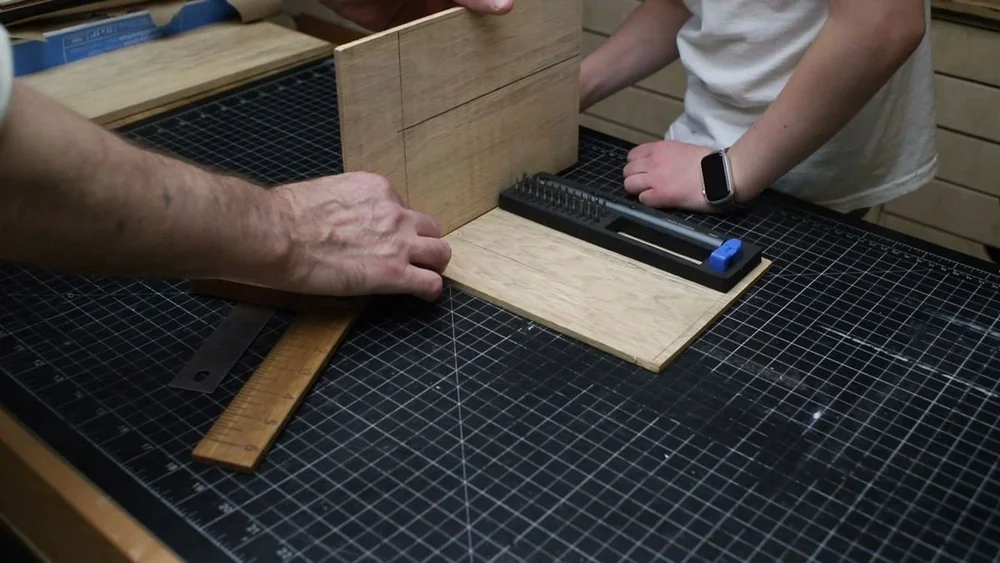
Those marks became the cut list. The sides would be about 2" tall. The top and bottom would be the same 1/4" oak, glued on later.
Cutting the parts
The pieces themselves are small, which is always a little more awkward than it looks.
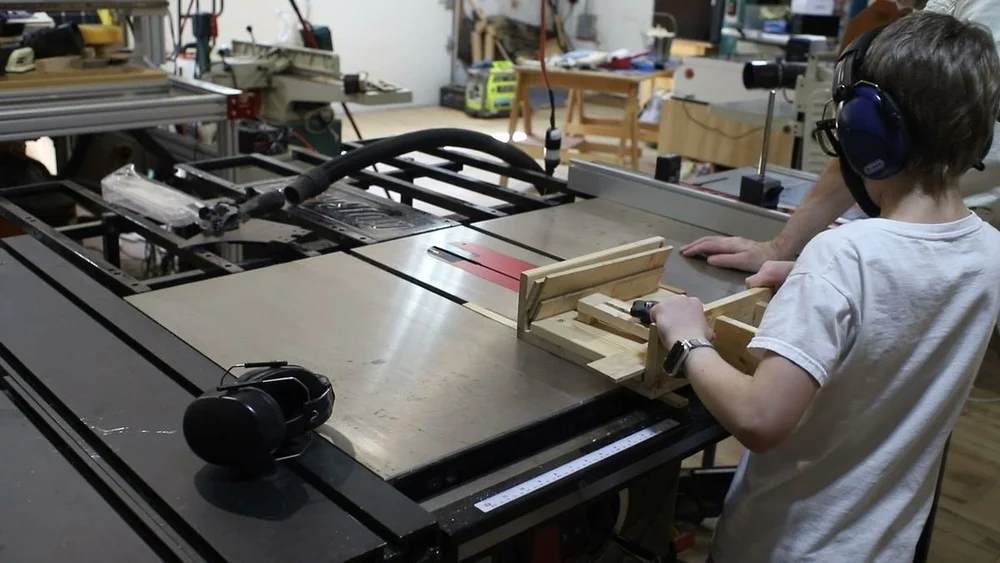
We ripped the oak to width on the table saw, then used a small-parts sled for the crosscuts. The sled has a stop so the work can't travel too far forward, which makes those short cuts much safer to handle.
Once the four sides, the top, and the bottom were cut, we had a kit of thin white oak pieces and a pretty clear idea of how they needed to go together.
Laying out the box joints
The joints are 1/4" box joints — finger joints — on 2" sides. That works out to eight little fingers on each end: four that stay, and four that get cut away, so the mating piece can lock into them.
We laid them out with a marking gauge, a knife, a pencil, and dividers. The gauge sets the depth of the cut to the thickness of the mating piece. The dividers step off the 1/4" spacing. The knife gives you a line you can actually saw to.
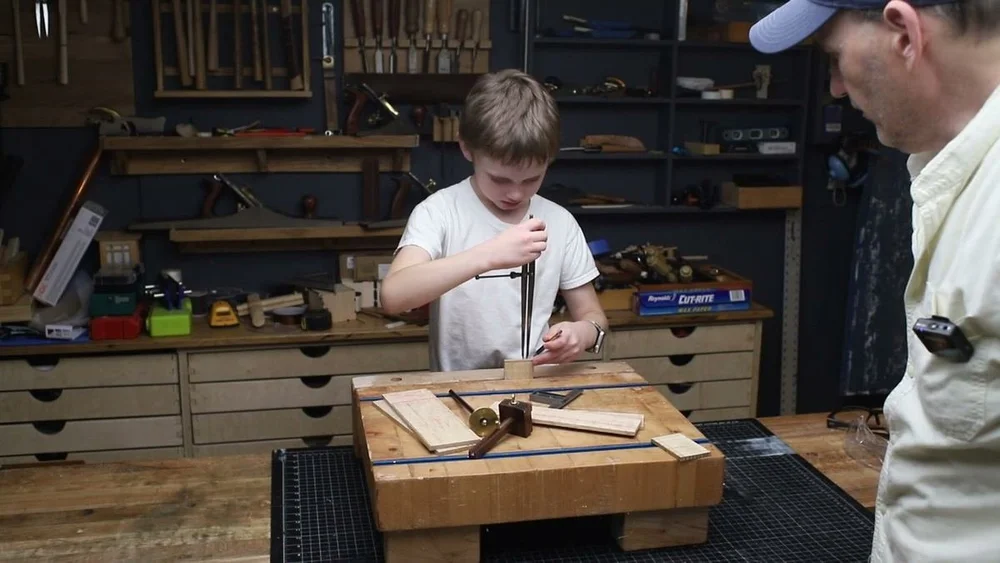
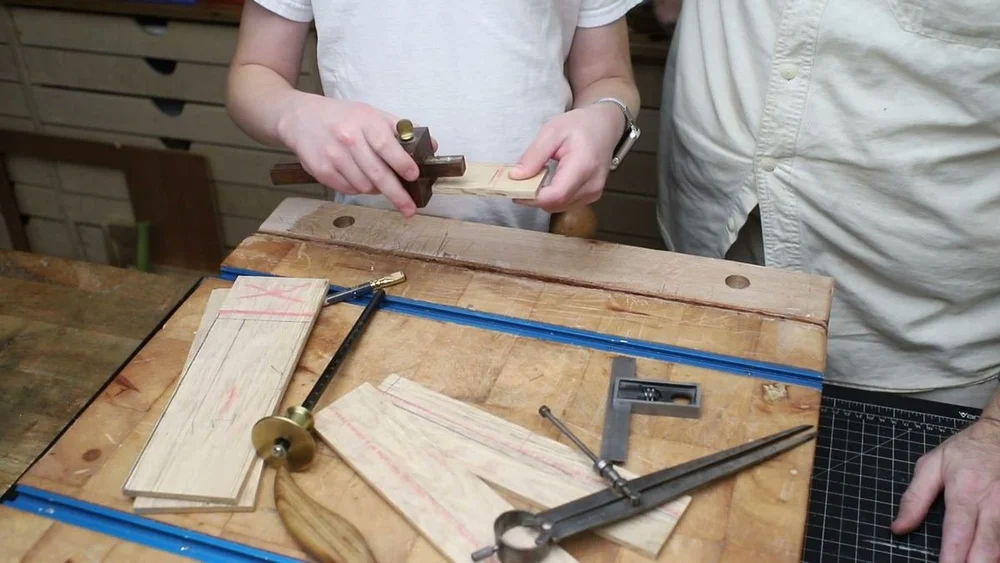
This was August's first time cutting box joints with a saw and a chisel. The layout matters more than the cutting. If the spacing is even and the knife lines are crisp, the sawing has somewhere to go.
Sawing and chopping
We used a small dovetail saw for the cuts and a chisel to take out the waste.
The saw wants to stay in the knife line. No twisting, and not too much pressure — just enough to keep it tracking. Then the chisel pares out every other finger so the other side can fit into the gaps.
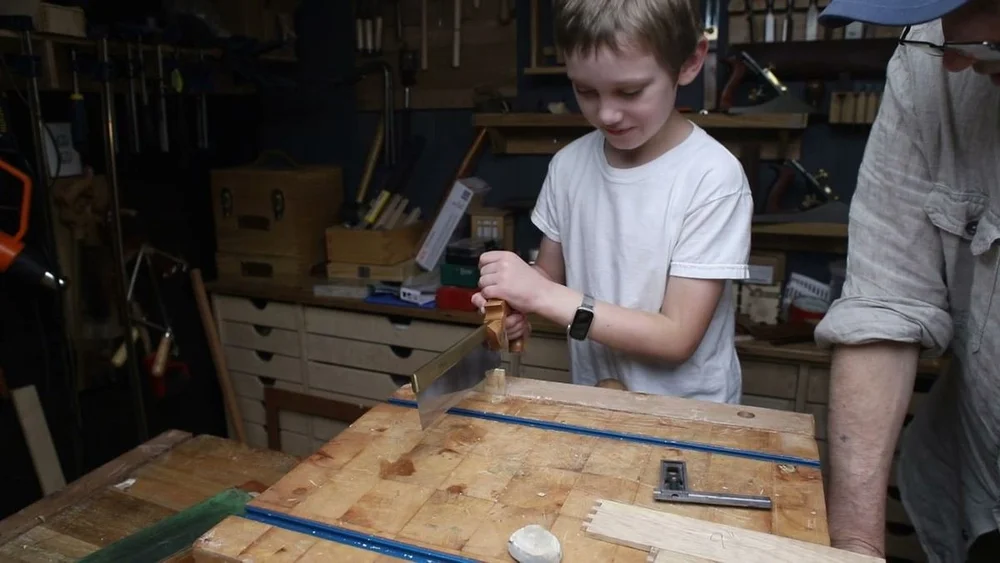
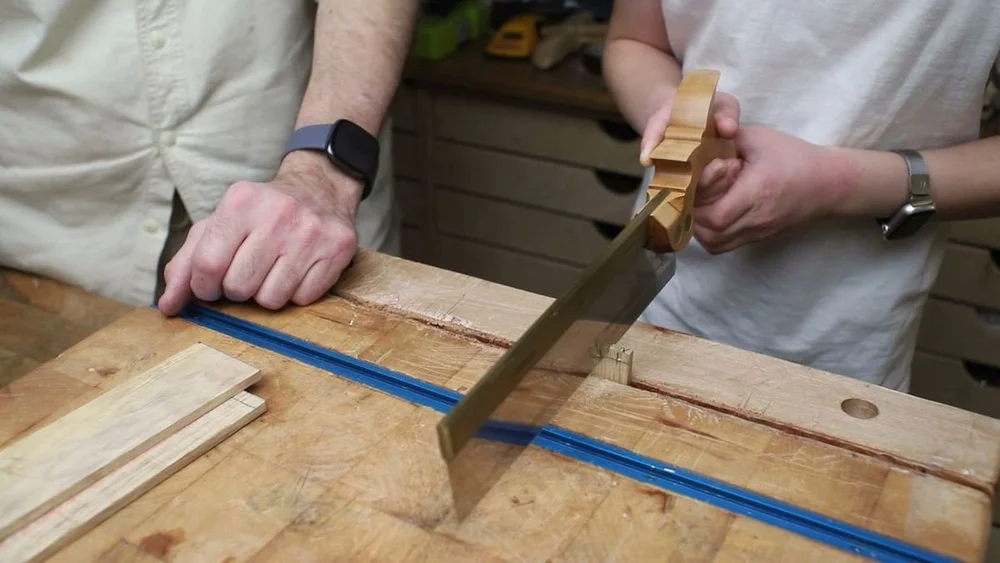
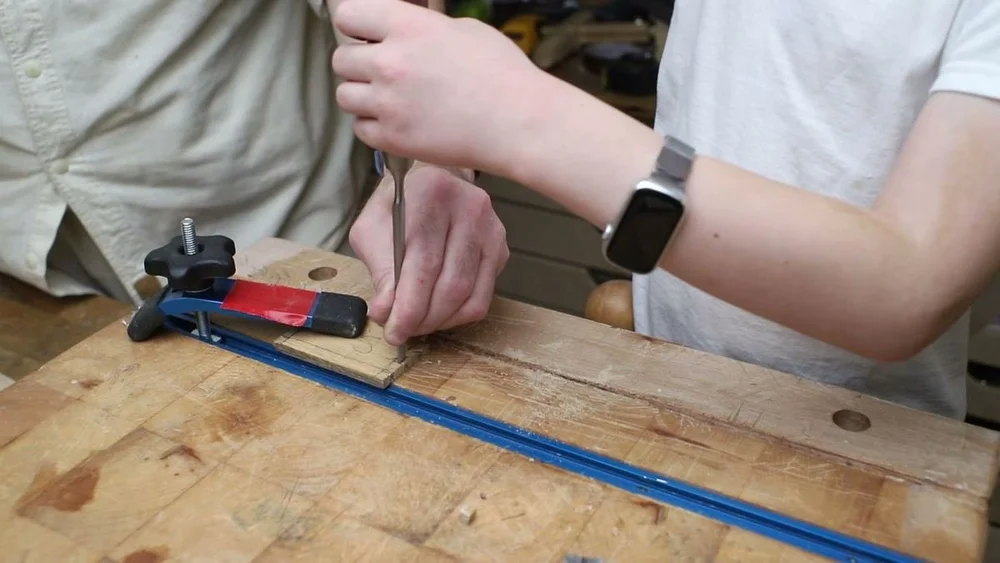
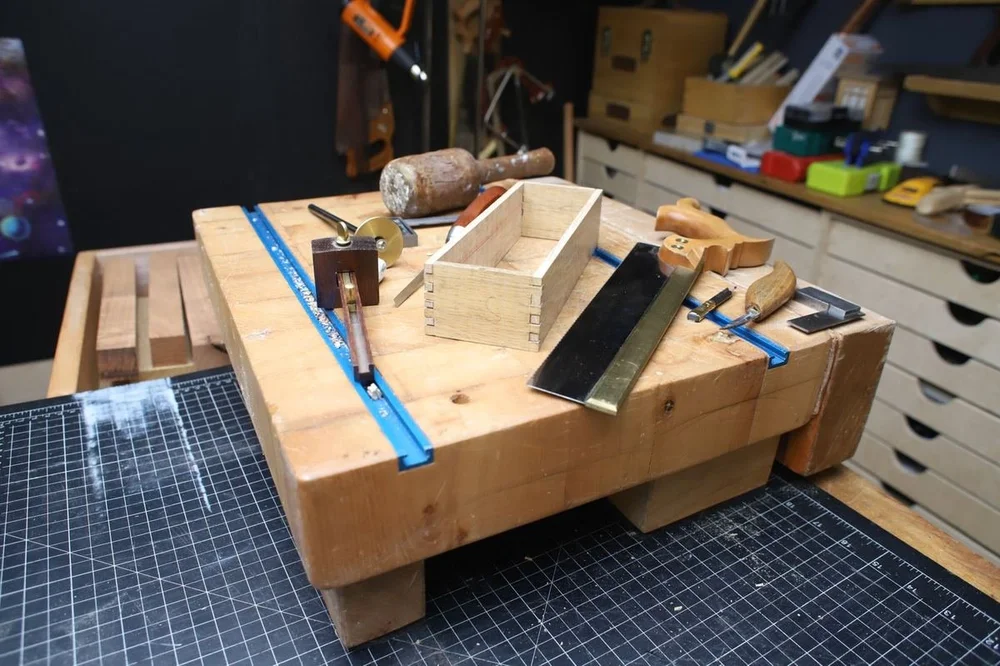
On a joint this small, a little error shows. Some of the sockets were a touch loose. Some of the fingers needed a bit more paring. That is the nature of a first set of hand-cut box joints, and it is also why the next step exists.
Glue-up, and a little paste
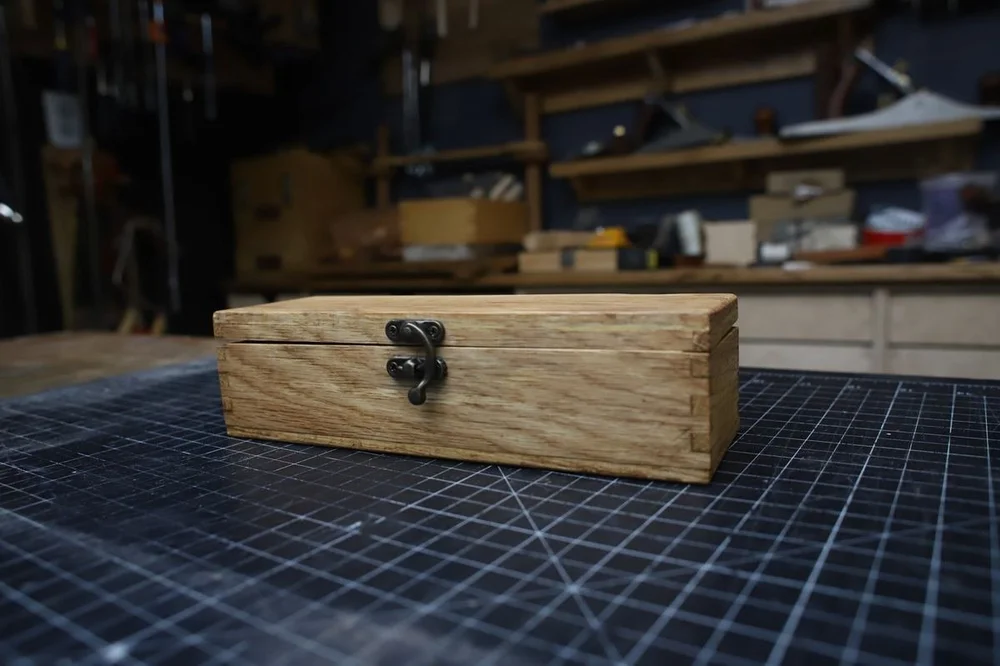
The four sides lock into each other, which is the whole point of the joint: a lot of long-grain glue surface, and a mechanical interlock that looks good even before you finish it.
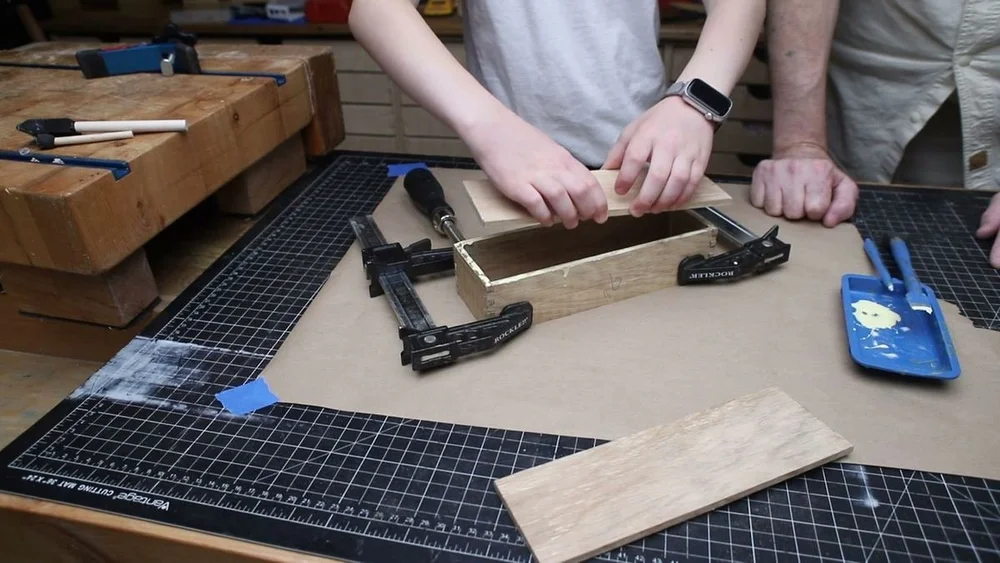
We glued the carcass together, then glued a 1/4" top and a 1/4" bottom directly onto it. At that point the box was completely sealed — no lid yet.
Where the joints had small gaps, we mixed white oak sawdust with yellow glue into a paste and packed it in. It is the same wood, so once it is planed and sanded it blends in much better than a store-bought filler.
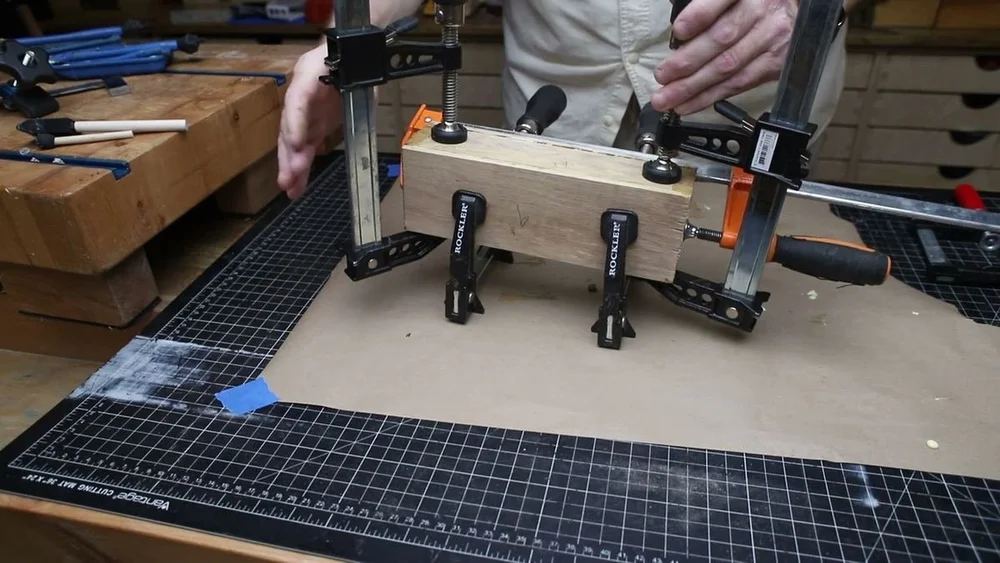
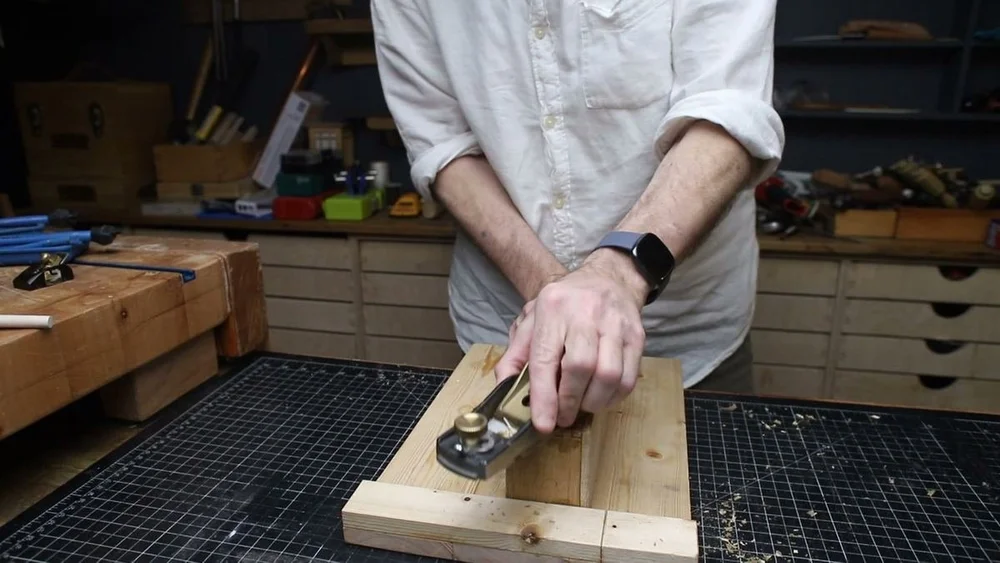
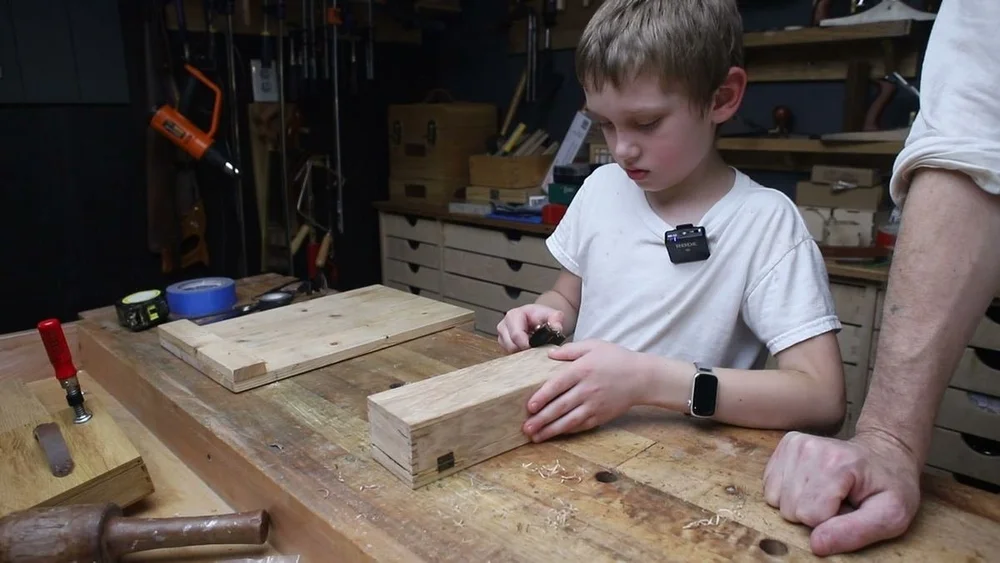
After the glue dried, we spent some time with a chisel and a smoothing plane getting the paste and the squeeze-out off, and bringing the fingers flush with the sides.
Cutting the lid from a sealed box
This is the part of box-making that always feels slightly backwards, and also the part that makes the lid fit.
Because the top is already glued on, you can take the whole sealed box to the table saw and cut it open. Four passes — spin, cut, spin, cut — with the blade only high enough to get through the 1/4" sides.
The important detail is where you cut. We cut below the top line, so a little of the side wall stays with the lid. That gives the lid a cavity of its own, instead of being a flat panel sitting on top of the box.
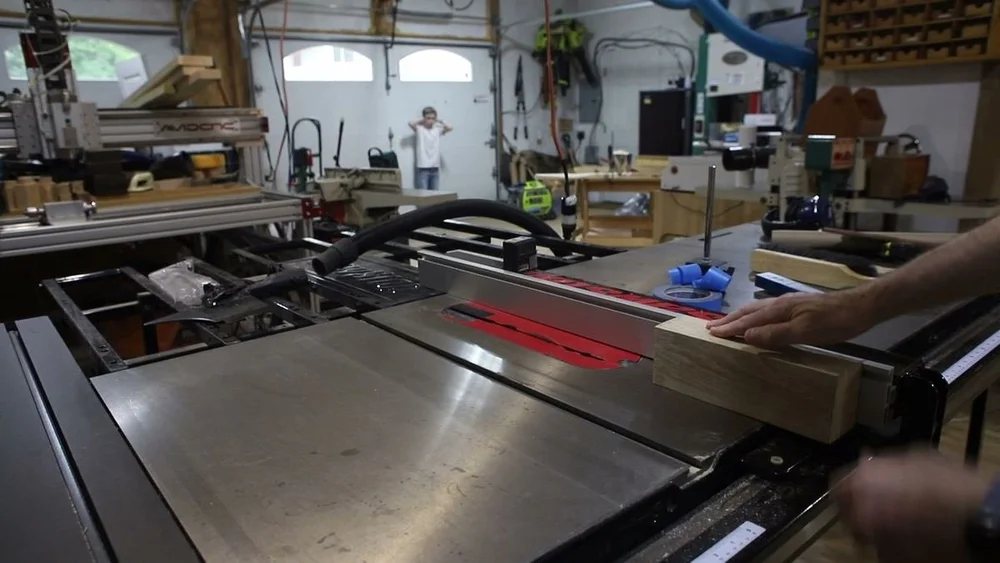
The kerf is the only material you lose. If the box was square when you glued it, the lid and the base still match.
Hinges, clasp, and wax
Two small hinges go on the back. A clasp goes on the front. We marked them so one leaf sits on the lid and the other on the base, then drilled and screwed them in.
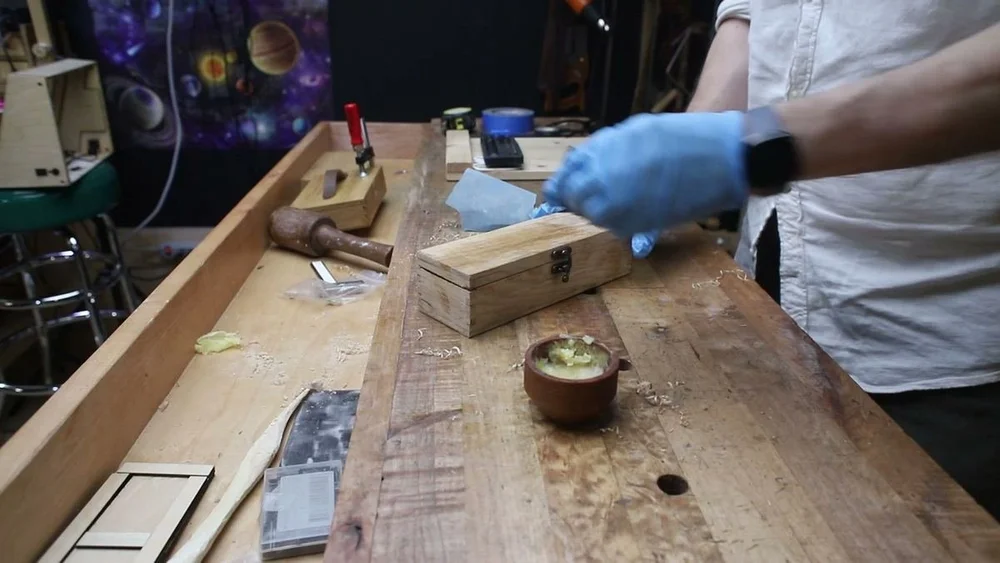
For a finish we used 220-grit sandpaper dipped in wax polish, and sanded the wax into the oak. Then we buffed it with a cloth. It is a simple finish, and on a small box like this it is enough: the grain shows, the surface feels smooth, and you can use the box the same day.
Putting the screwdriver in
The last test was the original one.
The foam tray, the bits, the cable, and the driver went back in. It fit. The cardboard could go in the trash.
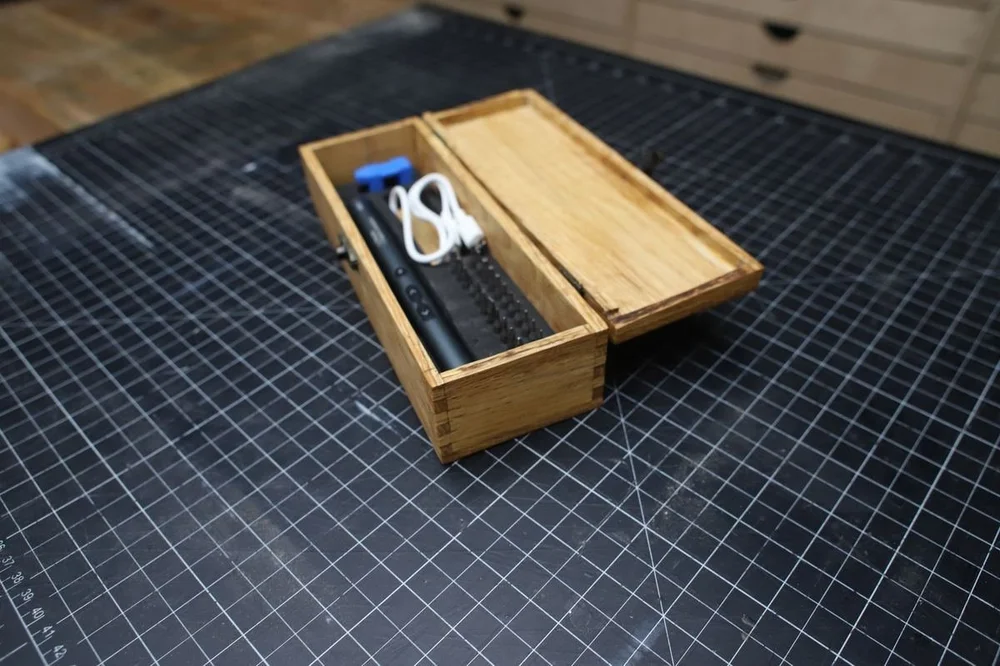
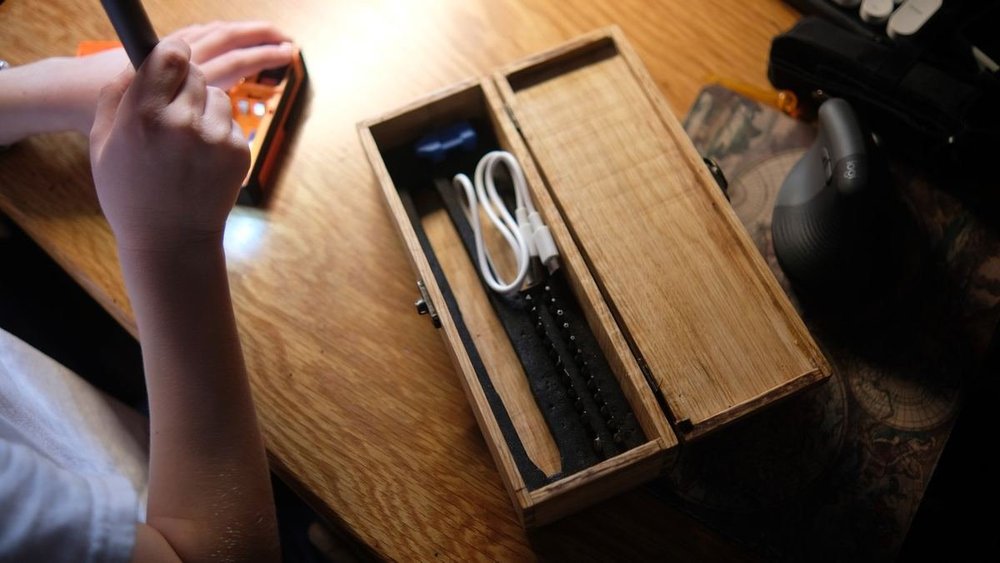
A box this size is not a complicated project. The interesting part was doing the joints by hand, on pieces that were only 1/4" thick, and ending up with something that actually holds the tool it was built around.
The joints are not perfect. That is all right. They were cut with a saw and a chisel, they hold, and the screwdriver has a place to live.
Box construction at a glance
| Material | 1/4" white oak |
| Joinery | Hand-cut 1/4" box joints (8 fingers on 2" sides) |
| Layout | Marking gauge, knife, pencil, dividers |
| Cutting | Dovetail saw and chisel |
| Lid | Glued on as a sealed box, then cut below the top line on the table saw |
| Hardware | Two small hinges and a clasp |
| Finish | 220-grit sandpaper with wax polish, buffed |
| Contents | Electric screwdriver, foam bit tray, and charging cable |
How to Build a Solid Wood Exterior Door
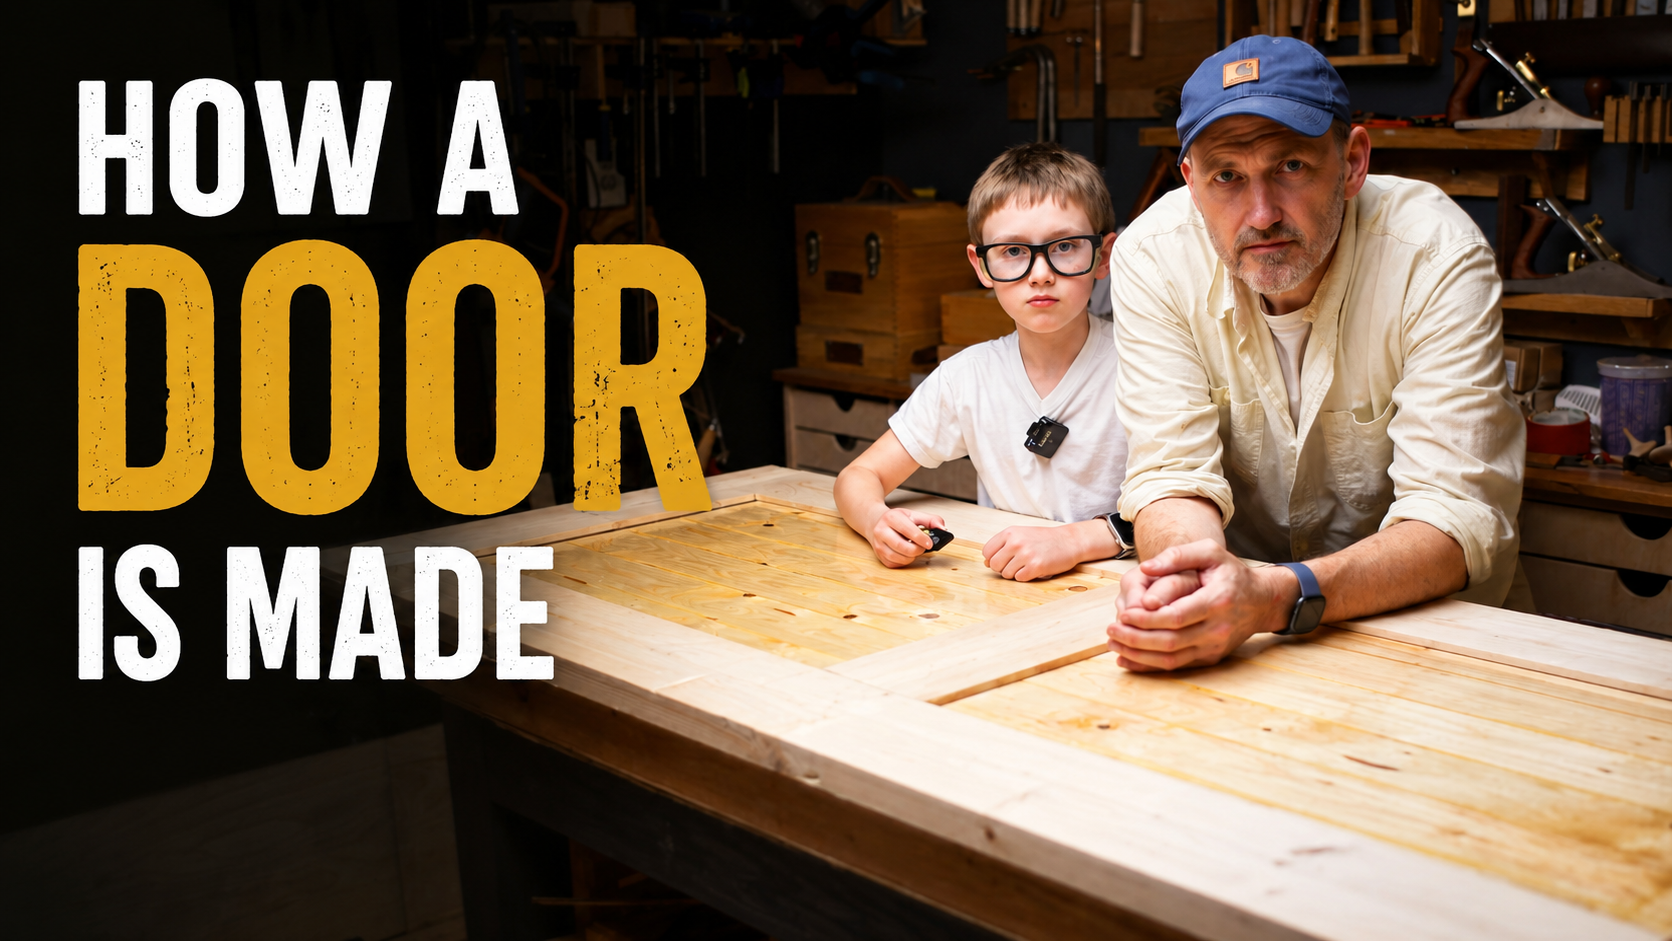
The door is finished. Part 2 covers bridle joints, floating panels, glue-up, paint, and hanging a solid-wood exterior playhouse door built from framing lumber.
A few weeks ago, I wrote about the first part of this project: taking ordinary framing lumber, milling it flat and square, gluing up the solid-wood panels, filling some of the defects with epoxy, and making a small scale model so we could work out how the door should actually go together.
Now the door is finished.
If you want to see the earlier preparation work, you can find that here: Building an Exterior Door From Framing Lumber — Part 1
For this second part, the interesting thing wasn't really cutting boards to length or running them through machines. It was figuring out how to turn all of those separate pieces of wood into a door that would stay square, allow the panels to move, and survive outside.
How the Door Is Put Together
At its simplest, this is a traditional frame-and-panel door.
There are two long vertical stiles, several horizontal rails, and two solid-wood panels captured inside the frame.
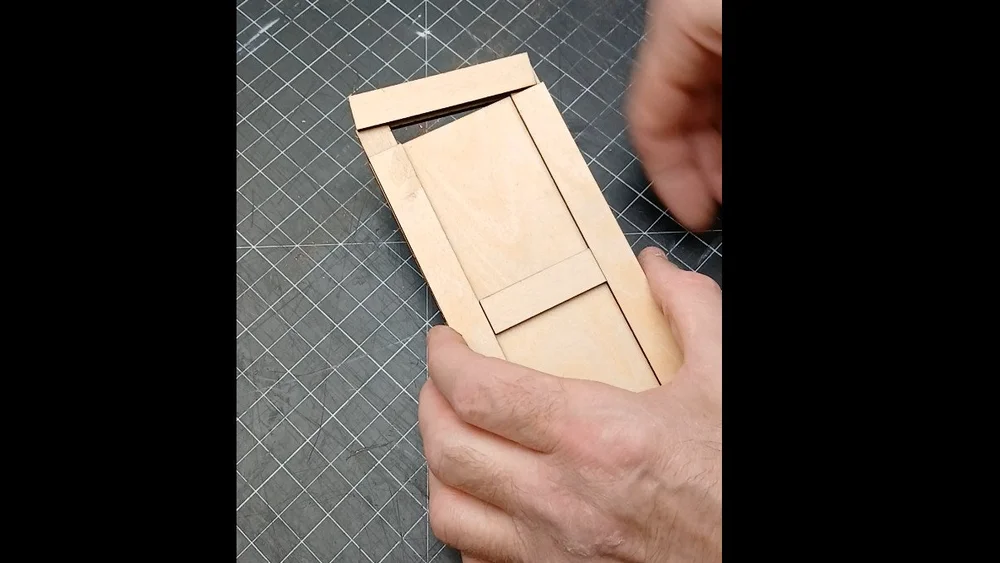
The rails and stiles provide the structure. The panels fill the openings, but they aren't supposed to hold the door together. Because they are solid wood, they also need to be able to expand and contract as the humidity changes.
That means the panels sit inside grooves in the frame rather than being rigidly glued along all four sides.
Making the small model before cutting the full-size joinery turned out to be useful here. It gave us a chance to understand the order of assembly and see how all the joints interacted before committing to the actual door.
Cutting the Joinery
The main structural joints connect the rails to the stiles.
We used large bridle-style joints, essentially creating interlocking sections of wood that give us a substantial amount of long-grain glue surface while mechanically tying the frame together.
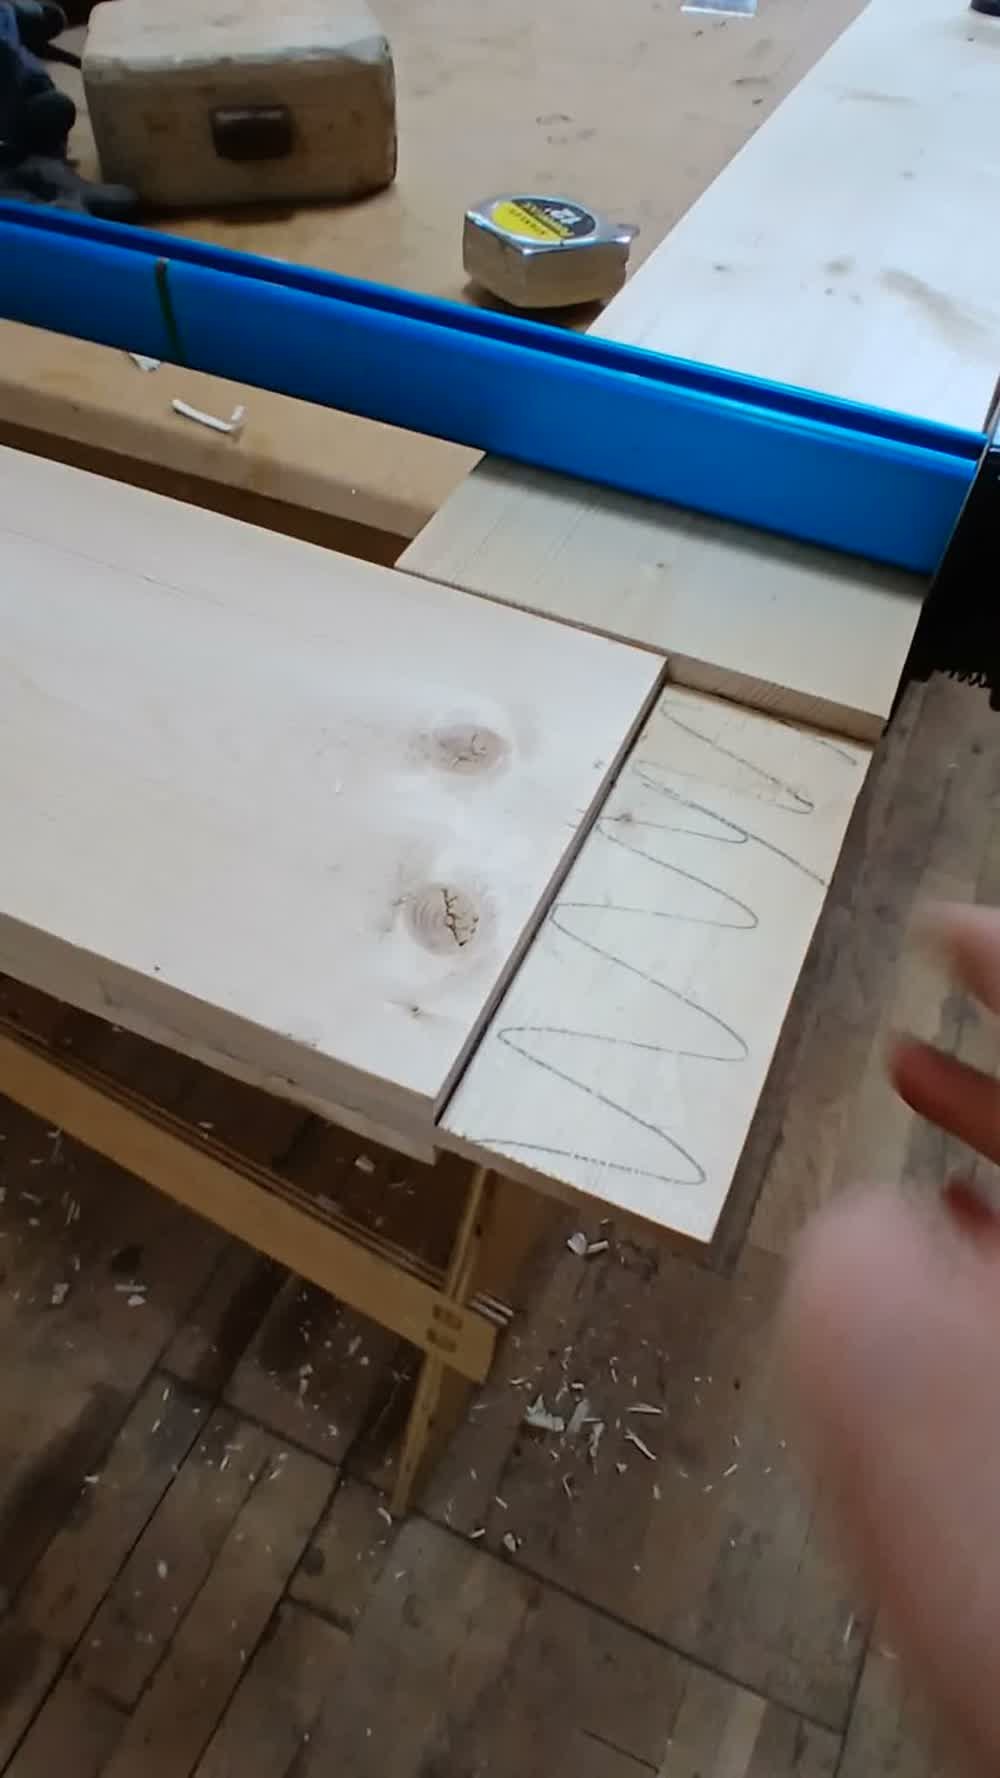
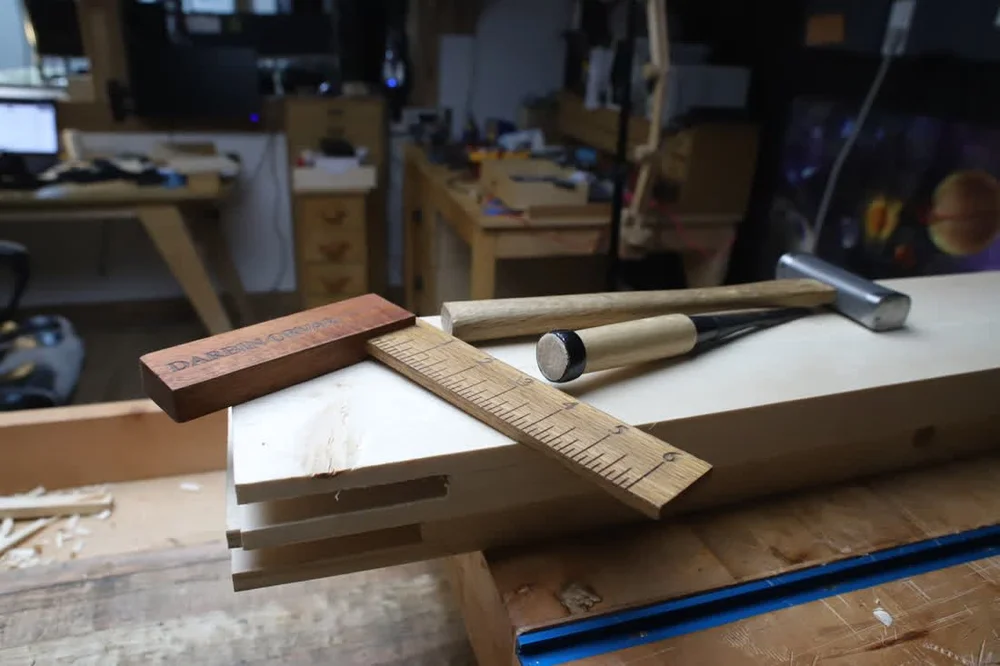
One slightly unusual part of this build was the orientation of some of the joints. Because of the jig and the way we were cutting them, we ended up reversing the tenon arrangement from what you might normally expect.
Structurally, though, the principle is the same: large mating surfaces, tight-fitting shoulders, and enough material left around the joint to keep the frame strong.
There was quite a bit of fitting involved. A joint this large doesn't need to be forced together, but it also can't be loose. Ideally, it should slide together with hand pressure and close cleanly at the shoulders.
Grooves for the Floating Panels
Before the frame could be assembled, we also needed grooves along the inside edges of the rails and stiles.
These grooves capture the panels.
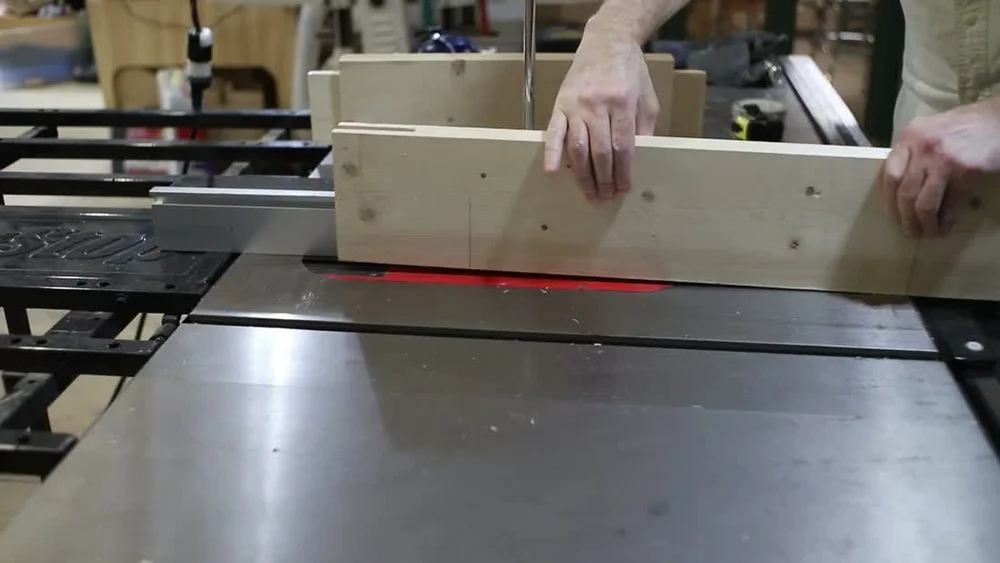
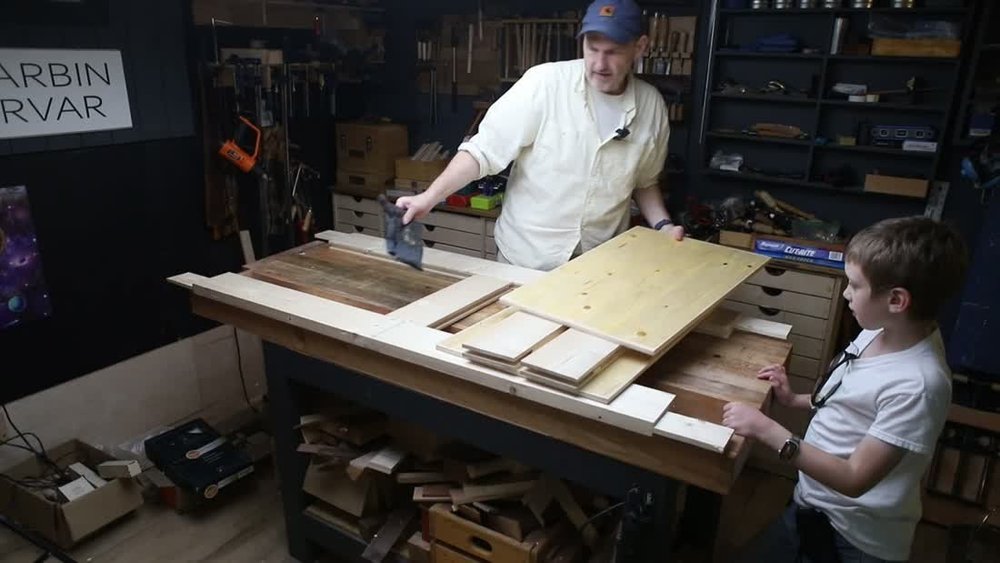
The important detail is that the panel isn't glued permanently into the groove. Solid wood changes dimension across the grain as moisture levels change throughout the year.
If you lock a wide solid-wood panel into a rigid frame, something eventually has to give.
Instead, the frame is glued together while the panels remain free to move inside it.
The panels themselves were made earlier by resawing 2×4 lumber into thinner pieces, gluing them together, and then coating them with a thin layer of epoxy to fill knots and defects.
Dry Fitting Everything
Before glue came anywhere near the project, we assembled the entire door dry.
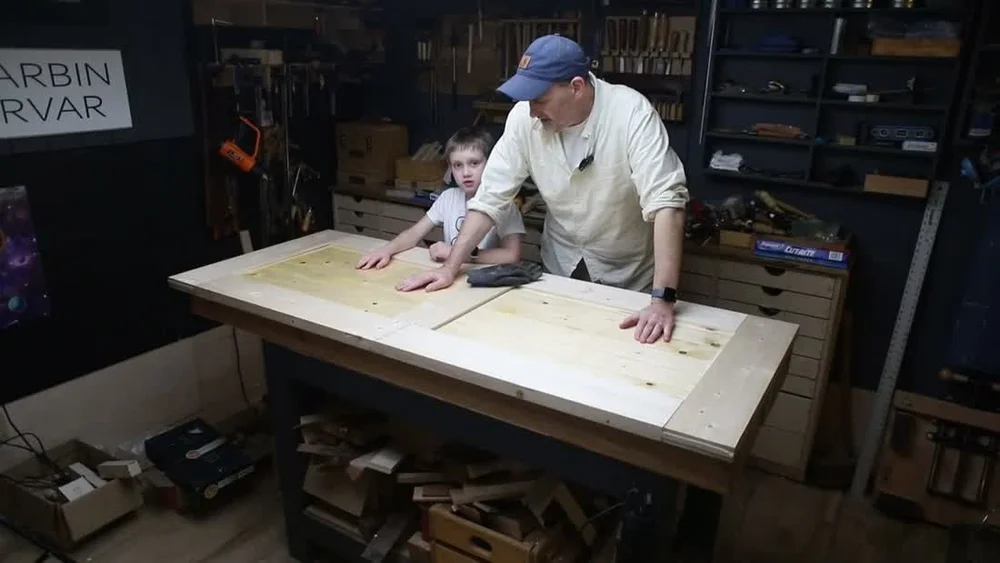
This is probably one of the most important stages in a project like this.
Once glue is applied to several large joints at the same time, there isn't much opportunity to discover that a rail is slightly too long or that one of the panels won't seat properly.
During the dry fit we could check:
- whether all the joints closed
- whether the panels fit properly in their grooves
- the overall width and height
- whether the frame was square
- and whether the entire assembly could actually go together in the required order
At this point it finally stopped looking like a pile of lumber and started looking like a door.
Gluing the Door Together
The final glue-up was largely a matter of repeating the dry assembly, only considerably faster.
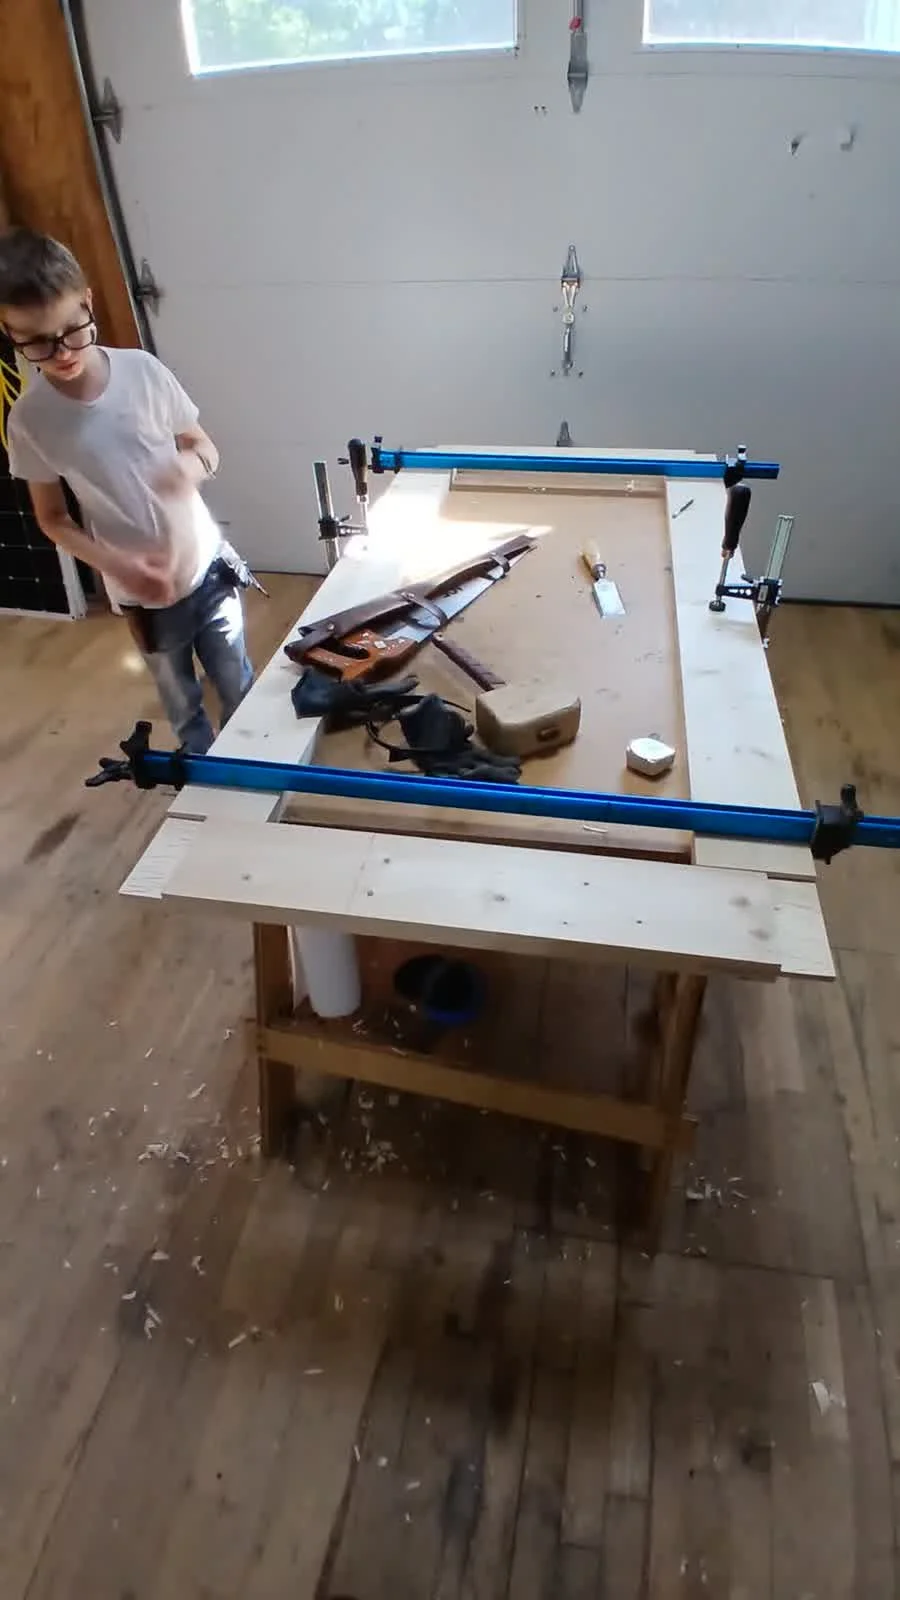
Glue went onto the structural joints, while the panels were left floating.
Once everything was assembled, we brought the joints together with clamps and checked the diagonals to make sure the door hadn't been pulled out of square.
With something this large, a small error at one corner can become a surprisingly large error by the time you reach the opposite end.
After the glue cured, we cleaned up the joints and did the final sanding and fitting.
Finishing the Door
Because this door is going on the exterior of the playhouse, it needed more protection than an interior piece of furniture.
The panels had already received epoxy during the earlier stages of the build, both to stabilize the surface and to fill some of the knots and defects in the inexpensive lumber.
After the final cleanup, the door was prepared for paint.
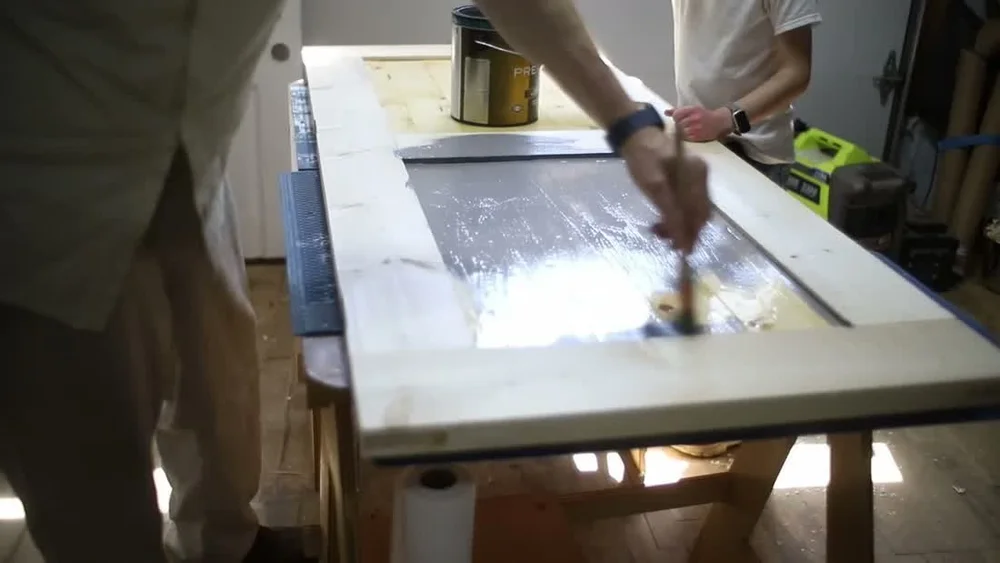
One reason this project was a useful experiment was that we weren't starting with expensive furniture-grade lumber. Much of the door began as ordinary construction lumber.
There are tradeoffs to that. You have to spend more time choosing straight boards, milling them properly, filling defects, and dealing with movement.
But after all of that work, the lumber itself becomes almost secondary to the construction.
Hanging the Door
The last stage was installing the hinges, fitting the existing lockset, and actually putting the door into the opening.
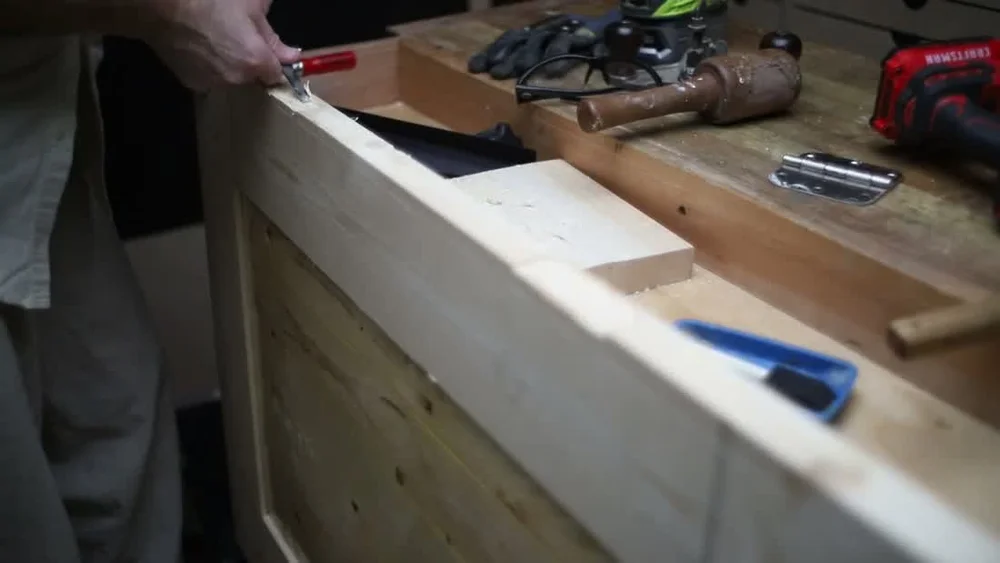
This is also where all of the earlier measurements become very real.
A piece of furniture can be slightly larger or smaller than intended and nobody may ever notice. A door has to fit an opening.
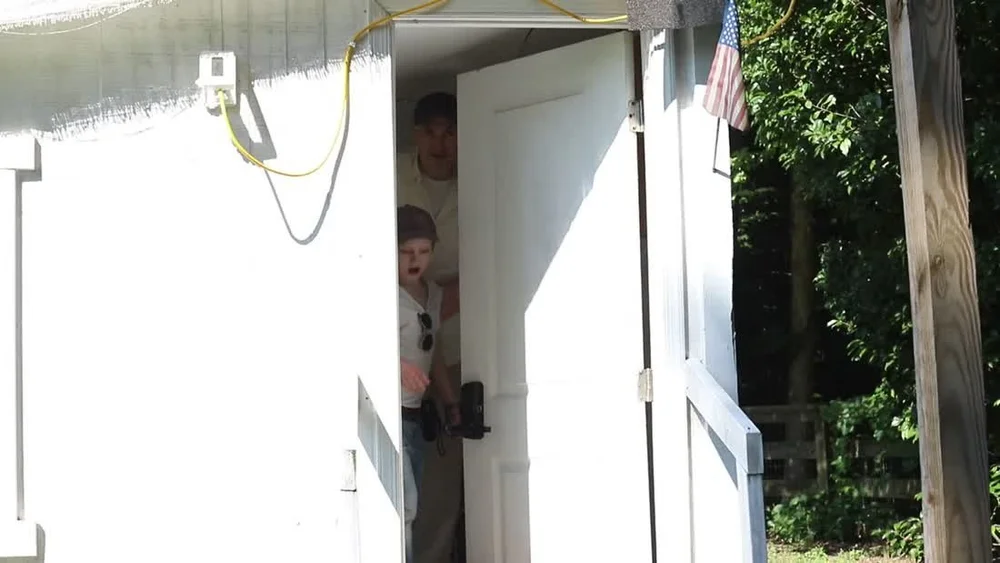
We made the final adjustments, installed the hardware, and hung it.
The Finished Door
The final door is approximately 69 inches tall by 29 inches wide and about 1¼ inches thick.
The frame was made primarily from kiln-dried 2×6 construction lumber, while the two floating panels were made from resawn 2×4s.
It certainly would have been easier to buy a door.
But that wasn't really the point.
The interesting part of this project was seeing how a traditional solid-wood door actually works: how the rails and stiles create the structure, how the joinery keeps everything together, and how the panels can remain free to move while still becoming part of a rigid assembly.
And now we have a door that fits a rather unusual opening—and we know exactly what's inside it.
Watch the full build video: How to Build a Solid Wood Door
Door construction at a glance
| Finished size | Approx. 69 × 29 in. |
| Thickness | Approx. 1¼ in. |
| Frame material | Kiln-dried 2×6 framing lumber |
| Panels | Resawn 2×4 lumber |
| Construction | Frame and panel |
| Panels | Two floating solid-wood panels |
| Main joinery | Large bridle-style joints |
| Use | Exterior playhouse door |
Part 1: Preparing the lumber, making the panels, and building the scale model →
Building an Exterior Door w/ Framing Lumber — Part 1
Build a small exterior door from ordinary 2×6 and 2×4 framing lumber. Part 1 covers milling the frame stock, gluing floating panels, and planning the joinery with a scale model.
We’re building a small exterior door from ordinary kiln-dried whitewood framing lumber. The finished door will be about 69 inches tall and 29 inches wide, using 2×6 material for the rails and stiles and resawn 2×4s for two floating panels.
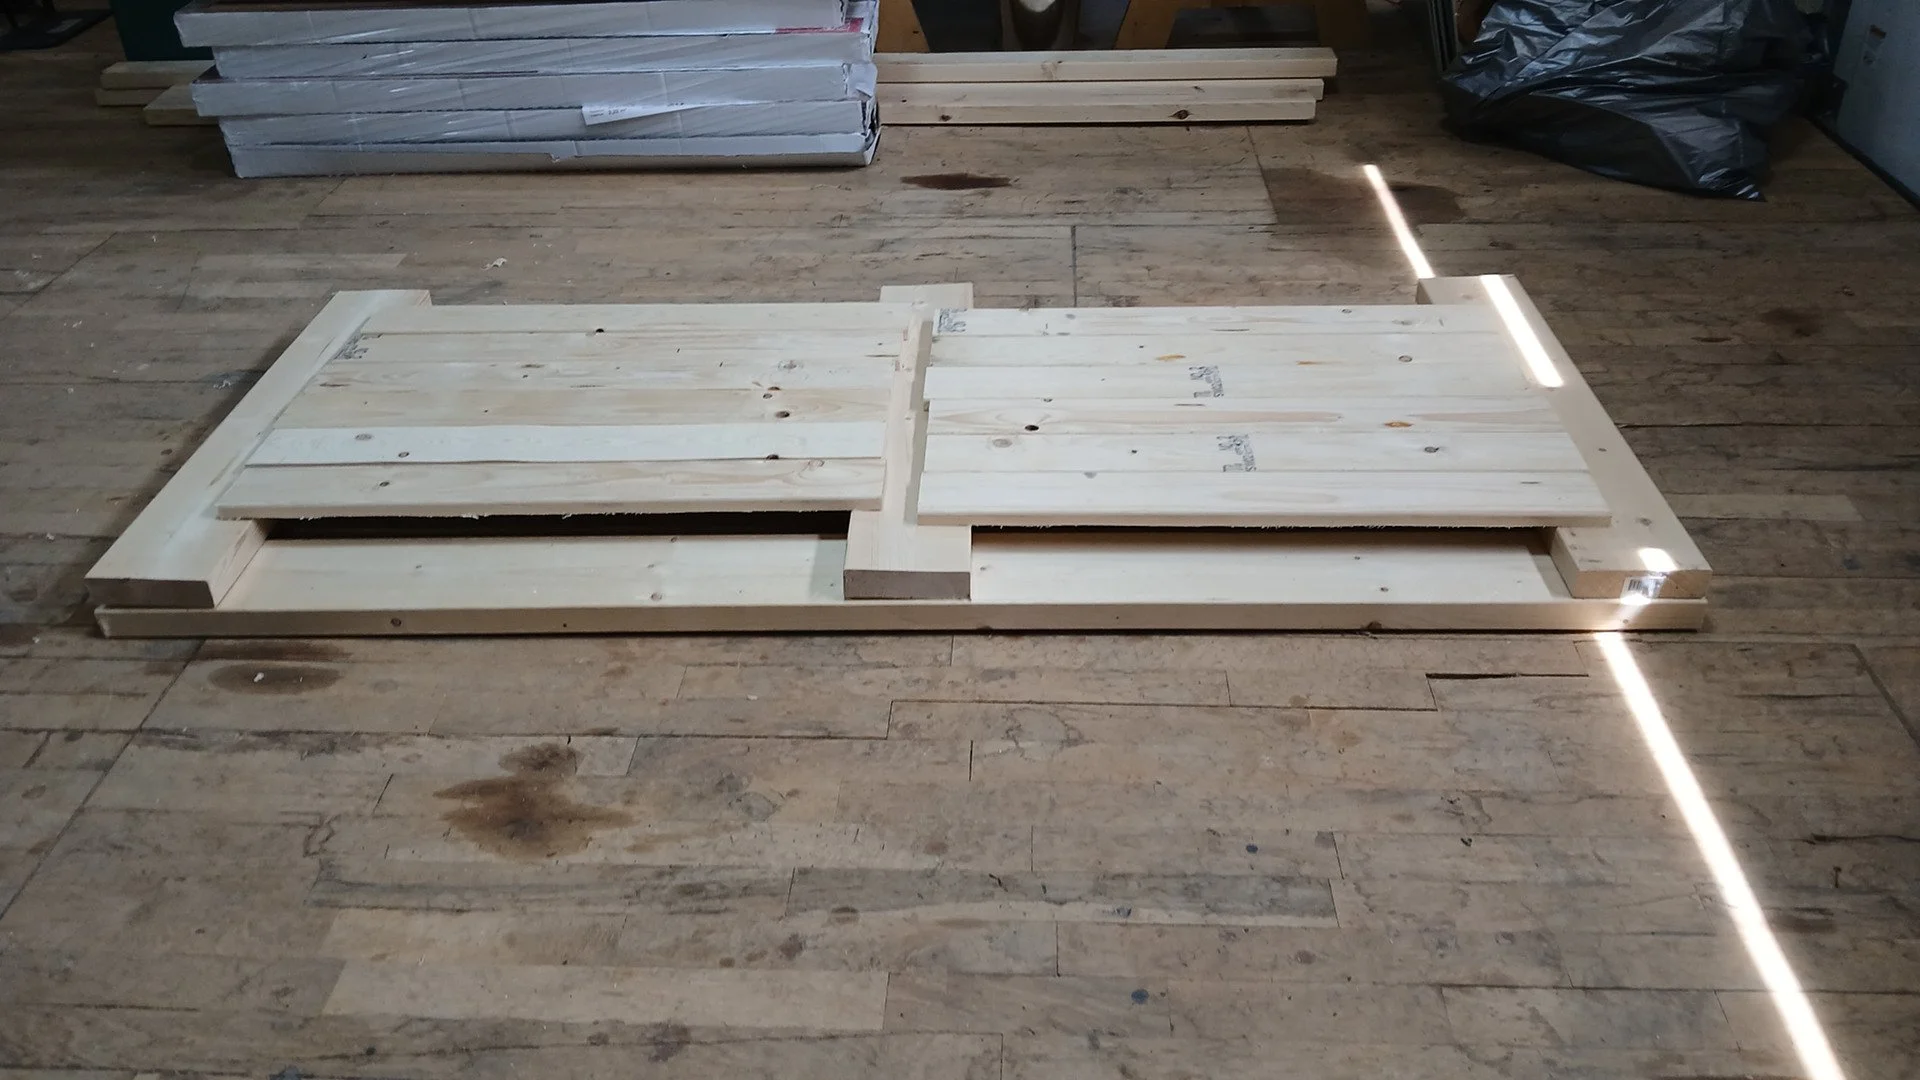
The first photo shows the main pieces laid out before the joinery is cut. Starting with readily available construction lumber makes the project affordable and easy to source, but every board first has to be flattened, straightened and brought to a consistent thickness.
Milling the Frame Stock
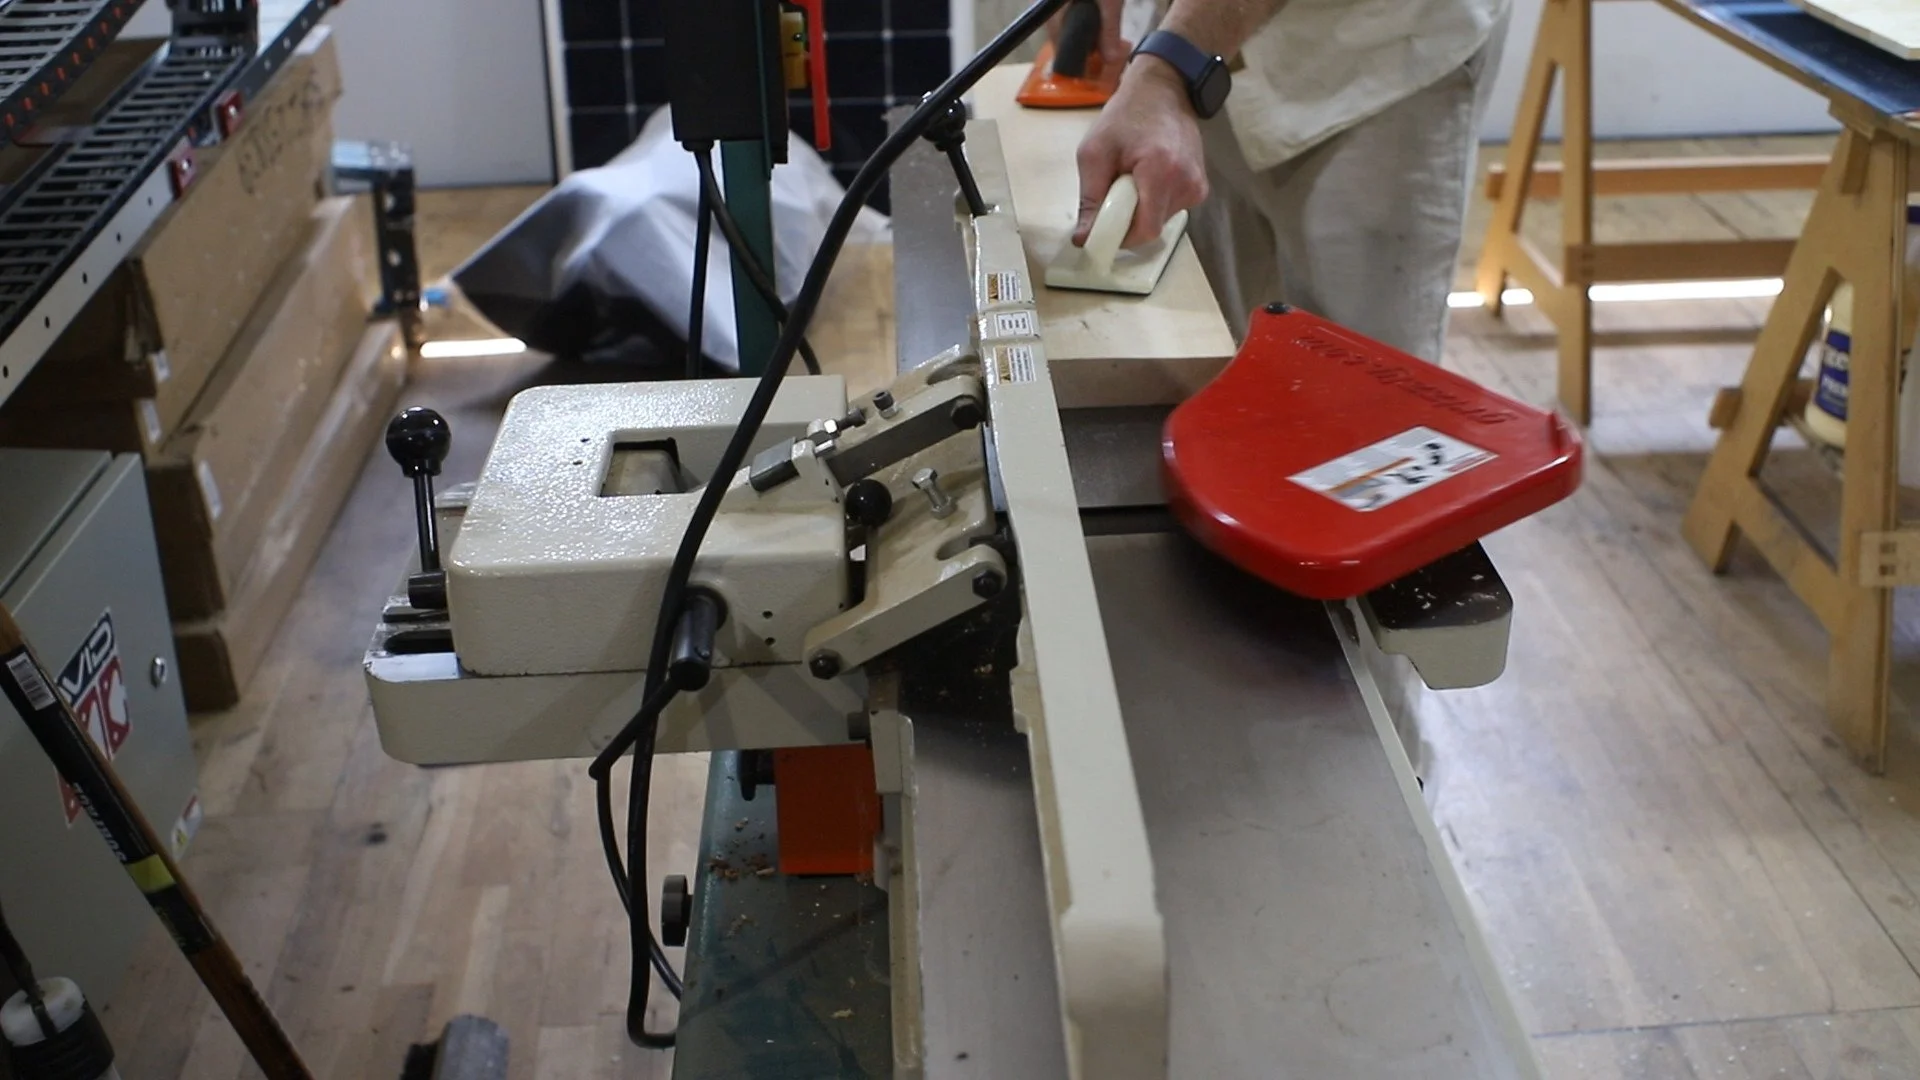
Each 2×6 was run over the jointer to establish one flat face and one straight edge. From there, the boards went through the planer until all of the rails and stiles matched.
After the twists, cups and rough surfaces were removed, the stock finished at roughly 1¼ inches thick. That is a little thinner than the existing 1⅜-inch door, but it is still substantial enough for this small exterior door and works with the hardware we plan to use.
Making the Floating Panels
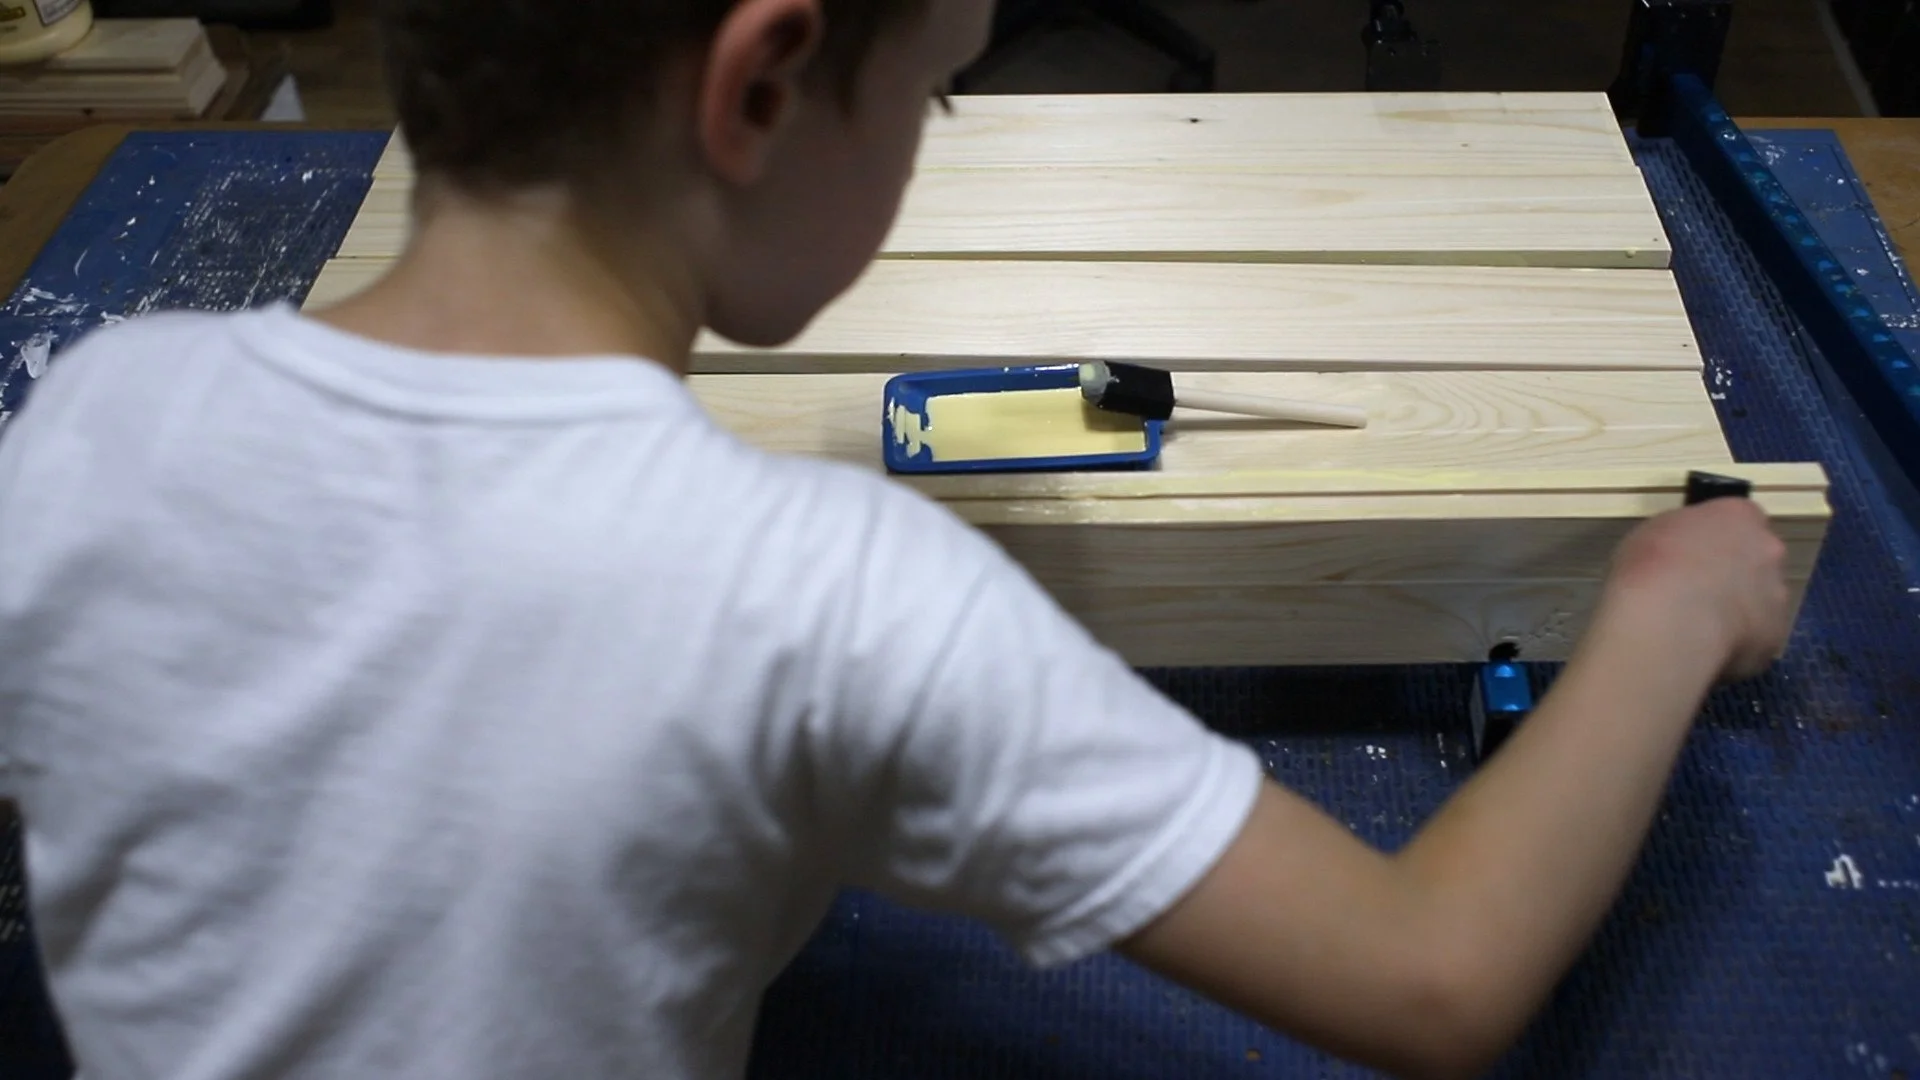
For the two interior panels, we resawed 2×4s into thinner pieces and edge-glued six pieces for each panel. The narrower boards were much easier to resaw on the bandsaw than wider 2×6 material.
The panels are not structural, so their exact thickness is less important than fitting comfortably inside the grooves in the surrounding frame. They need enough room to float as the wood expands and contracts.
Once the glue cured, we coated both faces with a thin layer of two-part epoxy. This filled small knots and voids and helped stabilize the construction lumber before the door receives its exterior finish.
Planning the Joinery with a Scale Model
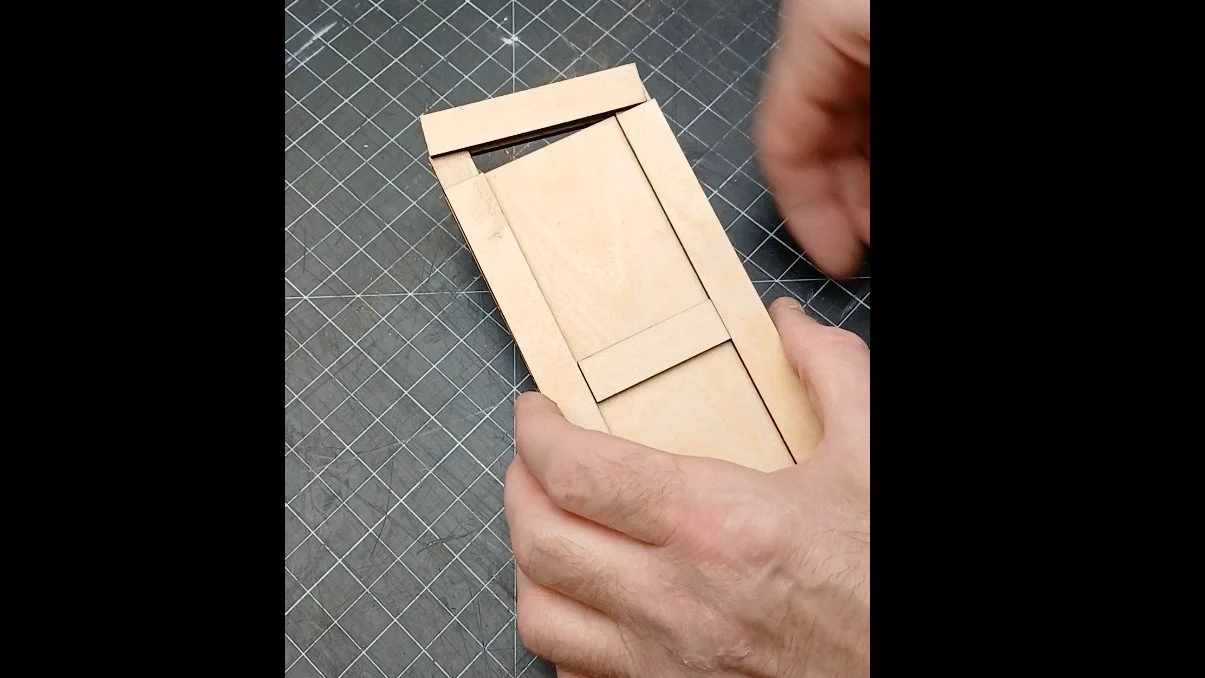
Before cutting the full-size pieces, we made a small model of the entire door from approximately 3 mm plywood at about 1:10 scale. The model makes the relationship between the rails, stiles and floating panels much easier to see, and the parts can be assembled and taken apart by hand.
The outside corners will use bridle joints, while the center rail will use mortise-and-tenon joints. The long vertical stiles carry the tongue portion of the bridle joints, and the shorter horizontal rails receive them—an orientation that also makes the full-size cuts practical on the table saw.
With the layout confirmed, the next step is cutting the joinery in the real door. That will be covered in the next post.