How to Build a Solid Wood Exterior Door
A few weeks ago, I wrote about the first part of this project: taking ordinary framing lumber, milling it flat and square, gluing up the solid-wood panels, filling some of the defects with epoxy, and making a small scale model so we could work out how the door should actually go together.
Now the door is finished.
If you want to see the earlier preparation work, you can find that here: Building an Exterior Door From Framing Lumber — Part 1
For this second part, the interesting thing wasn't really cutting boards to length or running them through machines. It was figuring out how to turn all of those separate pieces of wood into a door that would stay square, allow the panels to move, and survive outside.
How the Door Is Put Together
At its simplest, this is a traditional frame-and-panel door.
There are two long vertical stiles, several horizontal rails, and two solid-wood panels captured inside the frame.
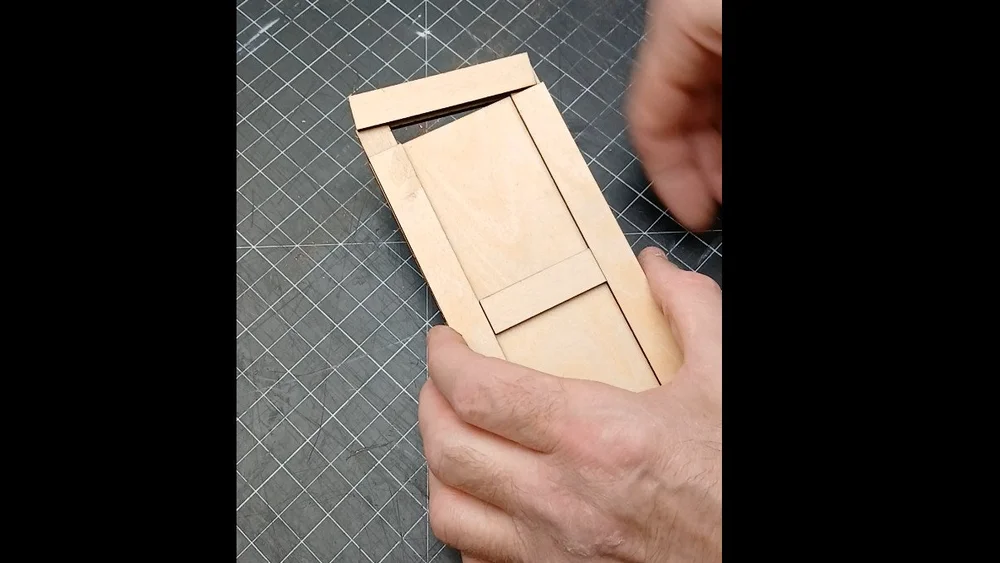
The rails and stiles provide the structure. The panels fill the openings, but they aren't supposed to hold the door together. Because they are solid wood, they also need to be able to expand and contract as the humidity changes.
That means the panels sit inside grooves in the frame rather than being rigidly glued along all four sides.
Making the small model before cutting the full-size joinery turned out to be useful here. It gave us a chance to understand the order of assembly and see how all the joints interacted before committing to the actual door.
Cutting the Joinery
The main structural joints connect the rails to the stiles.
We used large bridle-style joints, essentially creating interlocking sections of wood that give us a substantial amount of long-grain glue surface while mechanically tying the frame together.
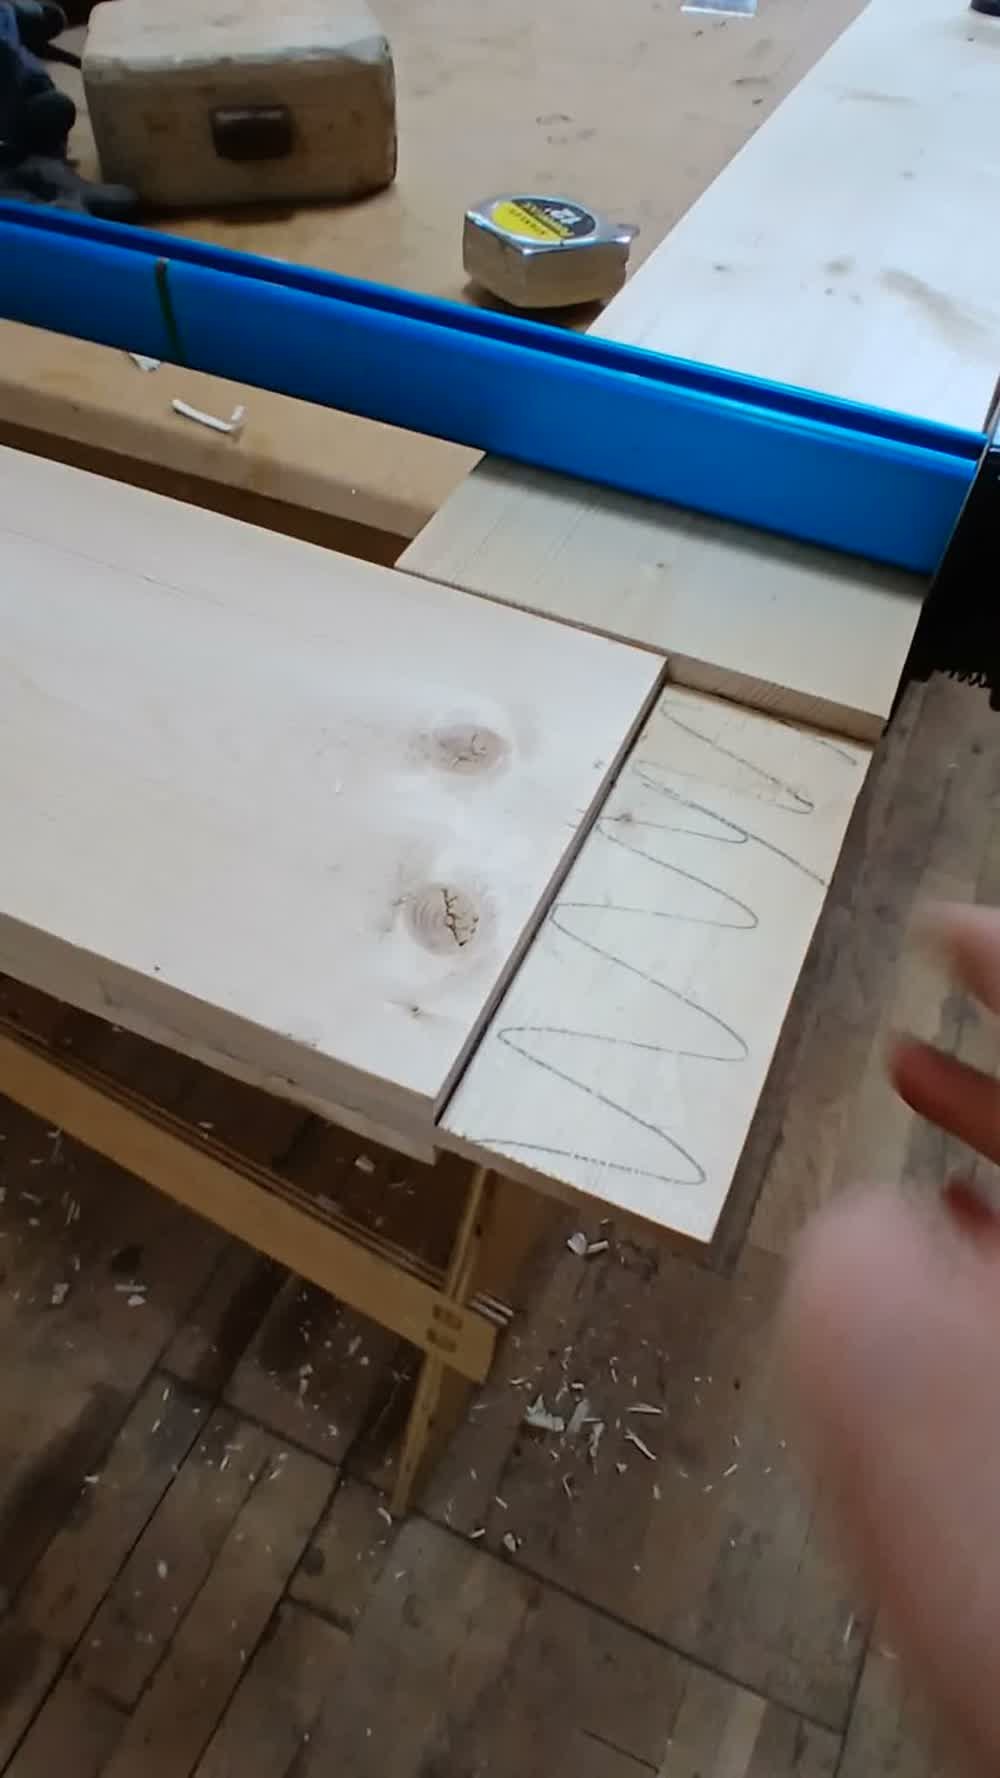
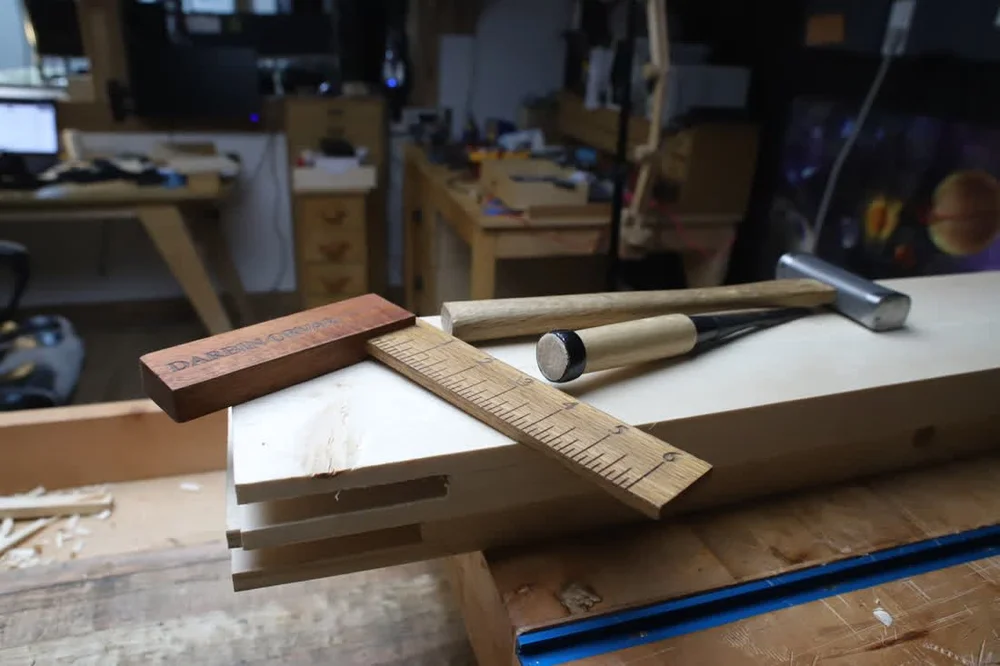
One slightly unusual part of this build was the orientation of some of the joints. Because of the jig and the way we were cutting them, we ended up reversing the tenon arrangement from what you might normally expect.
Structurally, though, the principle is the same: large mating surfaces, tight-fitting shoulders, and enough material left around the joint to keep the frame strong.
There was quite a bit of fitting involved. A joint this large doesn't need to be forced together, but it also can't be loose. Ideally, it should slide together with hand pressure and close cleanly at the shoulders.
Grooves for the Floating Panels
Before the frame could be assembled, we also needed grooves along the inside edges of the rails and stiles.
These grooves capture the panels.
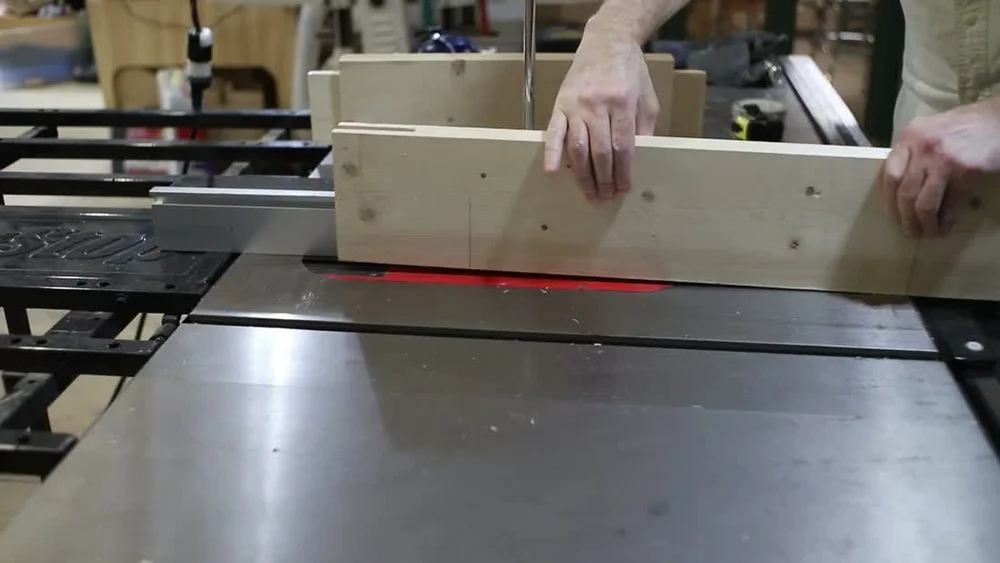
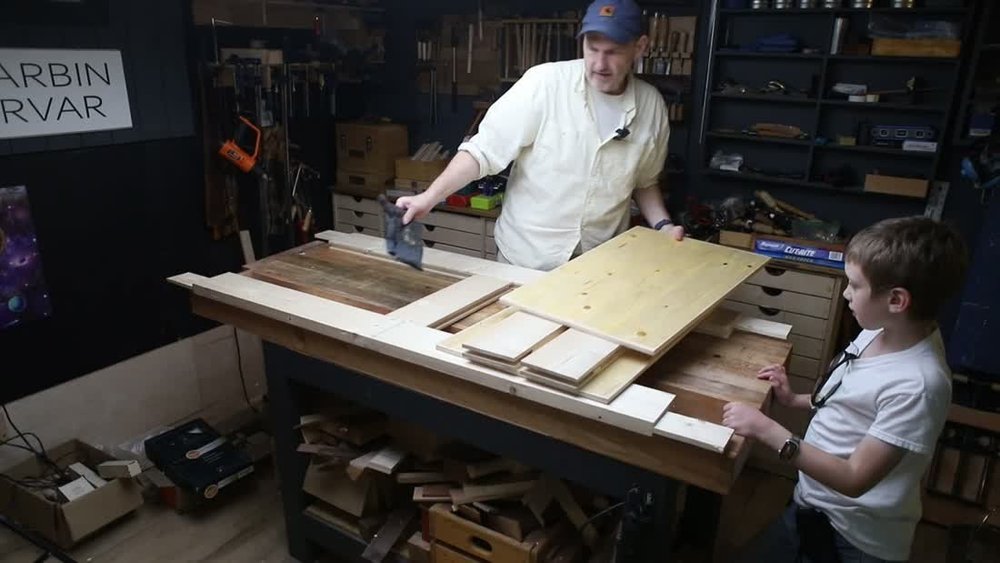
The important detail is that the panel isn't glued permanently into the groove. Solid wood changes dimension across the grain as moisture levels change throughout the year.
If you lock a wide solid-wood panel into a rigid frame, something eventually has to give.
Instead, the frame is glued together while the panels remain free to move inside it.
The panels themselves were made earlier by resawing 2×4 lumber into thinner pieces, gluing them together, and then coating them with a thin layer of epoxy to fill knots and defects.
Dry Fitting Everything
Before glue came anywhere near the project, we assembled the entire door dry.
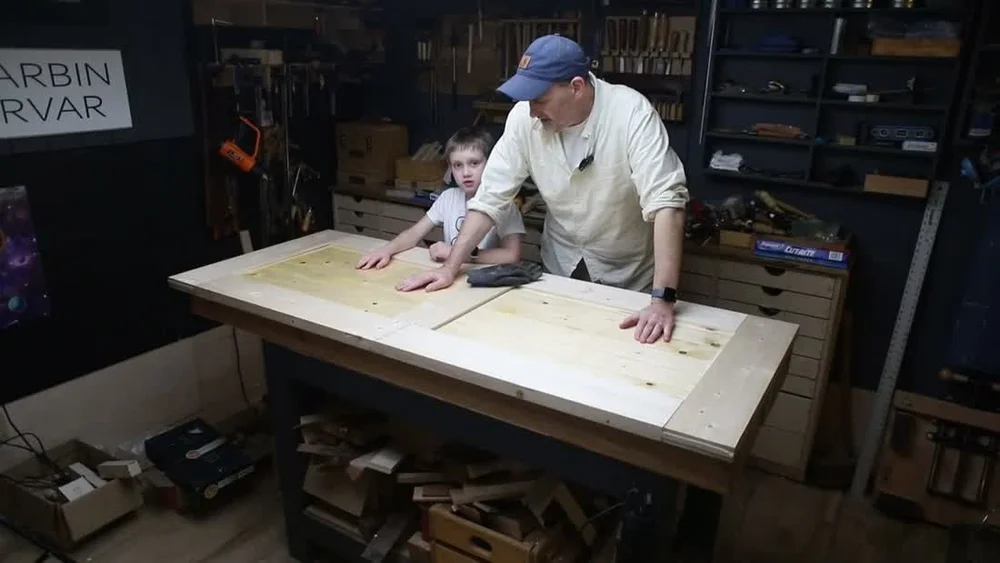
This is probably one of the most important stages in a project like this.
Once glue is applied to several large joints at the same time, there isn't much opportunity to discover that a rail is slightly too long or that one of the panels won't seat properly.
During the dry fit we could check:
- whether all the joints closed
- whether the panels fit properly in their grooves
- the overall width and height
- whether the frame was square
- and whether the entire assembly could actually go together in the required order
At this point it finally stopped looking like a pile of lumber and started looking like a door.
Gluing the Door Together
The final glue-up was largely a matter of repeating the dry assembly, only considerably faster.
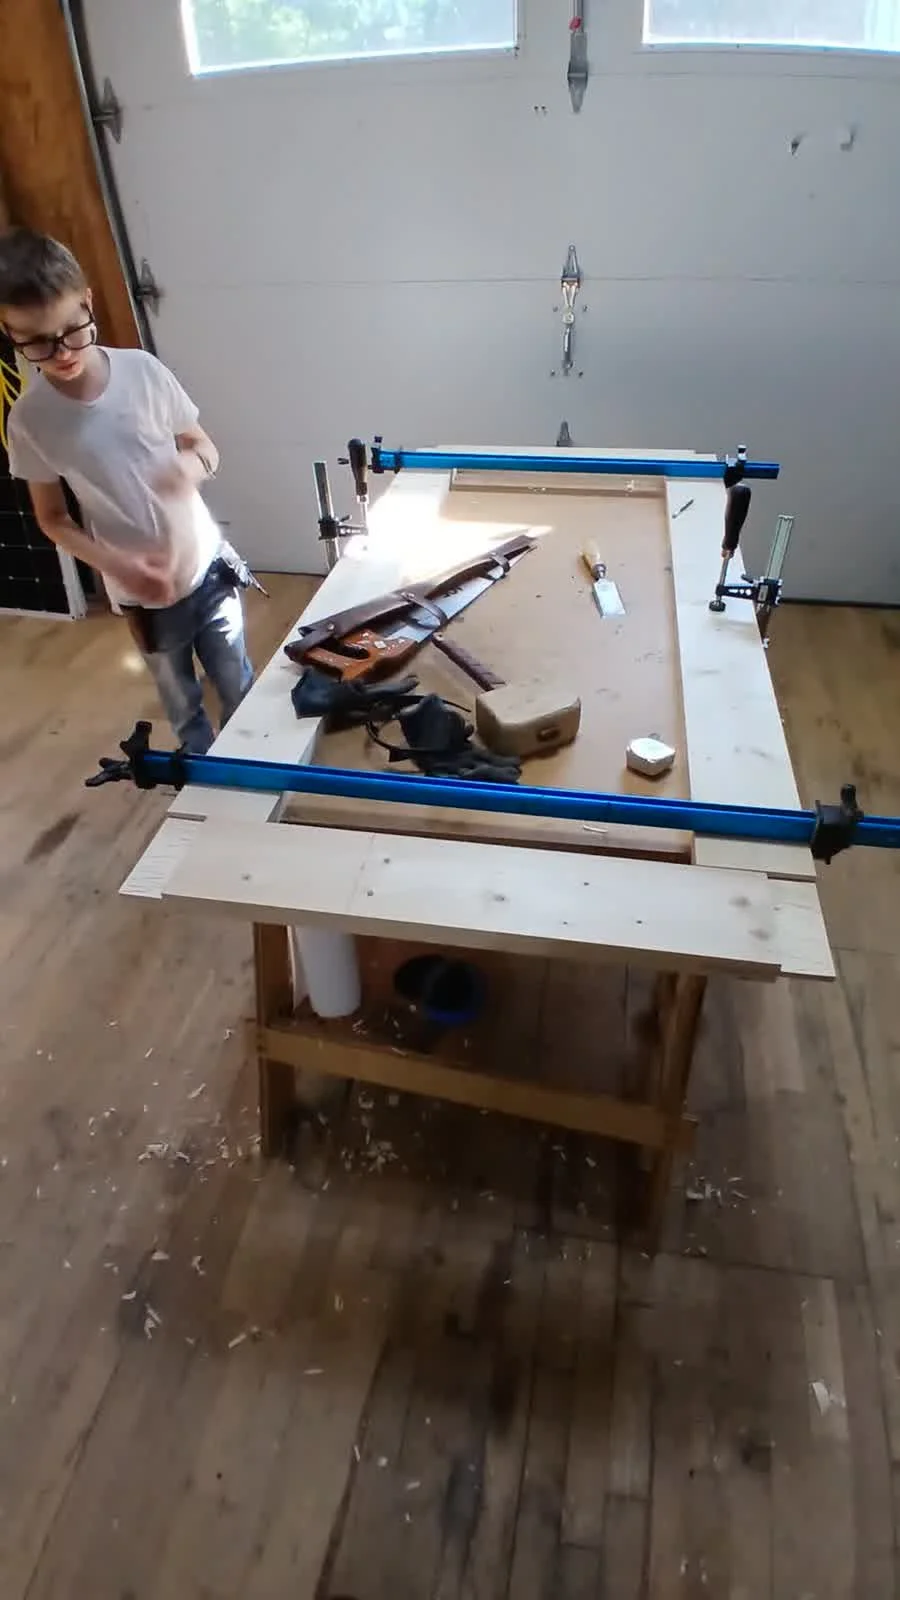
Glue went onto the structural joints, while the panels were left floating.
Once everything was assembled, we brought the joints together with clamps and checked the diagonals to make sure the door hadn't been pulled out of square.
With something this large, a small error at one corner can become a surprisingly large error by the time you reach the opposite end.
After the glue cured, we cleaned up the joints and did the final sanding and fitting.
Finishing the Door
Because this door is going on the exterior of the playhouse, it needed more protection than an interior piece of furniture.
The panels had already received epoxy during the earlier stages of the build, both to stabilize the surface and to fill some of the knots and defects in the inexpensive lumber.
After the final cleanup, the door was prepared for paint.
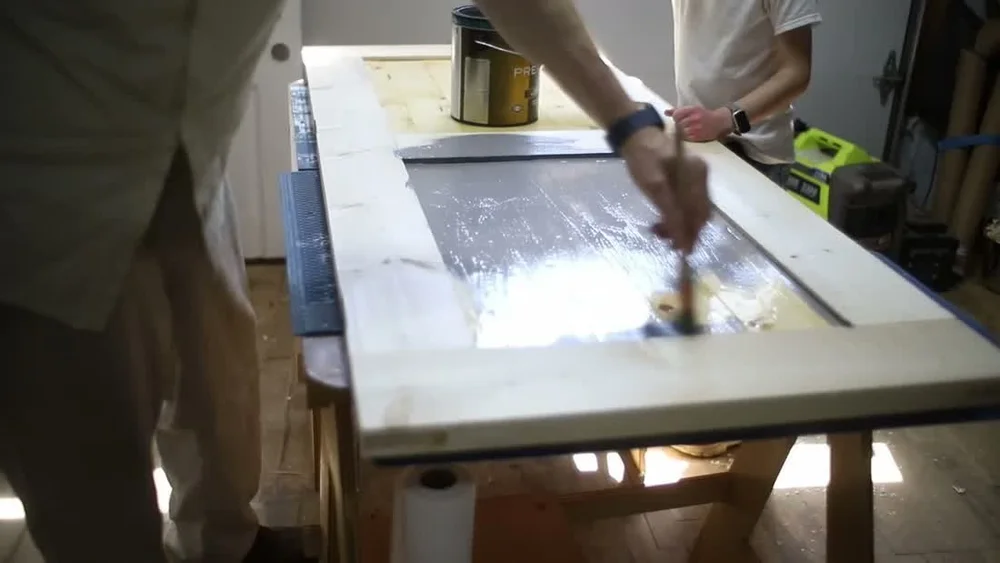
One reason this project was a useful experiment was that we weren't starting with expensive furniture-grade lumber. Much of the door began as ordinary construction lumber.
There are tradeoffs to that. You have to spend more time choosing straight boards, milling them properly, filling defects, and dealing with movement.
But after all of that work, the lumber itself becomes almost secondary to the construction.
Hanging the Door
The last stage was installing the hinges, fitting the existing lockset, and actually putting the door into the opening.
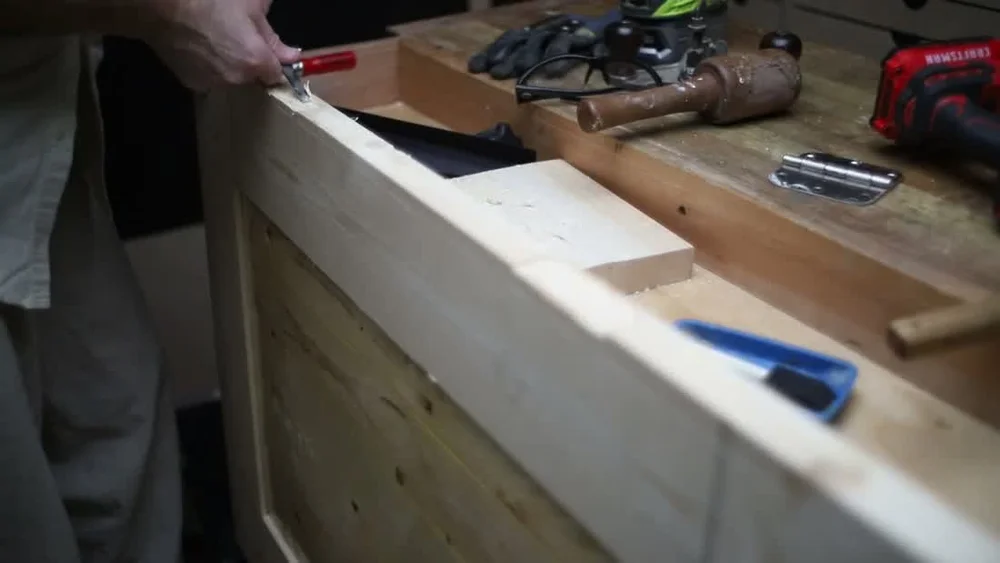
This is also where all of the earlier measurements become very real.
A piece of furniture can be slightly larger or smaller than intended and nobody may ever notice. A door has to fit an opening.
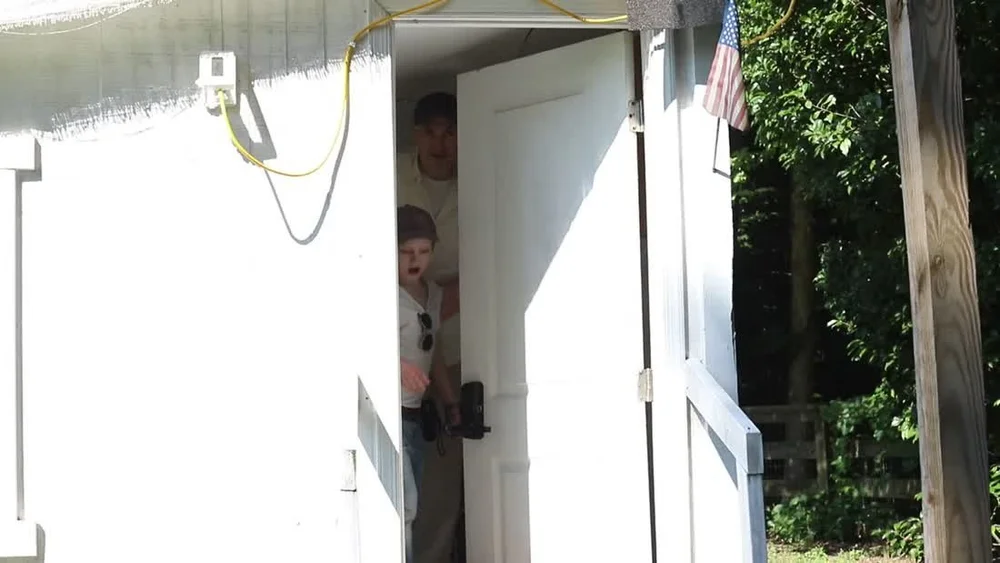
We made the final adjustments, installed the hardware, and hung it.
The Finished Door
The final door is approximately 69 inches tall by 29 inches wide and about 1¼ inches thick.
The frame was made primarily from kiln-dried 2×6 construction lumber, while the two floating panels were made from resawn 2×4s.
It certainly would have been easier to buy a door.
But that wasn't really the point.
The interesting part of this project was seeing how a traditional solid-wood door actually works: how the rails and stiles create the structure, how the joinery keeps everything together, and how the panels can remain free to move while still becoming part of a rigid assembly.
And now we have a door that fits a rather unusual opening—and we know exactly what's inside it.
Watch the full build video: How to Build a Solid Wood Door
Door construction at a glance
| Finished size | Approx. 69 × 29 in. |
| Thickness | Approx. 1¼ in. |
| Frame material | Kiln-dried 2×6 framing lumber |
| Panels | Resawn 2×4 lumber |
| Construction | Frame and panel |
| Panels | Two floating solid-wood panels |
| Main joinery | Large bridle-style joints |
| Use | Exterior playhouse door |
Part 1: Preparing the lumber, making the panels, and building the scale model →