Building an Exterior Door w/ Framing Lumber — Part 1
We’re building a small exterior door from ordinary kiln-dried whitewood framing lumber. The finished door will be about 69 inches tall and 29 inches wide, using 2×6 material for the rails and stiles and resawn 2×4s for two floating panels.
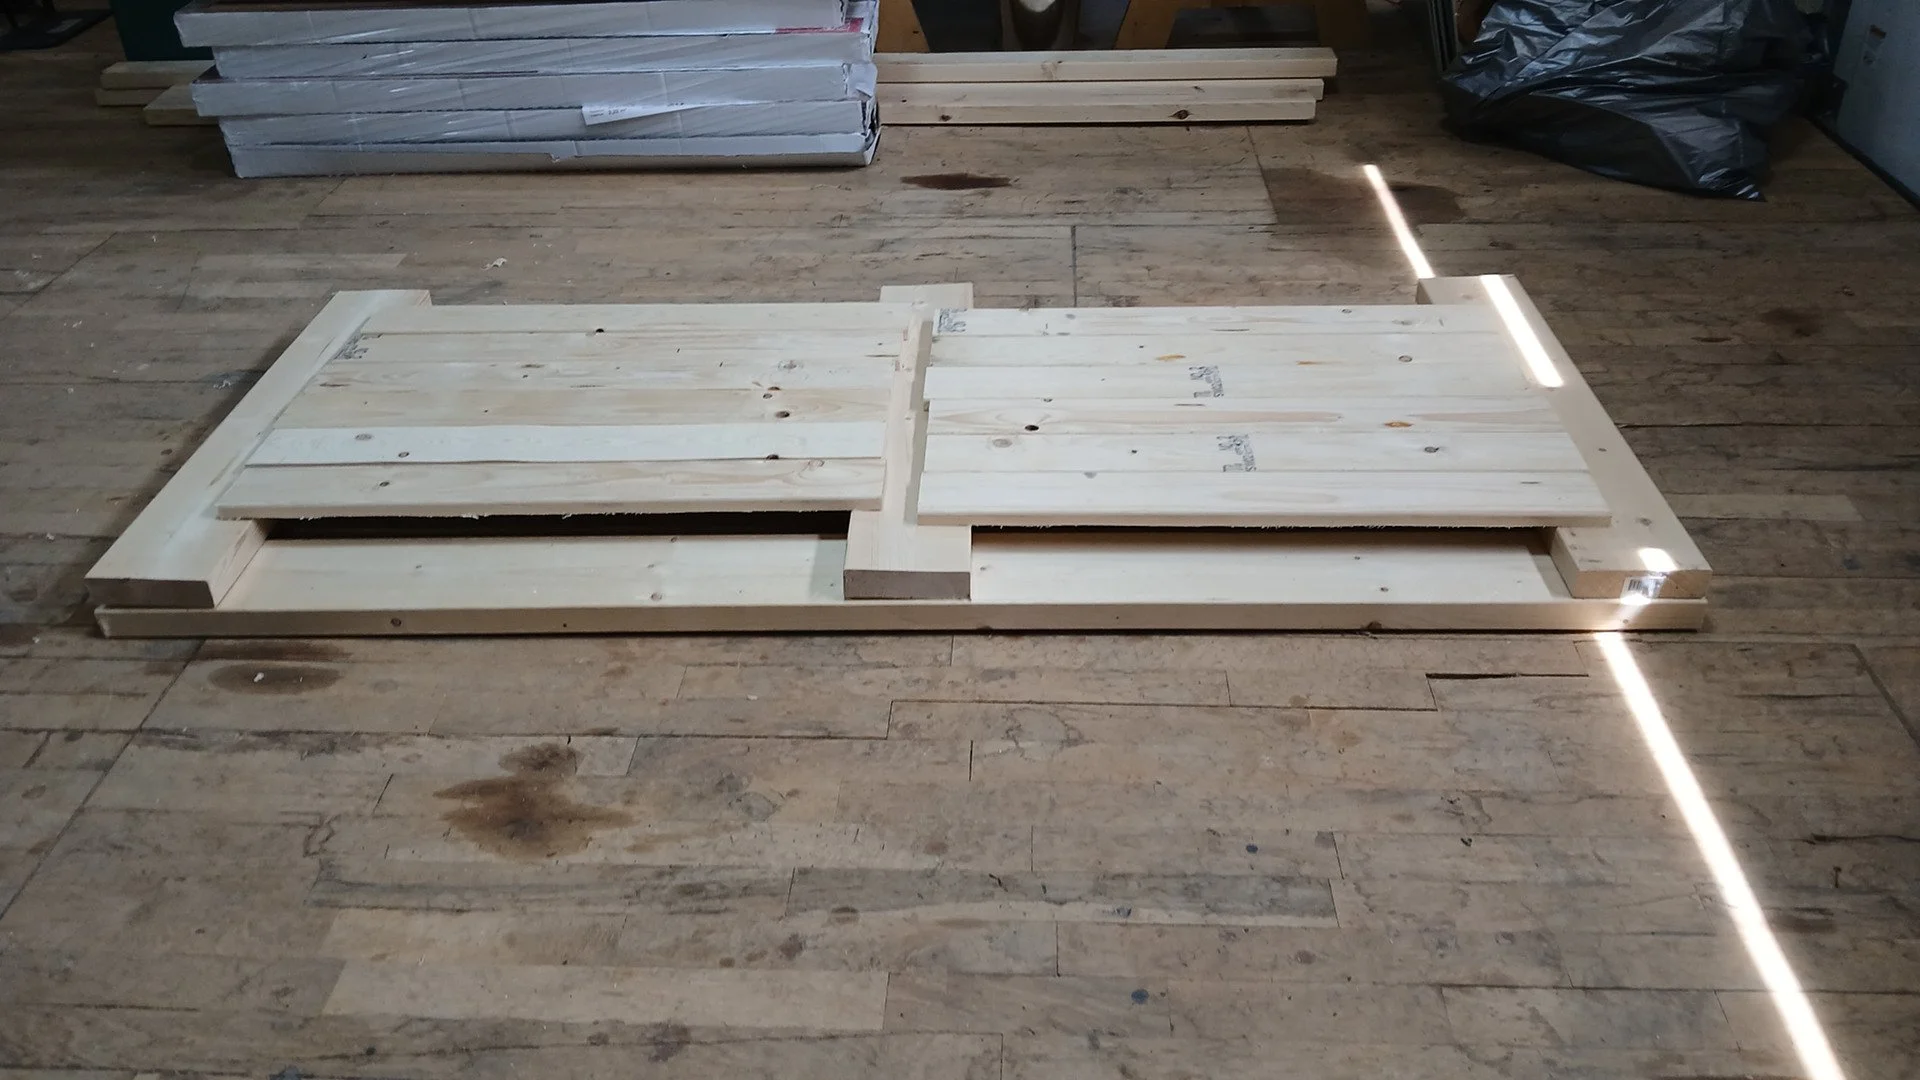
The first photo shows the main pieces laid out before the joinery is cut. Starting with readily available construction lumber makes the project affordable and easy to source, but every board first has to be flattened, straightened and brought to a consistent thickness.
Milling the Frame Stock
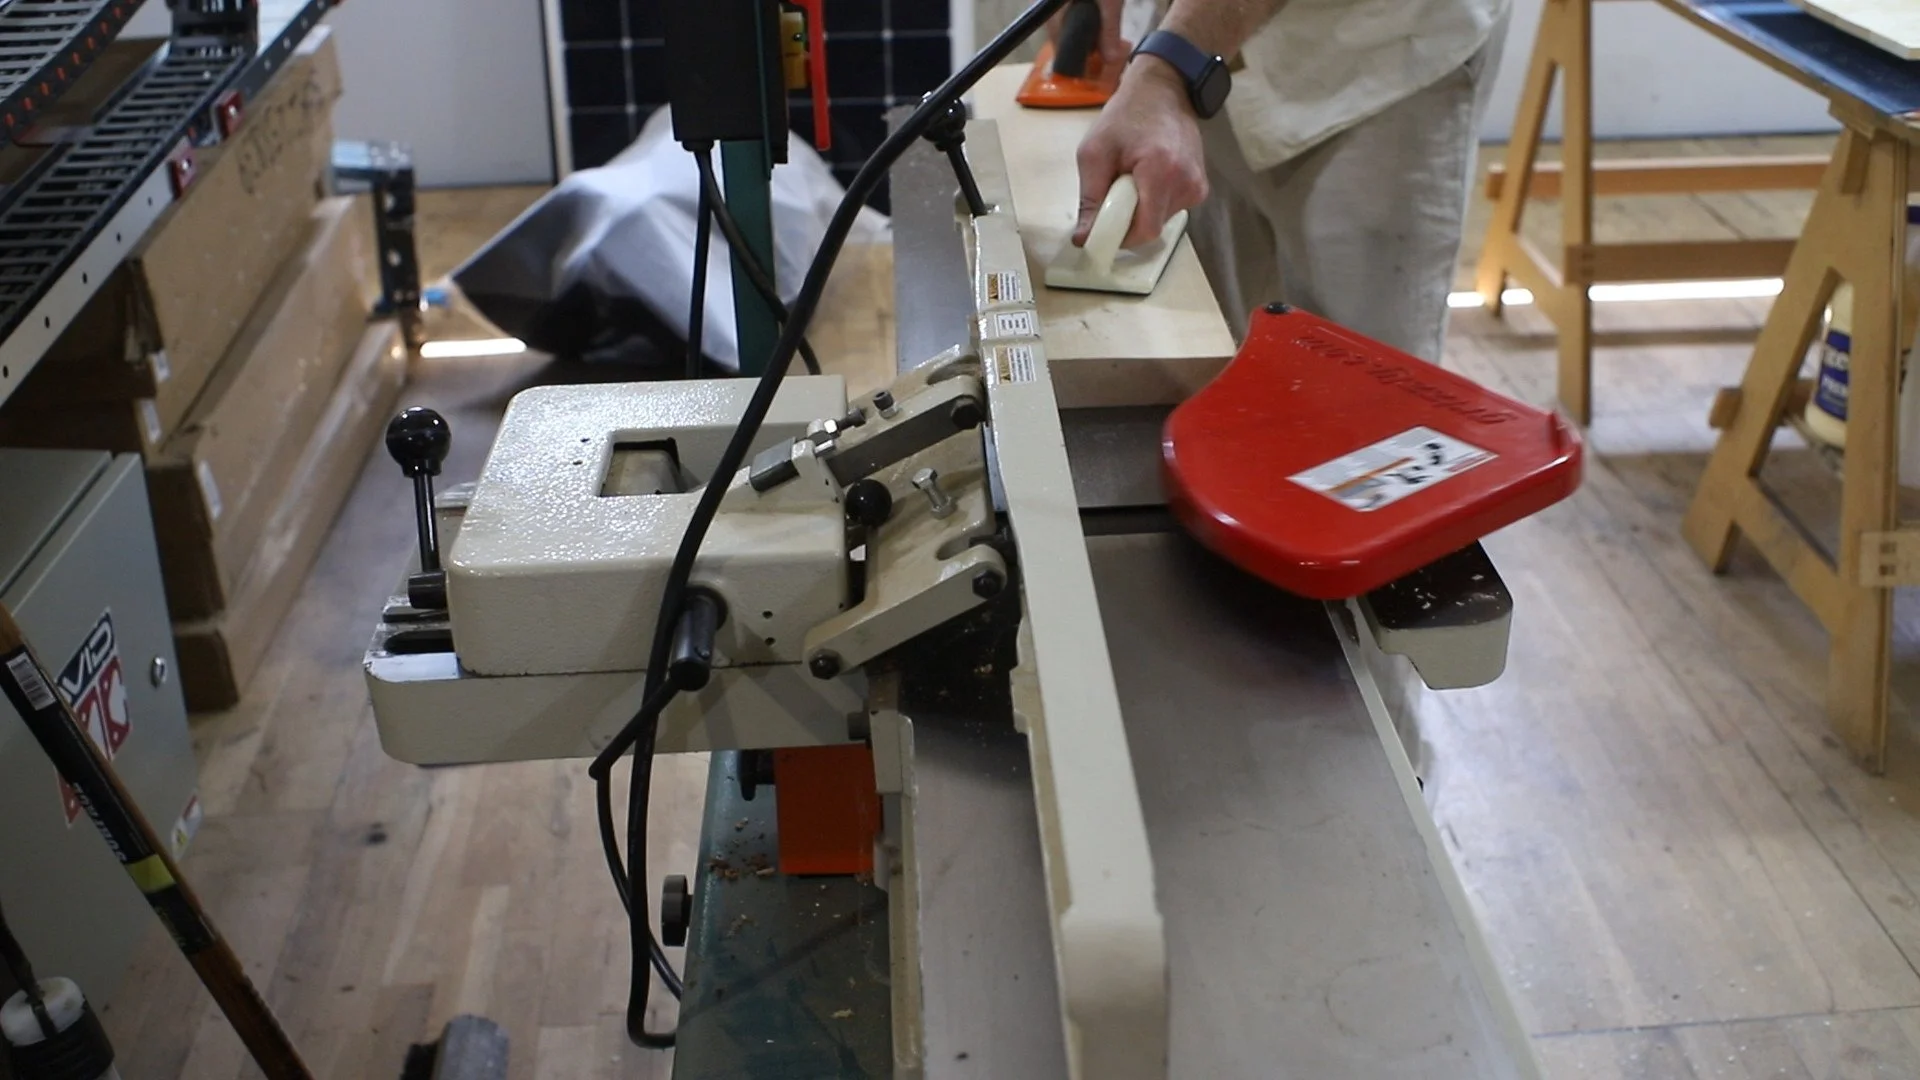
Each 2×6 was run over the jointer to establish one flat face and one straight edge. From there, the boards went through the planer until all of the rails and stiles matched.
After the twists, cups and rough surfaces were removed, the stock finished at roughly 1¼ inches thick. That is a little thinner than the existing 1⅜-inch door, but it is still substantial enough for this small exterior door and works with the hardware we plan to use.
Making the Floating Panels
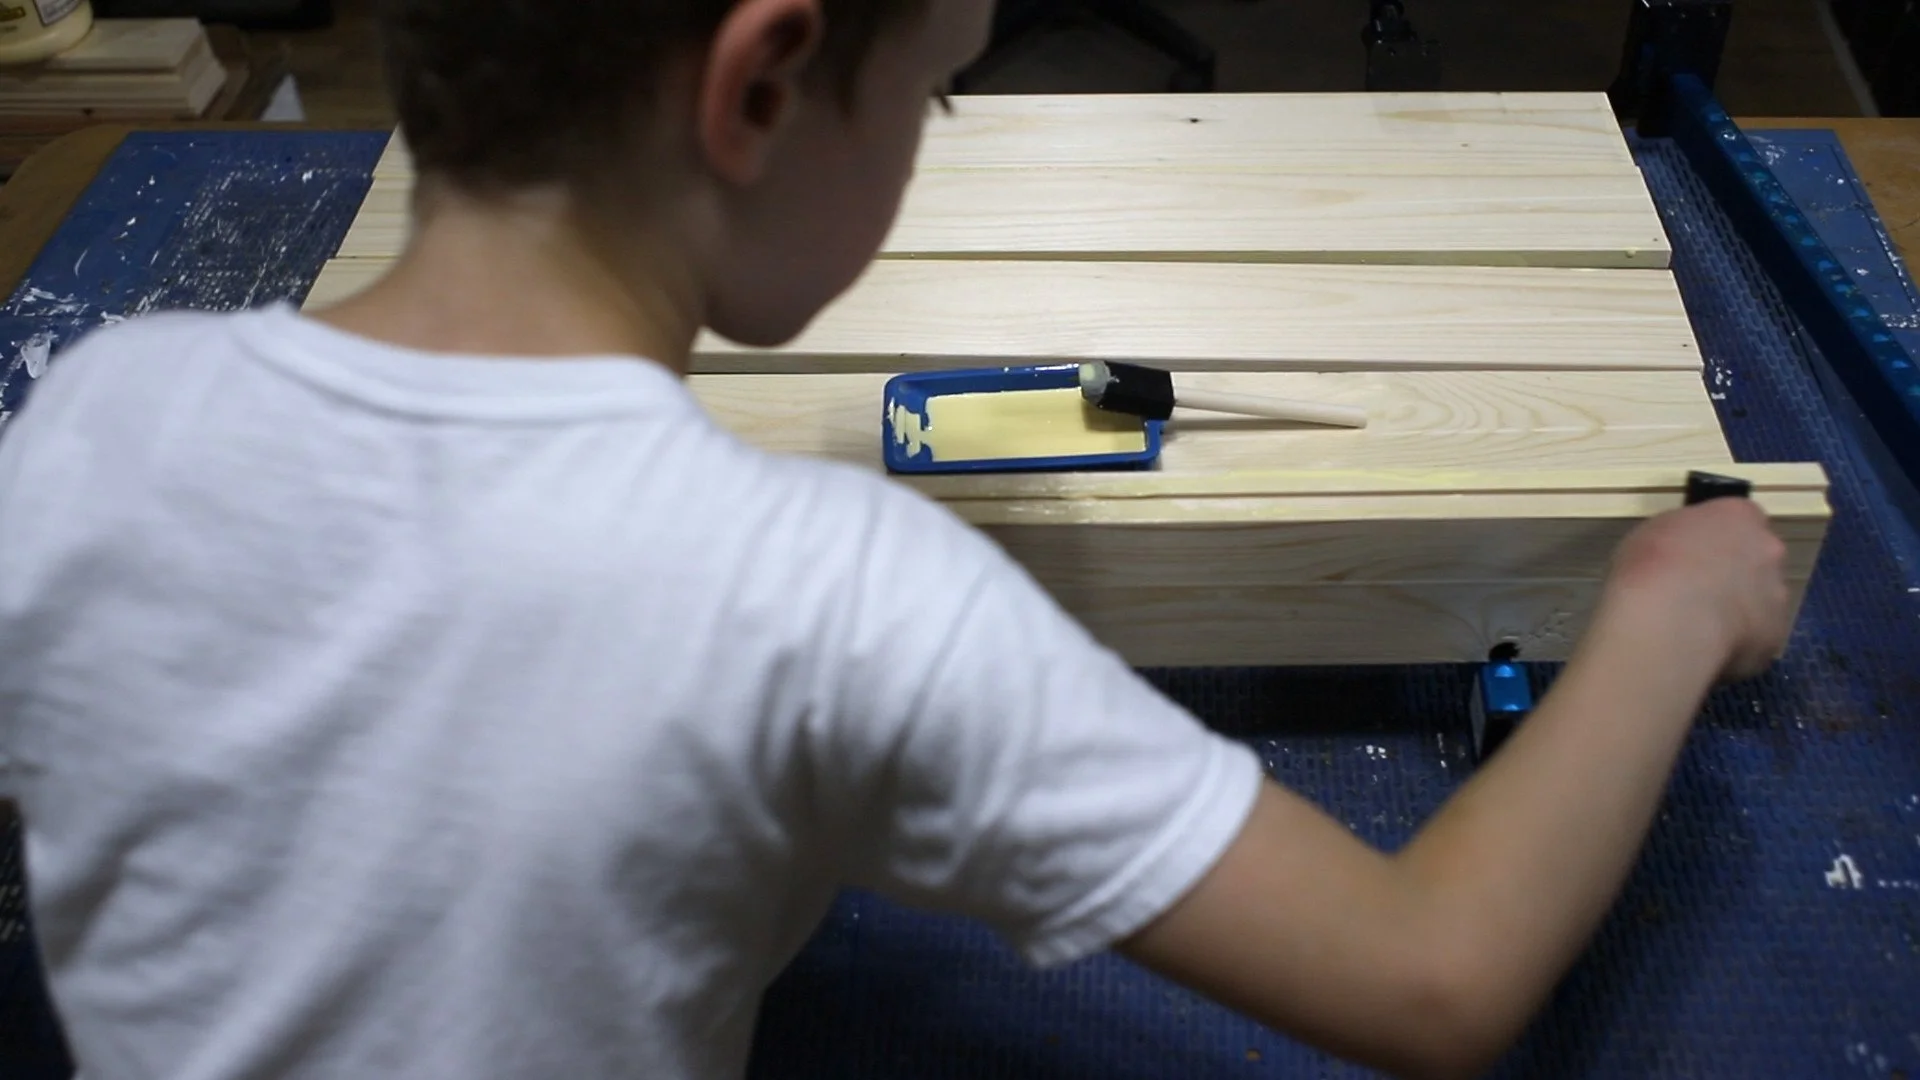
For the two interior panels, we resawed 2×4s into thinner pieces and edge-glued six pieces for each panel. The narrower boards were much easier to resaw on the bandsaw than wider 2×6 material.
The panels are not structural, so their exact thickness is less important than fitting comfortably inside the grooves in the surrounding frame. They need enough room to float as the wood expands and contracts.
Once the glue cured, we coated both faces with a thin layer of two-part epoxy. This filled small knots and voids and helped stabilize the construction lumber before the door receives its exterior finish.
Planning the Joinery with a Scale Model
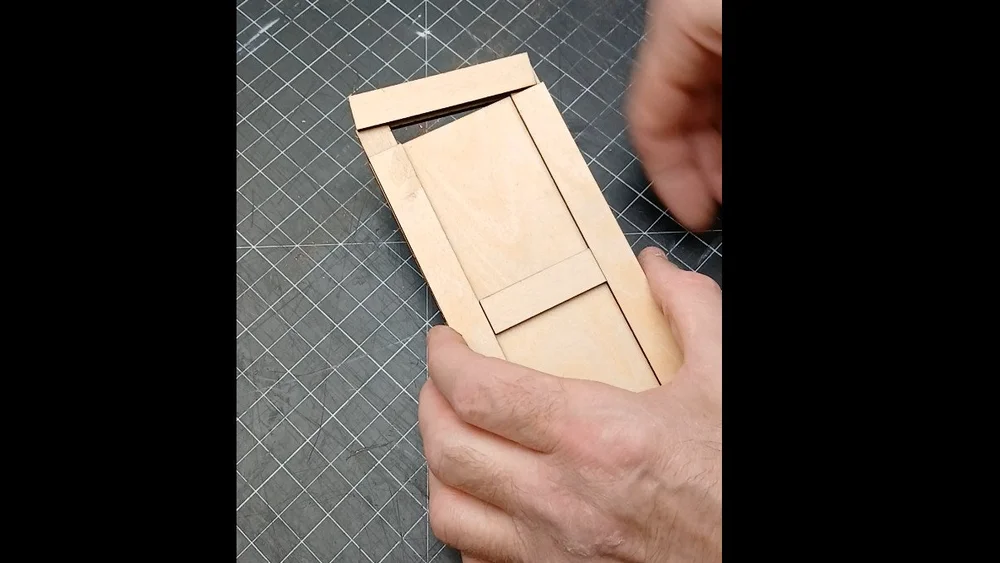
Before cutting the full-size pieces, we made a small model of the entire door from approximately 3 mm plywood at about 1:10 scale. The model makes the relationship between the rails, stiles and floating panels much easier to see, and the parts can be assembled and taken apart by hand.
The outside corners will use bridle joints, while the center rail will use mortise-and-tenon joints. The long vertical stiles carry the tongue portion of the bridle joints, and the shorter horizontal rails receive them—an orientation that also makes the full-size cuts practical on the table saw.
With the layout confirmed, the next step is cutting the joinery in the real door. That will be covered in the next post.