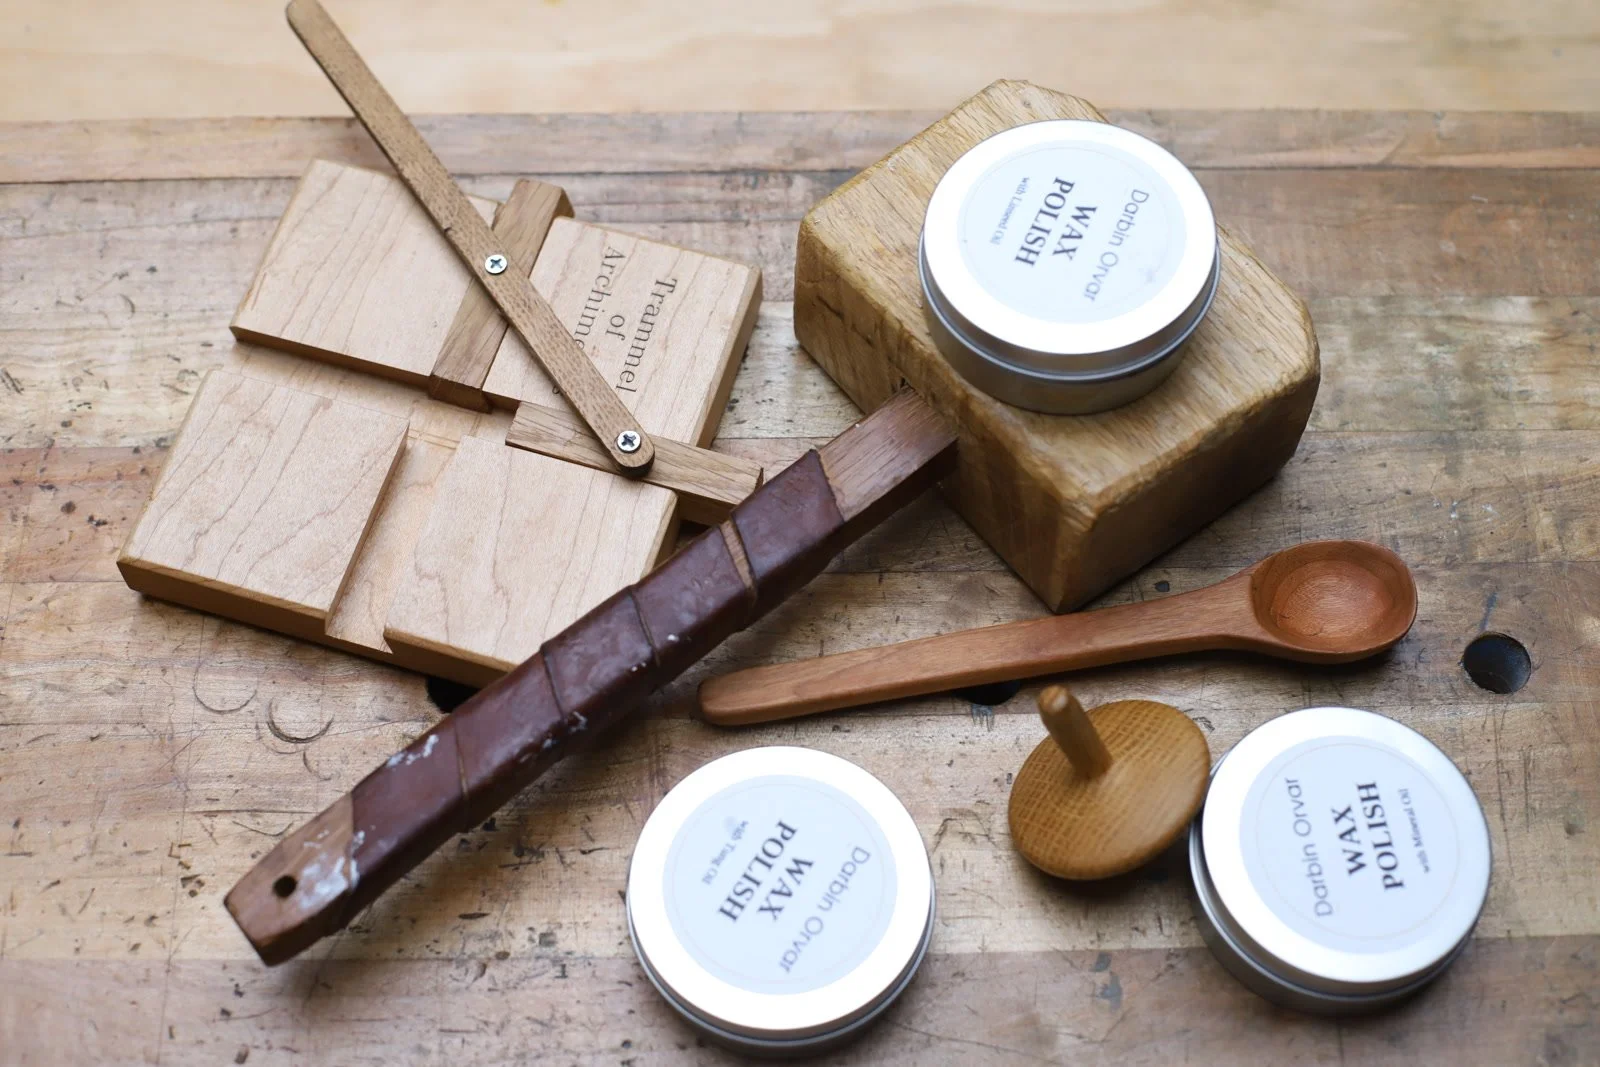
How We Make Beeswax Polish: Mineral, Tung, or Linseed
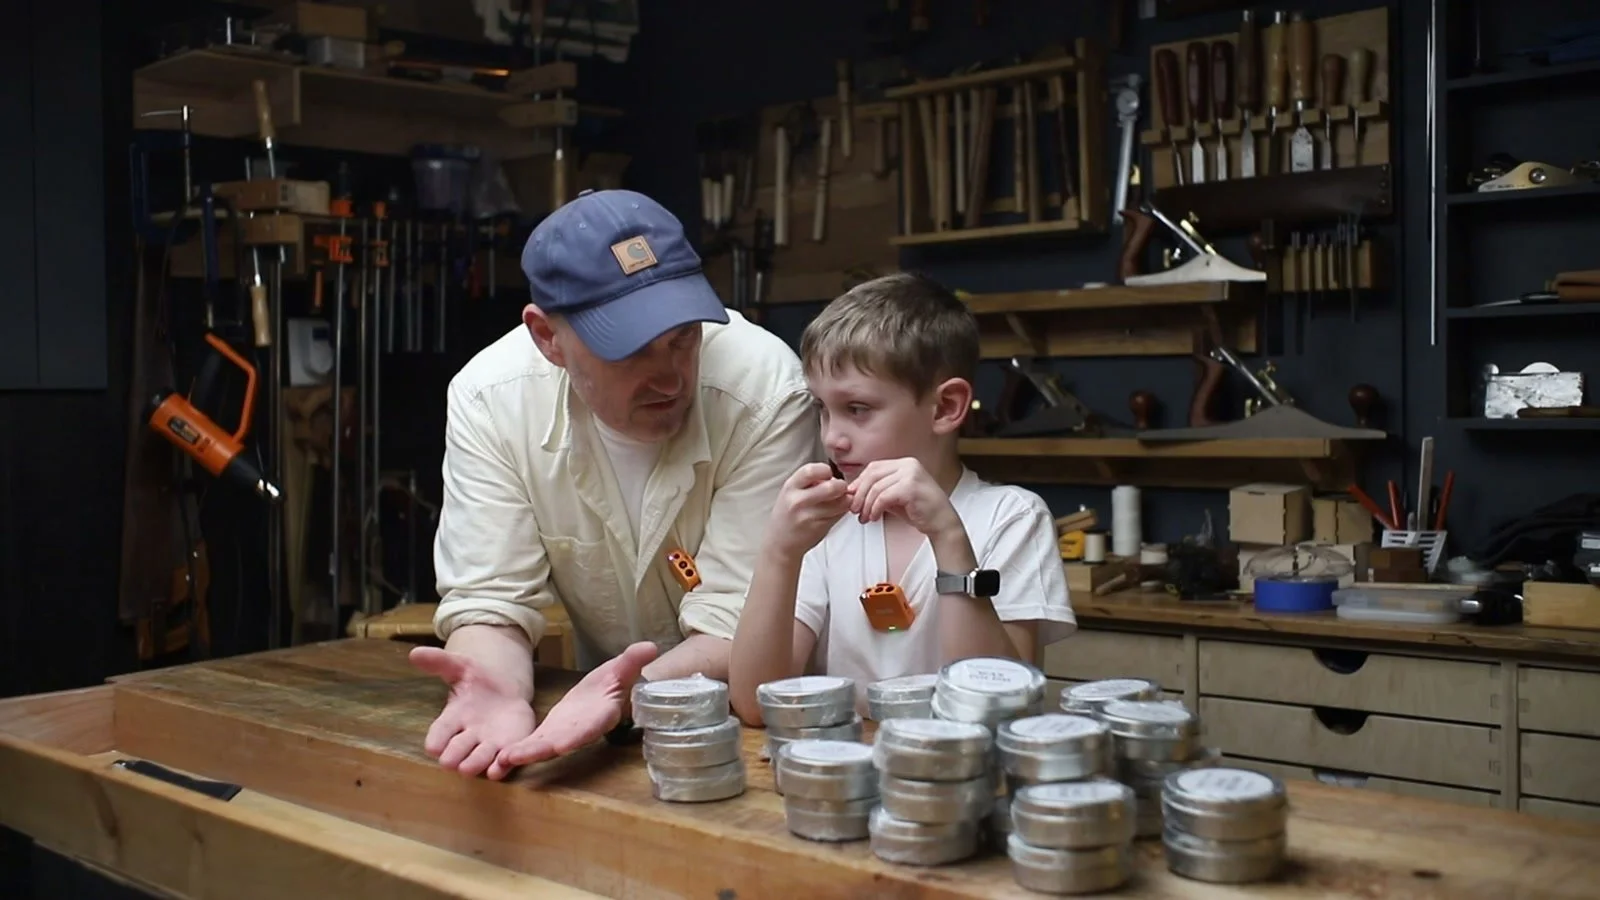
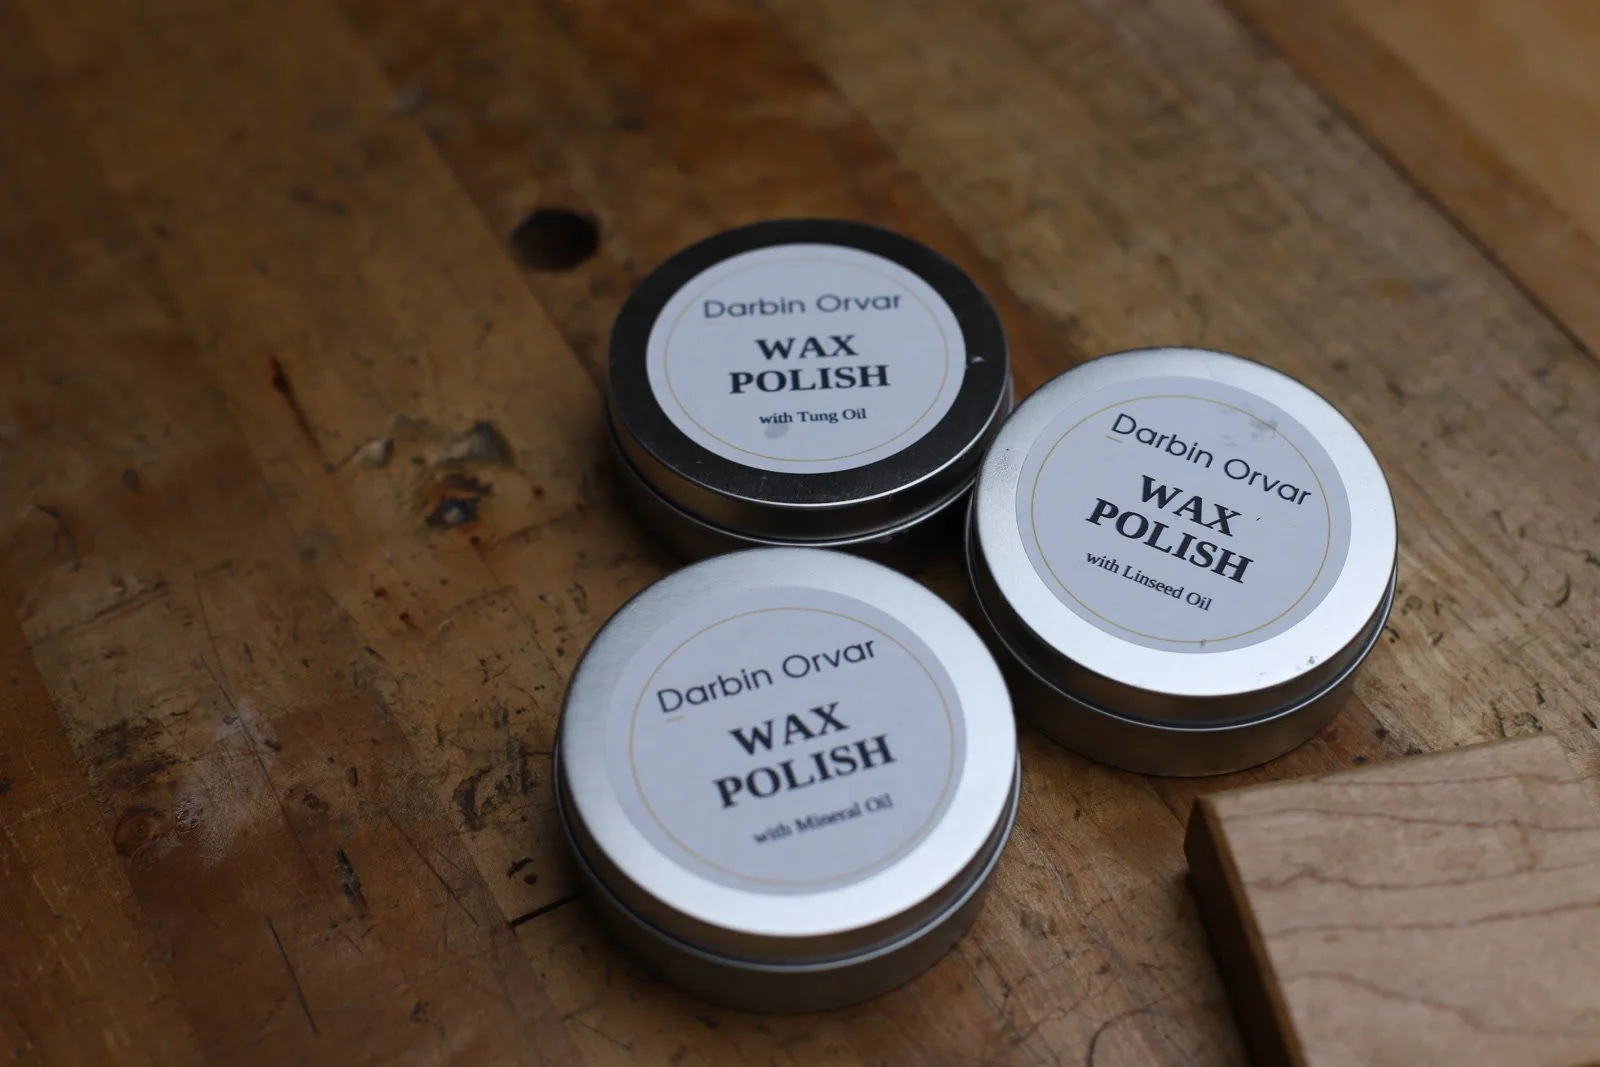
My son and I spent a day in the shop making a fresh batch of wax polish, pouring it into tins, and then putting it to use. All three polishes start with beeswax. The oil is what changes, and that choice helps decide which tin I reach for.
If you would rather have a tin than make a batch, you can find the mineral oil, linseed, and tung polishes in the shop.
Watch the video — available Sunday, October 11, 2026
Same wax, three oils
Beeswax gives the polish its body and its buffed feel. The oil softens the mixture and affects its scent, color, and whether the oil cures.
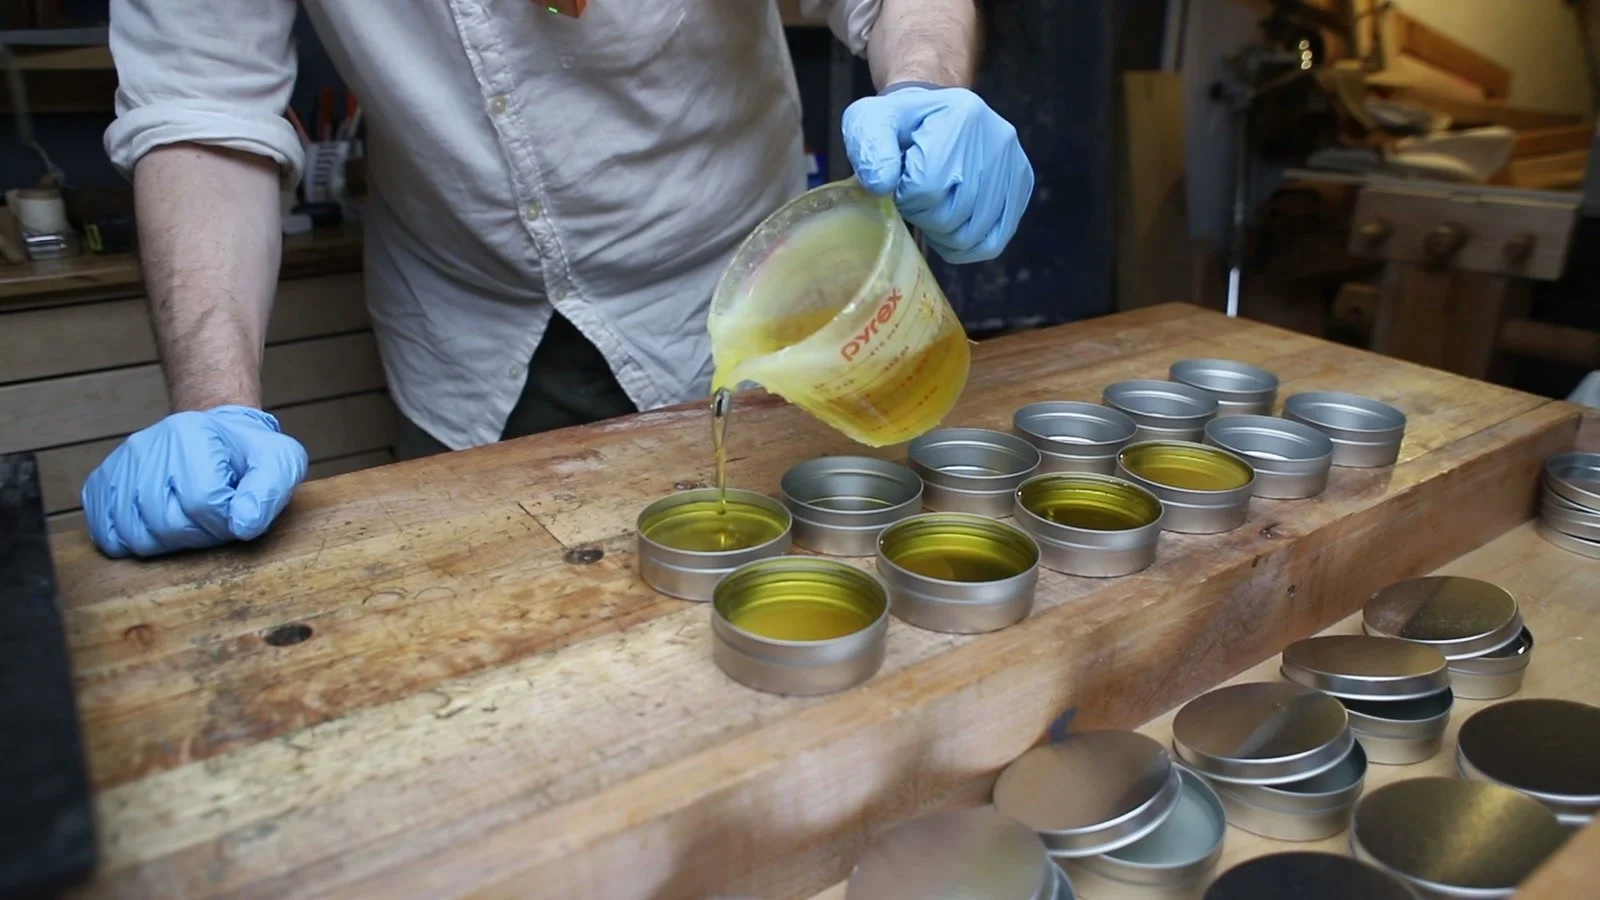
We melt the wax slowly. The color varies from batch to batch: some is gold, and some is almost white. This batch had a chunk of white wax that looked like a little iceberg in the pot. Once the wax is liquid, we mix in the oil, fill the tins, and let them cool. The polish turns cloudy as it sets.
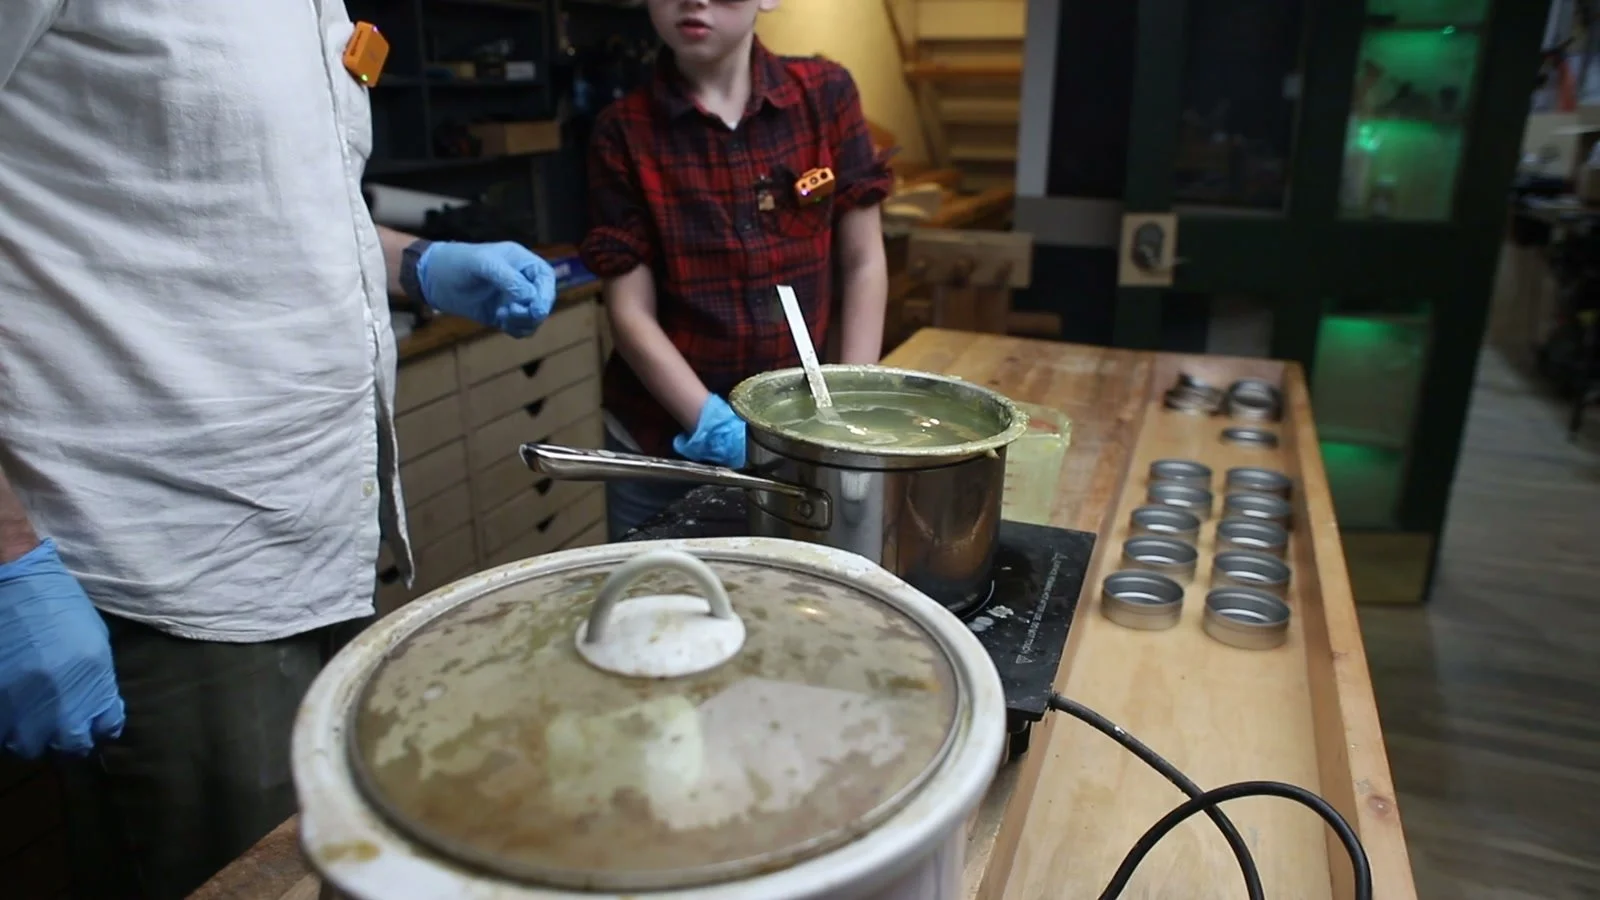
We made this batch in warm weather, so it has a little more wax than a cold-weather mix. The extra wax helps the polish stay firm in the tin on a warm bench.
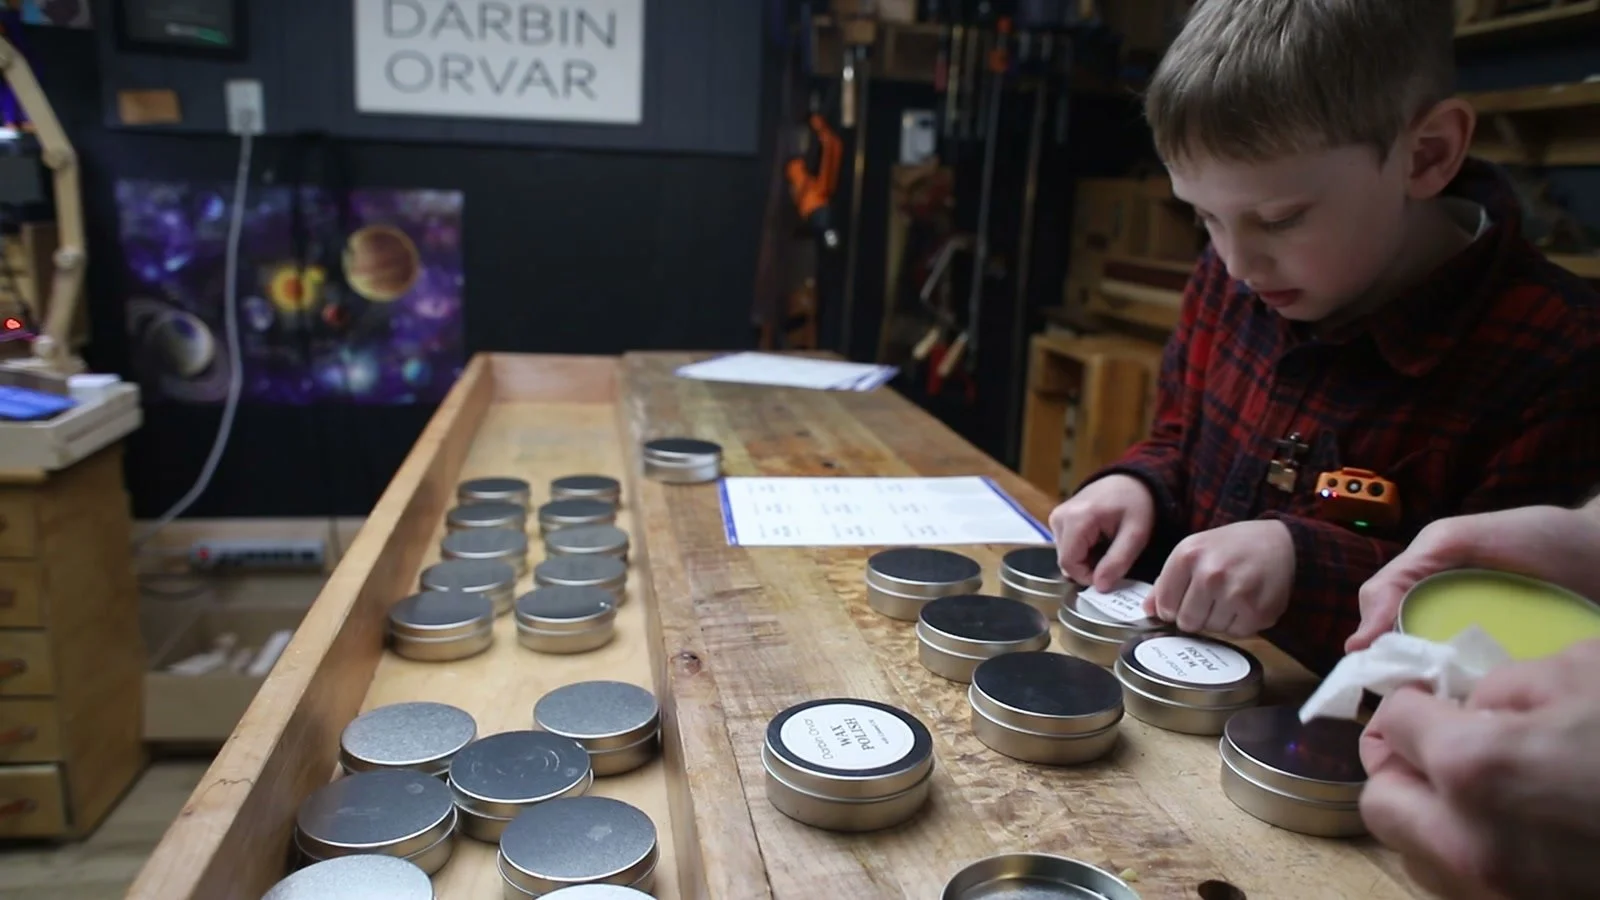
Mineral oil: cutting boards, tools, and sliding parts
This is the one I reach for most, and it is the one I suggest if you only choose one.
We use food-grade cutting board oil with beeswax. The mineral oil does not cure, which makes this the blend I reach for on cutting boards, bread boards, wooden spoons, and wooden countertops. Apply a thin coat, give it a few minutes, and buff away the excess.
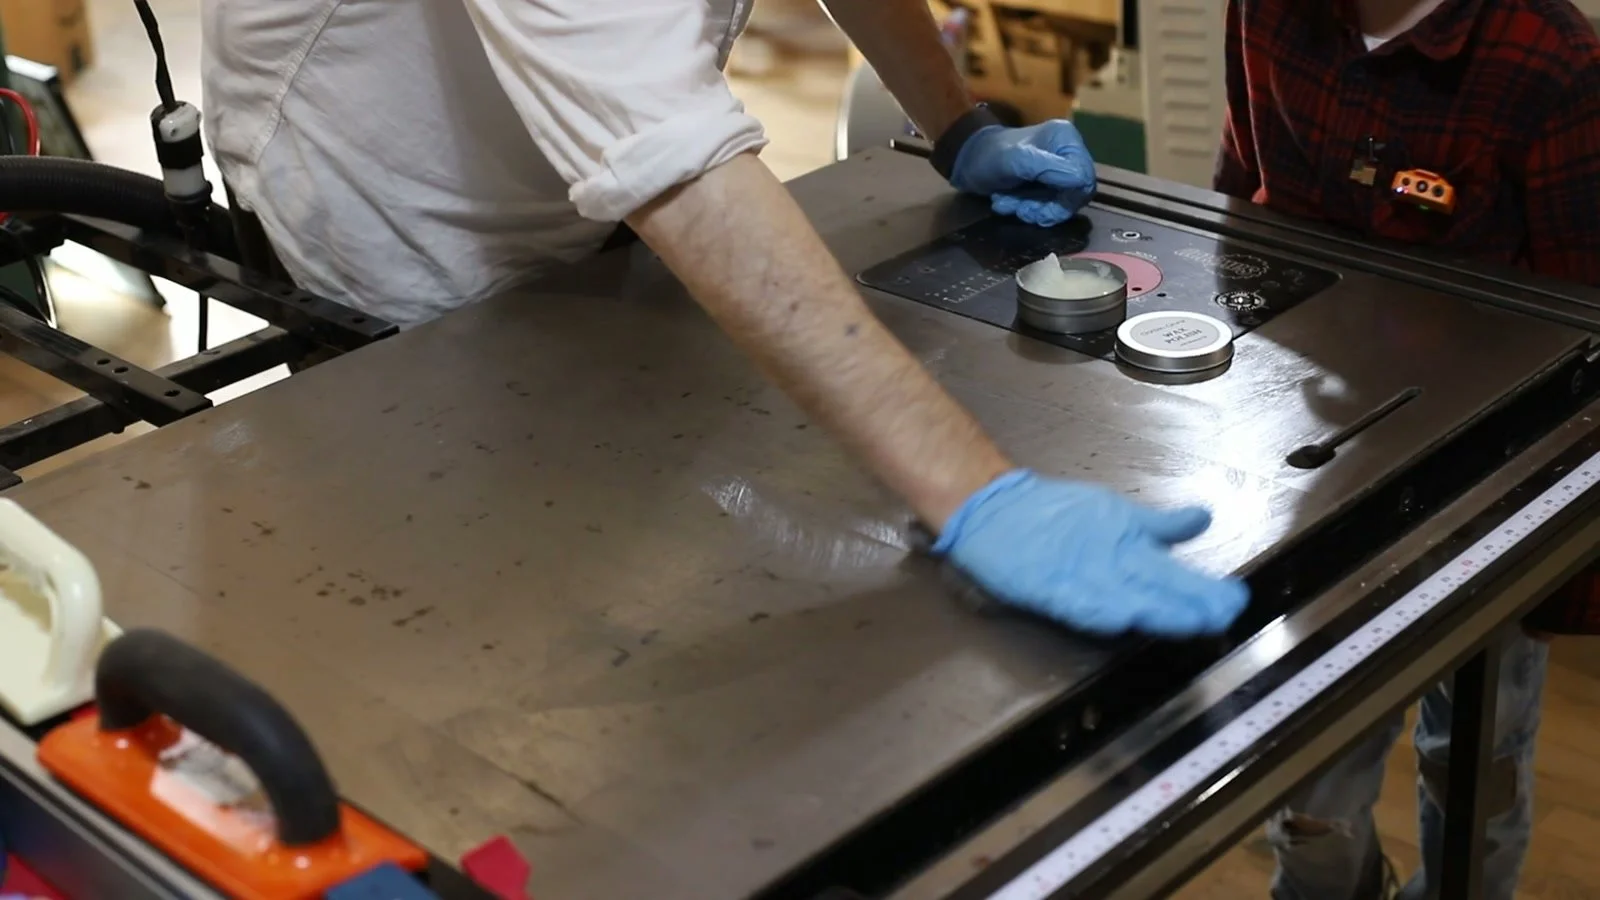
I also use it on a table saw top, a hand saw, or the sole of a plane. A thin, buffed film helps wood slide and helps protect the metal from rust. On a large table saw top, spread it evenly across the surface and buff thoroughly rather than leaving a heavy coat.
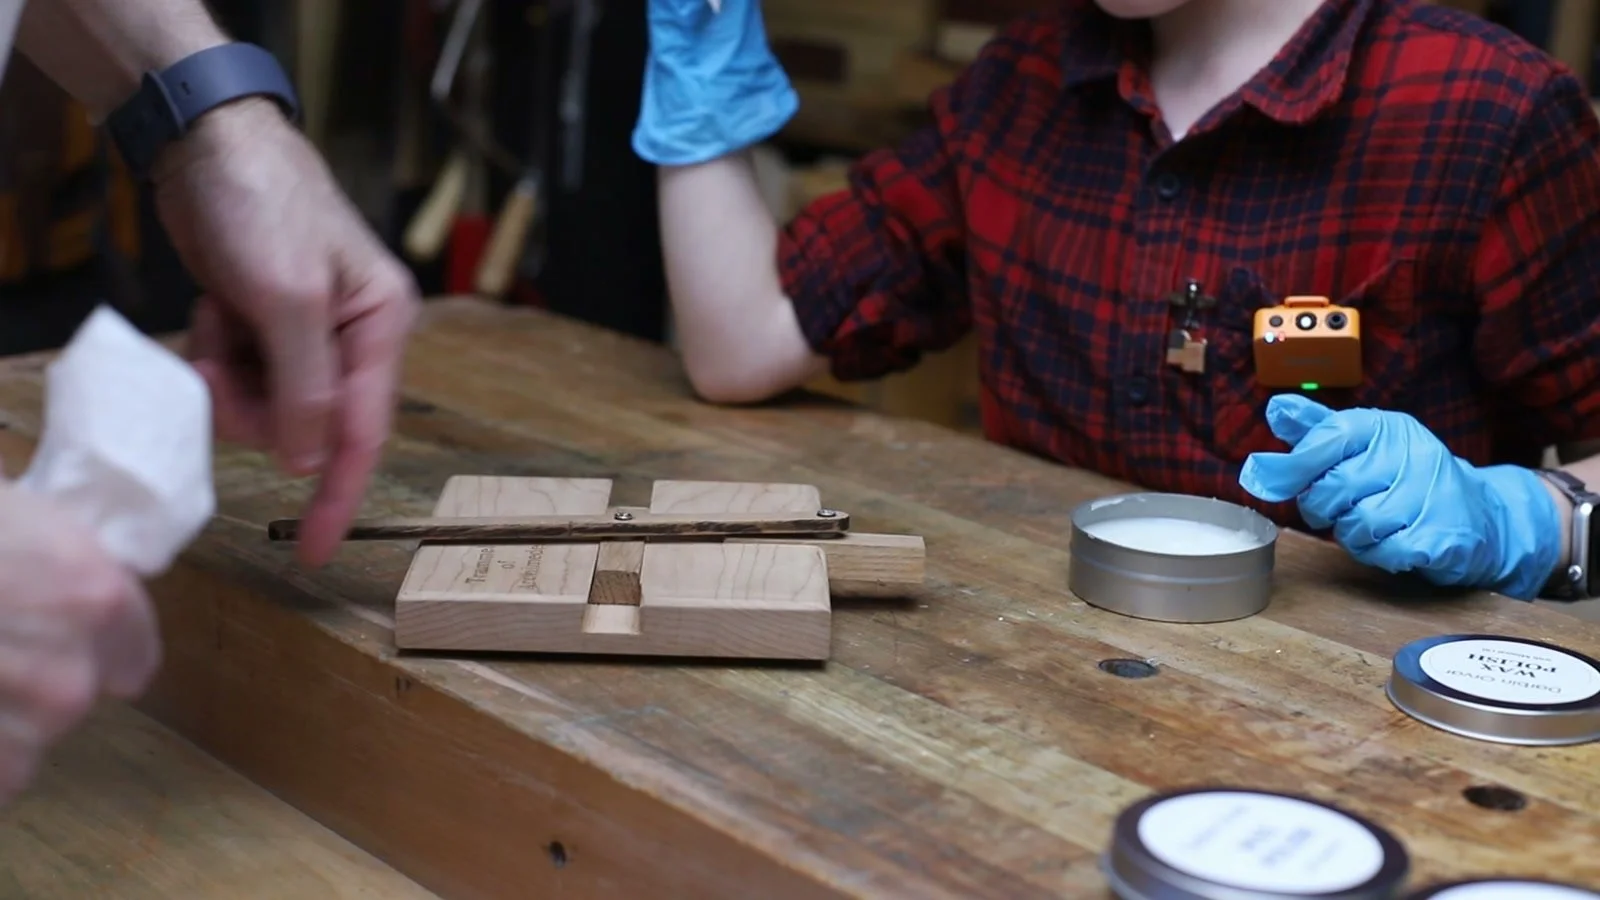
In the video, we wax the dovetail tracks on a little trammel of Archimedes I made for my son a couple of Christmases ago. Those tracks need to keep sliding. I choose the mineral-oil blend here because the oil stays liquid; linseed and tung oils cure over time.
Cutting Board Mineral Oil & Beeswax Polish
Linseed oil: projects, tools, and bare wood
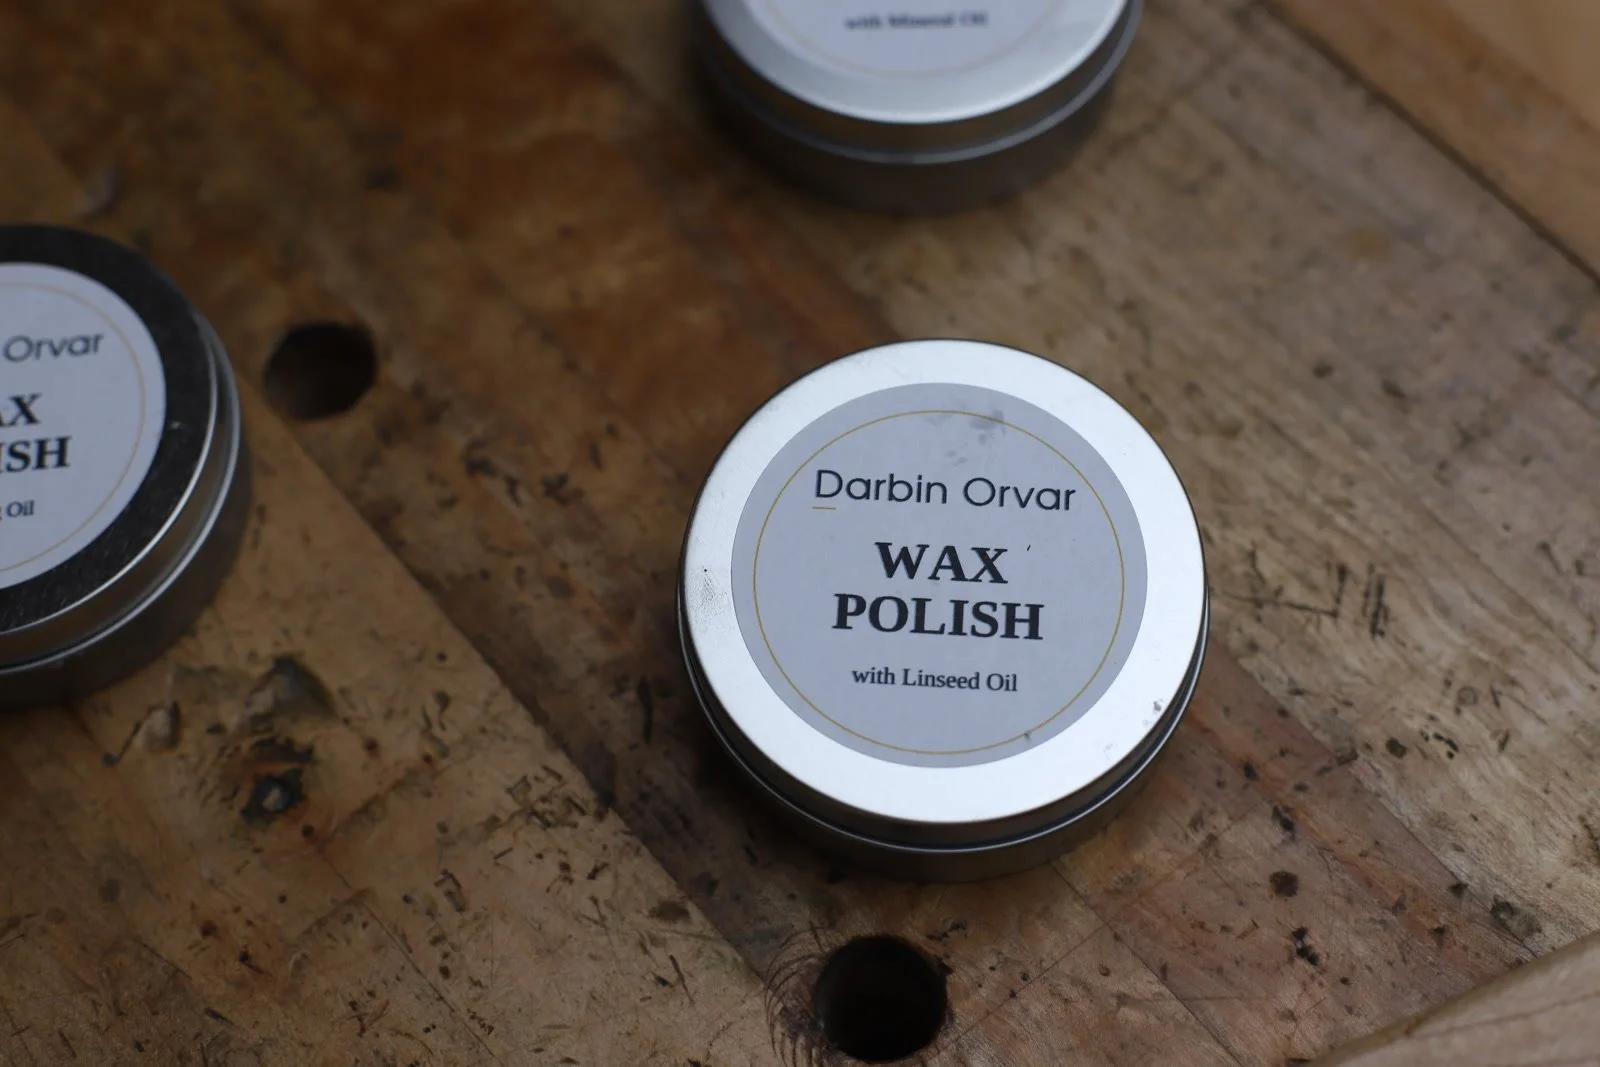
Raw linseed oil and beeswax: this is my shop polish. I like the smell, and on bare wood it deepens the color and brings out the grain.
I use it on wooden handles and shop projects, and I have also used it over paint, polyurethane, shellac, and lacquer. Let an existing finish cure first, and test a small, hidden area before coating the whole piece. I have used it outdoors on a work table, too, though wax needs maintenance and is not a substitute for a durable exterior finish.
For cutting boards and sliding tracks, I reach for the mineral-oil blend. The linseed blend is the one I choose when I want its color and feel on a woodworking project.
Tung oil: pure tung oil and beeswax
This blend combines pure tung oil with natural beeswax. The oil ingredient is 100% tung oil; the finished polish is a mixture of oil and wax.
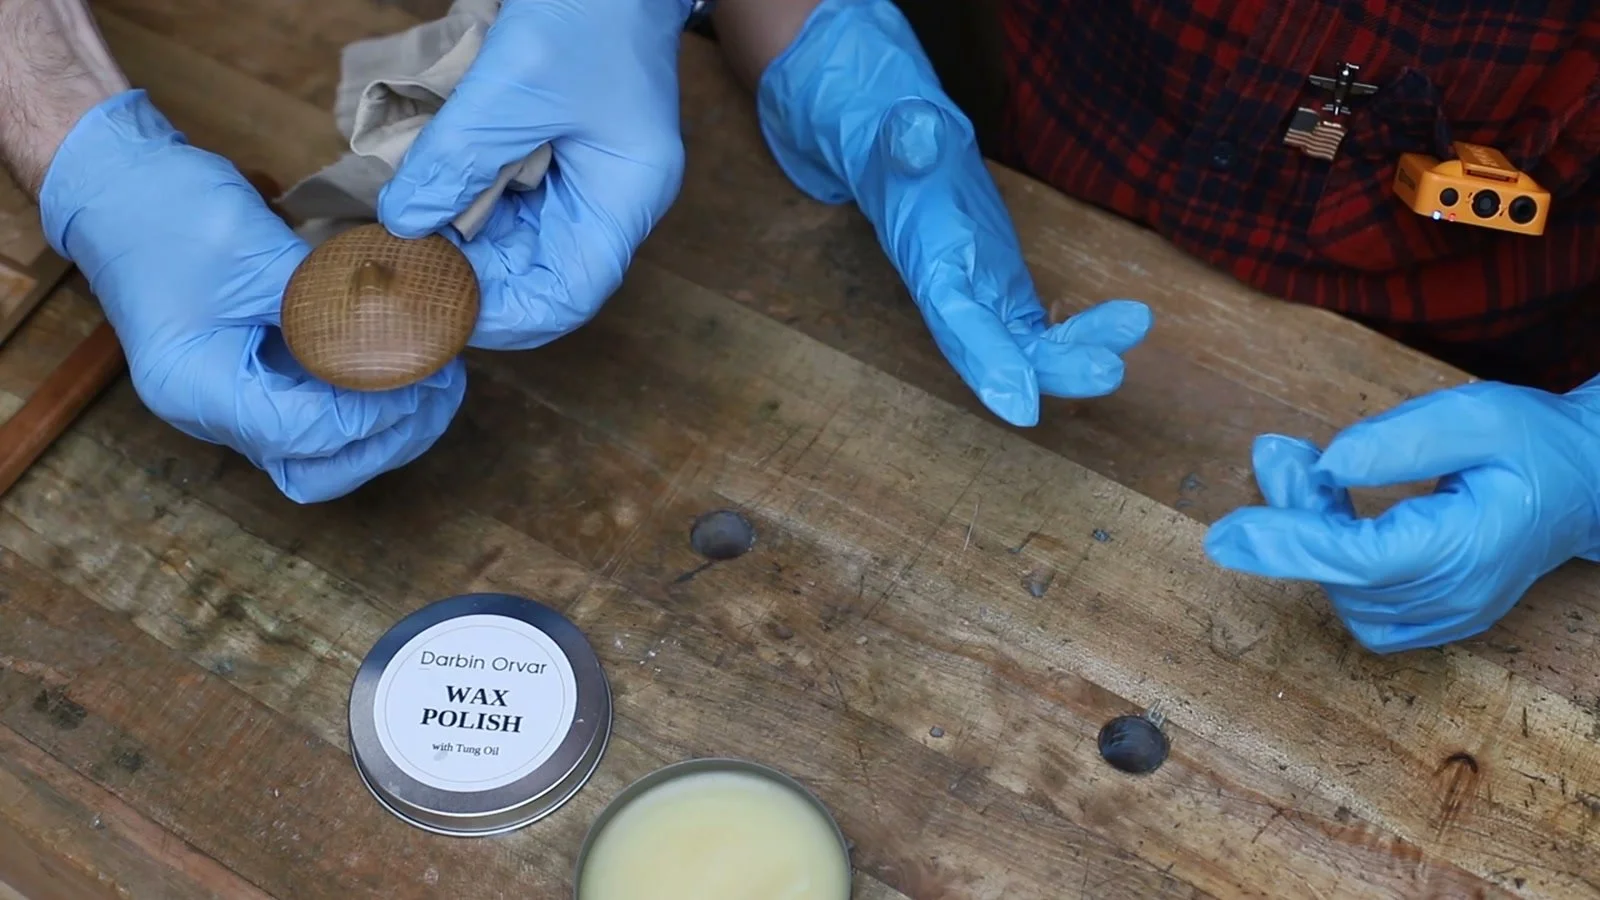
I use it much like the linseed polish: on bare wood, or over a fully cured finish after testing a small area. Apply a thin coat with a lint-free cloth, wait a few minutes, and buff away the excess. A paper towel works in a pinch, though it can leave bits behind.
Both tung and linseed are drying oils. Choose tung if that is the oil you prefer for your project; choose linseed if you like the warmth it adds to bare wood and its familiar scent.
How to put it on
Start with a clean, dry surface. Use an old shirt, rag, or lint-free cloth to spread a thin coat. Wait a few minutes, then buff with a clean cloth until no excess polish remains. Each tin holds 4 fluid ounces.
On a big surface, work the polish out evenly. On a track or a plane sole, a little goes a long way. Reapply as the surface wears or needs attention. Buffing and curing are different: the linseed and tung oils continue to cure after you buff.
Follow the oil manufacturer’s directions for handling and disposing of used cloths. Do not leave rags containing linseed or tung oil piled up; drying oils can generate heat as they cure.
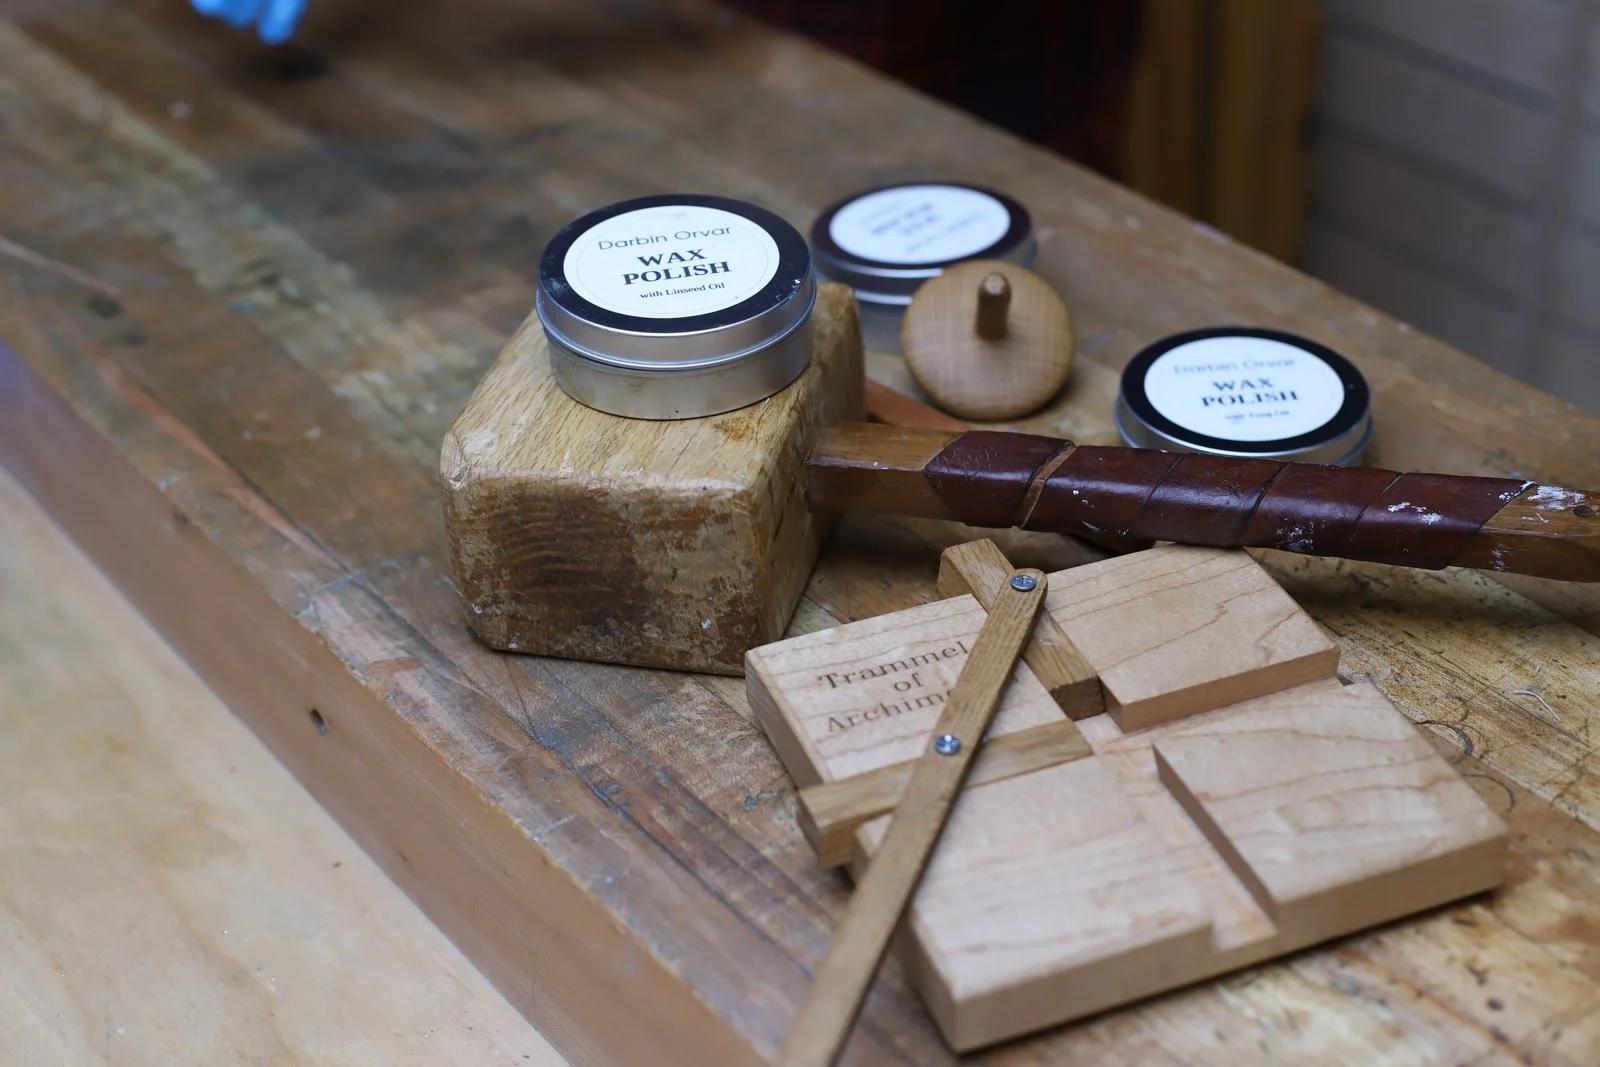
A tin from this batch
All three polishes are handmade in small batches. Start with mineral oil if you want one tin for cutting boards, tools, and sliding parts. Choose linseed or tung for the feel and finish you prefer on your woodworking projects.
Tell me what you put it on. I read those comments.