My Experience with Totality #Eclipse2017 Vlog!
My experience over the course of about one hour during the partial and total solar eclipse phases, in Corvallis Oregon, August 21st, 2017.
Building & Making on Youtube
Darbin Orvar - Girl in a Shop
My adventures in building, diy, construction, testing and finishing.
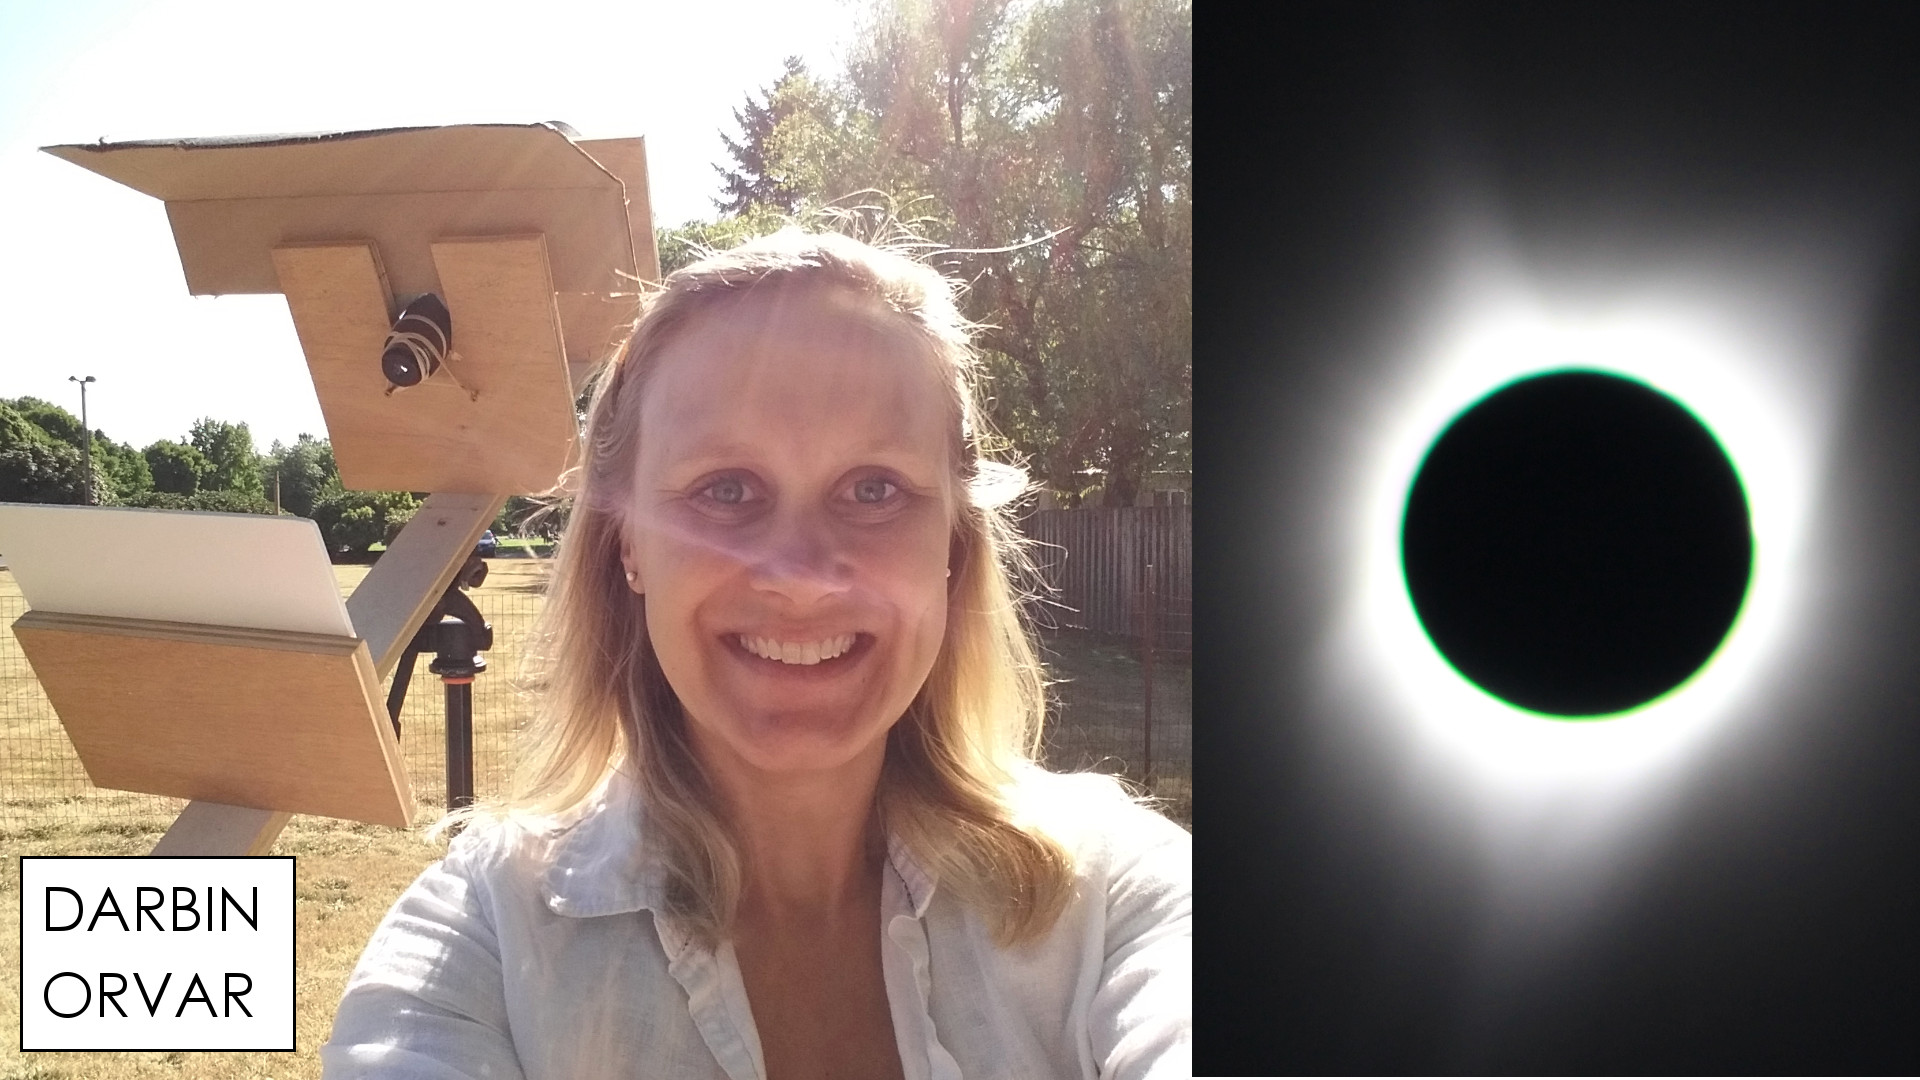
My experience over the course of about one hour during the partial and total solar eclipse phases, in Corvallis Oregon, August 21st, 2017.

I wanted to make a really cool book safe that featured a wooden insert and a LED light that turns on when you open the book. I've always loved the idea of secret hiding places, and it seemed like such a fun project to attempt to make a really nice safe.
Tools & Products Used (Affiliate)
The first thing I did was to check out my local used book store for a book that was nice looking, yet not interesting enough that people would be curious about it and want to open it up. I found this beautiful copy for only $5, and decided it would be the perfect fit.

I wanted to be able to close the book with magnets in the corners, so I decided to mark how far down a small neodymium magnet would go down, and then glue those pages together with Mod Podge. Once glued together I placed them in my book press which I made previously, however you could just use some weights or anything heavy on top
At this point I first placed a piece of wax paper in the section where I had glued the pages together, and then I applied a couple of coats of Mod Podge to the sides of the the book.

I placed the book back in the press and let it set up.
(I later realized, that I could have simply glued together the sides of the part where the magnets will go as well, it's not necessary to glue the individual pages together, you can simply glue the outside, and you will get a flatter, nicer result.)
To remove the inside pocket of the book, I decided to use a drill for a faster result. First I marked out where I wanted the pocket to go, then I clamped a piece of MDF and marked those measurements there as well.
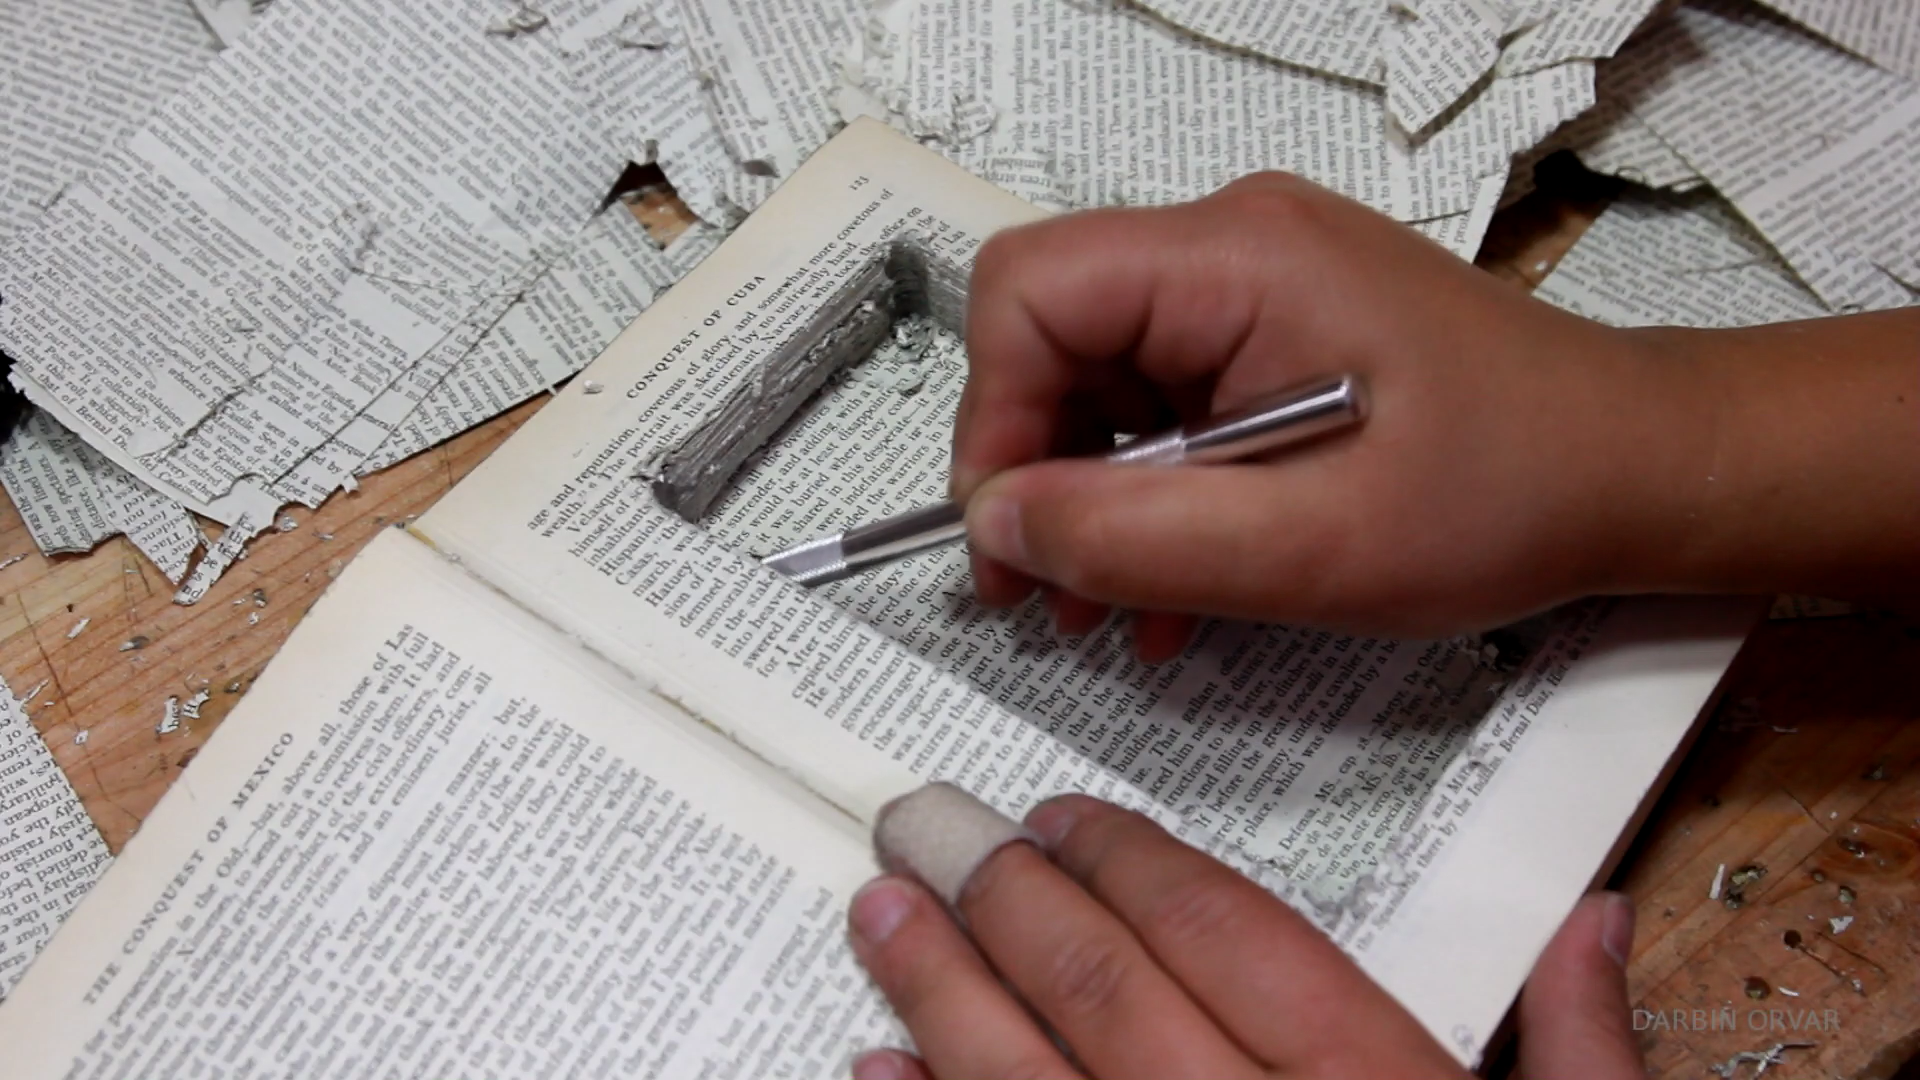
I used a drill bit that I set at a good depth (just deep enough to reach 4/5 down of the book) and then I drilled the four corners.
At this point I used a razor blade and a ruler to remove the pages in between the drilling points.

I wanted to add a nice wooden insert, so I first cut up a some nice thin Rosewood I had on hand to fit inside the book. I glued them on the bottom and three sides with regular yellow glue. I found a vaseline jar that perfectly worked as a clamp, and used a small clamp on the other side.
I'm adding a small section in the top of the wooden pocket to house some electronics, so I began with drilling a hole that fit a small LED light in one of the pieces, and on the second one I drilled in a small screw.
I also have a piece of wood cut, that will act as a lid for this section. There will be a spring coming out of the corner, so I marked that out and cut out that small section with a coping saw.

To make sure the book closes, I decided to add small neodymium magnets in the corners of the book. So I marked out where I wanted them, drilled holes and epoxied the magnets in, making sure I matched the magnets properly so they wouldn't repel each other as the book closes!
As I tried to close the book once the magnets were glued in place, I realized that a few sections were a little high, so I used a small mini plane to plane the wood down at a few high points.
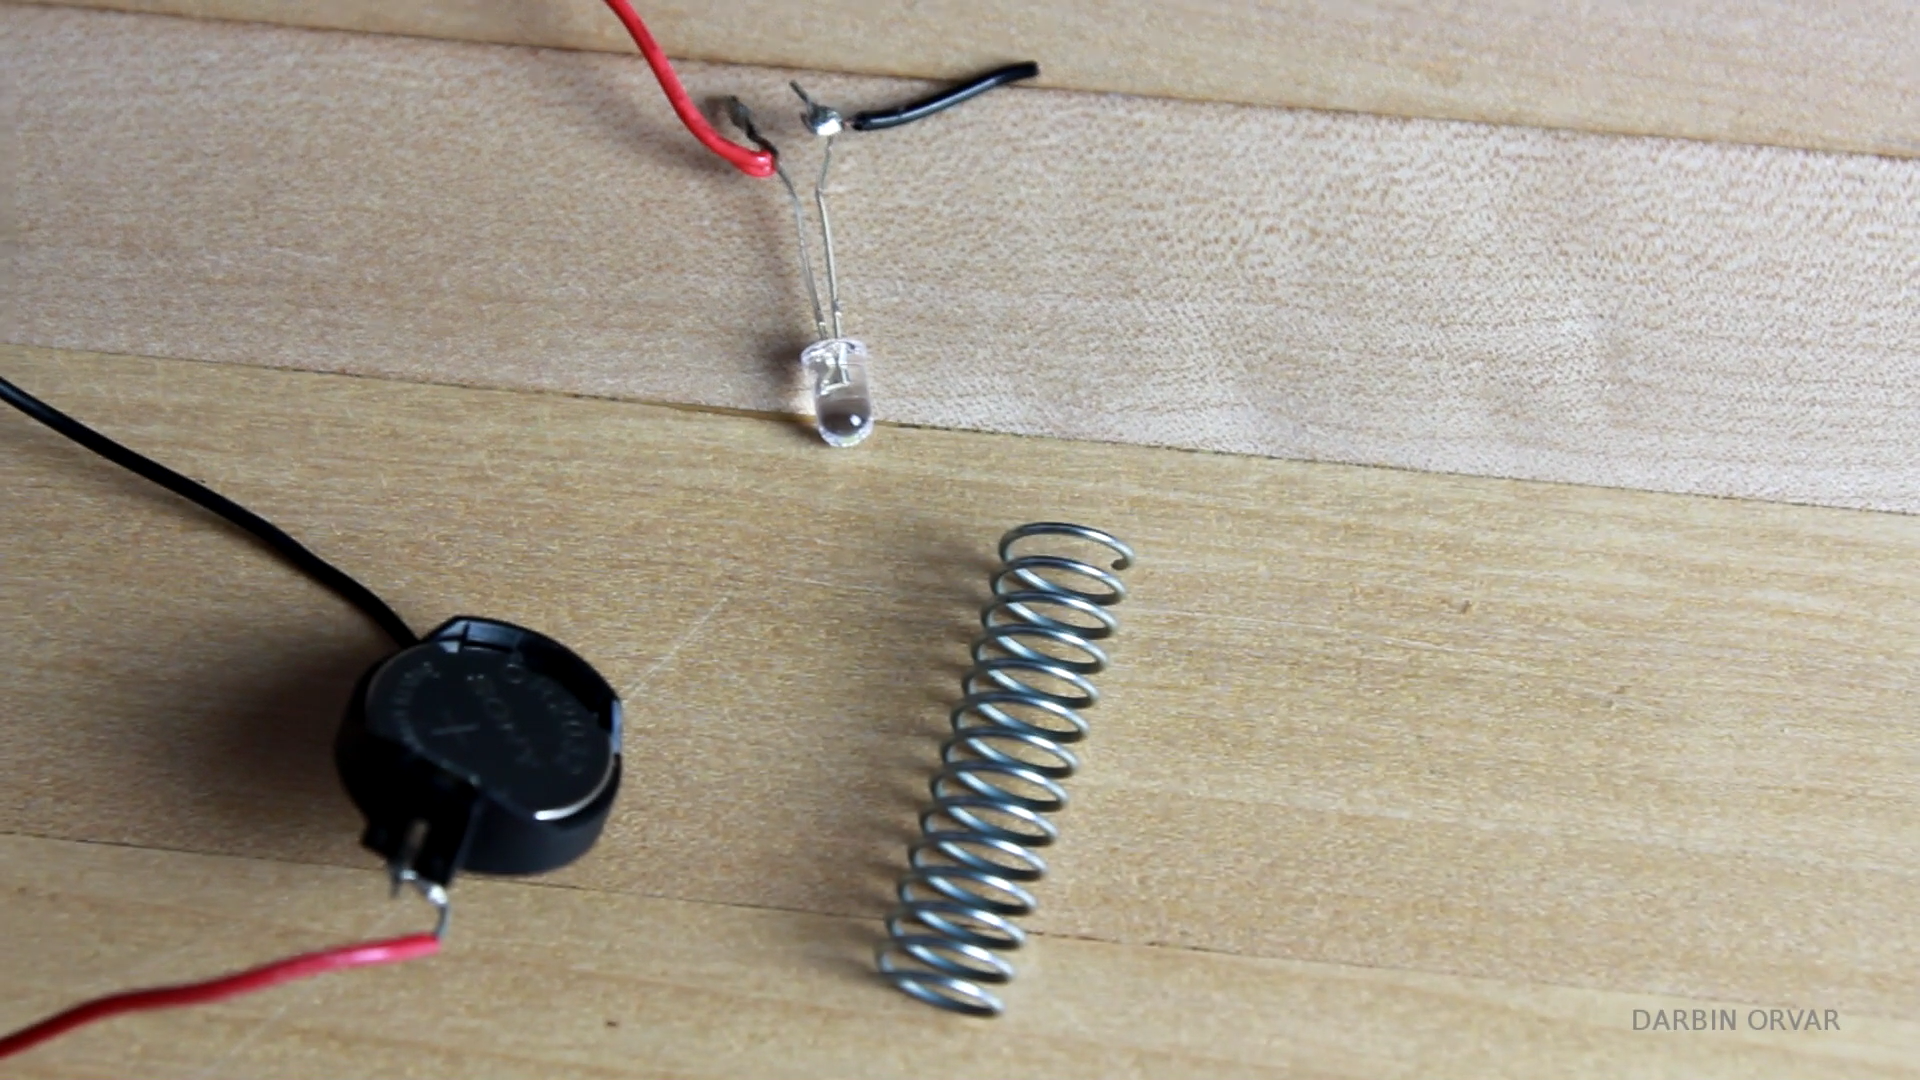
The electronics that I'm using is a small LED light, a coin cell battery with a holder and a small spring.
I began with soldering on some wires to the LED light.
I placed the light in the wooden piece which I drilled earlier, connected the black wire from the LED directly to the battery, and the red wire from the LED I wrapped within the spring that acted as a switch.
I then soldered on the red wire from the battery to the screw I previously screwed in to the wooden piece. I made sure to use a lot of solder to cover large section of the screw.
Then I added some solder and bent the wire coming from the spring so that it would touch the screw when the spring is upright. However when the spring is pushed down (as in when the book is closed), the wire will be pushed down and no longer touch the screw with the other red wire. So only when the spring is upright will the two wires connect and complete the circuit, which will result in the light shining.

Now I used epoxy to glue the spring in place, as well as the piece of wood holding he light. I put on the cover to hold everything in place as it was setting up.
Once dried, I cut out a small piece of paper which I glued to the side of the little pocket with yellow glue, and the other side I glued to the "lid". That way you can lift the lid up to access the battery when you need it.
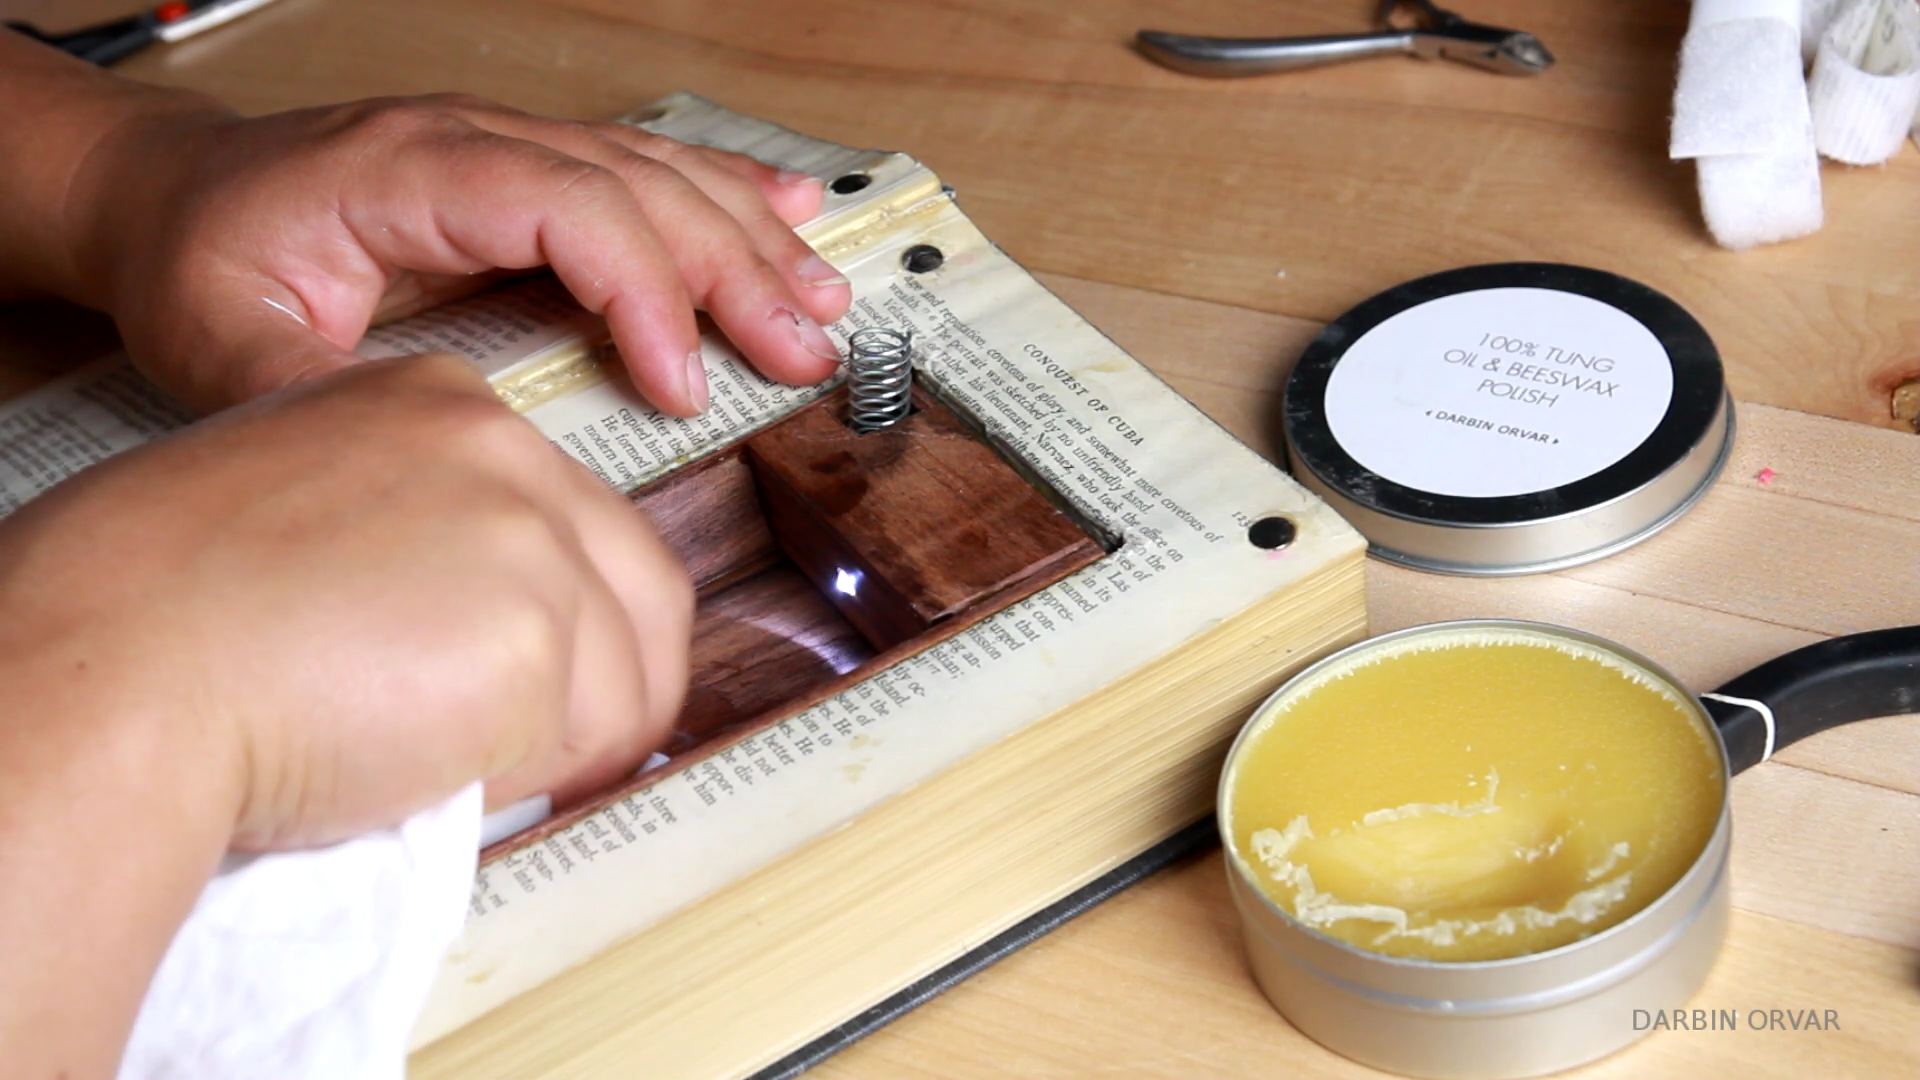
Finally I put on some of my tung oil beeswax polish on the rosewood to give it a nice, darker finish.
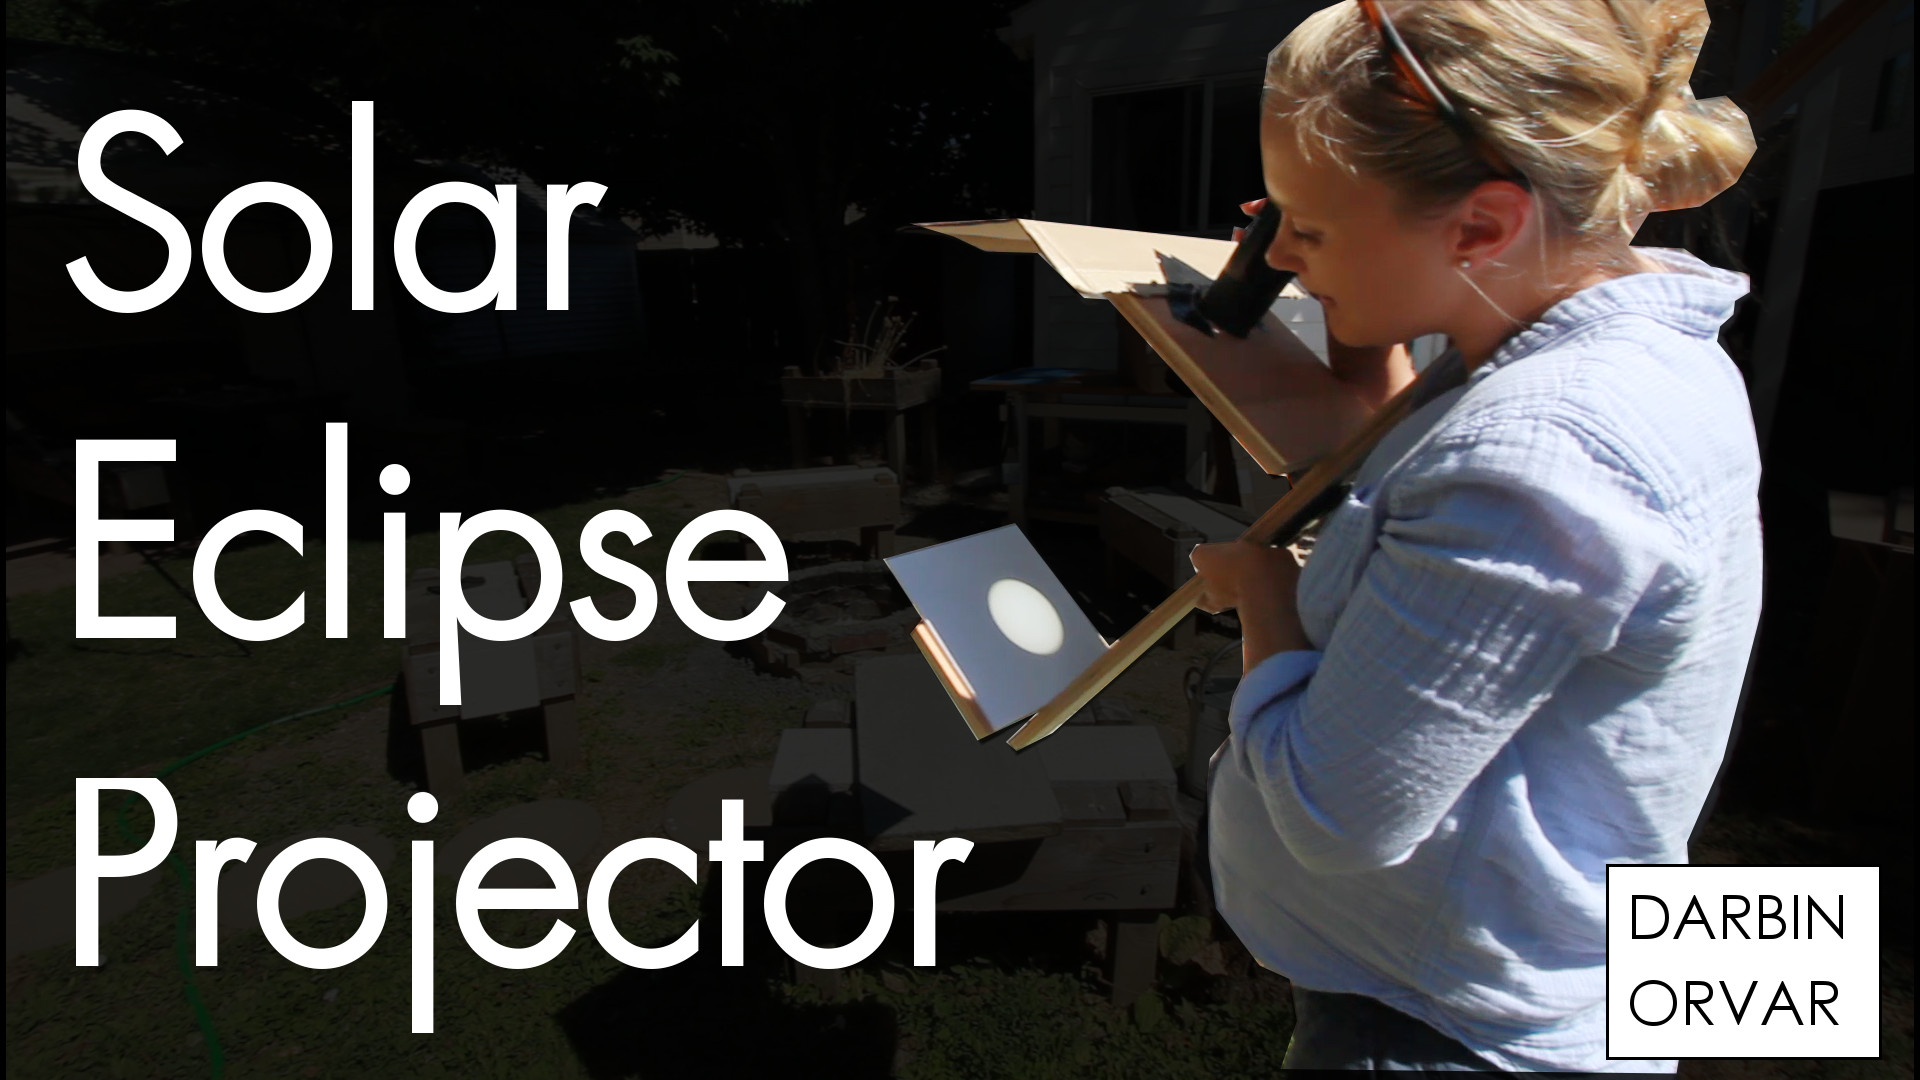
This the best way I know to enjoy the coming solar eclipse for 2017 safely. I made an easy DIY solar projector viewer with scrap wood and a regular spotting scope.
Eclipse Related Affiliate Links
Lens 75 - 300 mm - http://amzn.to/2fPiu89
UV Filters - http://amzn.to/2wfouxS
Tripod - http://amzn.to/2vNtBCa
Eclipse Book - http://amzn.to/2vNLalX
Solar Filter Sheet - http://amzn.to/2uNDp1W
Solar Glasses - http://amzn.to/2icoZCP
Monocular - http://amzn.to/2w6SiMA

These chairs are designed to be easily assembled and put together with just mostly 2 1/2" screws. The outdoor chairs are made of cheap framing lumber and pine.
Cut List
(Pieces are 2 x 4 framing lumber unless noted)
Front Legs - 27" long angled 78 degrees to 26 3/8"
Back Legs - 24 1/4" long, 23 1/2" on short side
78 degrees on bottom
114 degrees on the top
Short Back Legs - 11 1/2" 78 degree parallelogram
Seat - 25" long
Back - 28" long
Seat & Back intersect @ 75 degrees & trim excess
Slats - 10 pieces @ 22" long - use 1" x 4"
Arm Rests - 2 pieces @ 30" long - use 1" x 4"

Making a fireplace bellows from white oak and oil tanned leather.