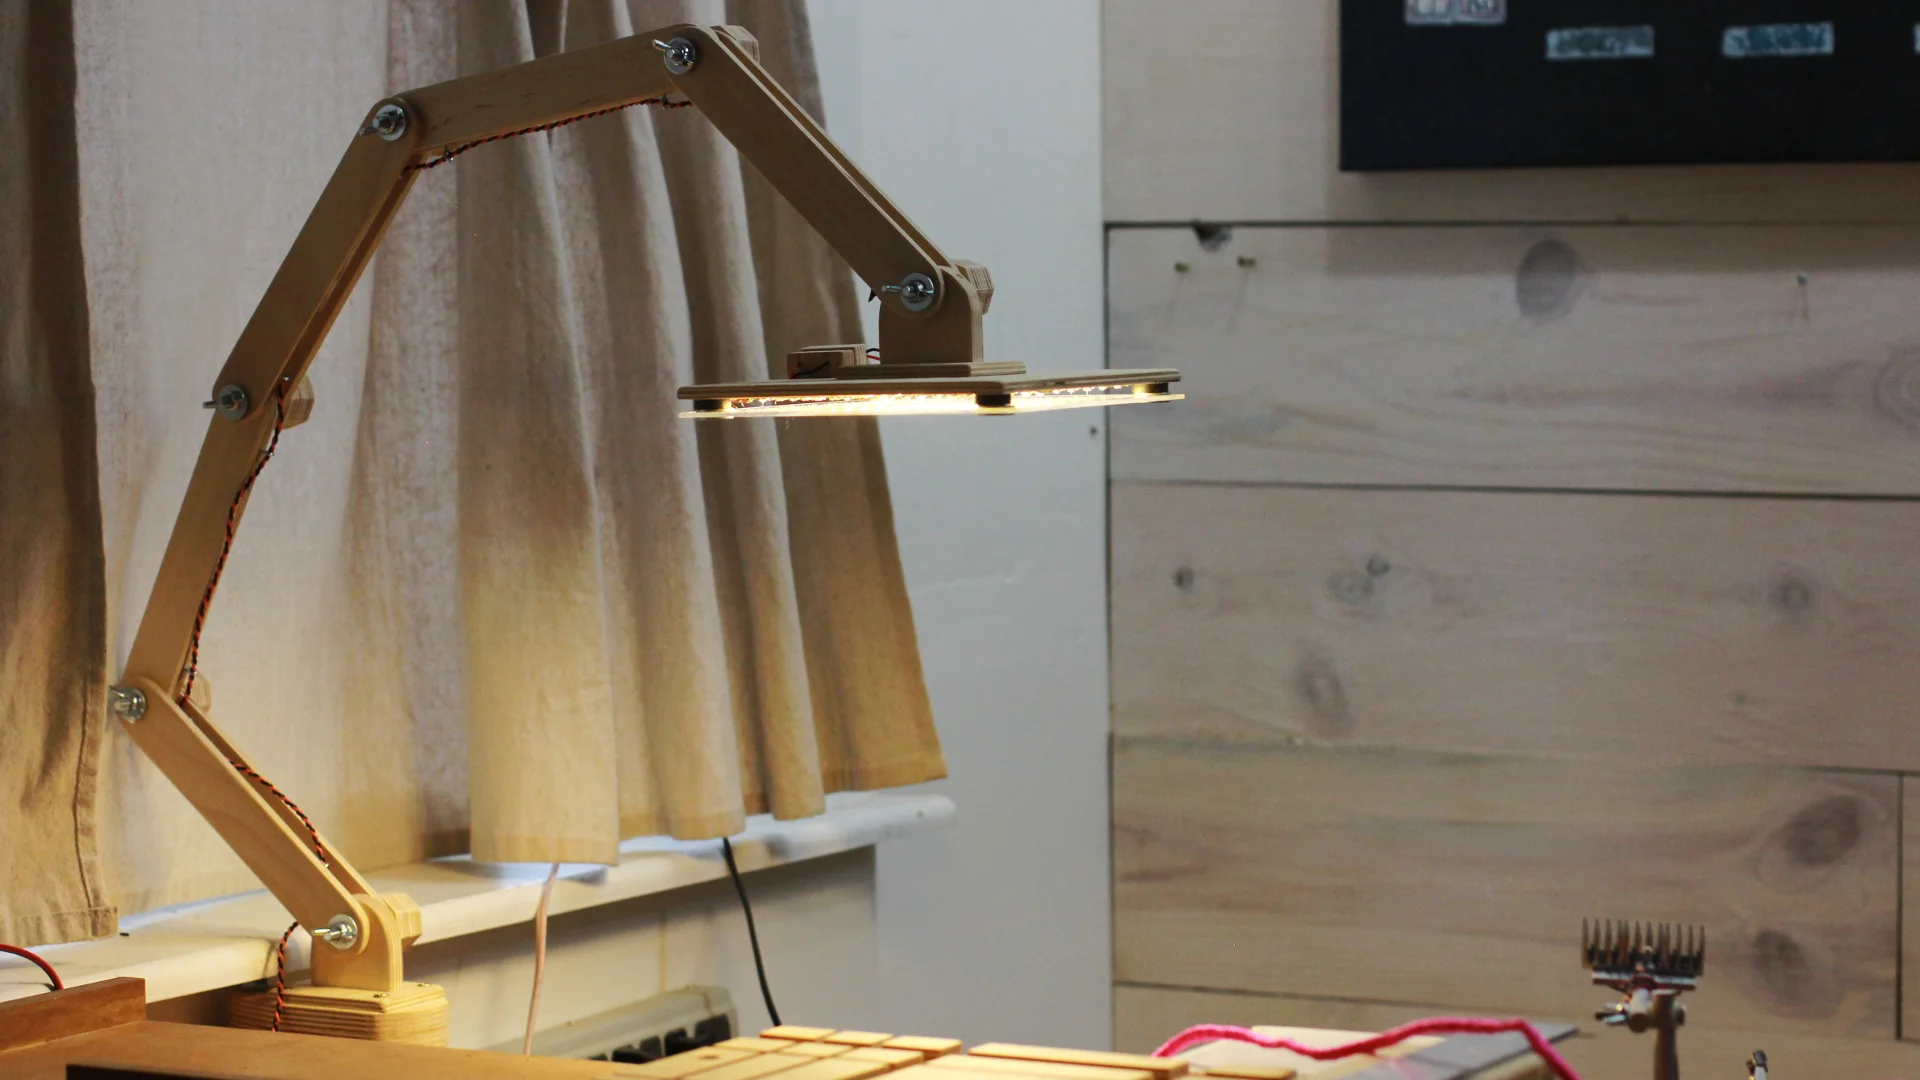
Now let's move on to the lights. So I have this LED strip here, and you can cut them every three lights on the copper section. So for this design, I need six lights on each cut and a total of 13 strips. Then you simply peel off the back, and stick the strip to the wood. It adheres pretty well to unfinished wood. And just go on all the way down. Then just making sure each strip is well attached.
Next I'm just tinning each of the contacts on the positives on one side, and the negatives on the other. Then I've got a piece of wire here and I'm stripping it to remove the insulation, and I'm attaching it with hot glue on each side. Then I'm tinning the wires, and then cutting up small little pieces of wire here to connect to the contacts. Then soldering each wire to each tinned contact, which means all the positives on one side, and all the negatives on another.
And just going down the line, cutting up some more wire. I'm using a new soldering iron, and this one is so much better than my old one, it's definitely one of those things I wish I had upgraded sooner.
So let's see if this works, and it does. With the variable power supply here I can see how much light it gives at different currents which is kind of cool. OK, so we're done with that part.