Building a Tile Tray with Marble and Mahogany
In this video I really wanted to show something I have been wanting to integrate for a while: tile. I also needed a tray for coffee in the morning, or a little bit of whiskey in the shop so it was just a perfect project to do with scraps.
I had some plywood scraps, a few pieces of 1 x 2 mahogany I cut up a while ago, and some marble tile from the chess table I made last year. It was just about enough to get together a small tray. I cut a piece of ½” plywood 11 ½ x 9 ½ inches. The next step was prepping this piece for tile. I use a product called red guard. It is a sealer that goes on pink and dries pretty quick to a deep red color. It is often used on bathroom projects in the shower/tub area. I have used this product on some outdoor tile projects and it works very well.
You just paint it on, let dry for an hour or so, and then get started cutting tile. I planned on cutting marble, which is a very soft stone, so I added some water to the wet saw and measured out how many pieces in a running bond pattern I would need for the size plywood I was using. A wet saw is a pretty inexpensive investment (~ $125), but it is obviously not for everyone. I have used it quite a few times for tables, including my coffee table, side table and I tiled my entire kitchen (floor and walls).
So after I cut all the tile I needed some mortar to attach the tile. In a previous video (Building a Fire Pit) I made my own mortar to lay the brick. Well this time I need a lot less and the mix I used is a little different.
The following are volume relationships. Typically you would use mass measure but for amounts as small as I am using for a tile tray you need to use volume.
Mortar Ingredients
- 3 parts sand (sifted, > 0.5 mm particles)
- 1 part portland cement
- 1 part lime (calcium hydroxide)
Method
Just mix the ingredients together very well and add small amounts of water at a time. You want to create a paste, too much water tends to crack when it dries.
I made some layout lines on the plywood with a pencil then I back-buttered each small piece of tile and placed each piece down firmly and left a 1/16” gap between each piece for grout.
I left it to dry over night. The next day I miter cut the 1 x 2 mahogany carefully on a manual miter box. If you go slow they work pretty well. I turned the tray upside down to pre-drill and attach the mahogany with some 1 ½” screws. A couple pieces of tile fell off. I cleaned up the dried mortar, made up a new batch and reattached them while the mahogany pieces were in place.
Next up was to grout the tile. Even though I had to reattach a few pieces of tile I did not wait overnight. It will work out fine.
Grout
- 4 parts stone dust
- 1 part portland cement
- ½ part lime
- red, brown and black pigment to color the grout
Just like the mortar add a little water at a time to form a firm paste.
I used some painters tape to protect the wood from the grout. I waited overnight for the grout to dry and then cut a few thin pieces of mahogany to cover up the plywood base. They were attached with glue and 5/8” brads.
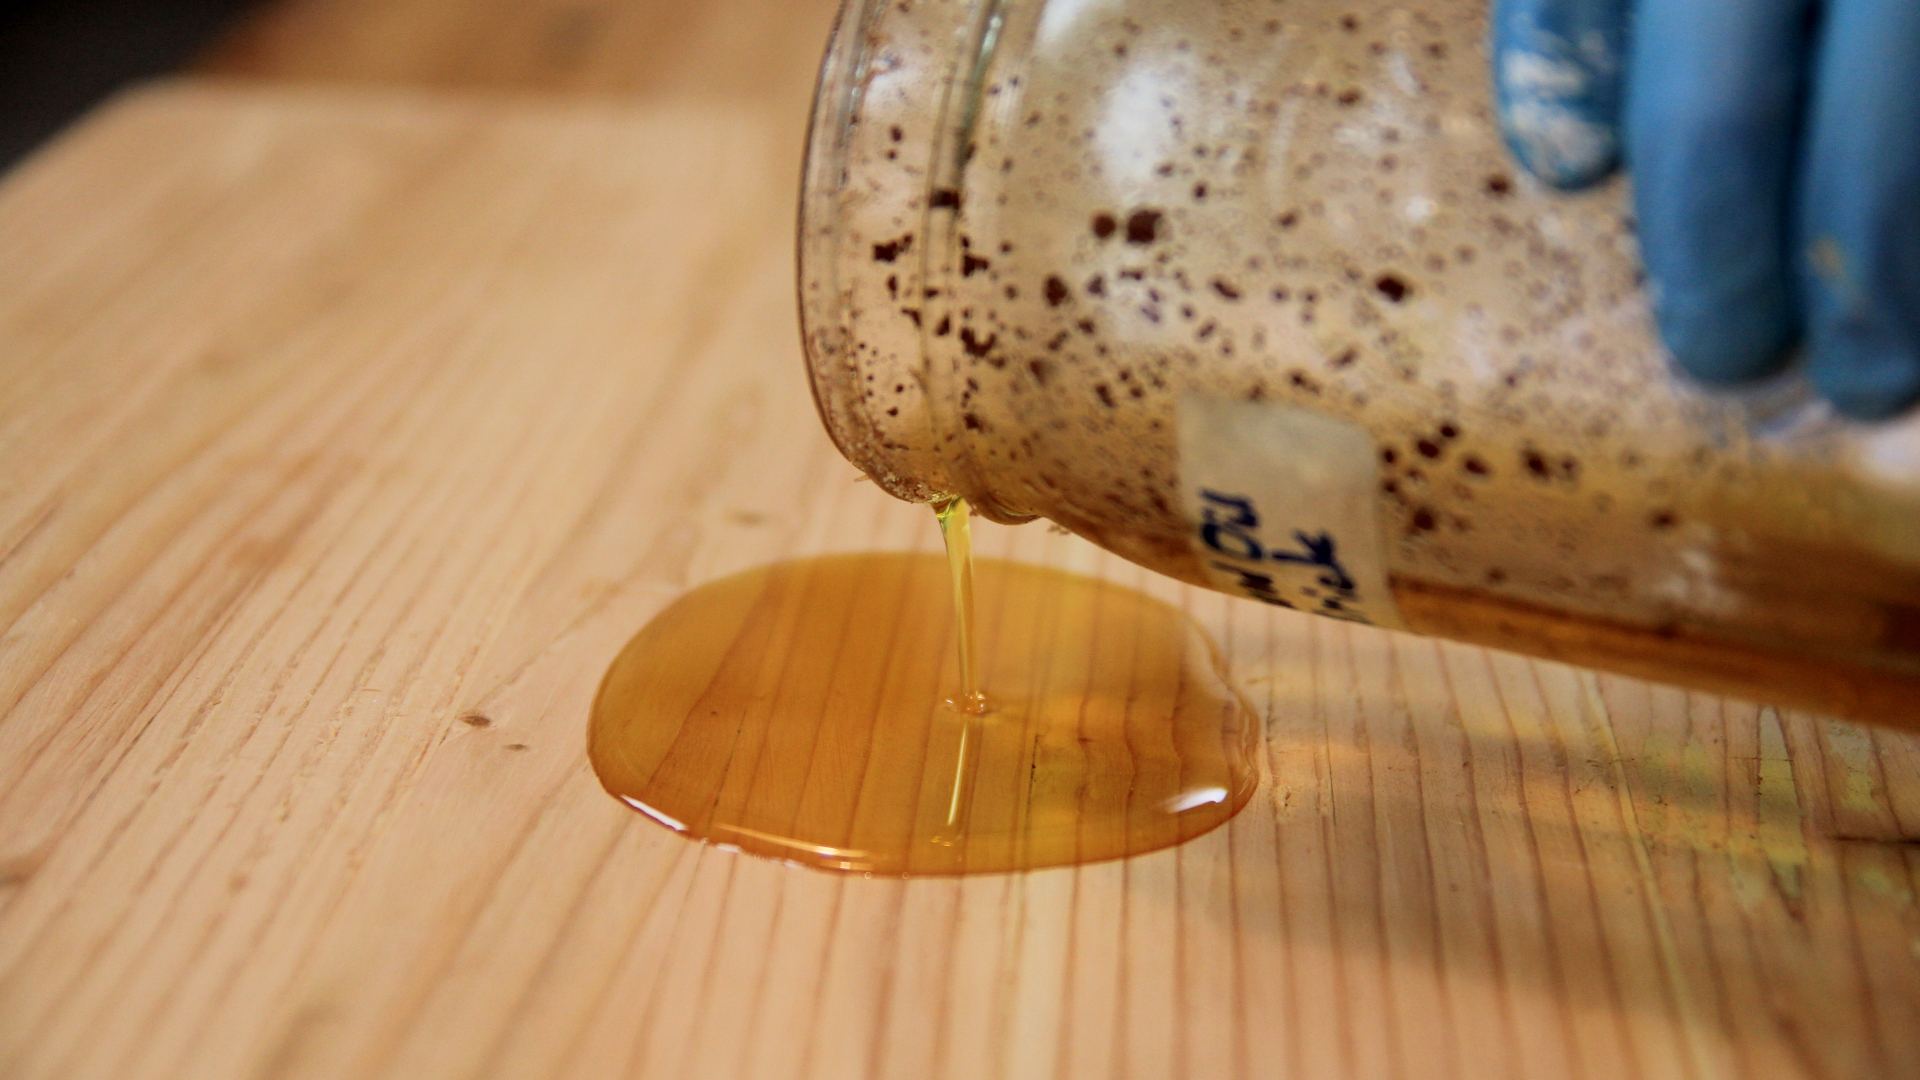
Sealing the Grout
I used unwaxed shellac to seal the grout. Using a shop towel I applied thin coats over the tile and waited about 2 hours for it to dry.
To finish the box I made a couple of handles from another piece of scrap mahogany that was a little lighter and attached them with a screw and some glue. I then coated the wood portions of the box with a 4:1 mix of linseed oil:wax and buffed it dry.