Awesome DIY Desk Lamp w/ LED Strip Lights
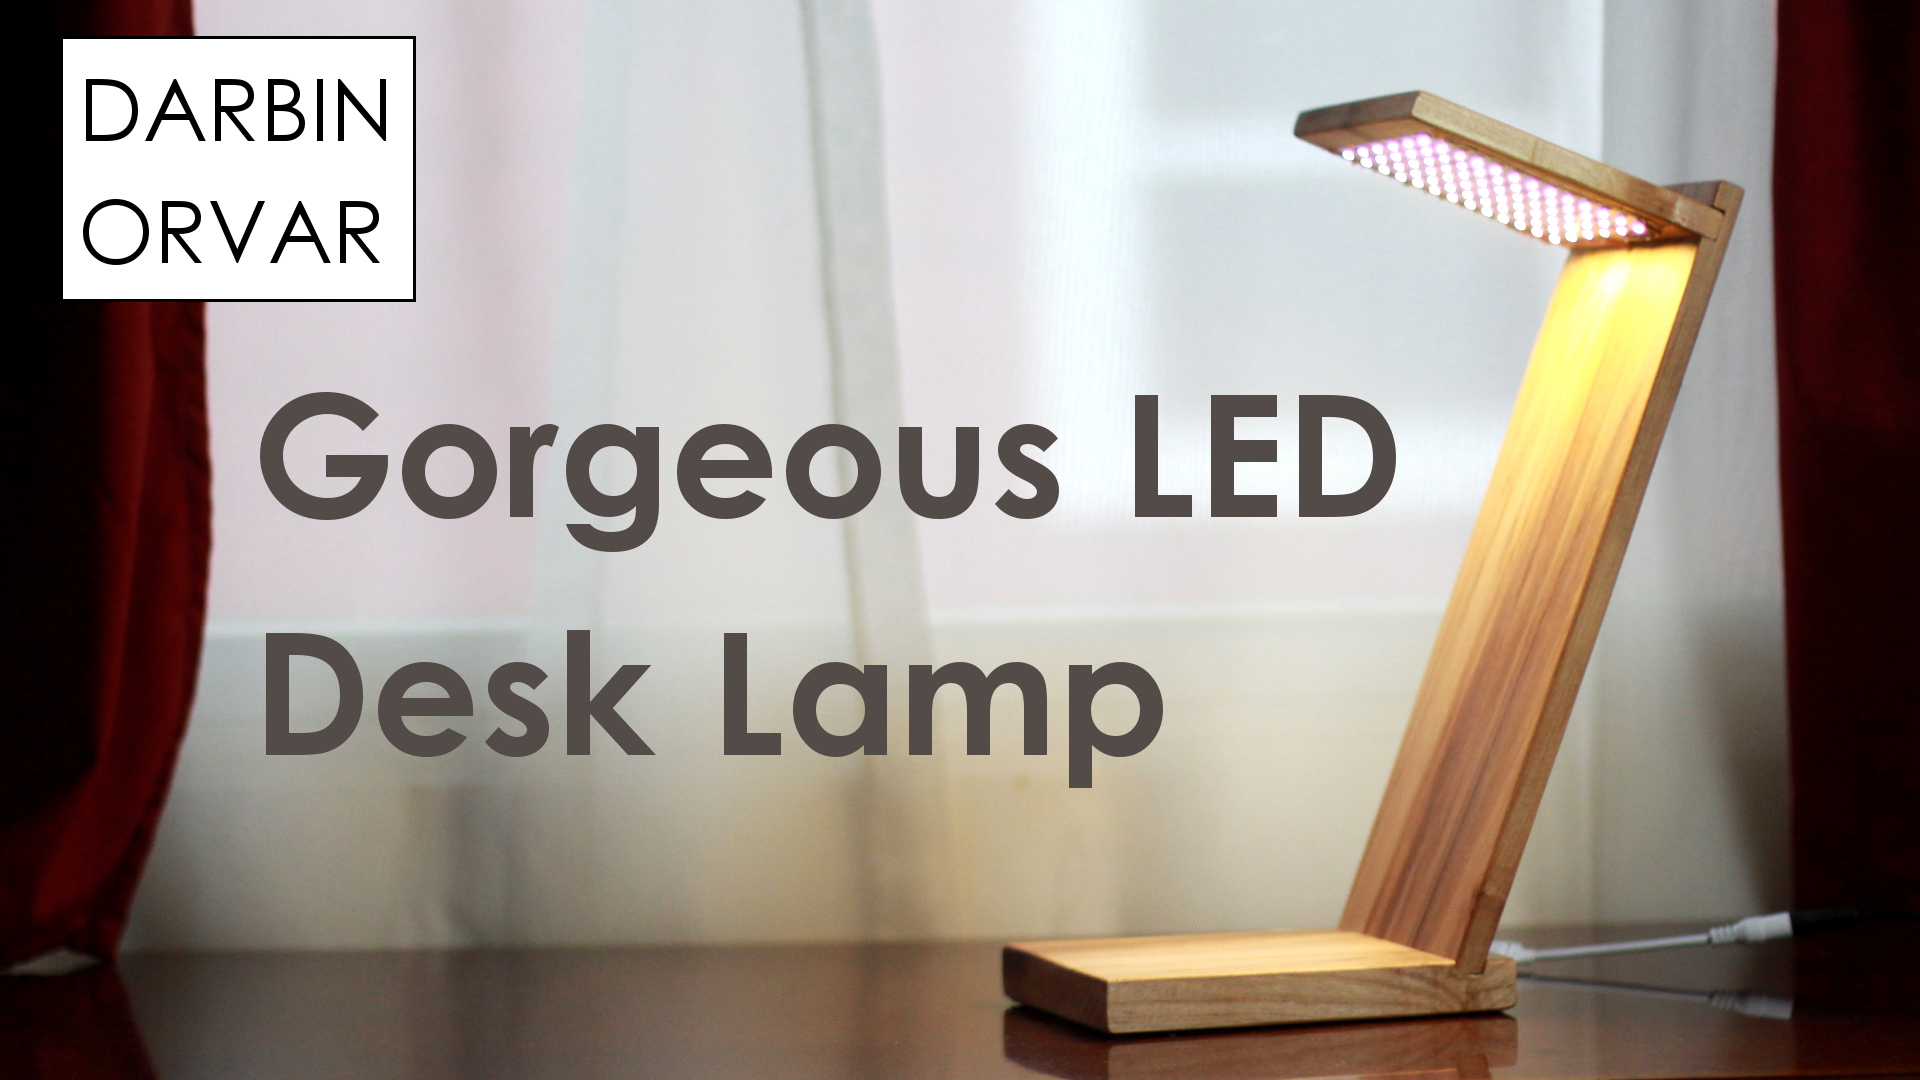
This cool desk lamp is made with LED strip lights and maple. It features a very simple design where the wood is really in focus and has a remote control that attaches to the back of the lamp. This lamp would be great in a lot of different settings, and of course you could use whatever wood you have on hand.

So I started off with this pretty big block of maple. First I needed to make sure it was square, so using a smoothing plane here to joint the edges to make it easier to go on the table saw. Checking with a level and doing some more planing.
Then out to the table saw to do some resawing. Since this wood is really dense, I'm cutting it a little at a time here. Now you could definitely do this cut on the band saw as well.
When I had my measurements drawn up I went outside to do some sanding before cutting the pieces to size. And I'm just cross cutting these parts on the miter saw.
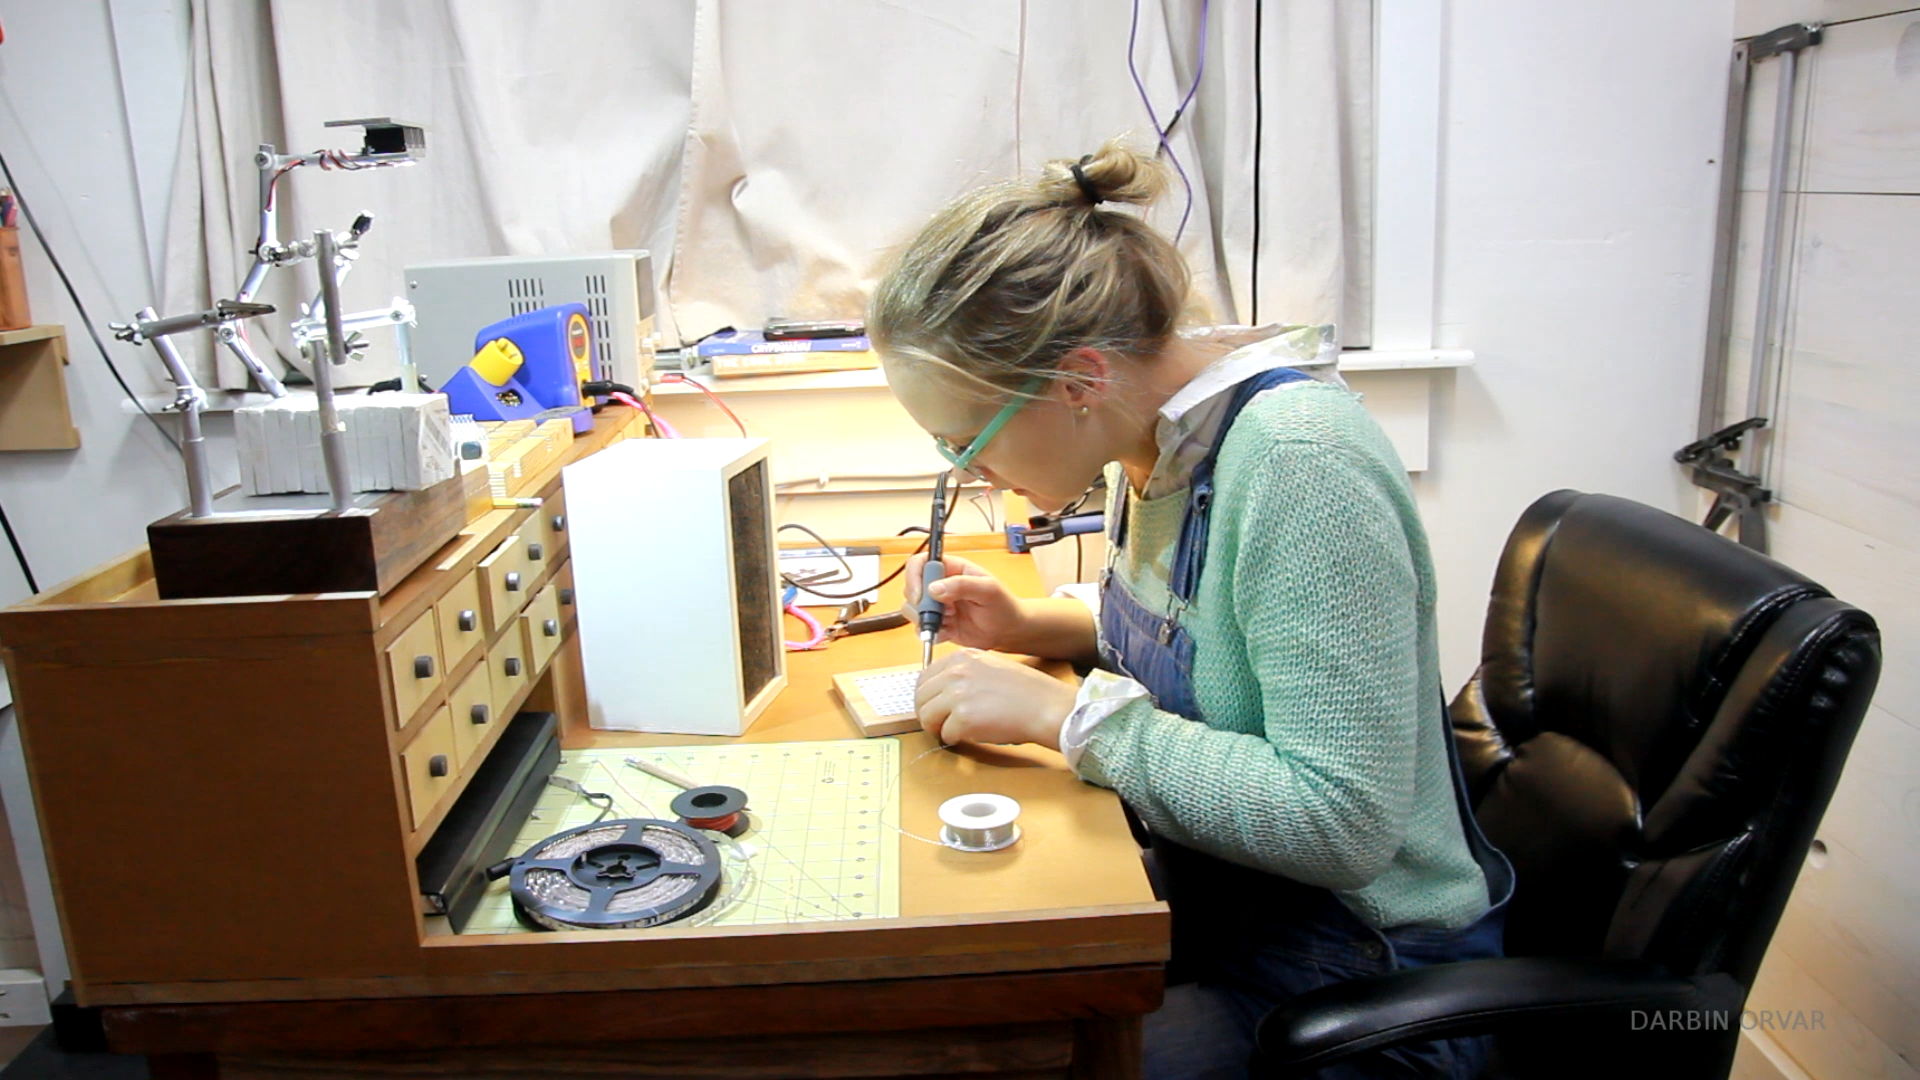
Now let's move on to the lights. So I have this LED strip here, and you can cut them every three lights on the copper section. So for this design, I need six lights on each cut and a total of 13 strips. Then you simply peel off the back, and stick the strip to the wood. It adheres pretty well to unfinished wood. And just go on all the way down. Then just making sure each strip is well attached.
Next I'm just tinning each of the contacts on the positives on one side, and the negatives on the other. Then I've got a piece of wire here and I'm stripping it to remove the insulation, and I'm attaching it with hot glue on each side. Then I'm tinning the wires, and then cutting up small little pieces of wire here to connect to the contacts. Then soldering each wire to each tinned contact, which means all the positives on one side, and all the negatives on another.
And just going down the line, cutting up some more wire. I'm using a new soldering iron, and this one is so much better than my old one, it's definitely one of those things I wish I had upgraded sooner.
So let's see if this works, and it does. With the variable power supply here I can see how much light it gives at different currents which is kind of cool. OK, so we're done with that part.

Now let's get to work on the wood. So I need to cut a dado in the base, so the back can sit inside it at an angle. I also need a dado in the back so the light part can sit inside it straight.
So I'm starting with cutting a dado on the back piece of the lamp. And I'm simply taking repetitive cuts on the table saw here. I'm creeping up on my marks to make sure I get a tight fit.
Next I'm doing the same thing but at a 22 degree angle for the base, and this matches the 22 degree bevel cut I made on the bottom of the back piece so that it fits tight.
And this is what it will look like all together. Then I'm cleaning up those cuts here with a chisel.

Now, I'm going to run a wire down from the light so drilling a hole here so I can get it to the backside. And testing if that fits and that was a little too tight, so changing the bit. And now the wire fits through much better. The wire will run down a groove in the back piece, so that's what I'm cutting now on the table saw. Just making a very shallow groove with a few light passes. Then sanding the pieces a little.
Now, let's work on the base a little. So I'm drilling a hole in the side here, and that's where I want the plug to fit. On the underside of the piece I'm drilling a large hole with a forstner bit, and that's where the wires will be connected from the plug to the lights. Then I also need to drill a hole on the base here so the wire coming down the back can reach to the underside of the lamp
And I made enough room to get the plug in from the underside to the side.
So here are all the pieces now, the base, the back piece, and the light.

Time to assemble. So making sure I'm getting the wire through, and then gluing the pieces together. And a little gentle tapping to get it in place. Then gluing the light piece in and putting on a few clamps to let it set up.
Now, to give the base a little weight, I decided to drill another hole here. And I've got some lead. I'm just hot gluing this in place. So I used this because I already had some lead on hand, however you could definitely use bbs or any other type of weight just to make sure the lamp is a little more stable. And then I'm just covering the whole thing with hot glue.

OK, so time to connect the wiring. So I have the wire coming up through the back piece, so I split it off, and I'm soldering the positive to the positive side, and the negative to the negative side.
Then I'm simply hot gluing the wires in place, and hot gluing the wires into the back.
Then attaching the plug into the side here with some hot glue, and then soldering together these wires. I'm using some heat shrink here to protect the wires. And then since I have the room, I decided to add an addition piece of lead, can't go wrong with extra weight.
So almost done, a little fine sanding, and then I'm putting on a coat of my tung oil wax polish.

OK, so to really finish this piece off, I'm cutting up a piece of black fabric for the base, and I'm simply hot gluing that in place as well.
Also, these lights are operated with a small remote control, so I'm gluing on a piece of velcro on the back here, and another piece on the back of the remote - that way I'll always know where it is!
Double-click to edit...
Building an Organization Caddy System for the Desktop
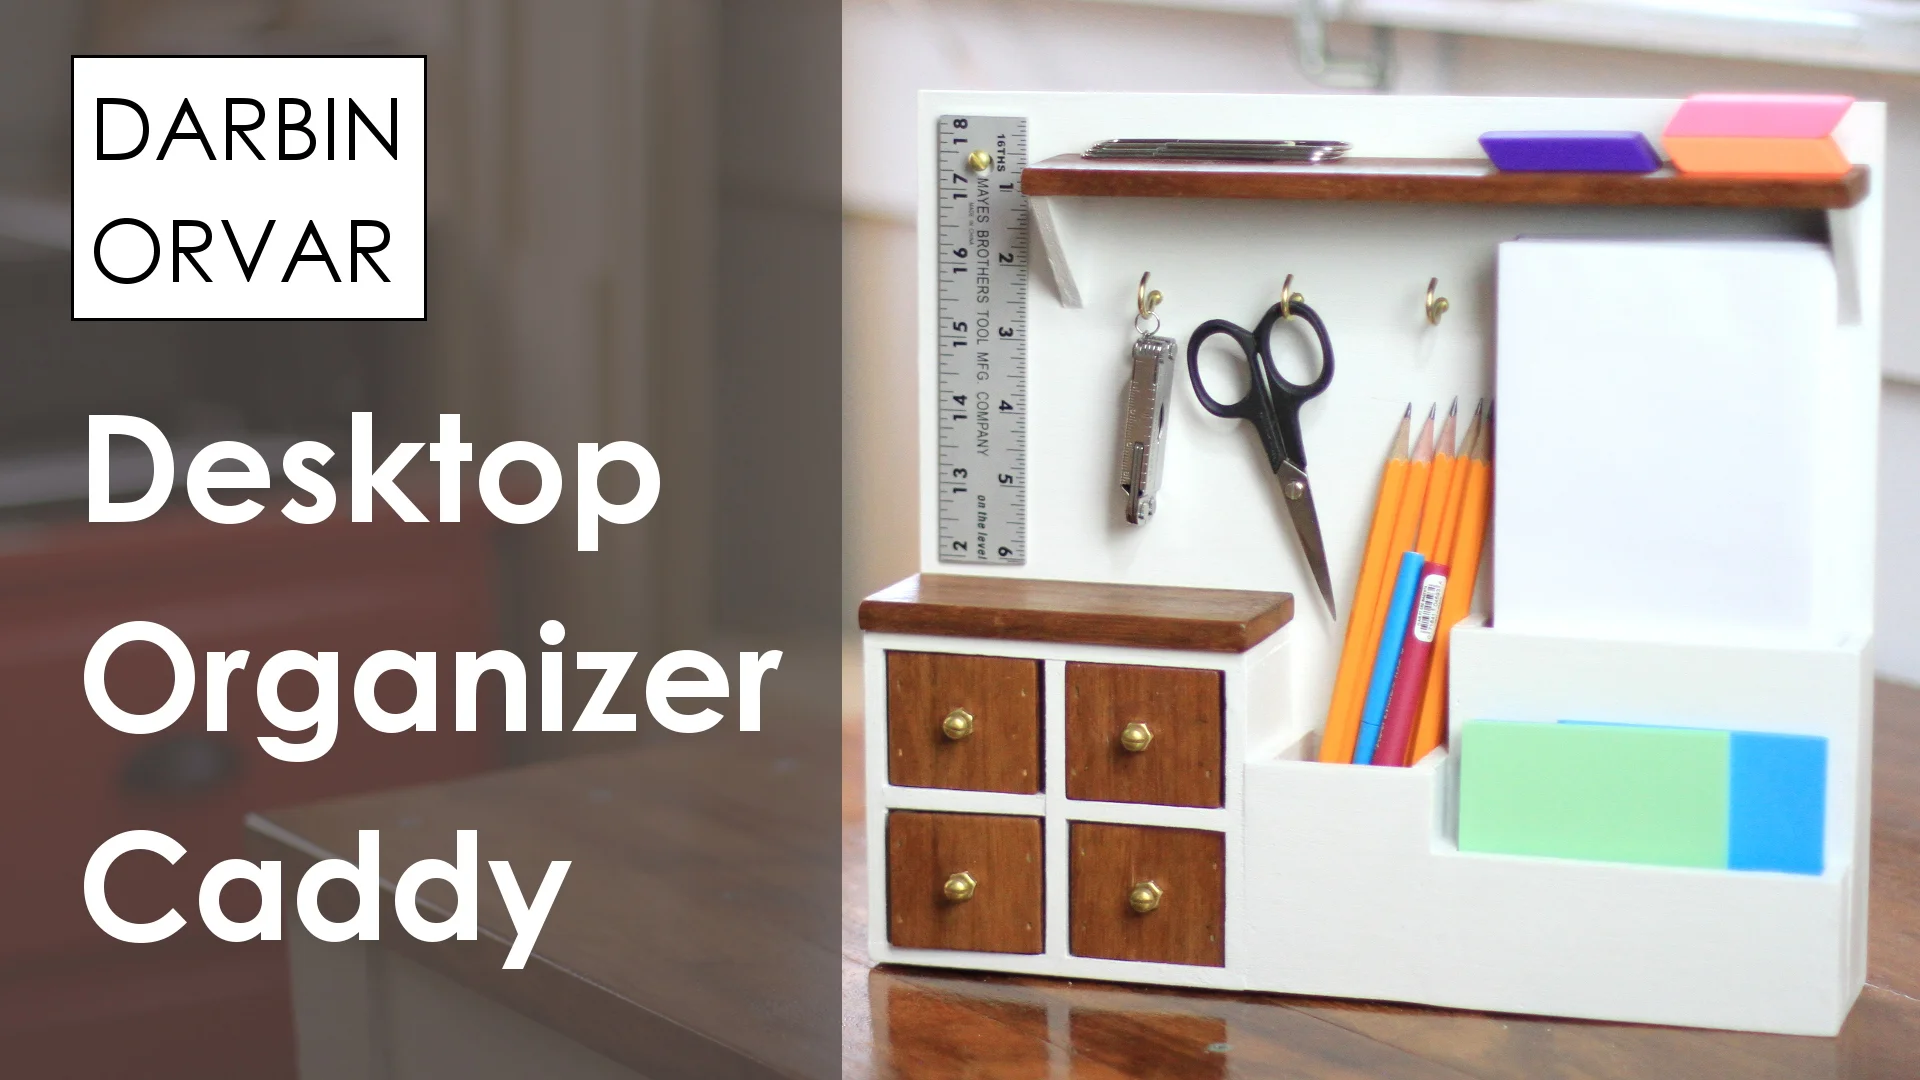
Making a custom desk organizer caddy can really be practical as you can make it fit a lot of things in a relatively small space. For this project I really wanted to make something that felt very finished, almost like a miniature piece of furniture, that also was very practical to help staying organized at the desk. You can either have this unit stand on a desk against the wall, or you can hang it on the wall, if that works better. In terms of material, I'm using MDF and ipe wood, however any wood would be nice and provides excellent contrast against the white MDF.
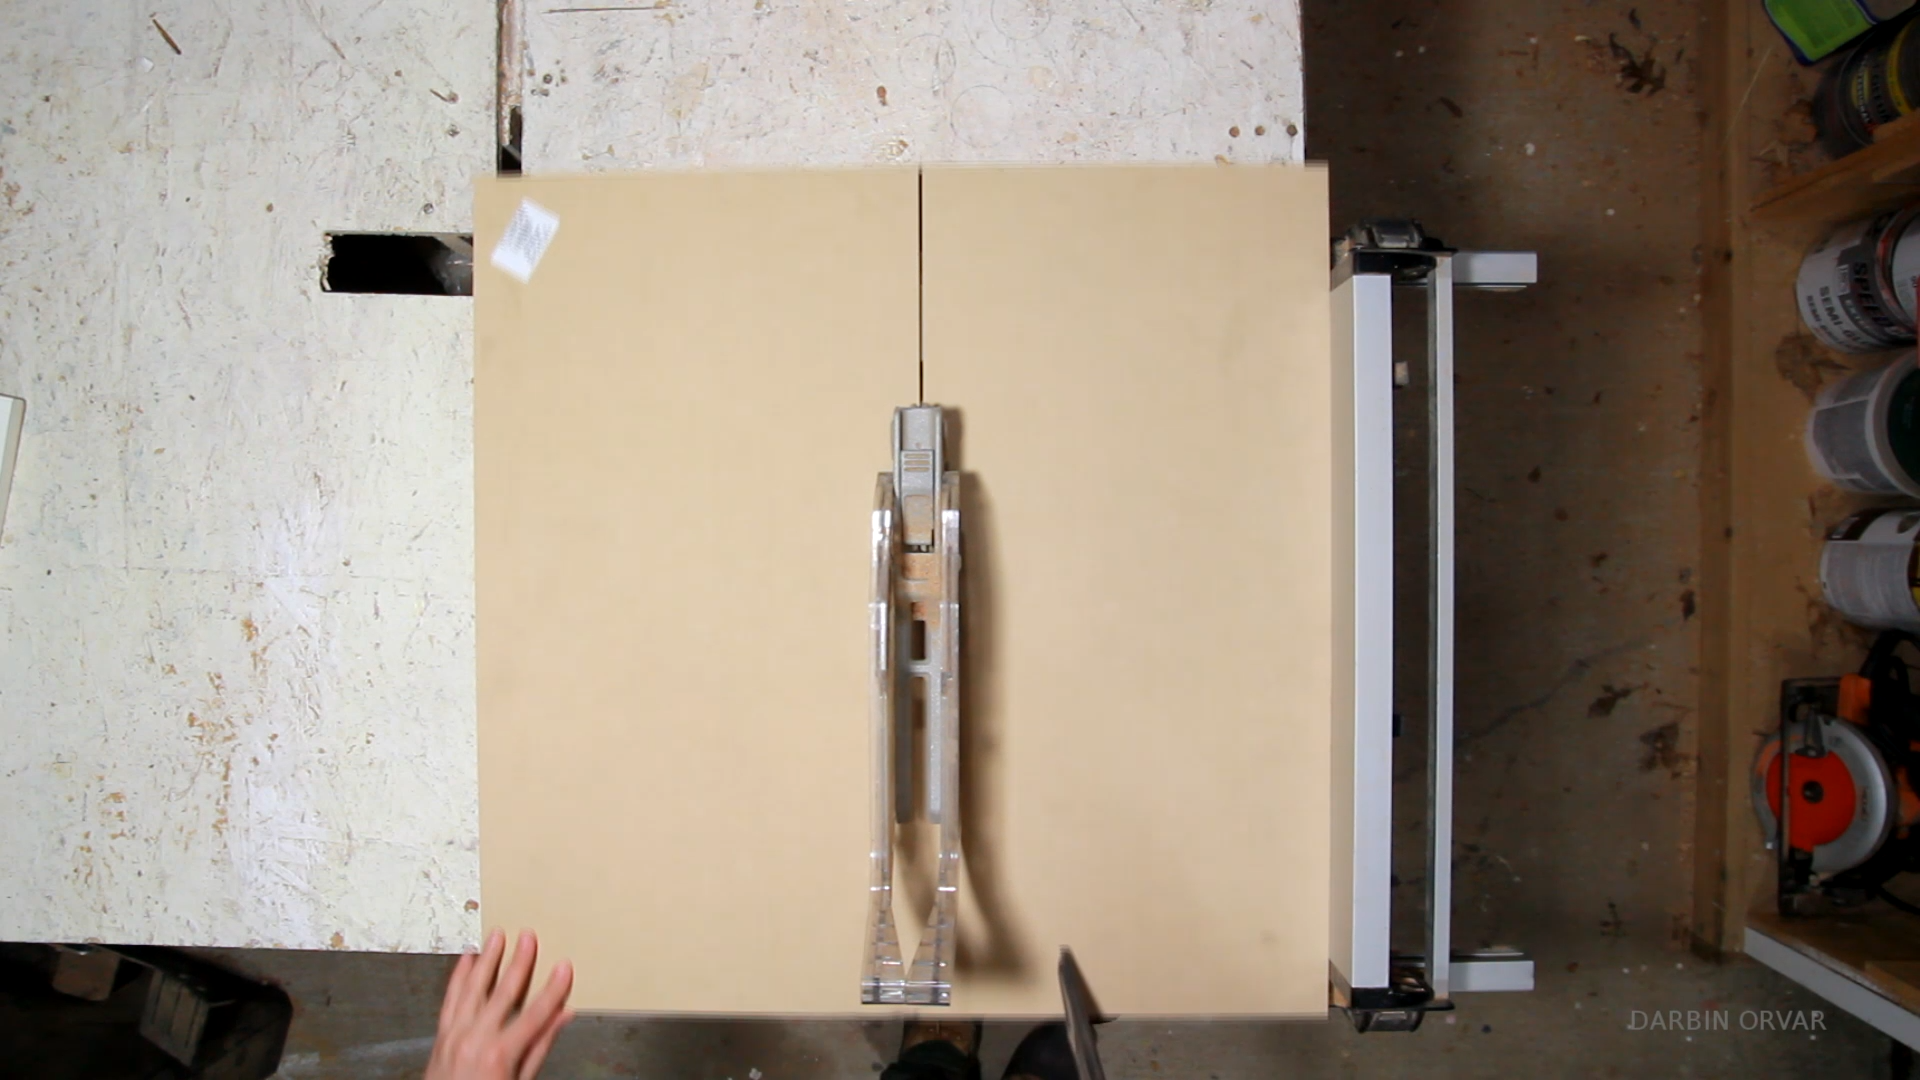
Well, it all starts with a plan, right. So this time I started with cutting up a model in some brown paper to get a feel for size and proportion. Sometimes I find it a little easier to visualize that way. So I'm adding what I need here - space for envelopes, pencils, a ruler etc... Then once my cutlist was complete I went out to do some cutting. So for this project, I'm using 1/4 inch mdf which is really a nice size, doesn't feel thick or heavy and easy to work with. So I cut up a bunch of strips and then cut them to size on the miter saw.
Then let's put the puzzle together. And that's really what this is, once piece on top of another. You have side pieces, then a front to cover that, shorter side pieces on top, a bottom, and a short front piece to cover that. Then support for the middle here which uses the same bottom as the right, and a front to cover that. Then the section on the left is completely separated from the other two, and creates a little cubby.
So to attach these pieces, I'm using yellow glue and a nailgun, and you just have to be a bit careful to nail right since these pieces are pretty thin. I started with putting together one section at a time, the envelope holder, sides, front, then the bottom, and then it's easier to add to that once you have something a little more stable.
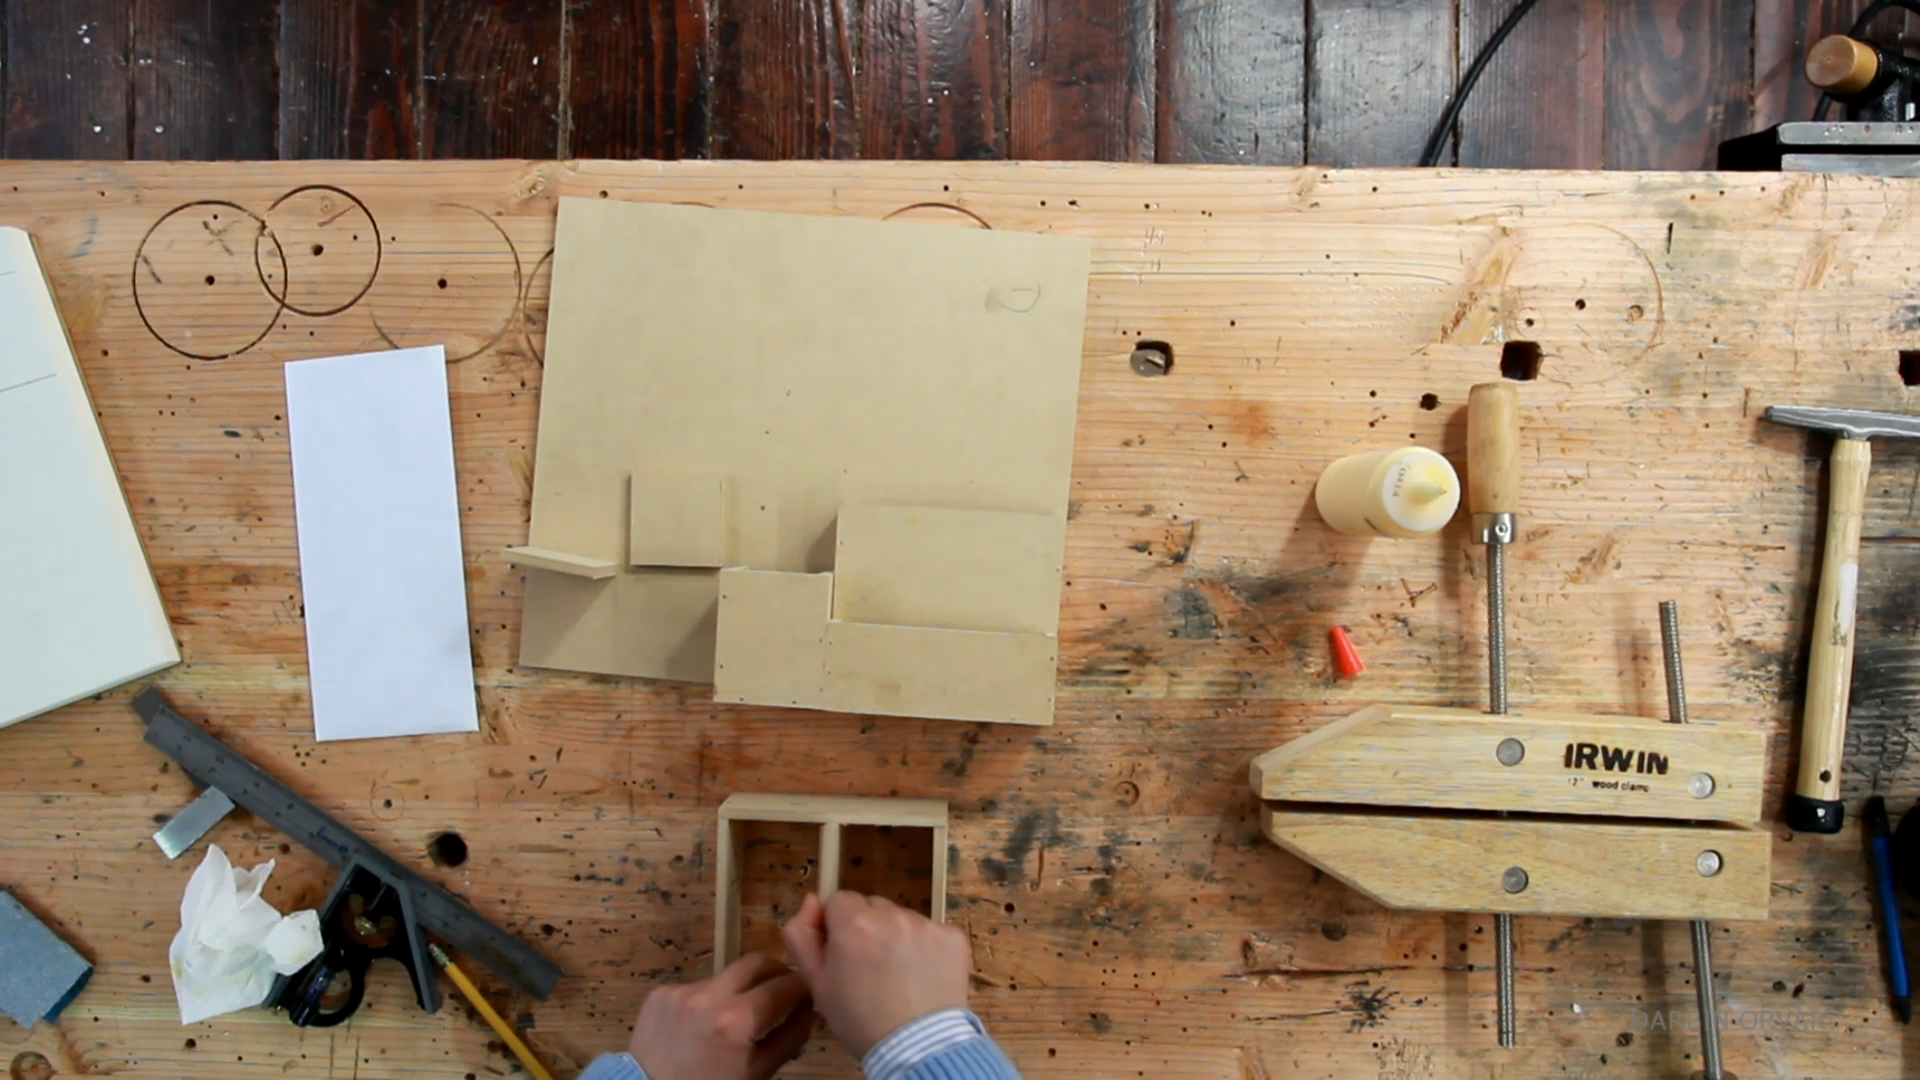
And this just takes a little bit of time, putting everything together. Then finally when I had the two basic sections completed, I attached them to the back, again with glue and nails.
OK, next I've got some ipe cut up here for shelves, as well as two triangles of mdf for support. So just measuring out where I want them and attaching them to the back. Also, time to put together the drawers. So I've got mdf for the main drawers, and a piece of thin ipe cut up for the drawer fronts. Now as a pull, I decided to use these nice looking brass screws, so I'm putting in a nut on each side of the wood to secure it in place. Then attaching the fronts to the drawers, and they're so tiny.
OK, now I wanted this whole thing nice and bright, so painting it white, with some basic cheap paint. Then I'm sanding the ipe for the shelves, and gluing those in place.
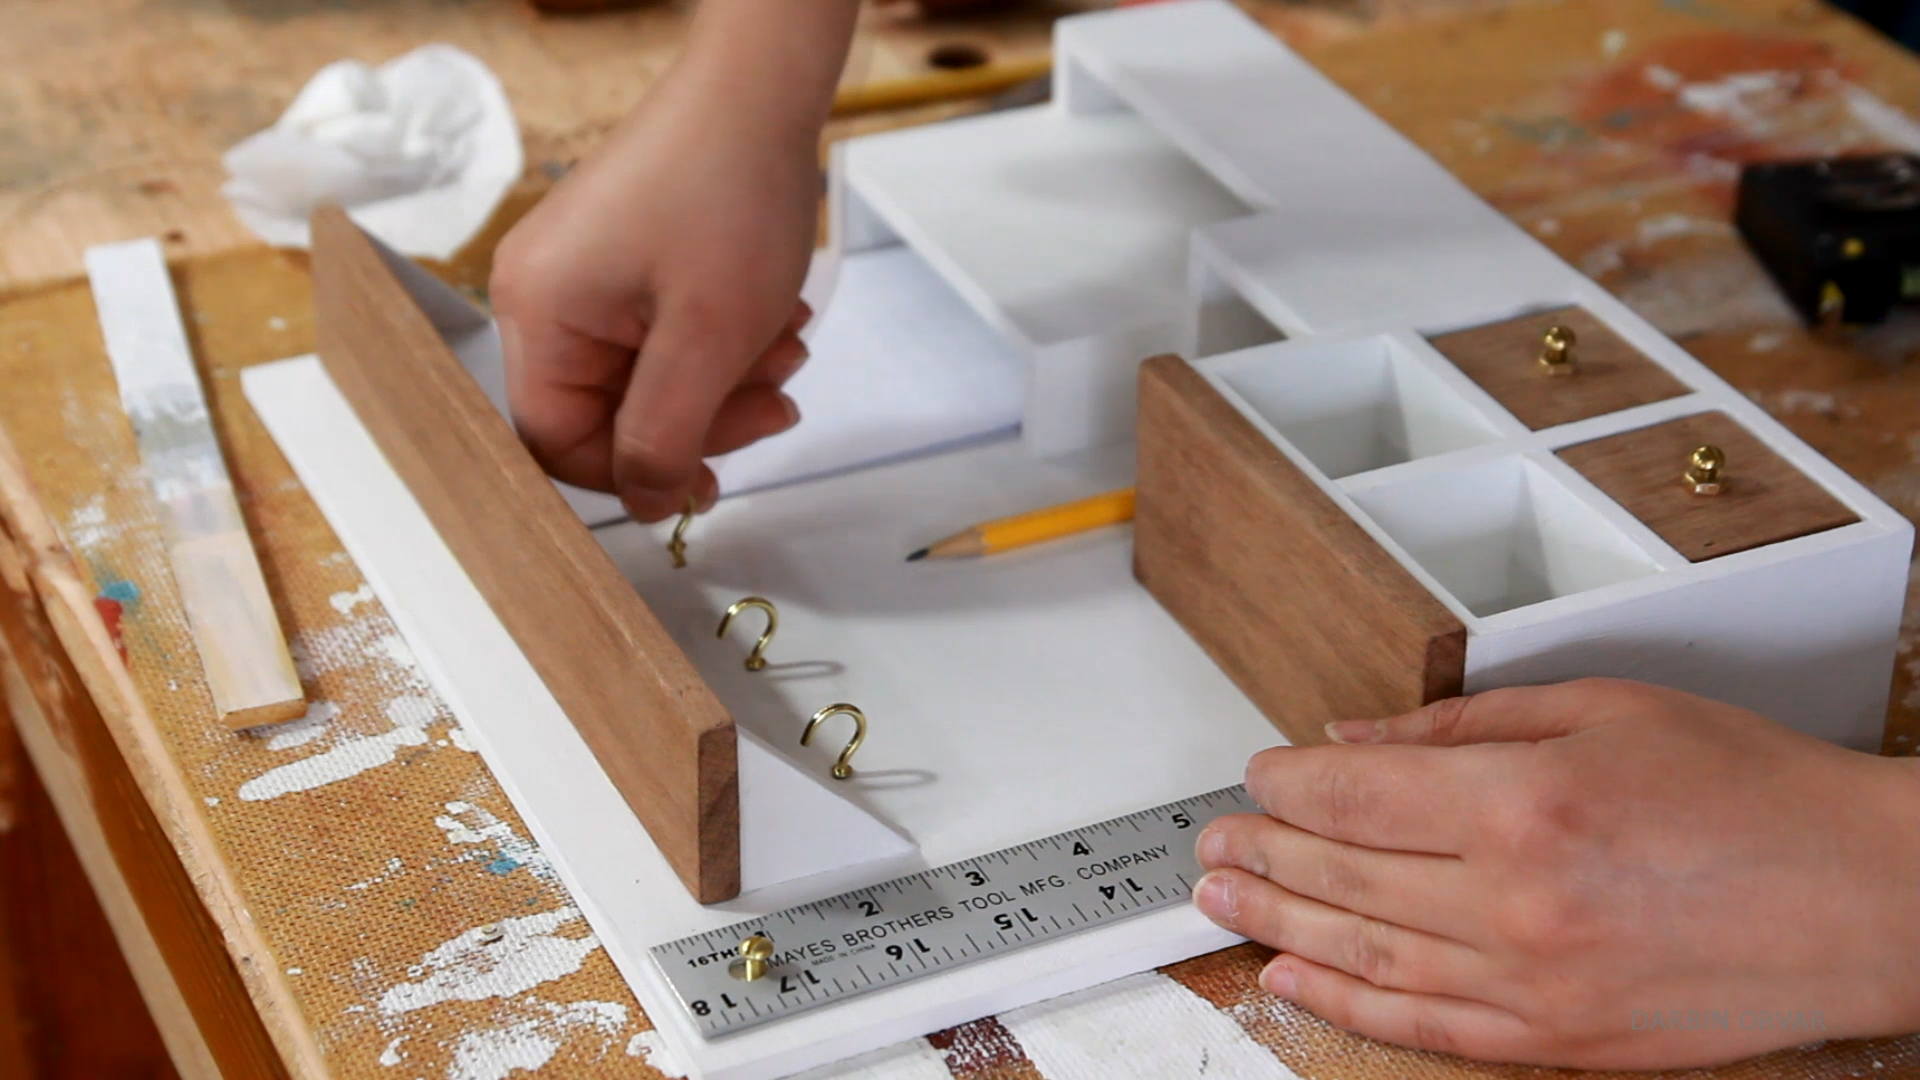
Now for the side here, I have space for a small ruler, so to hang it, I have a matching brass screw, so I'm just drilling a hole, and gluing this in, it's not exactly going to carry a lot of weight. Then I want some hooks, so I'm finding the position I want for each, making a mark with an awl, and a drilling a small hole before screwing each hook in. OK, so I can now put the drawers in, and it looks good.
To protect the paint, as well as the wood, I'm putting on a few thin coats of spray lacquer here, and it's nice because it dries so quickly and it doesn't add a yellow tone either.
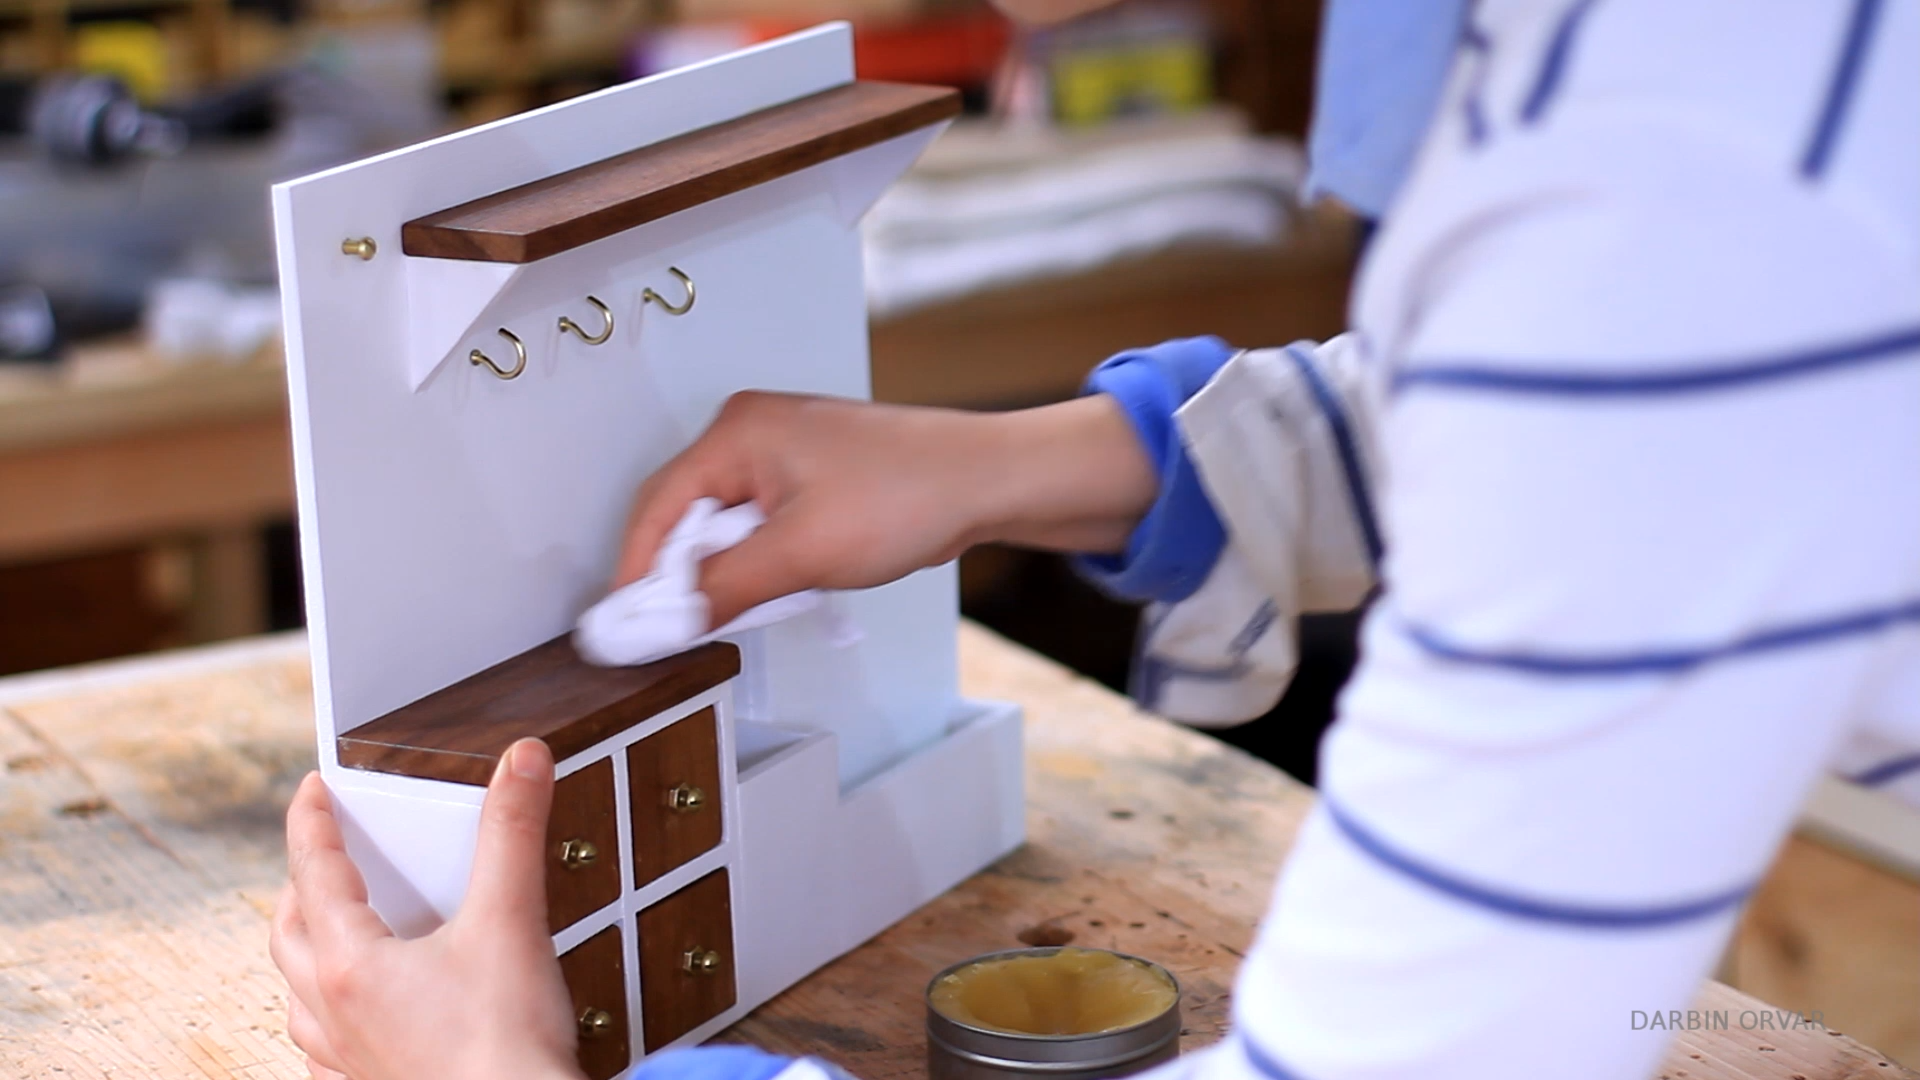
And then, I decided to add a coat of my very own tung oil polish to the wooden parts to add some softness - and you can find the wax polish in my shop if you're in interested in picking up a tin.
Now time to fill this up! I'm putting in pens, envelopes, note cards, a ruler, erasers and other small things that fit in the drawers.
For a much better view and perspective, make sure to watch the video that goes over each step.
Double-click to edit...
Making a Live Edge Coffee Table w/ Metal Base

This awesome looking live edge coffee table is made using a slab of wood and some flat bar steel which I bent into shape, so no welding involved. There are so many cool looking slabs out there to choose between in different colors, sizes and species of wood, and here you can choose one that fits your space. This table is made with a mesquite slab, however any live edge wood would work nicely. Making the base is not very difficult, and the simplicity of the steel really compliments the wood. So let's begin!
I started with looking over the piece of wood. This one is very flat which is nice so it doesn't need any jointing, however often times slabs need a fair amount of work to get perfectly flat. I'm deciding which side should be up and down, and seeing how much the size differs on either side. To get a better idea of where to cut the sides, I'm marking a line so the two sides will be parallell.
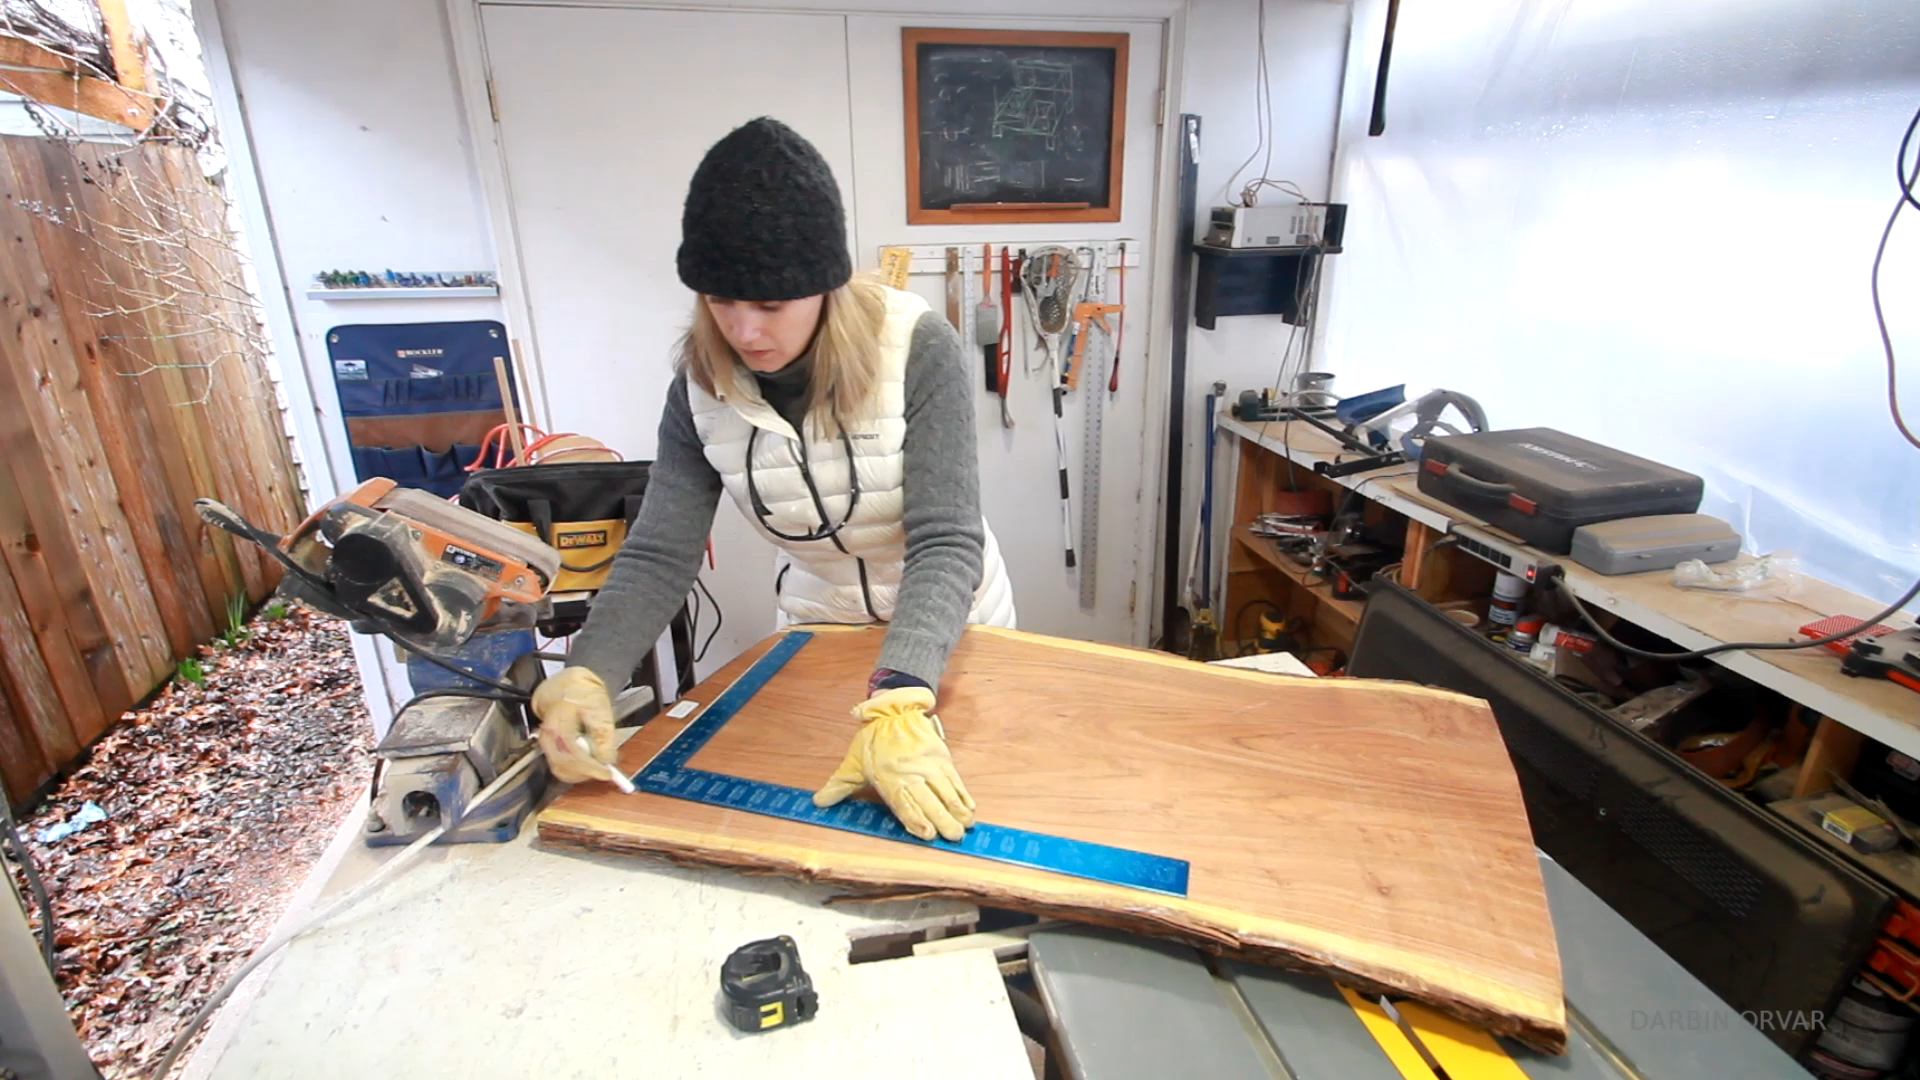
Then I'm getting ready to cut off the edges, so setting up a board to follow. And I'm simply using the circular saw to make the cuts.
Now time to clean this slab up a bit. So this is a live edge piece of wood which means there is still bark left on the sides. Now I want to keep part of that rustic nature, however I don't want loose bark falling off the coffee table. So here I'm using a draw knife to remove loose bark. I made sure I sharpened it before using it here, and it's a lot of fun doing this job. This is one of my favorite tools that I don't get a chance to use that often, so I was really enjoying this. It's quite memorizing and then deciding how much to leave, how much to take off. I also brought out a large chisel here to continue to clean this up.
To create a chamfer on the edges I used a number 4 smoothing plane here. And I'm trying to create a smooth transition from the bark and the sap wood to the edge. I also brought out a spoon carving gauge which was really useful.

And then I did quite a bit of sanding and cleaning up the edge. Just looking it over, finding an area that needs further work and so on... Then a little more sanding, a little more chiseling and so forth until I was satisfied.
Now to seal the wood here, I'm starting out with this gel polyurethane which I'm just rubbing on with a cloth. And this makes the grain really come to life. Then once that was dried, I used Arm-R-Seal for a final top coat.
Now, let's move on to the base. So I've got some of this 1 1/2 inch wide, 3/16th inch thick, flat bar steel and I'm measuring out where I need to bend the metal. So I'm going for a 17 inch height with the table top, so I'm bending the metal at 15 inches.
I was first planning on simply hammering and bending the metal using the vice alone which you certainly could do, however I ended up using a bending jig that I attached in my vice. This was really useful, so you simply put the jig in the vice, and the steel in between the bars, and it's quite easy to bend. So I was doing some tests first, bending the metal on the marks. Then I used a angle grinder to cut the excess off.

Then I clamped the steel down and drilled a hole on each end, using some a liberal amount of cutting oil to lubricate. I used a 5/16th inch cobalt bit with my hand drill since at this point I couldn't use it in the drill press with all the bends.
Then I drilled holes on the underside of the slab and attached the steel with a lagbolt, and continued the process all around.
Now once I had both legs attached, it was easier to see where I needed to adjust the bends a little to get base even and straight. So I took them off, and made some fine adjustments here and there.
Once I was satisfied, I sanded the metal down with some sand paper first, and then some steel wool. Then I took the table outside, and sprayed a few light coats of lacquer to protect the steel from rust.
Now to finish the top off, I put on a coat of my tung oil beeswax polish to get it really nice and smooth. And it's all complete.
Making Alphabet Rubber Stamps & a Box

Making your own rubber stamps is a lot of fun, plus it can add a unique touch to your projects. I've been wanting to make a collection of letters featuring the alphabet, so I went to work using a soft carving block, an exacto knife and a blunt carving tool.
Double-click to edit...
How I Design My Woodworking Projects

In this video I go over how I design my woodworking projects, an upcoming project and a couple of things I picked up for my design corner.
Double-click to edit...