How To Build a Portable Toolbox w/ Insert Tray for Travel

This box is made out of maple with walnut splines and it has a walnut tray insert. Originally I designed it for art supplies, but as I started to work on it, I thought it would be just perfect as a travel box for hand tools. That's not to say however that it wouldn't be a great box to hold any supplies! Boxes are just so much fun to make, and this one would be perfect to hold any special things.

Here's the idea for this project. A simple box, with an inset top and bottom. Mitered corners and splines. To create a lid, the box is cut in two. Let's open it up. Inside the box we have a nice fitting tray that sits in the middle.
I started with running a maple board through the planer to get them nice and smooth. Then I resawed the wood and cut the pieces to size.
So these are the pieces I need for the main box, and these are pieces for the lid.
Next I'm routing the long and the short sides through the router with a 1/4 inch bit so I can insert the top and the bottom. So the bottom will sit flush, whereas the top will be inset a little bit.
Now for the lid I've got a couple of thin pieces of maple I'm cutting up here and I'm just going to laminate them together to create one piece. And adding a little clamping power from all sides so it sets up right.

OK, so time to assemble the box. So I'm putting down some glue in the routed grooves, and then I'm simply putting all the pieces together. So that looks good. Then holding the box in place with some clamps as the glue dries.
Next to add some strength to the box, I'm going with splines. So the first step is adding the holes, and I'm using a spline jig for the router here. And I decided to add two splines on each sides, one will be inside the lid, and one will be in the main body.
Now, for the splines, I went with walnut. Love the contrast there. So cutting them up to size and then gluing them in, a little light tapping, sanding at times if they're a touch too thick and repeat.
To make my life a little easier, I opted for cutting off the excess wood on the band saw and then sanding the sides down flush.

Once the splines were cut and sanded, I cut the box in half on the table saw. I was really careful here, and cut one side at a time. And there you have it, a top and a bottom. Love this technique.
Now, let's move on to the tray. These are the pieces I need, a bottom, and then the sides. Cutting a groove with the router so the bottom can sit flush. To connect this box I decided to use my box joint jig. So these are really small joints, simply the width of the blade with is 1/8 inch. And there you can hear the rain, outdoor shop. And then just fitting the pieces together.
So time to glue the tray together, and I'm simply adding some glue to the joints here and the grooves, and making a little box. Clamping everything in place, and wait to dry.
Then doing a little sanding to get everything nice and smooth.

OK, so time to put everything together. In order for the tray to be able to sit inside the box, I've got some thin maple here, that I'm cutting to size. Seeing how this would work. Looks good. And then let's make sure the lid will fit, ok. So then just gluing in the sides, adding some clamps and letting it set up.
Then sanding the tray and the box, and removing any dried glue.
Now, I love the look of the maple and the walnut, however I really wanted this box to feel a little vintage, with a bit more character. Which is why I decided to add some light cherry dye to the box.
Then to seal the wood, I'm adding a coat of dewaxed shellac everywhere. Now shellac is one of my favorite finishes in general, however the main reason why I added it here, is because the next step is flocking and when you add flocking, you need to seal the wood first so the glue doesn't get absorbed into the wood.

So taping off the sides here, and then I'm going outside, because this stuff is not water based and has a strong smell. So flocking is made up of two parts - the glue and the fibers, both of which should be the same color. This is the color wine.
So you brush on the glue, I used a disposable china bristle brush. Then I placed the box in a plastic bag inside a cardboard box and shot the fibers out with this flocking canister. And here it's a good idea to over do it, since you can capture any extras later on in the bag. Then I left that to dry for a couple of days, before shaking off the excess and removing the tape. So let's try it with the tray. OK, looks good.
Now let's move on to the hardare. So I've got a couple of nice hinges, so I'm measuring out where they should go, and how for deep they should sit, and then carefully chiseling the wood out of the box and the tray. And when you're dealing with small parts to chisel out like this it's just a good idea to take your time. And cleaning it up a little with a shoulder plane. Making sure it fits.
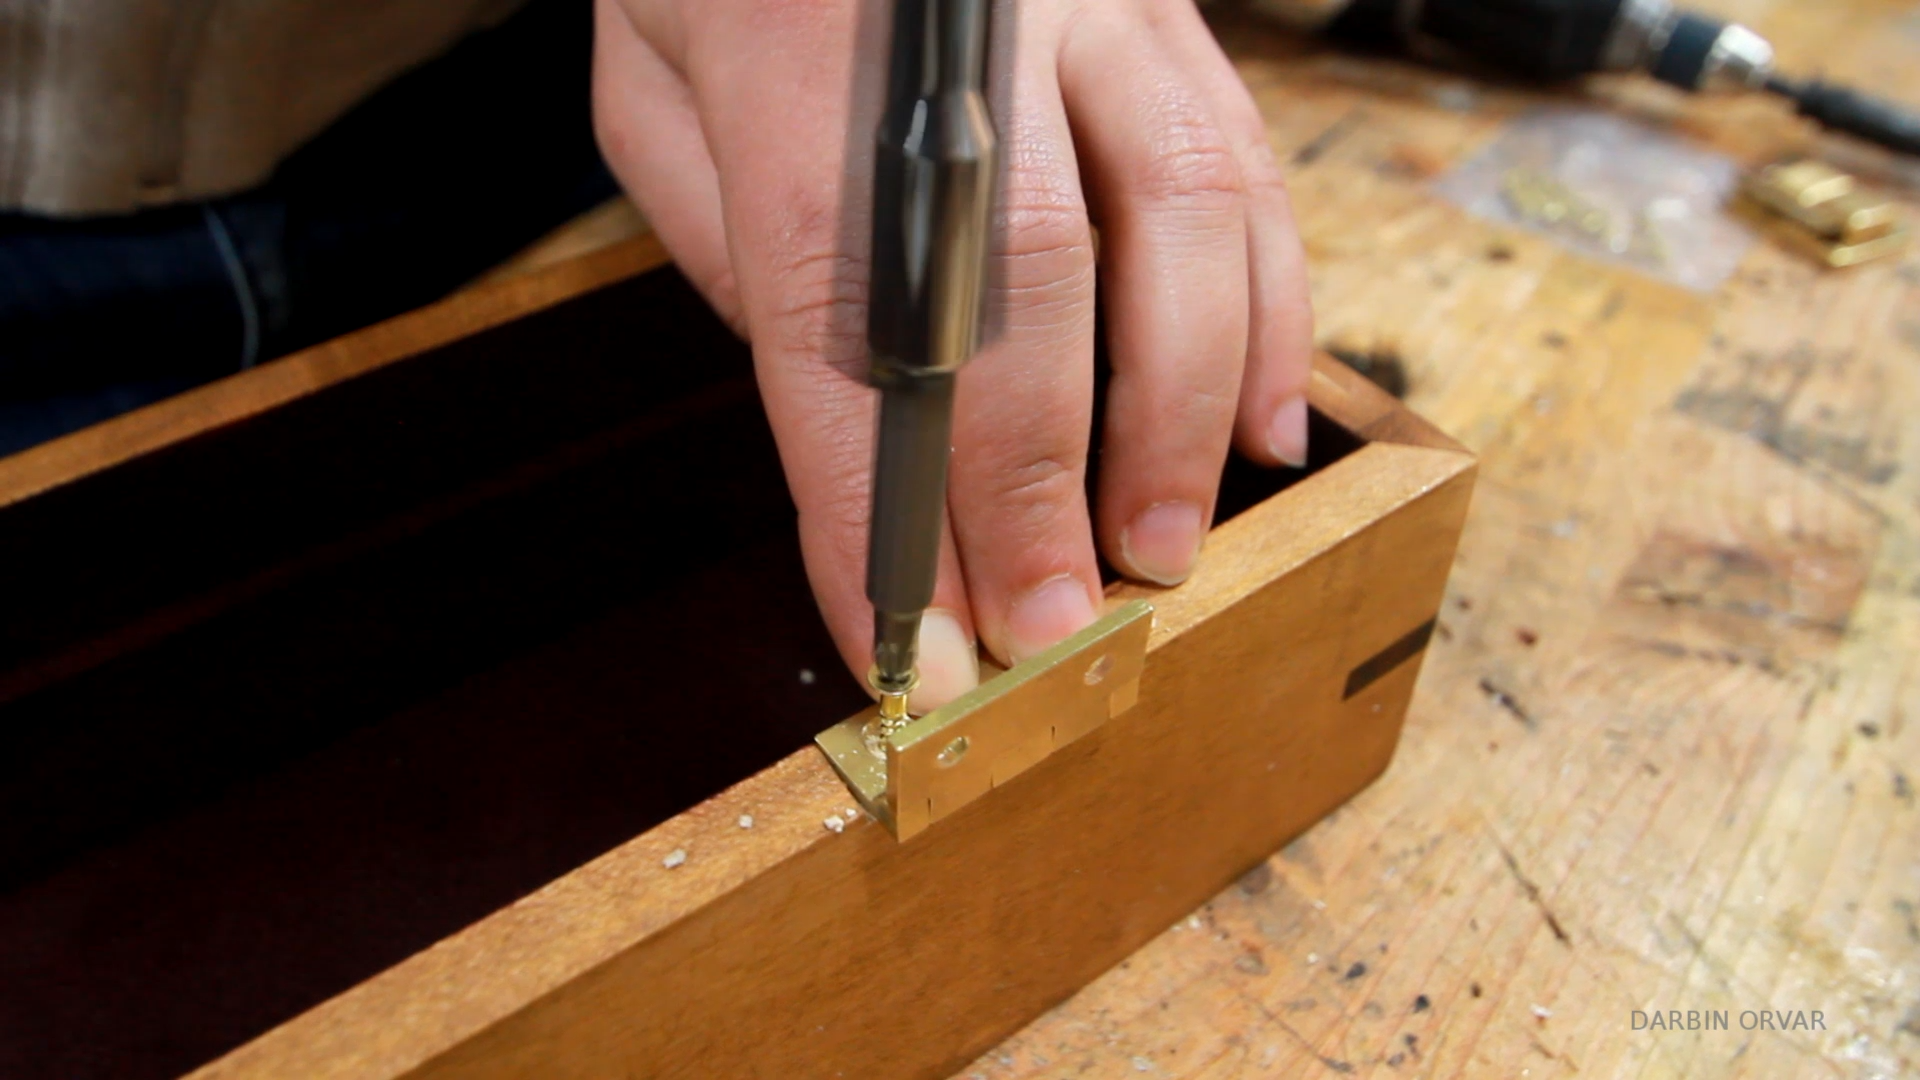
Then I'm using a self centering bit to drill the holes, and then screwing in the hinges.
Once that was in place I measured out the space for the clasp. Just finding the center, drilling some holes, and screwing the clasp in.
Now to finish the box, this time I'm going with a wipe on gel polyurethane. This is pretty thick stuff and goes on really nicely. I'm just putting it on with a cloth here, and total I put on two coats of this. Also coating the tray, and this should add some nice protection.
For this box I have this gorgeous leather handle I actually removed one layer of the leather because I thought it was a little thick for this small box. Here you can see the metal attachments that you're supposed to attach the leather to the wood with, like for a trunk. But I thought the metal was a little too large for this box, so time to think of some other solution. Instead I drilled some holes in the leather, and got some beautiful brass screws. I also drilled some holes in the box.

But before putting it together, I decided to add some wax polish to the box and the leather here, and this is simply to add some protection, plus it darkens the leather just a touch.
Then I attached the leather to the box, with the screw and securing with a nut on the other side. And I must say, I really like the brass popping there against the maroon flocking. Then putting in the tray, closing the box, and it's done.
Are Cheap Chinese LEDs Worth It?

In this overview I test out whether it is worth it to buy the cheaper 10 watt LEDs from China (Ebay), and some of the other LED options to integrate with your projects.
LEDs & Tools Used (Affiliate Links)
Hakko Soldering Iron - http://amzn.to/1RZgXYw
Variable Power Supply - http://amzn.to/1nDJbez
Remote for LED strip lights - http://amzn.to/1Qjp92i
LED Strip Lights - http://amzn.to/1KuKMYW
Waterproof Strip Lights - http://amzn.to/1nDIqSG
Loose LEDs - http://amzn.to/1RZgQfE
10 Watt LED Options - Choose One
1) 10 Watt LED w/ Driver - http://amzn.to/1nDJq9h
2)
a - 10 Watt LED, 30 volt req - http://amzn.to/1KuLEga
b - Voltage Booster - http://amzn.to/1RZhLwH
Double-click to edit...
Ultimate DIY Small Parts Organization Caddy

This mdf based project is a great solution for organizing small parts, including screws, wires, lego or any other small parts for your projects.
Double-click to edit...
How To Make a Super-Bright Light Fixture w/ Dimmable LEDs
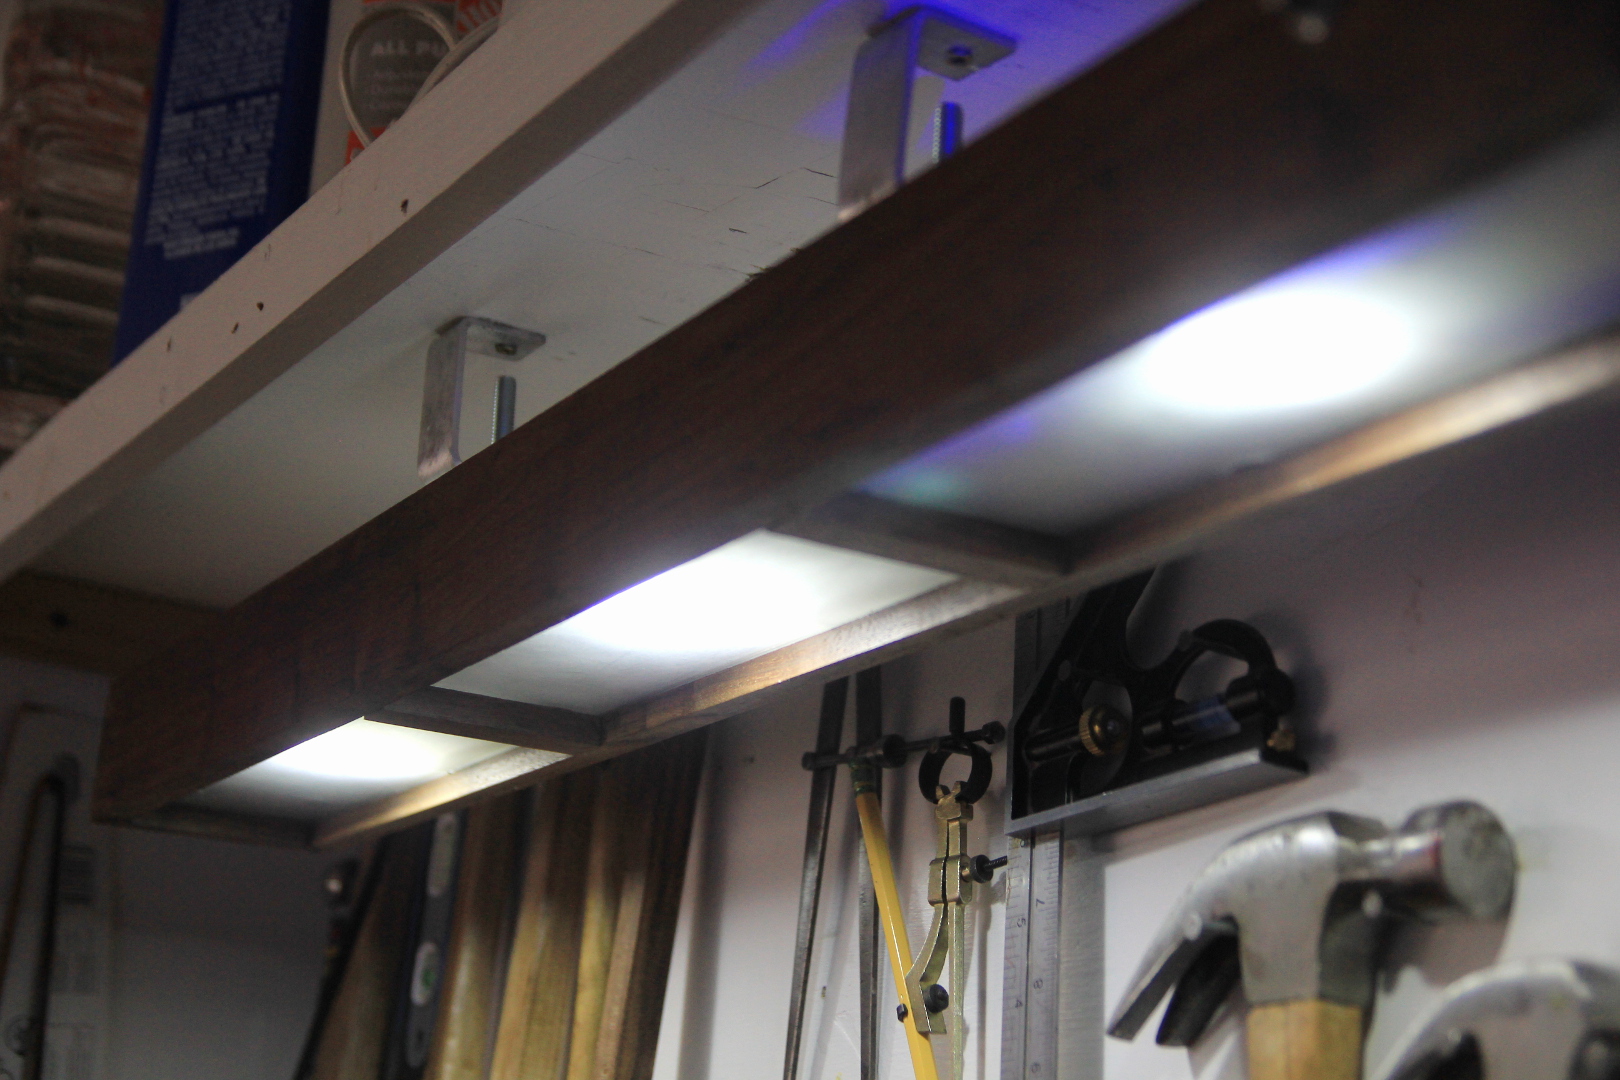
This project, published on the Make channel, is all about using the latest high-powered LEDs for a modern lighting fixture. Unlike LED strip lights which utilize 12 volts, and often come paired with dimmers and remotes I wanted to design an interior light with high-powered LEDs which had a modern look and was able to be dimmed.
Double-click to edit...
Make a Power Strip to Charge your Phone and Desktop Electronics
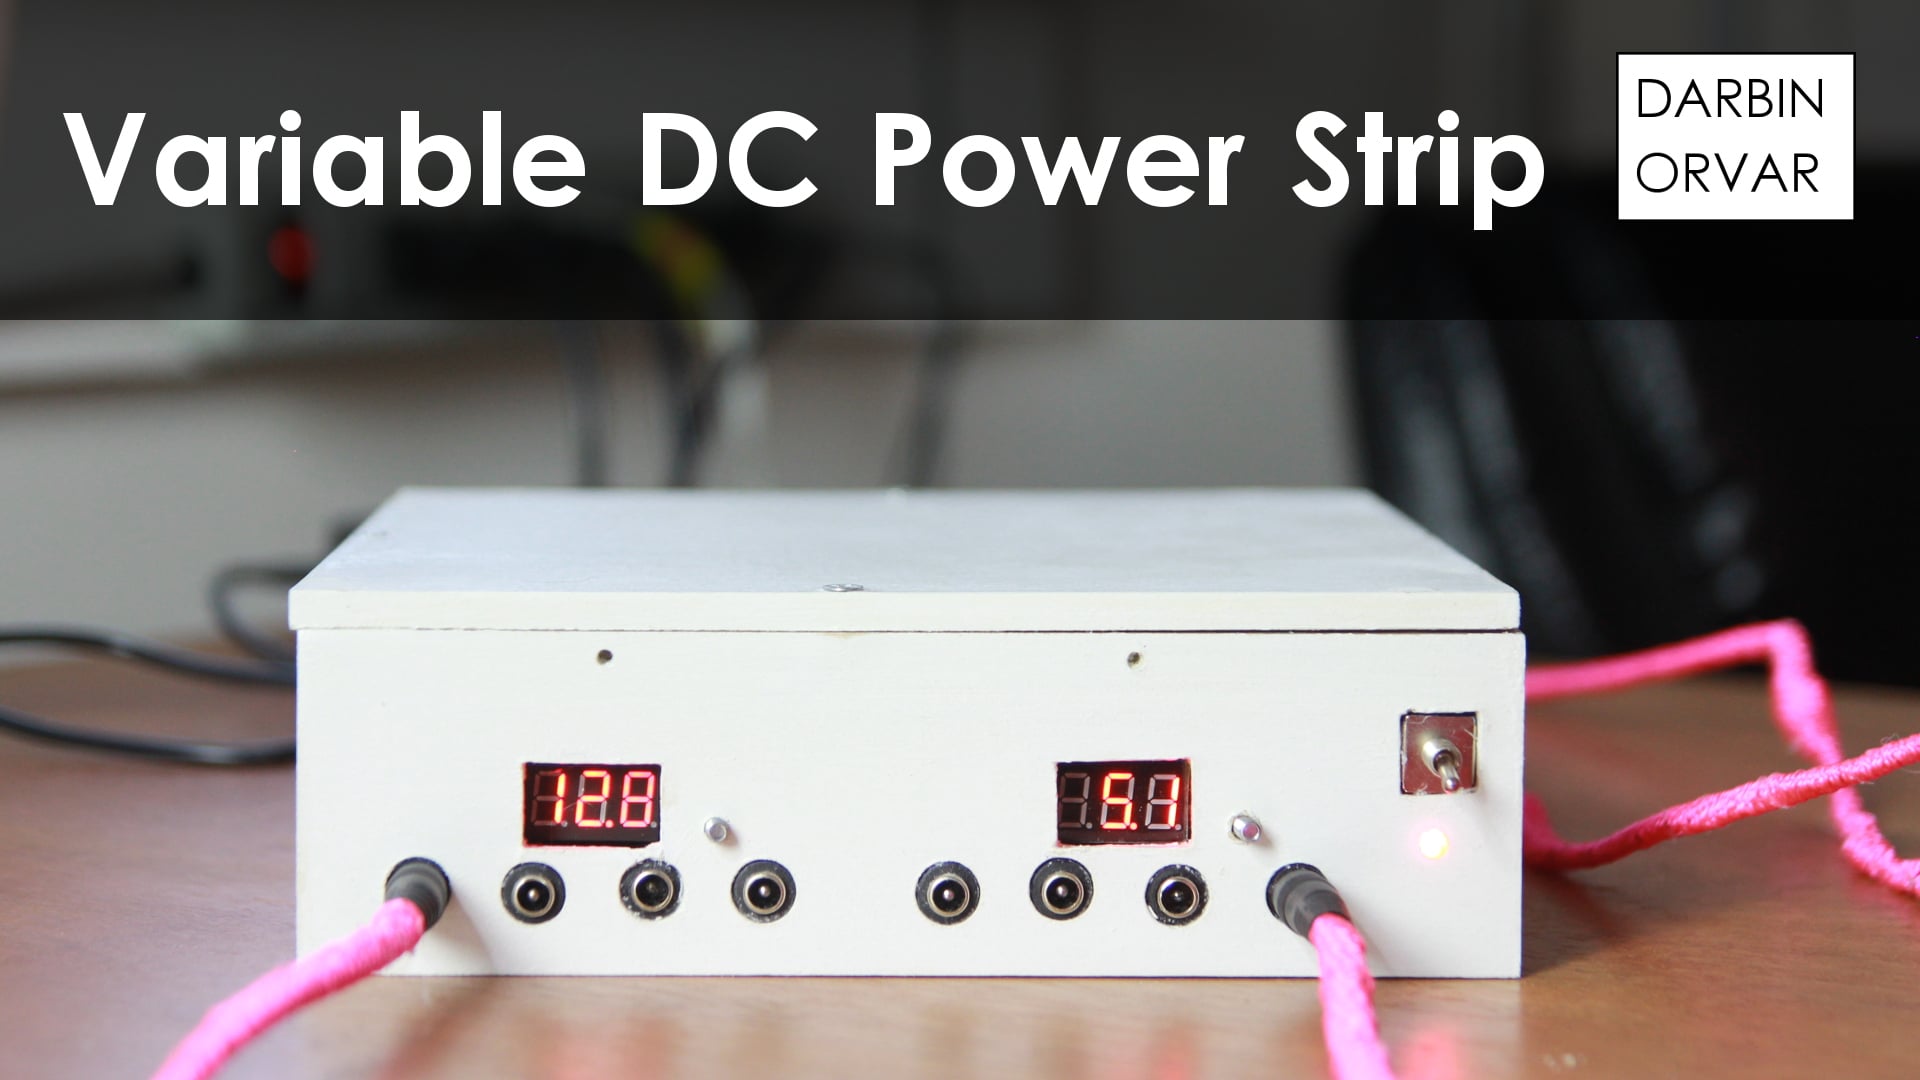
A variable DC power supply is really useful to keep on your desk for charging your phone, plugging in a raspberry pi or any other low voltage electronic devices. By using voltage regulators you can set just the amounts to output, whether you need 3.3, 5, 12 or any other amount. This is a really fun project that you can customize to your needs, varying the amount of plugs, set the voltage, choose the size etc... I used MDF for the build, however you could make a box out of anything really to house the electronics.
Products Used in this Build (Affiliate Links)
Voltage Regulator for DC Power - http://amzn.to/1mD8Pze
Pigtail Connectors - http://amzn.to/1PdDx96
Hot Glue Gun - http://amzn.to/1PdDx96
Hook Up Wire - http://amzn.to/1PdDx96
Soldering Iron - http://amzn.to/1PdDx96
Swtiches - http://amzn.to/1PdDx96
LED indicator light - http://amzn.to/1PdDx96

So I started with making a sketch of the design. For this build I need to use two voltage regulators, I picked mine up online. I also need a switch, and then I'm going to add a series of outlets that you can plug male pigtails into. Here I'm just confirming the current draw of an LED I want to wire so that I can determine the size of the resistor I need.
So this is kind of the design that I'm thinking. The rectangles in the middle is to show the screens on the voltage regulators, then we have outlets underneath, a switch and a light to signify the unit is on.
Now let's start working on the front of the box. So first I'm getting the dimension of the plug, setting up a compass. So drawing a circle, then seeing how far I want the outlets apart, and 3/4 of an inch in between each center seems like a good distance. All in all I want eight outlets, so drawing those all out.

Sketching out the space for the switch and the position of the voltage regulators. Also measuring out where the screens are, and where the holes need to go for those on the board, as well as where the little button that changes the output on the screen is located. And there it is, all marked out.
So I'm starting with drilling out the holes for the outlets using the drill press and a 7/16 inch bit. I'm also drilling holes in the center for where the screens will display to remove some material. And then cleaning up those rectangles with some chisel work.
Also drilling holes for areas that I need to access on the voltage regulators, a hole where you can insert a screwdriver to change the output, and a spot with a button to push to change the display on the screen.
Then doing a little sanding, a little cleaning up with a chisel, and I'm ready to assemble the box together. So measuring out 1/8 of an inch around the top wher I'm going to drill holes to screw it in. Doing some countersinking here.

Now to put the box together, I'm starting with yellow glue around the edges, then I'm adding small amounts of hot glue on one piece at a time, because it stiffens up so quickly, and this basically acts as a clamp while the yellow glue dries. It works really well. And then simply screwing the top in place.
I decided to paint this box white for some contrast, and I'm just using cheap basic white paint here. To paint the inside of those little holes I'm using a small brush. Then once the paint dried I put on two coats of waterbased polyurethane which is nice because it doesn't add a yellow tone and it dries quickly, and of course it adds some additional protection.
So real quick, let's go over the electronics here. So I have 20 volt ac dc power supply, first there is a switch, and we have an LED light which I need a resistor for, then this is hooked up to a voltage regulator and that connects to several output plugs.

So soldering a 2600 ohm resistor on the LED light here, and fitting everything in the box. I drilled a hole on the backside too, to connect a plug in to power the whole unit. Then soldering everything together. A lot of people don't like soldering, but it's really easy and fun, plus as you make more projects you get more practice. Just putting the wires into the voltage regulators, putting in the plugs and doing a little more soldering. Hooking this is and making sure it works.
So on the voltage regulators there is this potentiometer on top that you can control and change the output. I'm also going to use this small mechanical screw here and enter it through one of the holes I drilled. Then on the regulator there is this little button to change whether to show the voltage output or input on the screen and now when I put the unit up here the screw is right on the button so I can push it to change the screen.
Next I'm hot gluing some wooden dowels in the corners here, and this so I can glue those to the box to secure the board. Then I'm hot gluing the plugs in, the switch, as well as the dowels on the boards.
Now I put together a couple of cords with pigtails on both sides to plug into the unit to power different things, however to protect the wires, I figured why not secure some mason line, which happens to be bright pink with some hot glue. And I'm just adding a little glue, spinning the cord around and so on.
So the device works really well. To alter the voltage output all I do is to insert a small screwdriver into the top hole and turn it to get just the amount I need. And if I want to see what the input is, then I just click the button with the mechanical screw I put in. Now it's ready to use - set it to whatever voltage you need, plug in your phone, your raspberry pi, charge up your bluetooth speaker and so on....
Double-click to edit...