Using Raw Linseed Oil and Brick on a Tabouret Stool
It's not hard to find articles that deal with finishing wood when a simple oil finish is applied. So what I wanted to do was show how well oil finishes really work and how beautiful they can truly be.
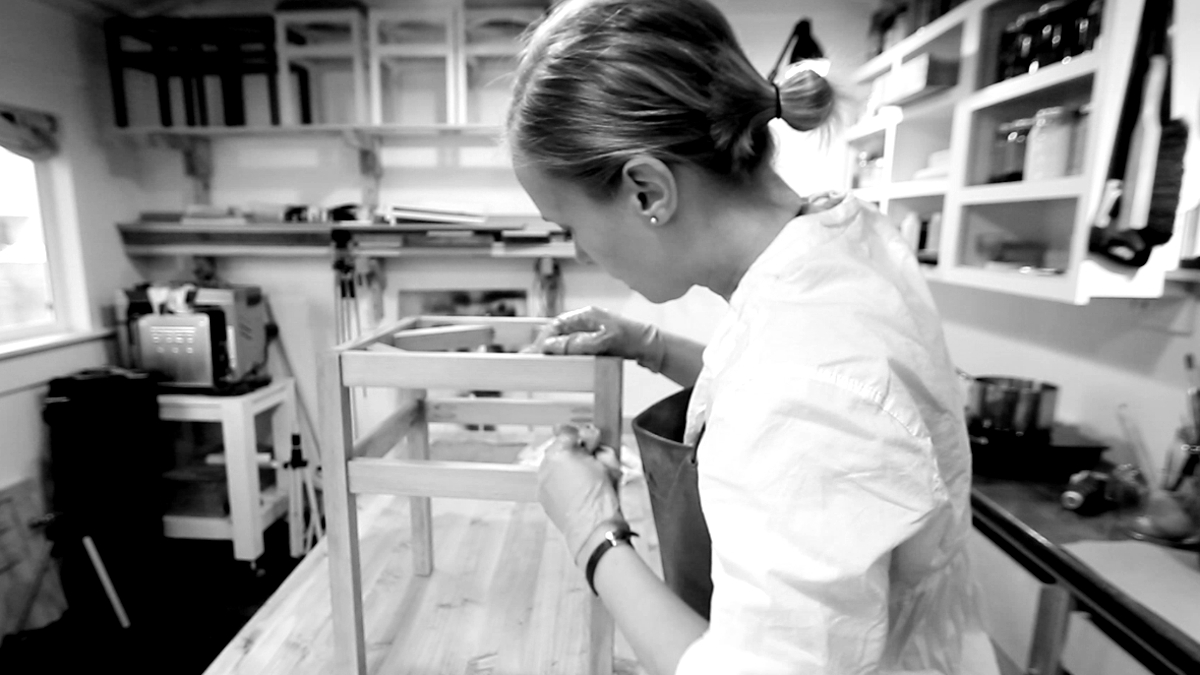
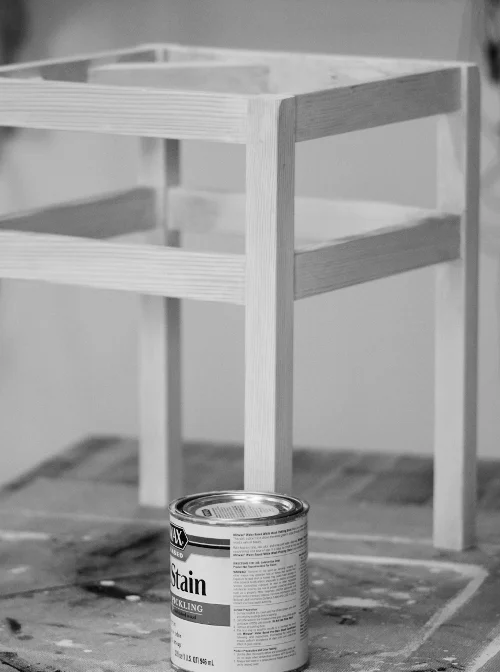
Working in my shop.
As one of the most inexpensive and safest choices, you have to wonder what is wrong with oil that it is generally passed over in favor of costly and toxic alternatives. For the most part it is the lack of permanence that turns people away from using oil in any real way. It is usually added to pop the grain of a wood with mineral spirits in a wash application. This is especially true for linseed oil as it has a great ability to highlight the grain of most woods from walnut to mahogany to fir.
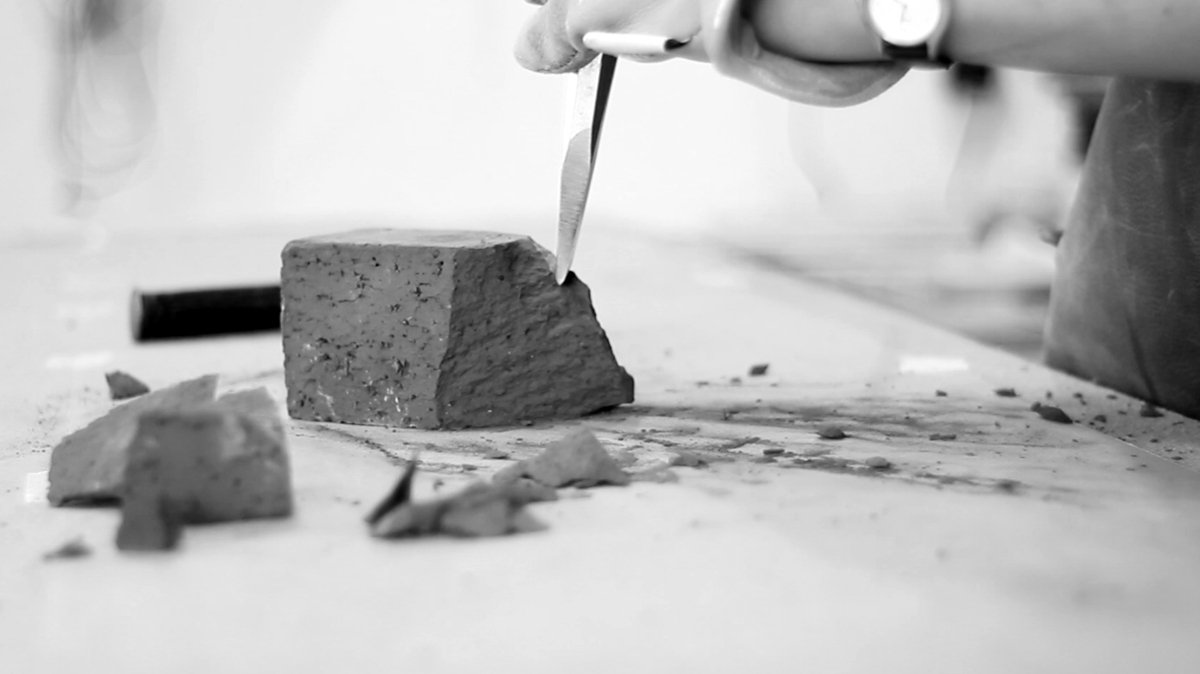
Breaking the brick with a chisel.
I decided to try an old idea by mixing brick dust with raw linseed oil and applying the slurry to the wood with a cloth. I originally learned of this by reading the writings of Thomas Sheraton, an eighteenth century furniture designer.
Immediately this concept appeals to me. Sometimes you are just drawn to quality, and this is one of those times. Because it takes time and space and energy, you form a bond with each piece that starts the furniture off on a path that you just know will be appreciated for a long time to come. When you do not apply a film finish the wood remains exposed to the elements. Sunlight, moisture, hands, and feet all wear on the wood with each year. The furniture becomes darker from the air and the light, and where hands grab the piece the edge is smoother than another as the oil remains like a fingerprint that is unique to your family.
To complement the oil the brick adds a reddish grit that makes it feel like a sandpaper slurry. You can apply it with a cloth or paper towels, but you might need a lot of paper towels because of the abrasive nature of the mix.
Method
To make the mix you create a dust with a piece of a real brick. You can't use a modern brick, make sure it is a real fired clay brick. Modern “bricks” are really concrete and contain gravel, which does not easily grind to dust.

Iron mortar and pestle.
I first break up the brick with a cold chisel and then I use an iron mortar and pestle to create the fine powder, but you could use a marble or stone one instead. If you don't have a mortar and pestle you can use a hammer with a brick wrapped in some towels and crush it on a concrete driveway or garage floor. Of course you may damage your floor so consider that before grabbing your sledge hammer. Getting the brick to the powder stage will be difficult without the mortar.
In terms of proportions I added about a 1/2 cup of dust per 2 cups of linseed oil, by volume. You should experiment to find the proportion you like best. I also added heat to the mix on my induction top. I never let the oil go above 140 degrees because there is no need to. You don't want to cook the wood, just make the slurry easier to apply and adhere to the wood. Things don't generally go on well when they are cold.
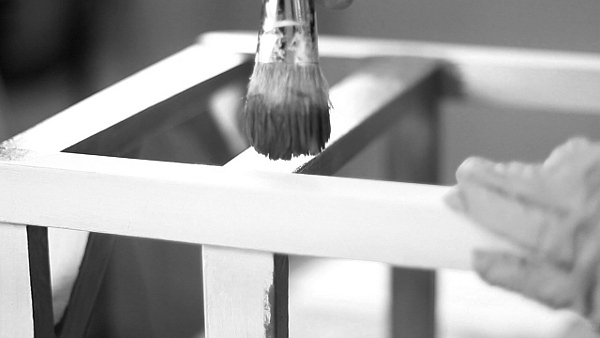
Use a cloth to apply the mix generously to the wood. It doesn't matter if it drips or gets all over the place. I just wipe the excess into the workbench anyway. Of course the brick is very gritty and when it dries it gets everywhere.
When you let the piece dry make sure you put it somewhere that is dry. A cold, damp garage is probably not the best place for it. I wait about 2 days to wipe off the excess oil and grit, but you can adjust that to your schedule. When the piece is “fully” dry you can add another coat of the mix. That should be about 2 weeks or so, depending on where it is drying. Again wait a good while before wiping it off. I like to let the piece in the sun for a good while after it is oiled. It darkens quite a bit in the sunlight.
You can add as many coats as you want and let it age as much as you want. But eventually I am going to add a coat of wax made of turpentine and beeswax to finish it.
Over time you should wipe the piece down with mineral spirits to remove the wax and prepare it for more straight linseed oil. I would say every year or so you want to add additional oil, or even more often if you like. You can also add wax whenever you wish to revive the finish.