White Washing A Tabouret
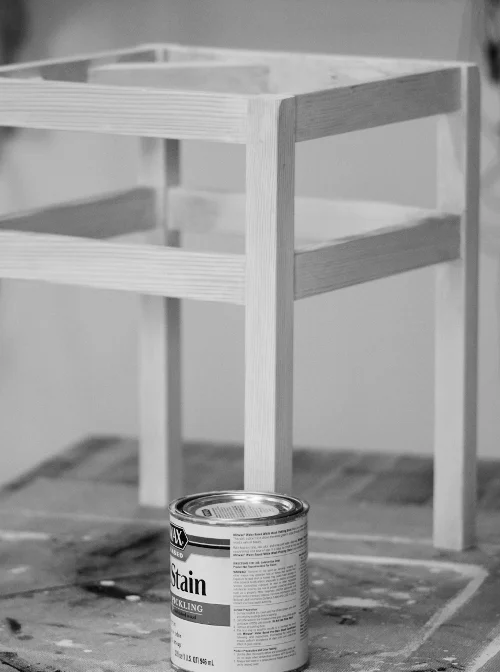
Just after the first coat.
For our first post about finishing techniques we decided to try a very popular process called White Washing. There are a few ways to achieve this look and we will be using the Minwax product called “Wood Stain: White Wash Pickling” to really give us a way to make this look as easy as possible.
Now years ago this technique was not as popular as it has become recently. In fact it was a rather unpopular finish because it represented a certain lack of money for paint that some people would have rather not projected to others. The Joneses really wanted to be able to afford paint, but sometimes it was easier to obtain the basic ingredients to just make the white wash themselves.
White wash was designed to be cheap and protect wood, brick or concrete. Although fine furniture was not generally white-washed because of the difficultly in application (and people who bought fine-furniture didn't usually have a money problem), in our time is has become a popular look along with distressing and chalk paint. At least now we just really want the look and not necessarily the protection because we can just add a top coat of polyurethane or other clear varnish to the final product.
The process according to the can is basically similar to other stains in that you lay it on and wait for a few minutes and rub the excess off. You can repeat the process to obtain the look you are going for. Applying the stain once only generates a minimal whitening, we ended up doing it about 3 times for a substantial whitening. This product from Minwax is water-based, unlike most stains, so it cleans up pretty easy with soap and water and doesn't smell much.
In terms of indoor-friendly, or apartment-friendly it ranks pretty high since you can use water for cleanup and it doesn't require even a brush to apply, and your neighbors won't smell it. You can just rely on some windows for ventilation and you'll be all set.
White Wash Technique I
Material or Tools Needed:
- One beautiful Darbin Orvar Unfinished Tabouret, or other unfinished furniture
- One Quart of Minwax Wood Stain: White Wash Pickling
- Rags or Paper Towels
- Brush (Optional)
- Stir stick for can
Method:
Stir the stain, or shake the can if you are going to apply with rags or paper towels.

...continuing to wipe off the excess stain.
Dip the towel into the stain and wipe on the furniture. It is fine to rub in the stain and keep applying everywhere. If the piece of furniture you are working with is large then do only parts at a time so that you don't let the stain dry. The stools are small enough to completely stain and then take a clean towel or multiple paper towels and wipe off any excess. The can says to repeat if necessary and let stand at least 2 hours between coats, and not to sand between coats. We could not see any reasons to modify this so we followed these directions.
White Wash Technique II
Materials or Tools Needed:
- One can (depends on size of furniture, one tabouret requires about 1 pint) of your favorite latex paint
- One decent nylon brush
- One small bucket or coffee can to mix paint with water
- Some water for mixing
Method:
Make sure you don't thin out all your paint at once. Do a little at a time to make sure you've got the right consistency. Mix 4 parts paint to one part water and test on a scrap piece and see if you need to add additional water. You will probably want to add more water but check first before you must commit.
To apply just paint it on and you should right away see what it looks like on your furniture. If you are applying this on a tabouret then you should see the grain of the wood clearly.
One benefit of using thinned paint instead of wood stain is that you don't really need to have an unfinished piece of furniture. You could sand down an existing finish and try it there.
Top Coats

Creating the pad by enclosing one towel inside another.
For our project we decided to shellac the stool. Because it is the final coat I chose a clear variety containing wax. Instead of brushing the shellac right on the work I wanted to pad it on by wrapping one cloth inside another cloth and adding the shellac to it lightly. The reason for this method is because it is very easy to get drips with a brush as shellac is quite thin and watery, even though it has an alcohol base.
Because it has an alcohol base it dries very fast and you can pad on multiple coats in a few minutes. So I added a few complete coats to the stool, waited about 2 hours and then sanded very lightly with 220 grit paper and returned to the padding process for another once over.
Shellac is also very apartment-friendly because it has very little odor and it is non-toxic. In fact you can apply shellac with a spray can outside and get a great simple finish that is safe for children and pets when dry.
For a soft satin feel I added with a clear wax with 0000 steel wool and then polished it off with a clean cloth. You can simply reapply the wax whenever you like and there you have a safe kid and pet-friendly piece of furniture that will last a lifetime.