Making a Small White Oak Box with Hand-Cut Box Joints
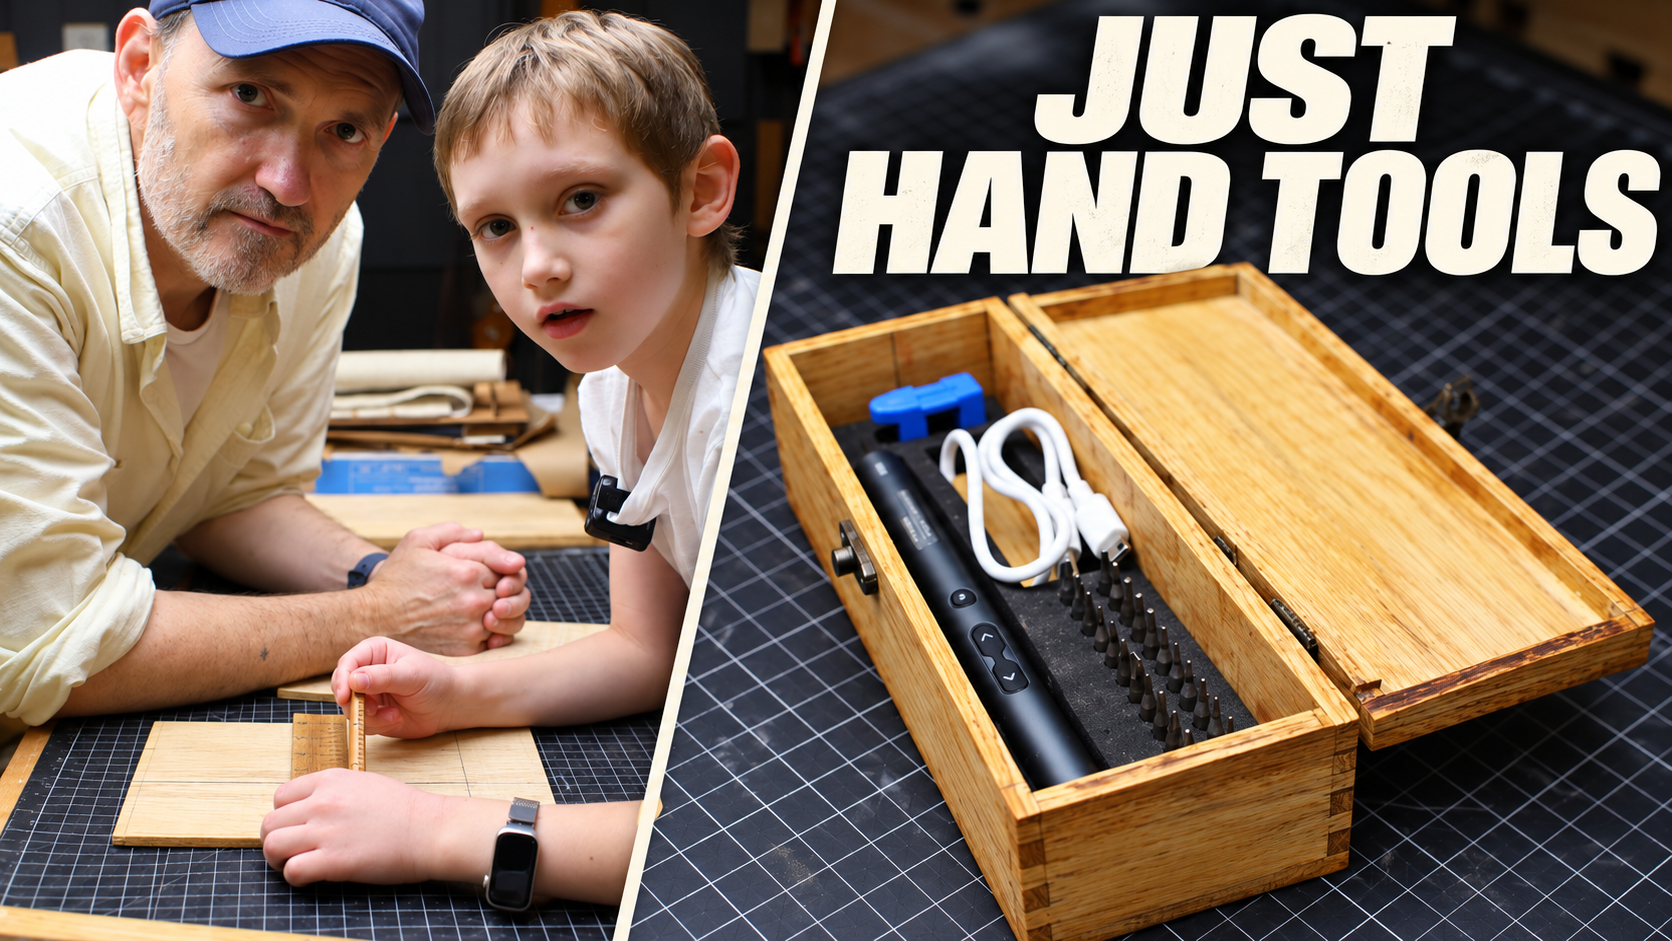
August and I made a small white oak box for an electric screwdriver, with hand-cut quarter-inch box joints, a lid cut from a sealed carcass, and a simple wax finish.
The starting point for this project was not a drawing. It was a cardboard box.
August had a small electric screwdriver — driver, bits, charging cable, and a foam tray — all sitting in the kind of packaging that usually ends up in the trash. We wanted a proper home for it: a tight-fitting white oak box with a lid, a couple of small hinges, and a clasp.
And we wanted to cut the joinery by hand.
Sizing the box from the tool
The first job was simply to find the size.
We took the screwdriver out of its cardboard box, kept the foam holder, and set the whole arrangement onto 1/4" white oak. From there it was a matter of marking around it until the inside of the box would be a snug fit — not so tight that the foam would bind, and not so loose that the driver would rattle around.
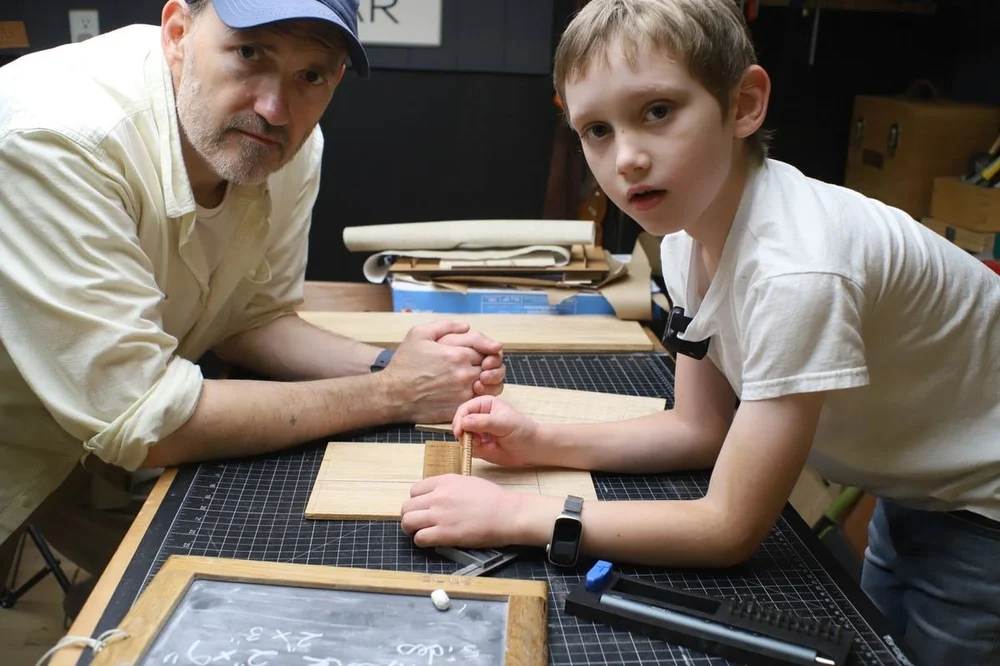
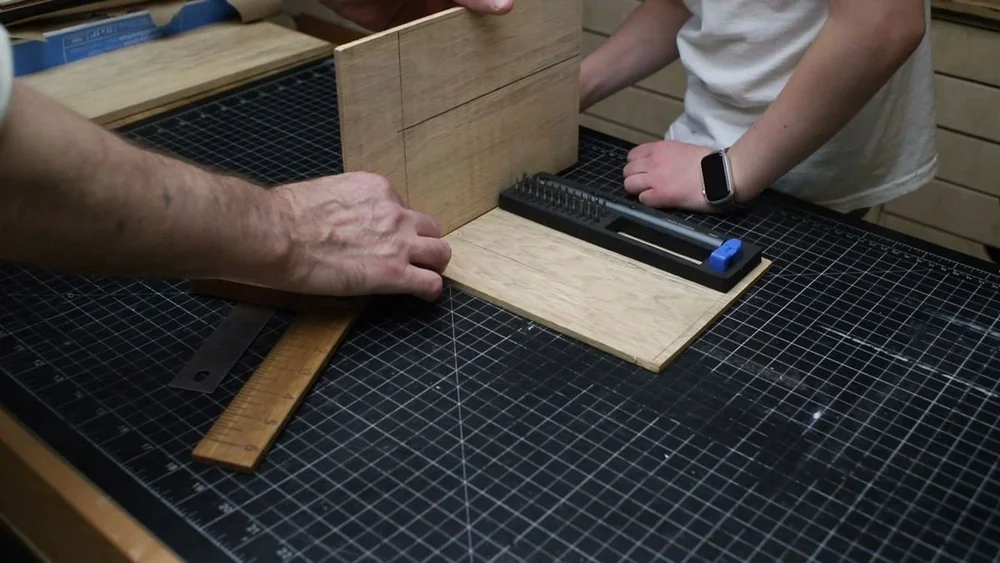
Those marks became the cut list. The sides would be about 2" tall. The top and bottom would be the same 1/4" oak, glued on later.
Cutting the parts
The pieces themselves are small, which is always a little more awkward than it looks.
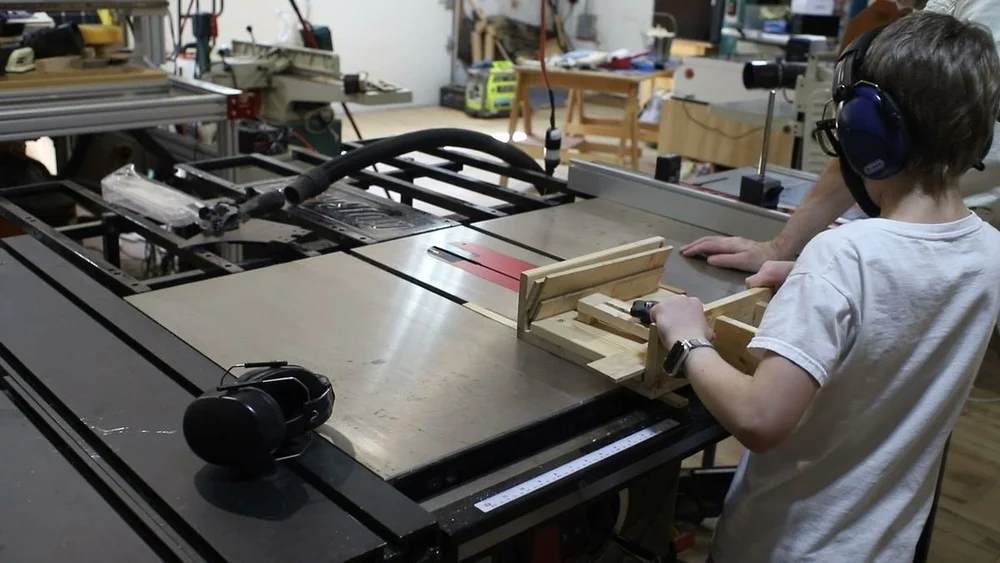
We ripped the oak to width on the table saw, then used a small-parts sled for the crosscuts. The sled has a stop so the work can't travel too far forward, which makes those short cuts much safer to handle.
Once the four sides, the top, and the bottom were cut, we had a kit of thin white oak pieces and a pretty clear idea of how they needed to go together.
Laying out the box joints
The joints are 1/4" box joints — finger joints — on 2" sides. That works out to eight little fingers on each end: four that stay, and four that get cut away, so the mating piece can lock into them.
We laid them out with a marking gauge, a knife, a pencil, and dividers. The gauge sets the depth of the cut to the thickness of the mating piece. The dividers step off the 1/4" spacing. The knife gives you a line you can actually saw to.
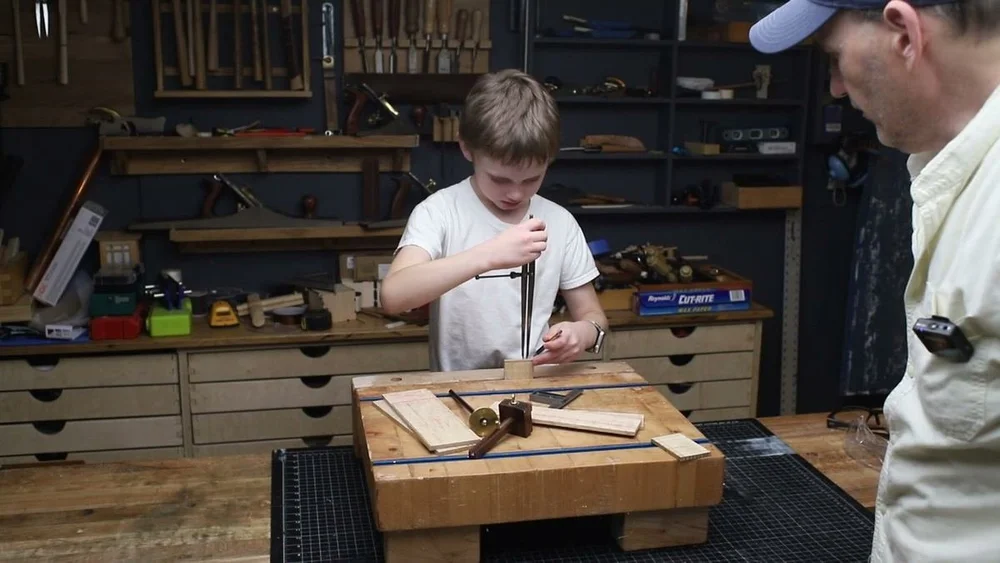
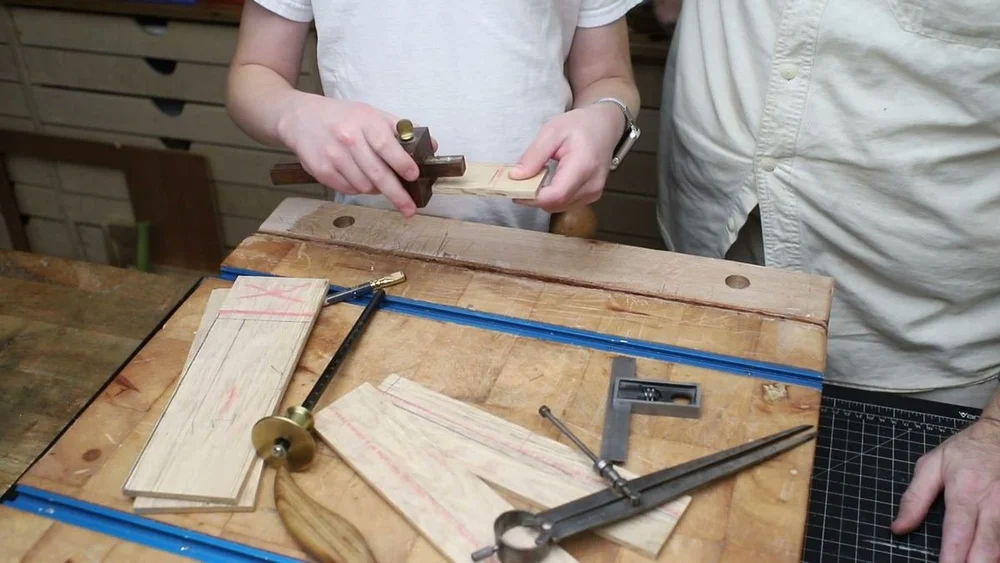
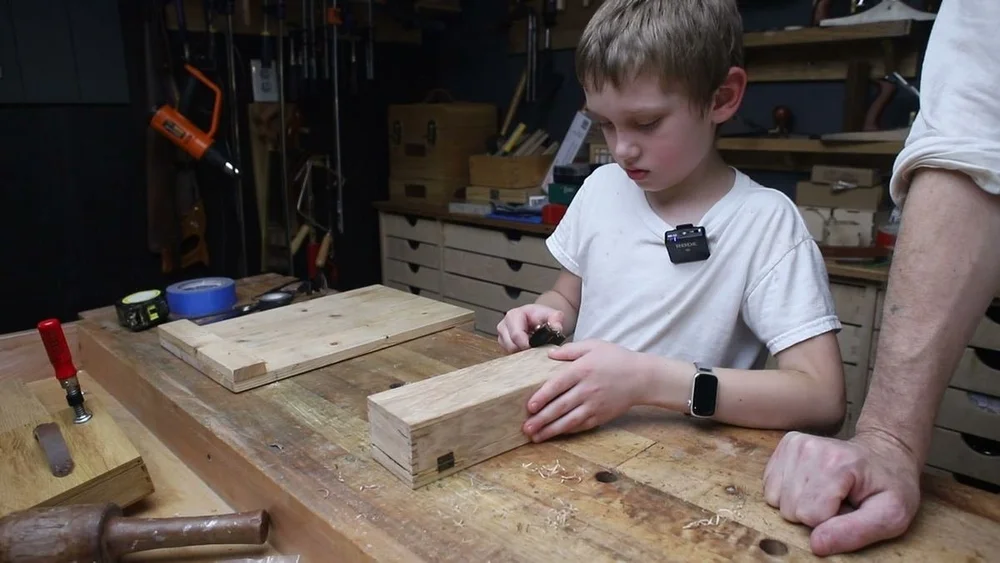
This was August's first time cutting box joints with a saw and a chisel. The layout matters more than the cutting. If the spacing is even and the knife lines are crisp, the sawing has somewhere to go.
Sawing and chopping
We used a small dovetail saw for the cuts and a chisel to take out the waste.
The saw wants to stay in the knife line. No twisting, and not too much pressure — just enough to keep it tracking. Then the chisel pares out every other finger so the other side can fit into the gaps.
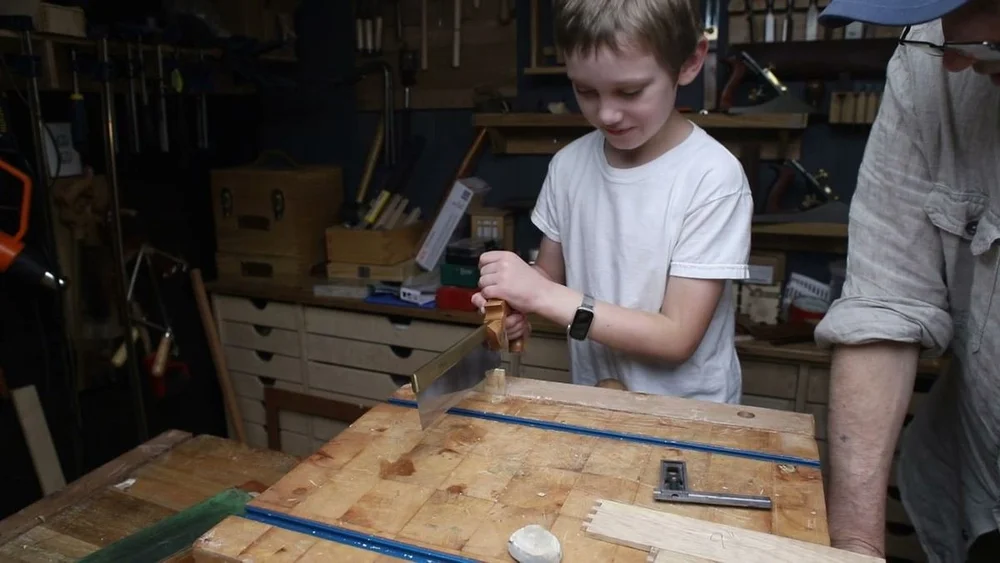
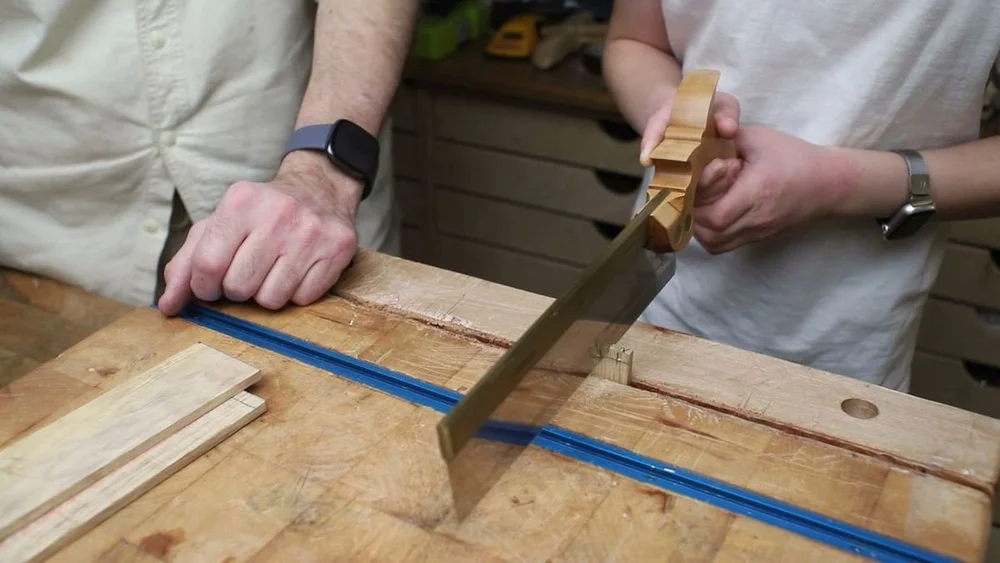
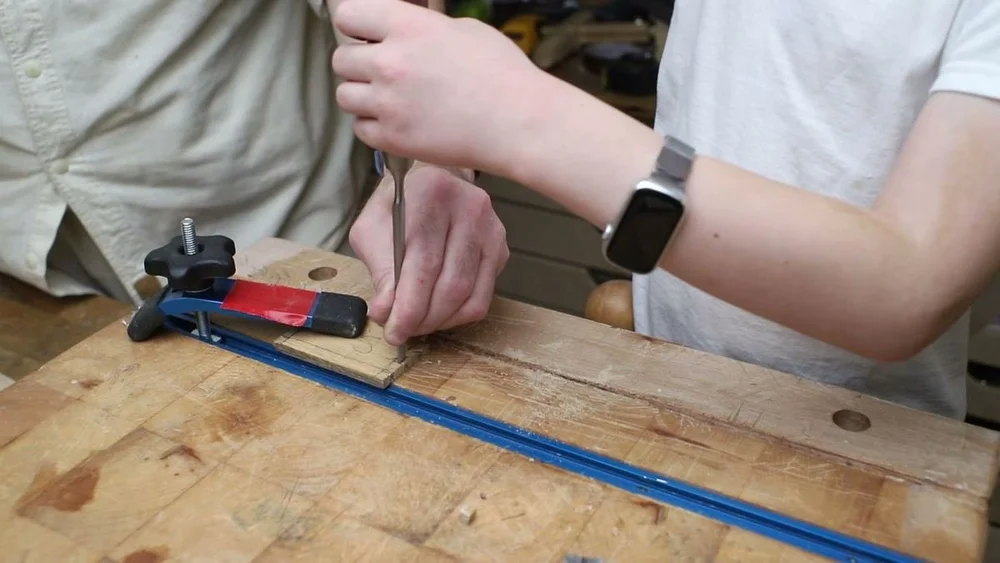
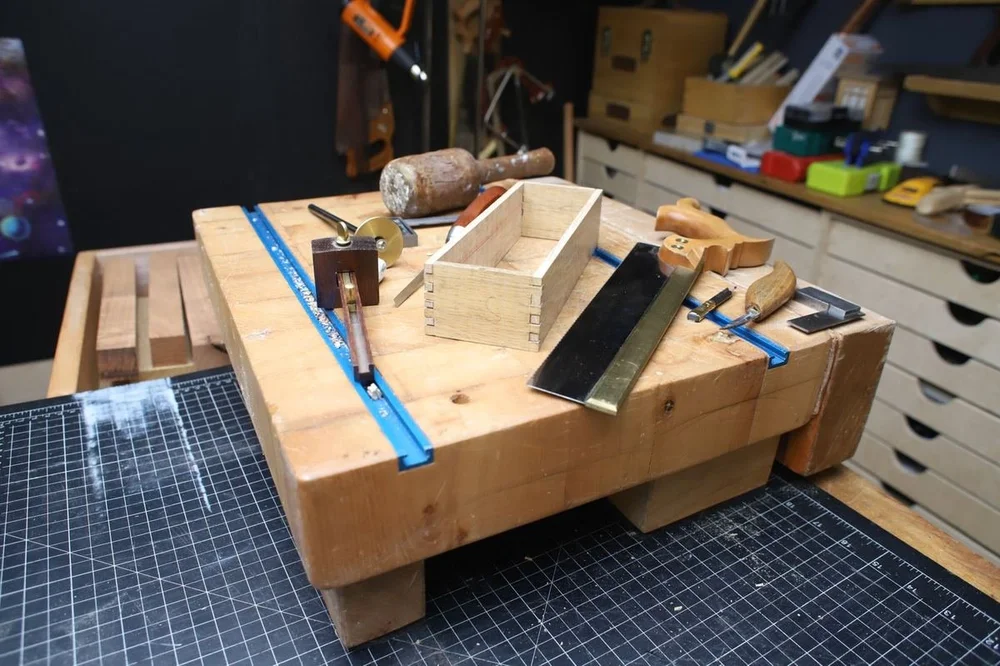
On a joint this small, a little error shows. Some of the sockets were a touch loose. Some of the fingers needed a bit more paring. That is the nature of a first set of hand-cut box joints, and it is also why the next step exists.
Glue-up, and a little paste
The four sides lock into each other, which is the whole point of the joint: a lot of long-grain glue surface, and a mechanical interlock that looks good even before you finish it.
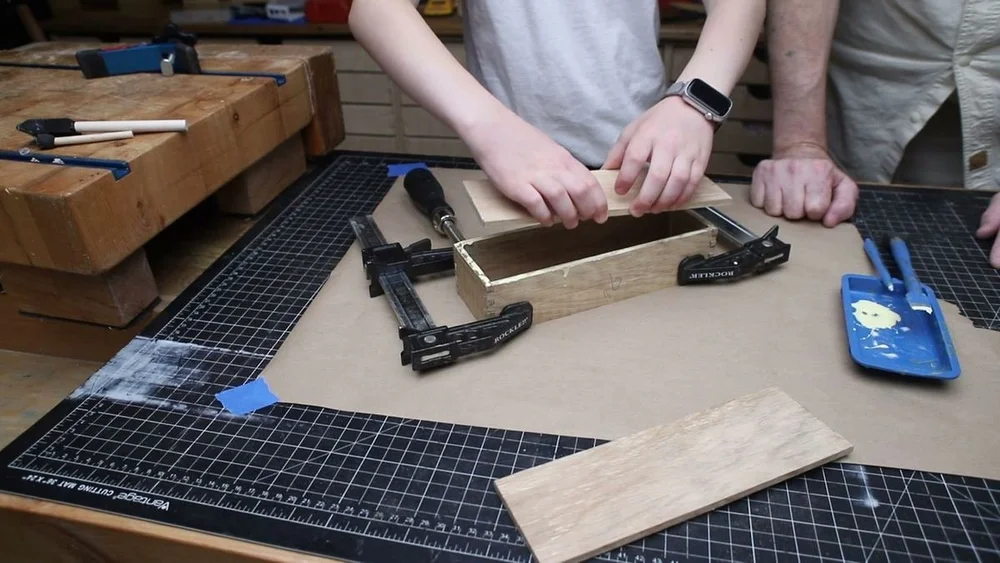
We glued the carcass together, then glued a 1/4" top and a 1/4" bottom directly onto it. At that point the box was completely sealed — no lid yet.
Where the joints had small gaps, we mixed white oak sawdust with yellow glue into a paste and packed it in. It is the same wood, so once it is planed and sanded it blends in much better than a store-bought filler.
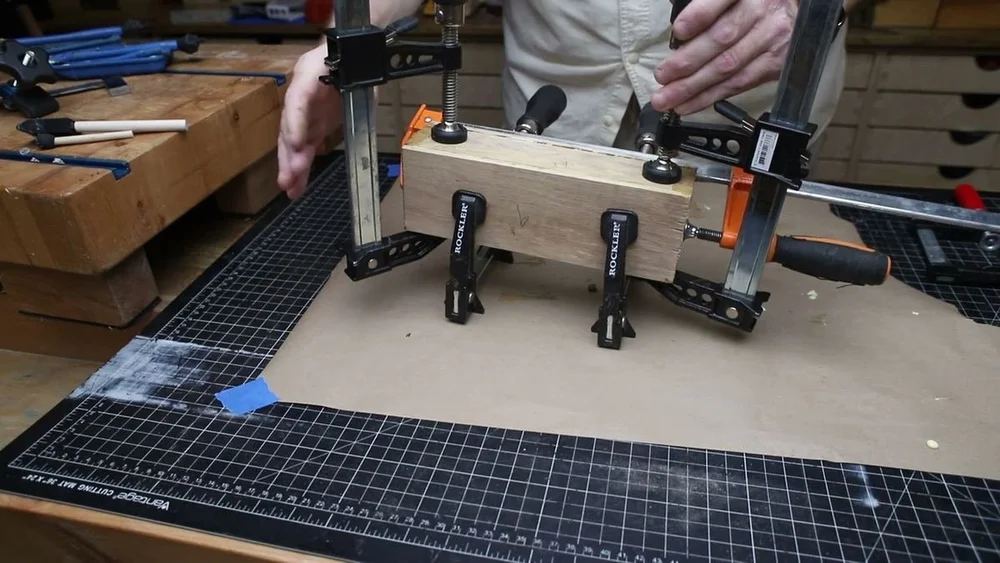
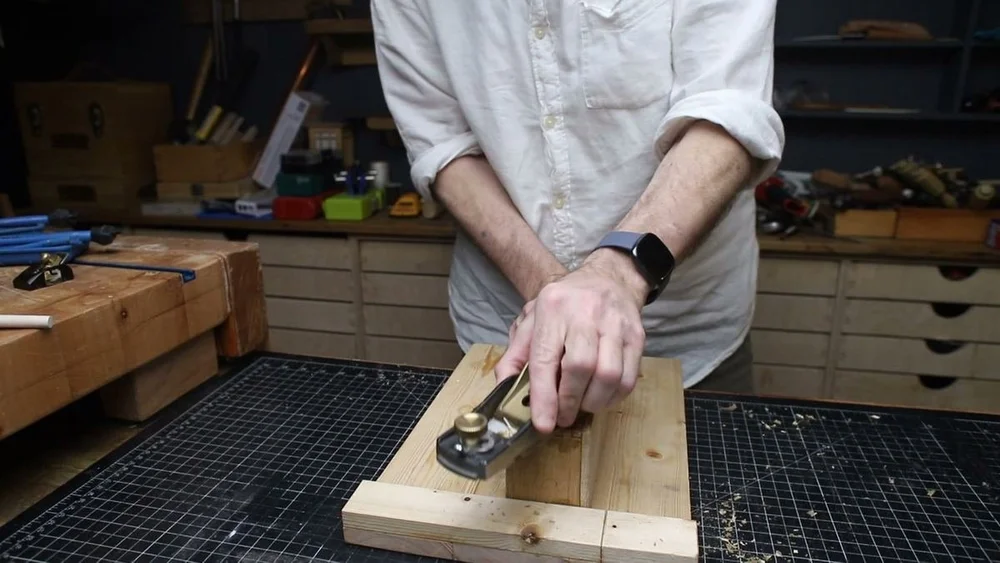
After the glue dried, we spent some time with a chisel and a smoothing plane getting the paste and the squeeze-out off, and bringing the fingers flush with the sides.
Cutting the lid from a sealed box
This is the part of box-making that always feels slightly backwards, and also the part that makes the lid fit.
Because the top is already glued on, you can take the whole sealed box to the table saw and cut it open. Four passes — spin, cut, spin, cut — with the blade only high enough to get through the 1/4" sides.
The important detail is where you cut. We cut below the top line, so a little of the side wall stays with the lid. That gives the lid a cavity of its own, instead of being a flat panel sitting on top of the box.
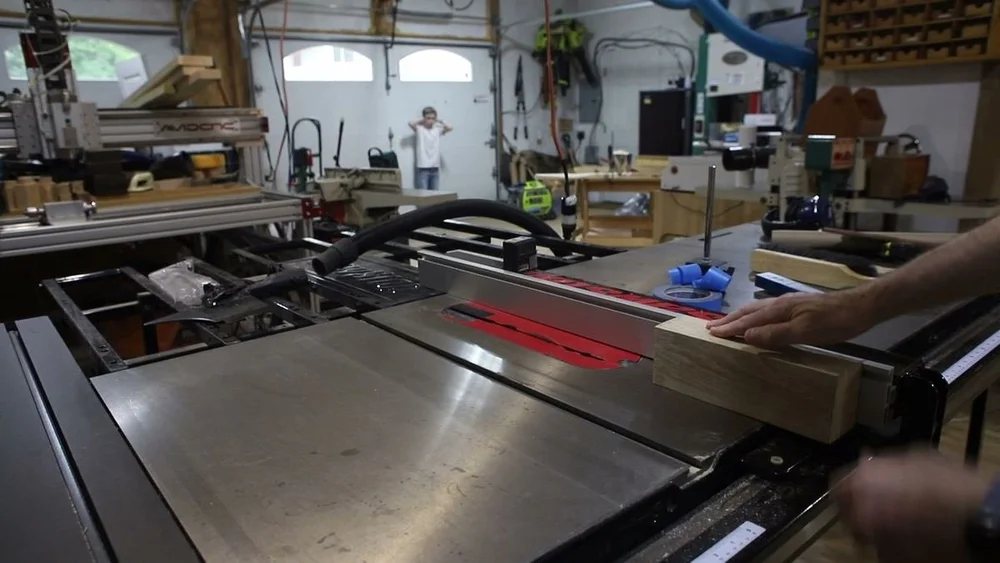
The kerf is the only material you lose. If the box was square when you glued it, the lid and the base still match.
Hinges, clasp, and wax
Two small hinges go on the back. A clasp goes on the front. We marked them so one leaf sits on the lid and the other on the base, then drilled and screwed them in.
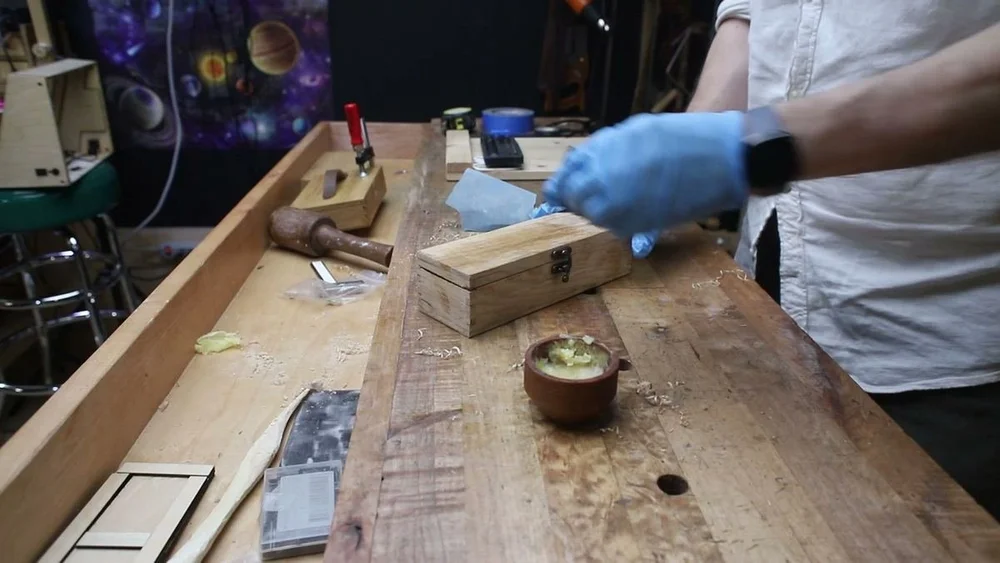
For a finish we used 220-grit sandpaper dipped in wax polish, and sanded the wax into the oak. Then we buffed it with a cloth. It is a simple finish, and on a small box like this it is enough: the grain shows, the surface feels smooth, and you can use the box the same day.
Putting the screwdriver in
The last test was the original one.
The foam tray, the bits, the cable, and the driver went back in. It fit. The cardboard could go in the trash.
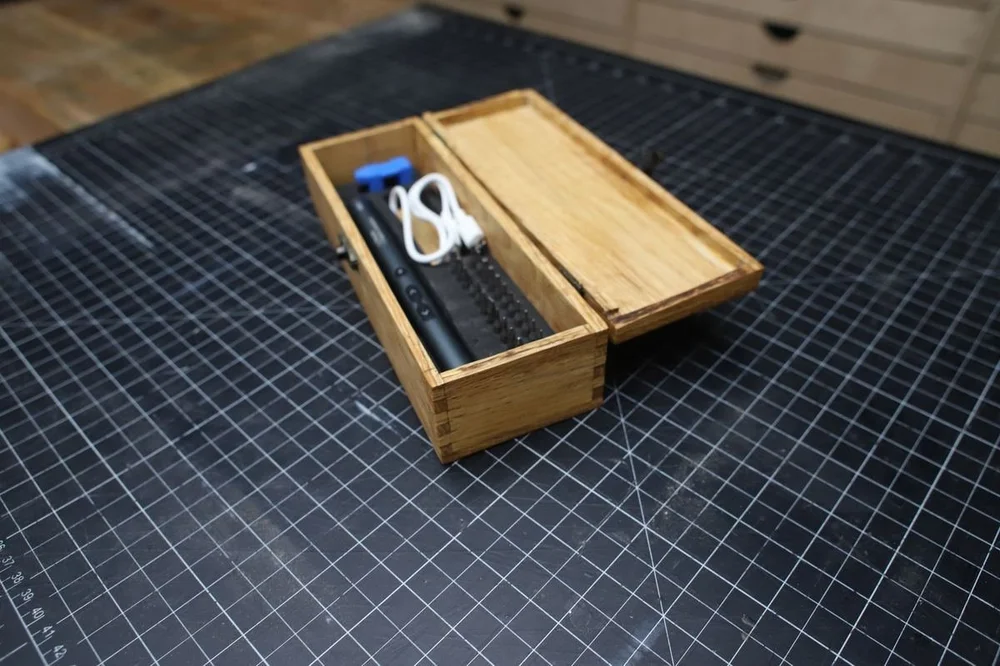
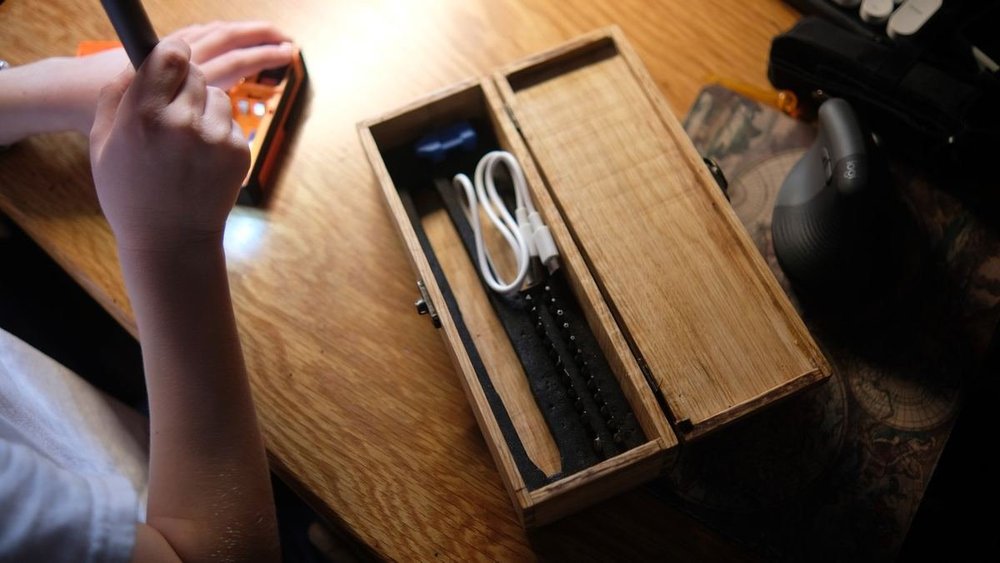
A box this size is not a complicated project. The interesting part was doing the joints by hand, on pieces that were only 1/4" thick, and ending up with something that actually holds the tool it was built around.
The joints are not perfect. That is all right. They were cut with a saw and a chisel, they hold, and the screwdriver has a place to live.
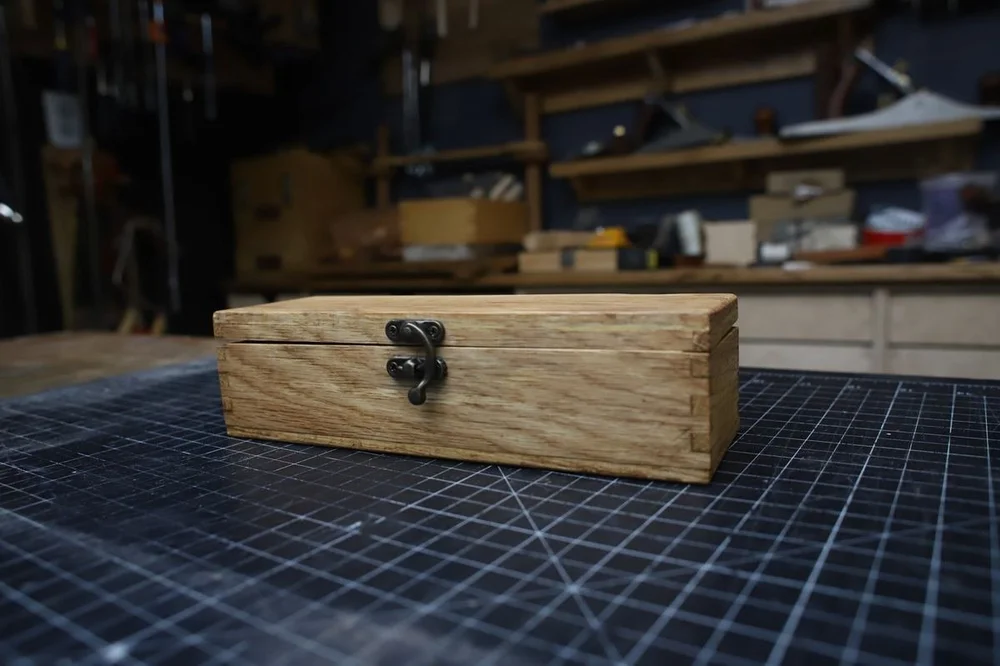
Box construction at a glance
| Material | 1/4" white oak |
| Joinery | Hand-cut 1/4" box joints (8 fingers on 2" sides) |
| Layout | Marking gauge, knife, pencil, dividers |
| Cutting | Dovetail saw and chisel |
| Lid | Glued on as a sealed box, then cut below the top line on the table saw |
| Hardware | Two small hinges and a clasp |
| Finish | 220-grit sandpaper with wax polish, buffed |
| Contents | Electric screwdriver, foam bit tray, and charging cable |