Building a Walnut Bookcase with LED Lighting and Small Drawers
A walnut bookcase changes character when the lights come on. The grain becomes more noticeable, the shelves frame whatever is sitting on them, and an ordinary collection of books and favorite objects becomes a display.
For this project, we built a wall-mounted walnut bookcase with three open shelf compartments, three small drawers along the bottom, and LED strip lighting inside the cabinet. The video follows the project from cutting the cabinet parts to putting the finished piece on the wall, with plenty of time at the bench working together along the way.
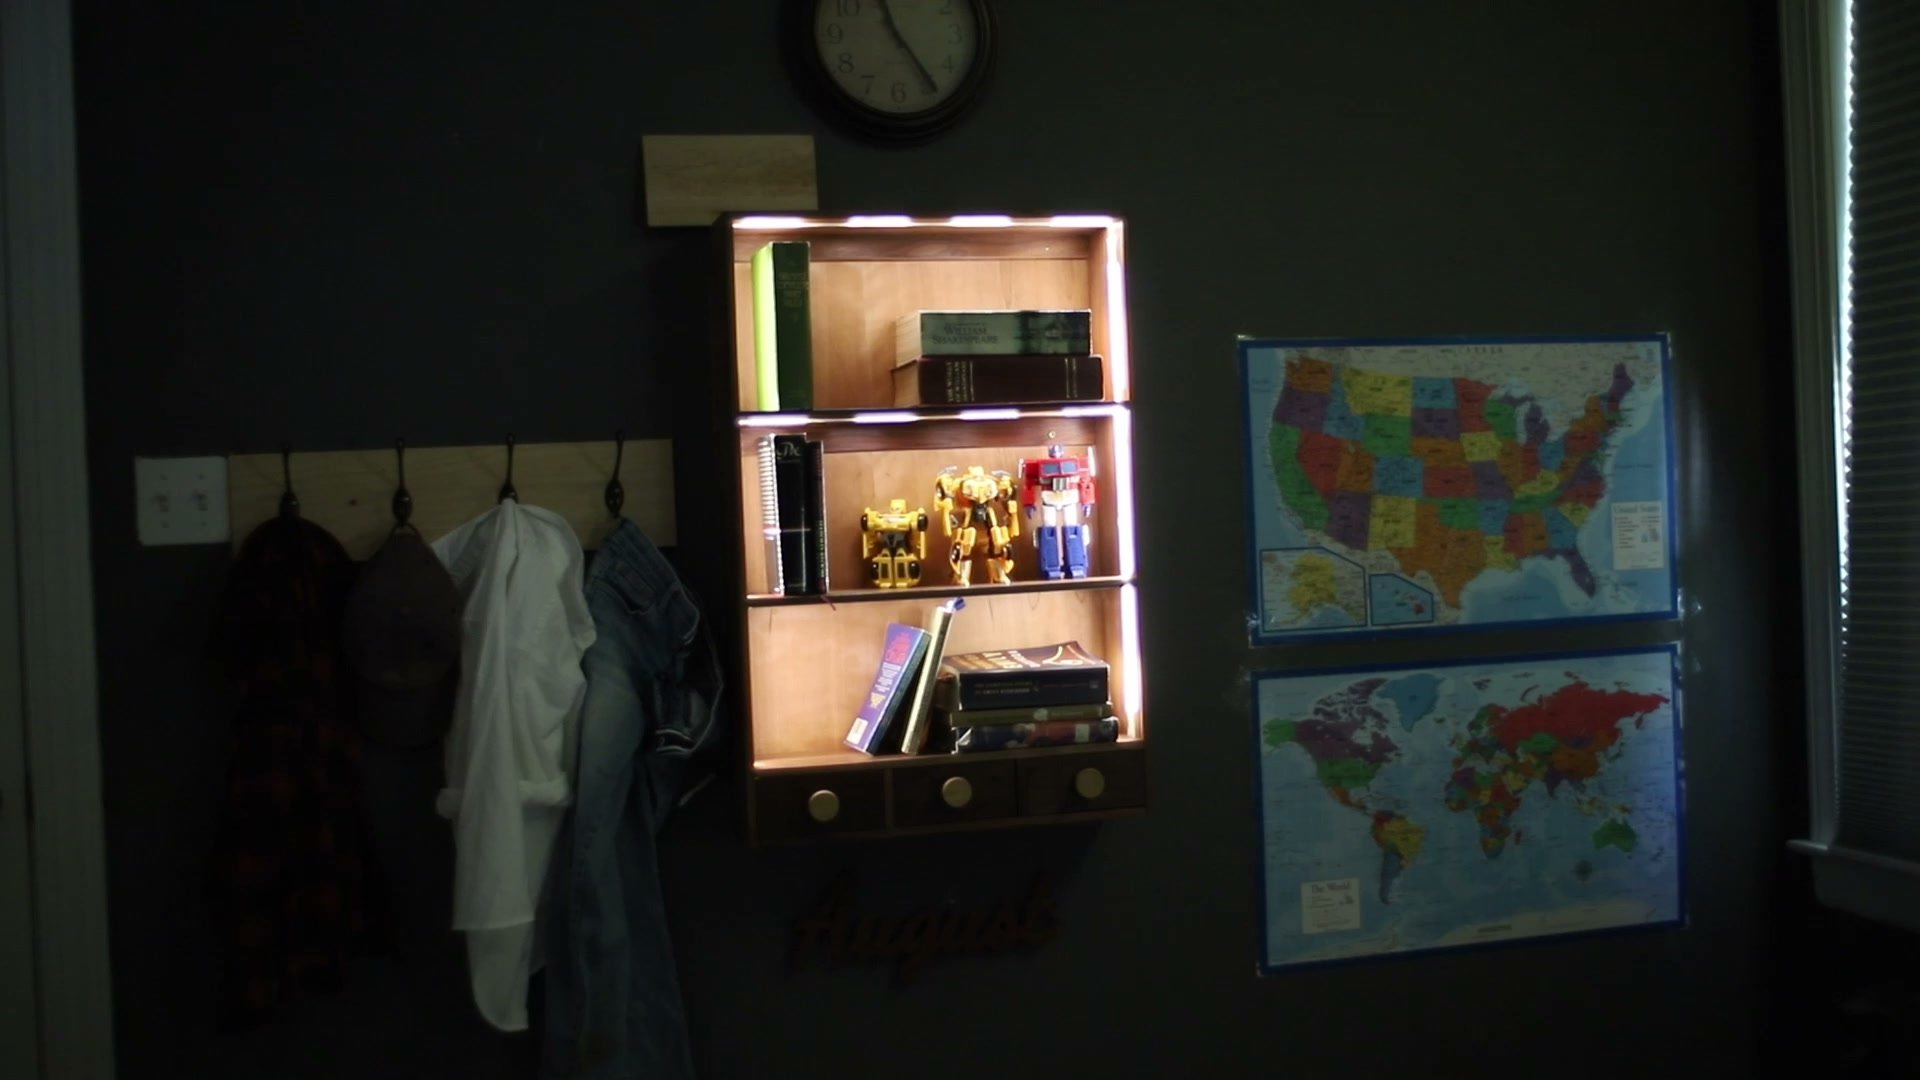
The finished bookcase, with the lighting switched on and the shelves filled.
Watch the full walnut bookcase build on YouTube.
A cabinet for books and the things worth displaying
The design combines open shelves with a row of small drawers. Books and favorite objects have a place where they can be seen, while the drawers provide somewhere for smaller things to go.
The proportions are quite different from a large, freestanding bookcase. This is a compact cabinet that hangs on the wall, with a back panel that gives the shelves a continuous wood backdrop. Once the lighting is installed, that backdrop becomes an important part of the finished effect.
The round wooden drawer knobs add another detail: their lighter color stands out against the darker walnut fronts without making the cabinet feel busy.
Building the walnut cabinet
The first stage is cutting the parts and bringing the cabinet together. The video shows the table-saw work, fitting the shelves and dividers, and checking the arrangement on the bench before glue-up.
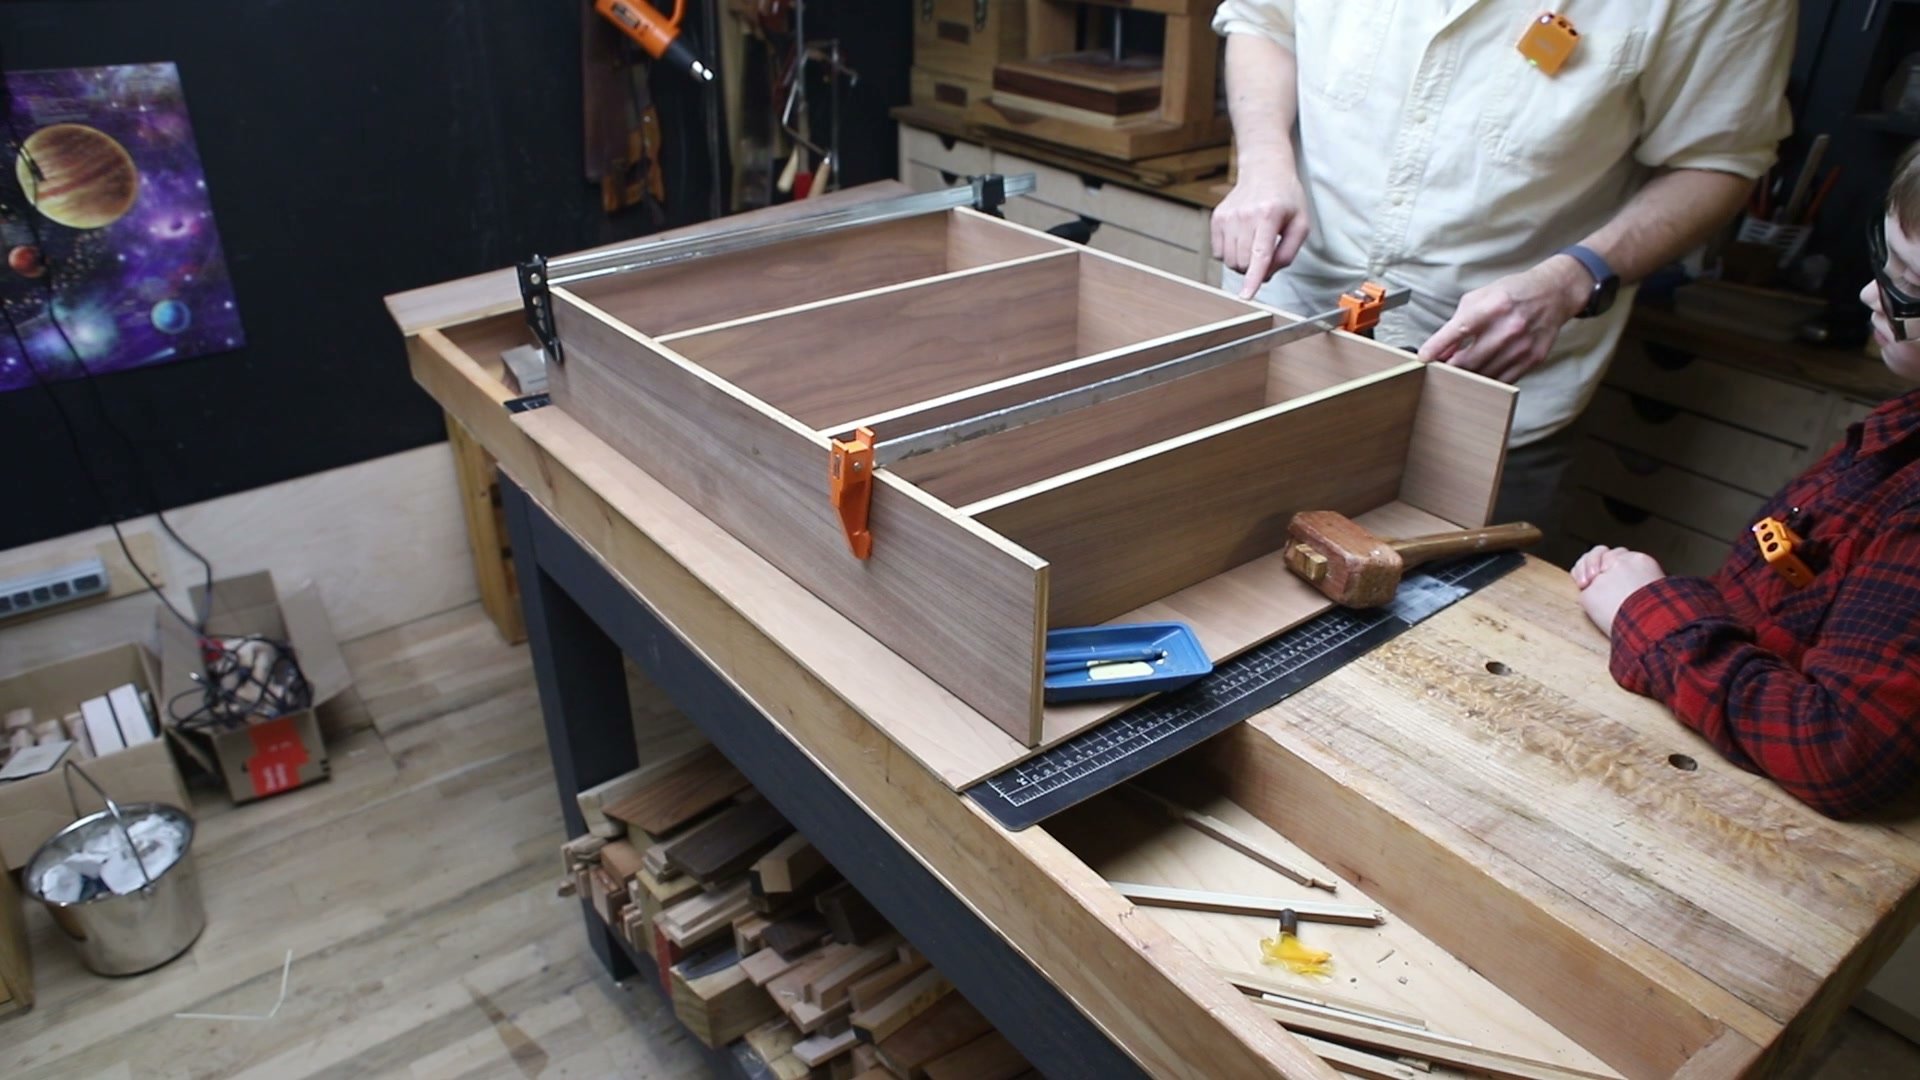
Fitting the parts together makes the shelf layout and lower drawer compartments easy to see.
There are two scales of work happening here. The long sides and shelves establish the overall shape, while the shorter dividers create the individual spaces for the drawers. Those small compartments need attention too; they are part of the cabinet's layout from the beginning.
With the parts fitted, we glue and clamp the assembly. The back and narrow front trim then help bring the separate pieces together visually, giving the cabinet a more finished outline.
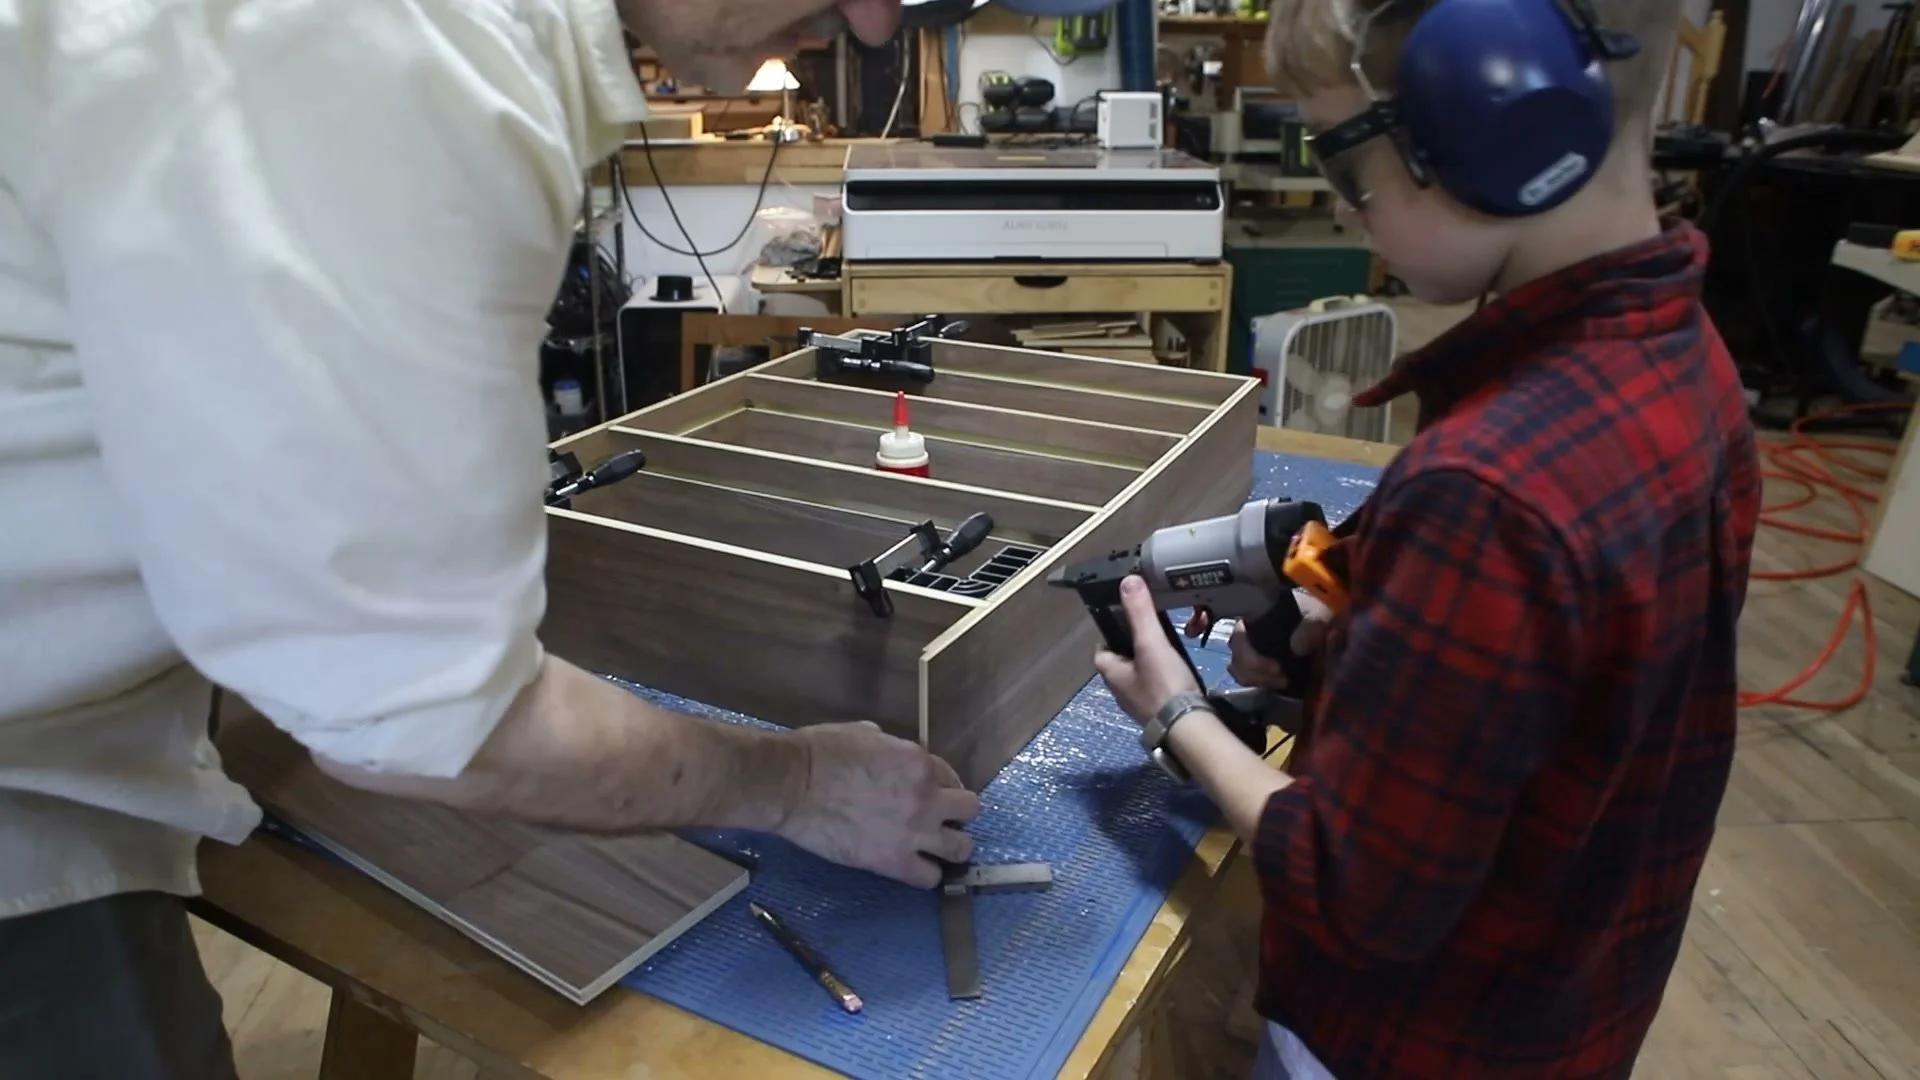
The cabinet takes shape during assembly.
Small drawers and time at the bench
The drawers bring a different pace to the build. After the larger cabinet work, the video moves into laying out joints, sawing, and cleaning up the joinery with chisels.
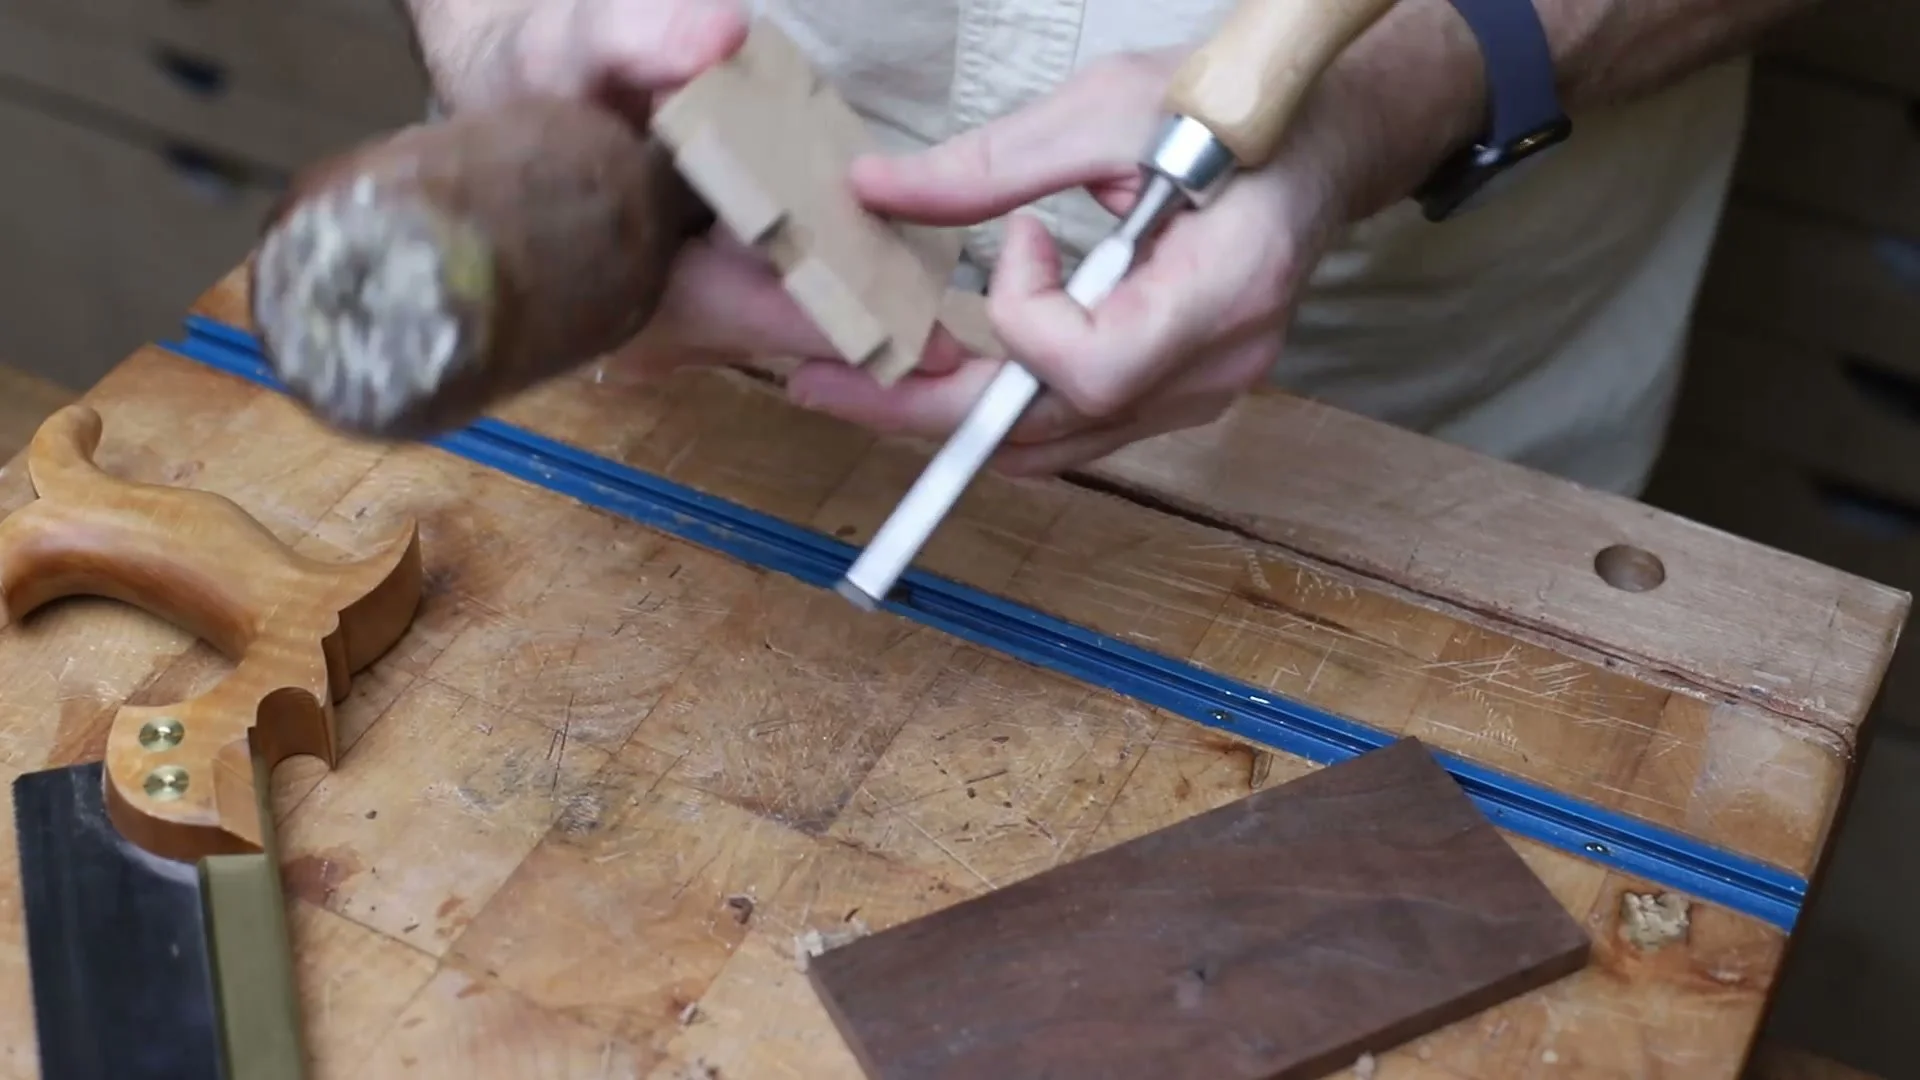
Working on the drawer joinery by hand.
This part of the project gives us a chance to work together on individual pieces before they become part of the finished cabinet. You can follow the progression from loose drawer parts to assembled boxes, then see the drawers being fitted into their openings.
The three matching knobs tie the row together. Their simple round shape is a nice complement to all the straight lines in the shelves and case.
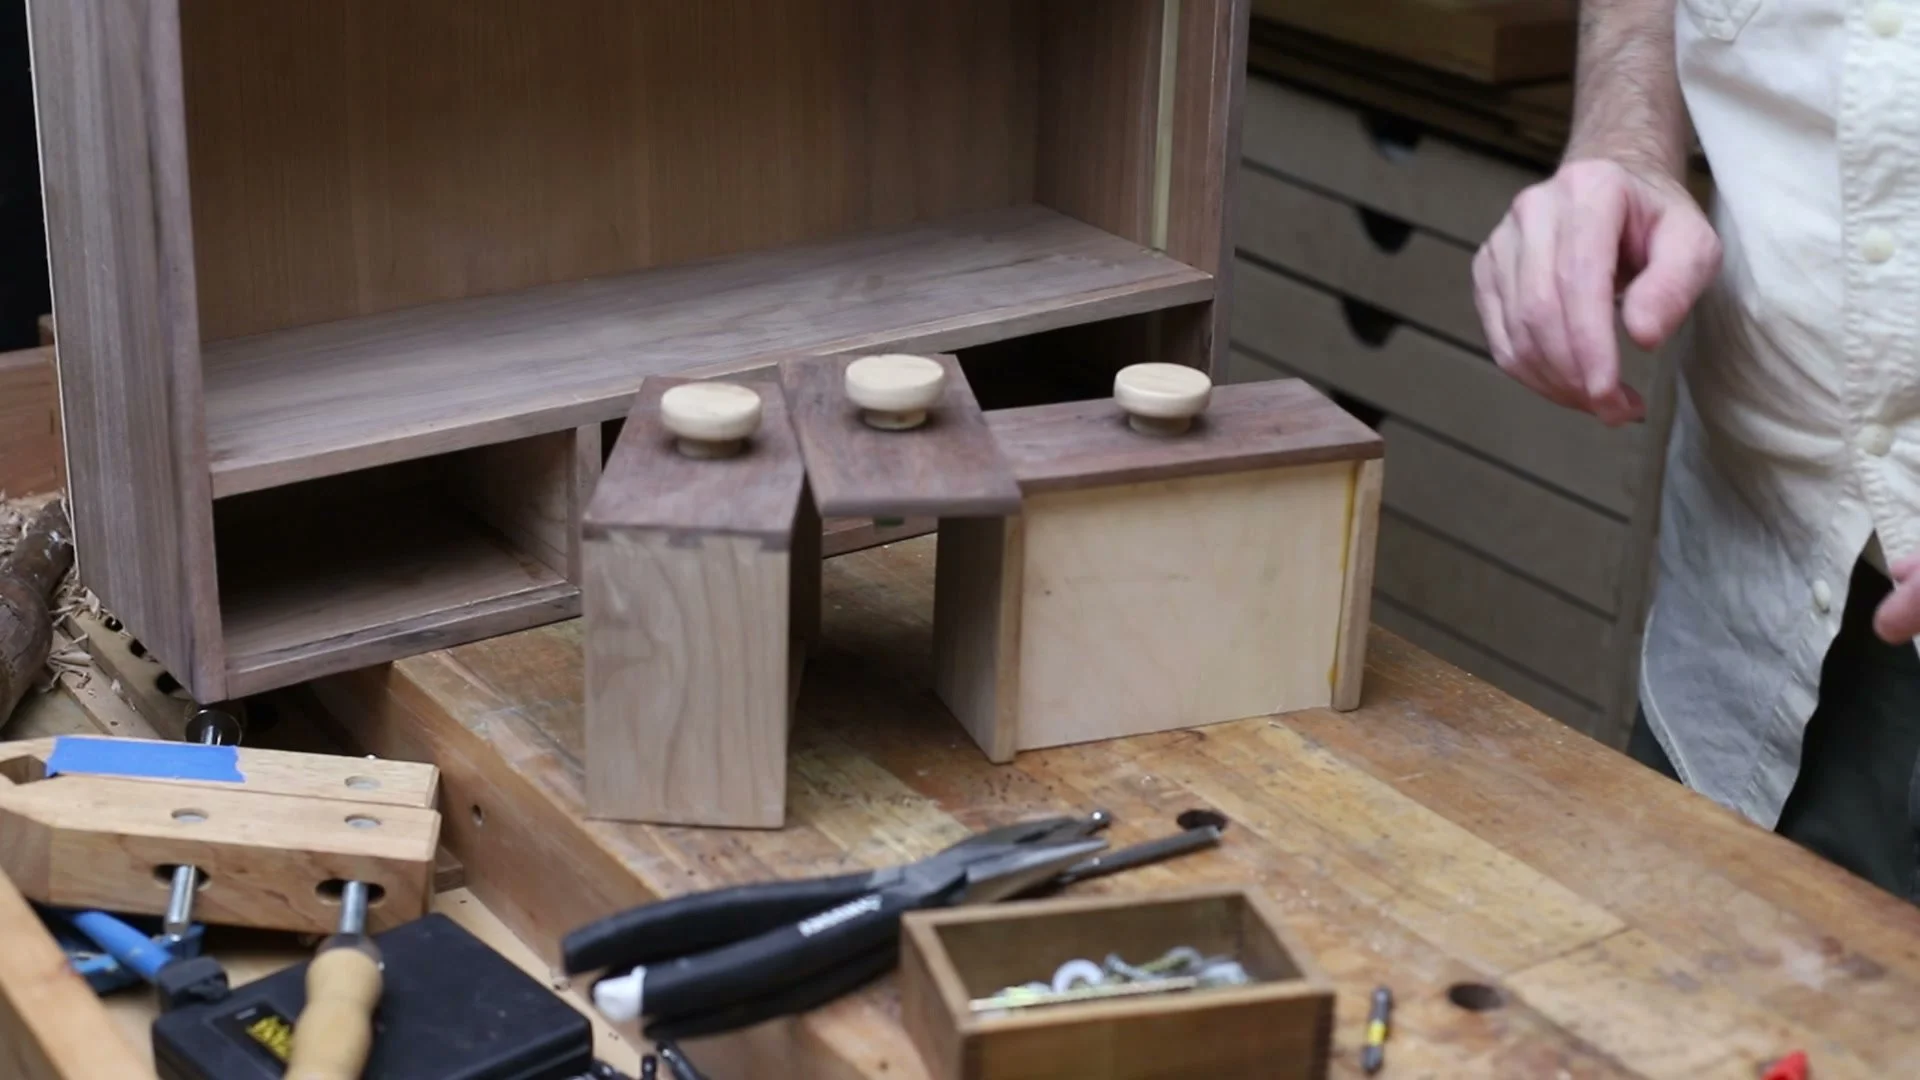
The drawers and their contrasting wooden knobs before the final finish.
Bringing out the walnut
Applying the finish is one of the most visible changes in the build. The walnut takes on a deeper color, and the grain becomes more prominent across the sides, shelves, and drawer fronts.
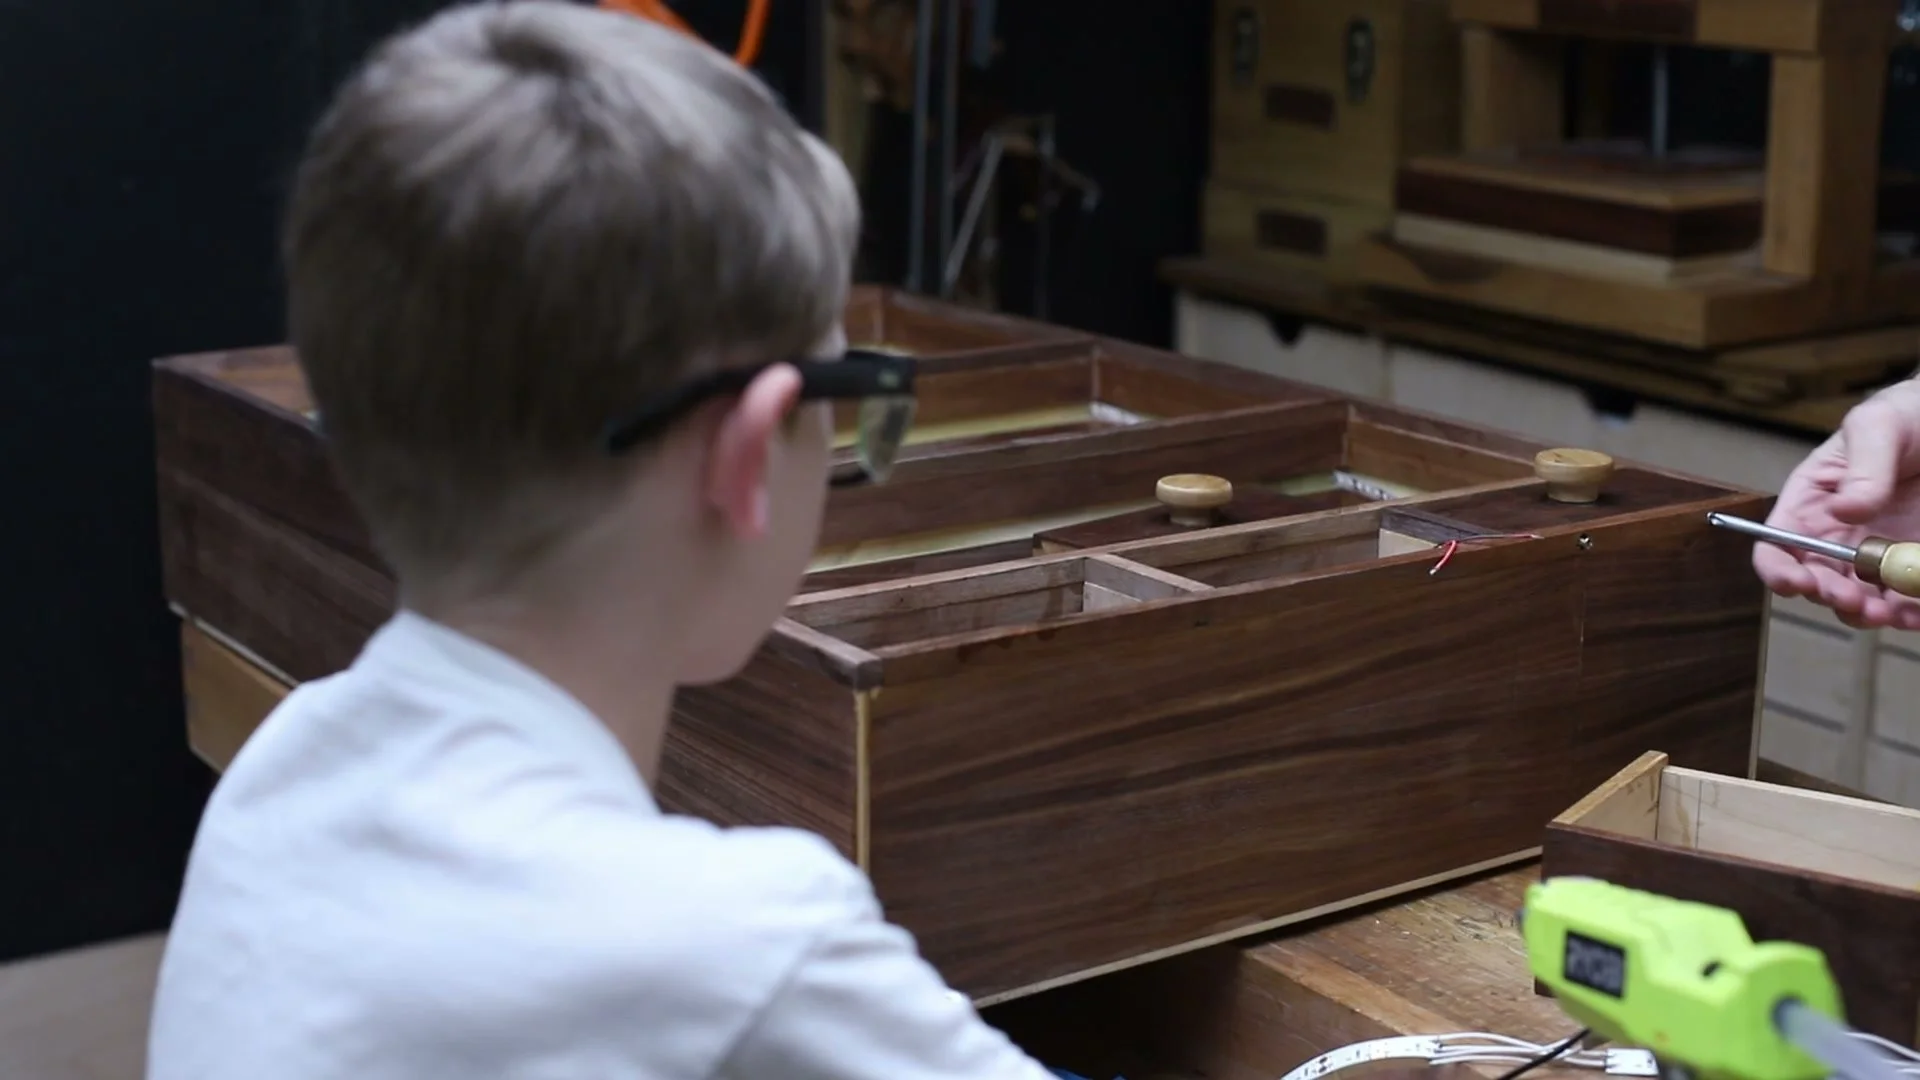
The finish brings out the color and grain before the lighting goes in.
Seeing the cabinet at this stage also makes it easier to appreciate the wood on its own. The lighting adds another layer later, but the material remains a large part of what makes the piece appealing.
Adding the LED lighting
The LED strips are installed inside the cabinet after the finishing stage. The video shows the strips being positioned and pressed into place, followed by a test with the lights on.
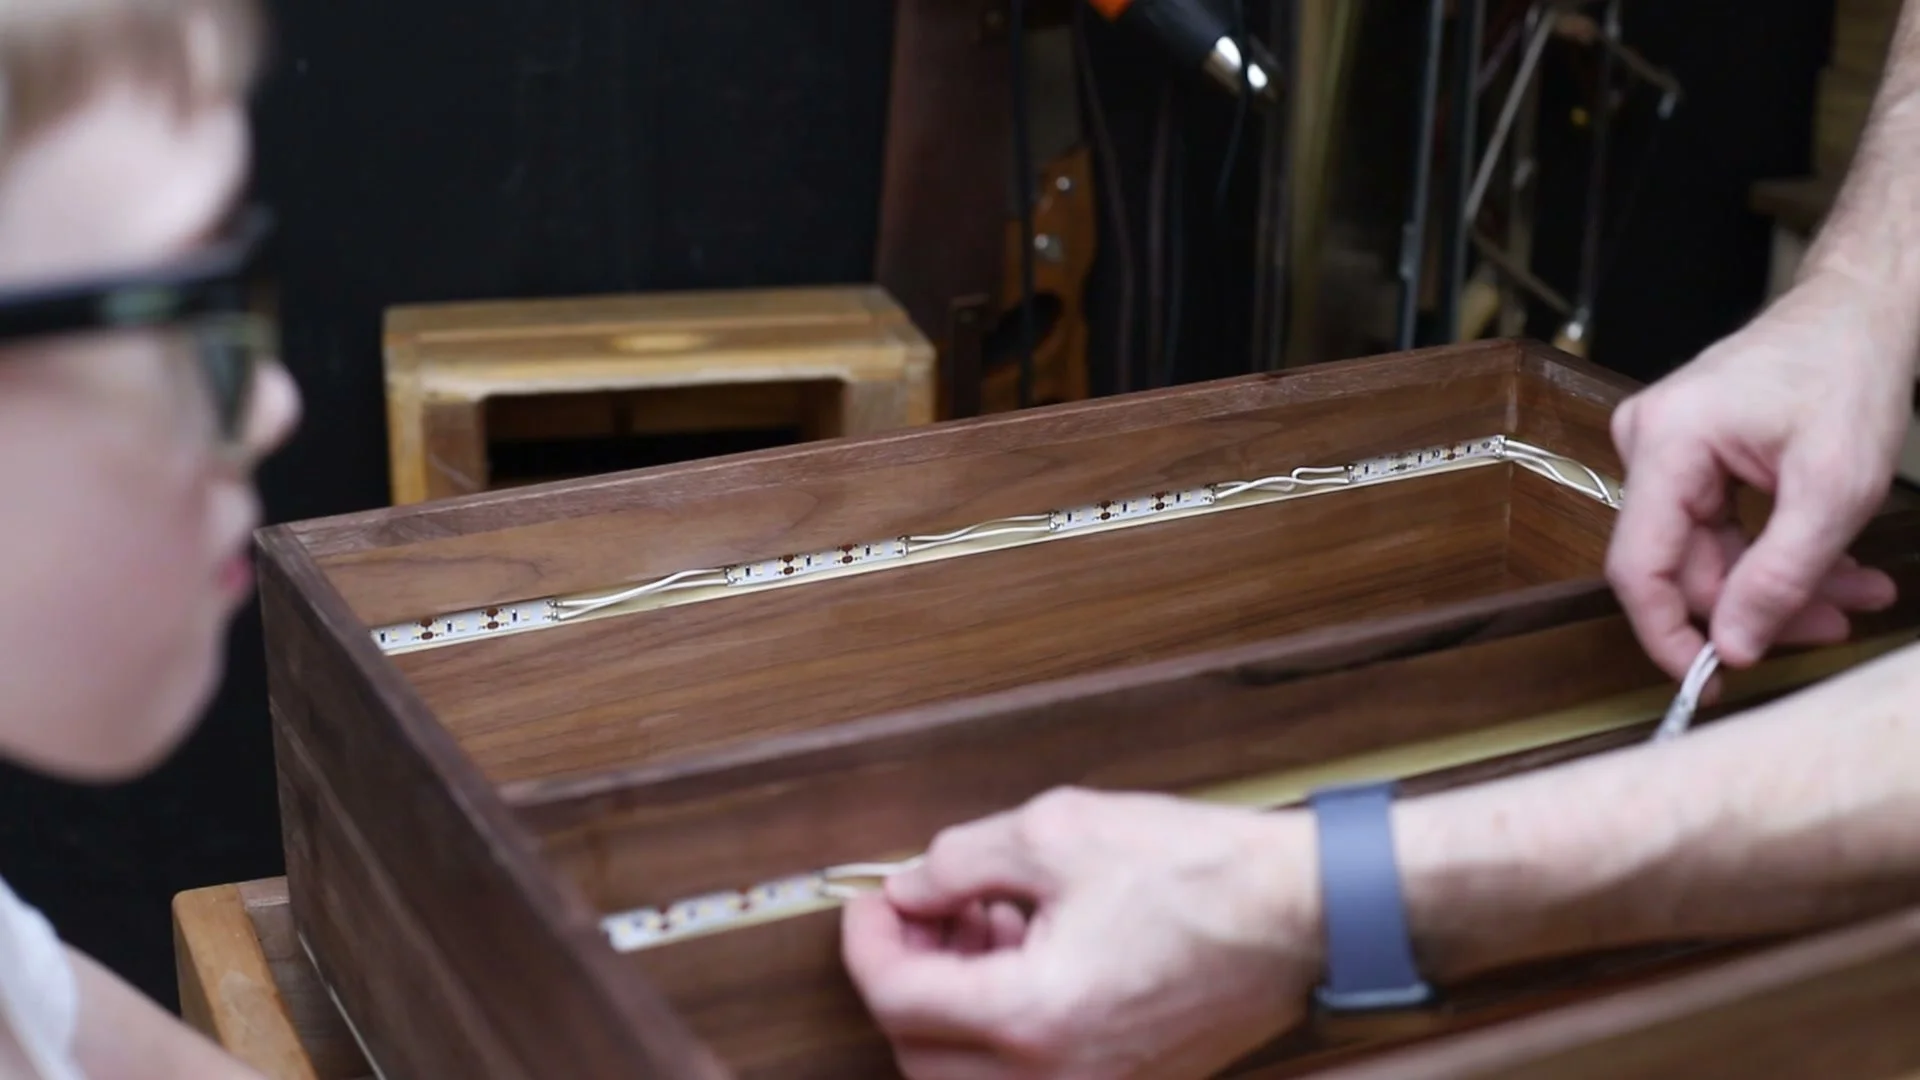
Fitting the LED strips inside the cabinet.
The difference is especially clear once objects go onto the shelves. Light outlines the compartments and picks out the shapes of the books and collectibles against the wood behind them. It turns the cabinet into something you notice across the room, particularly when the surrounding room is darker.
On the wall and in use
With the cabinet mounted, the final step is filling it. Books sit alongside Optimus Prime & Bumblebee, and the drawers remain easy to reach below the display. The finished piece brings together several kinds of making: cabinet construction, small drawer joinery, finishing, and adding lighting.
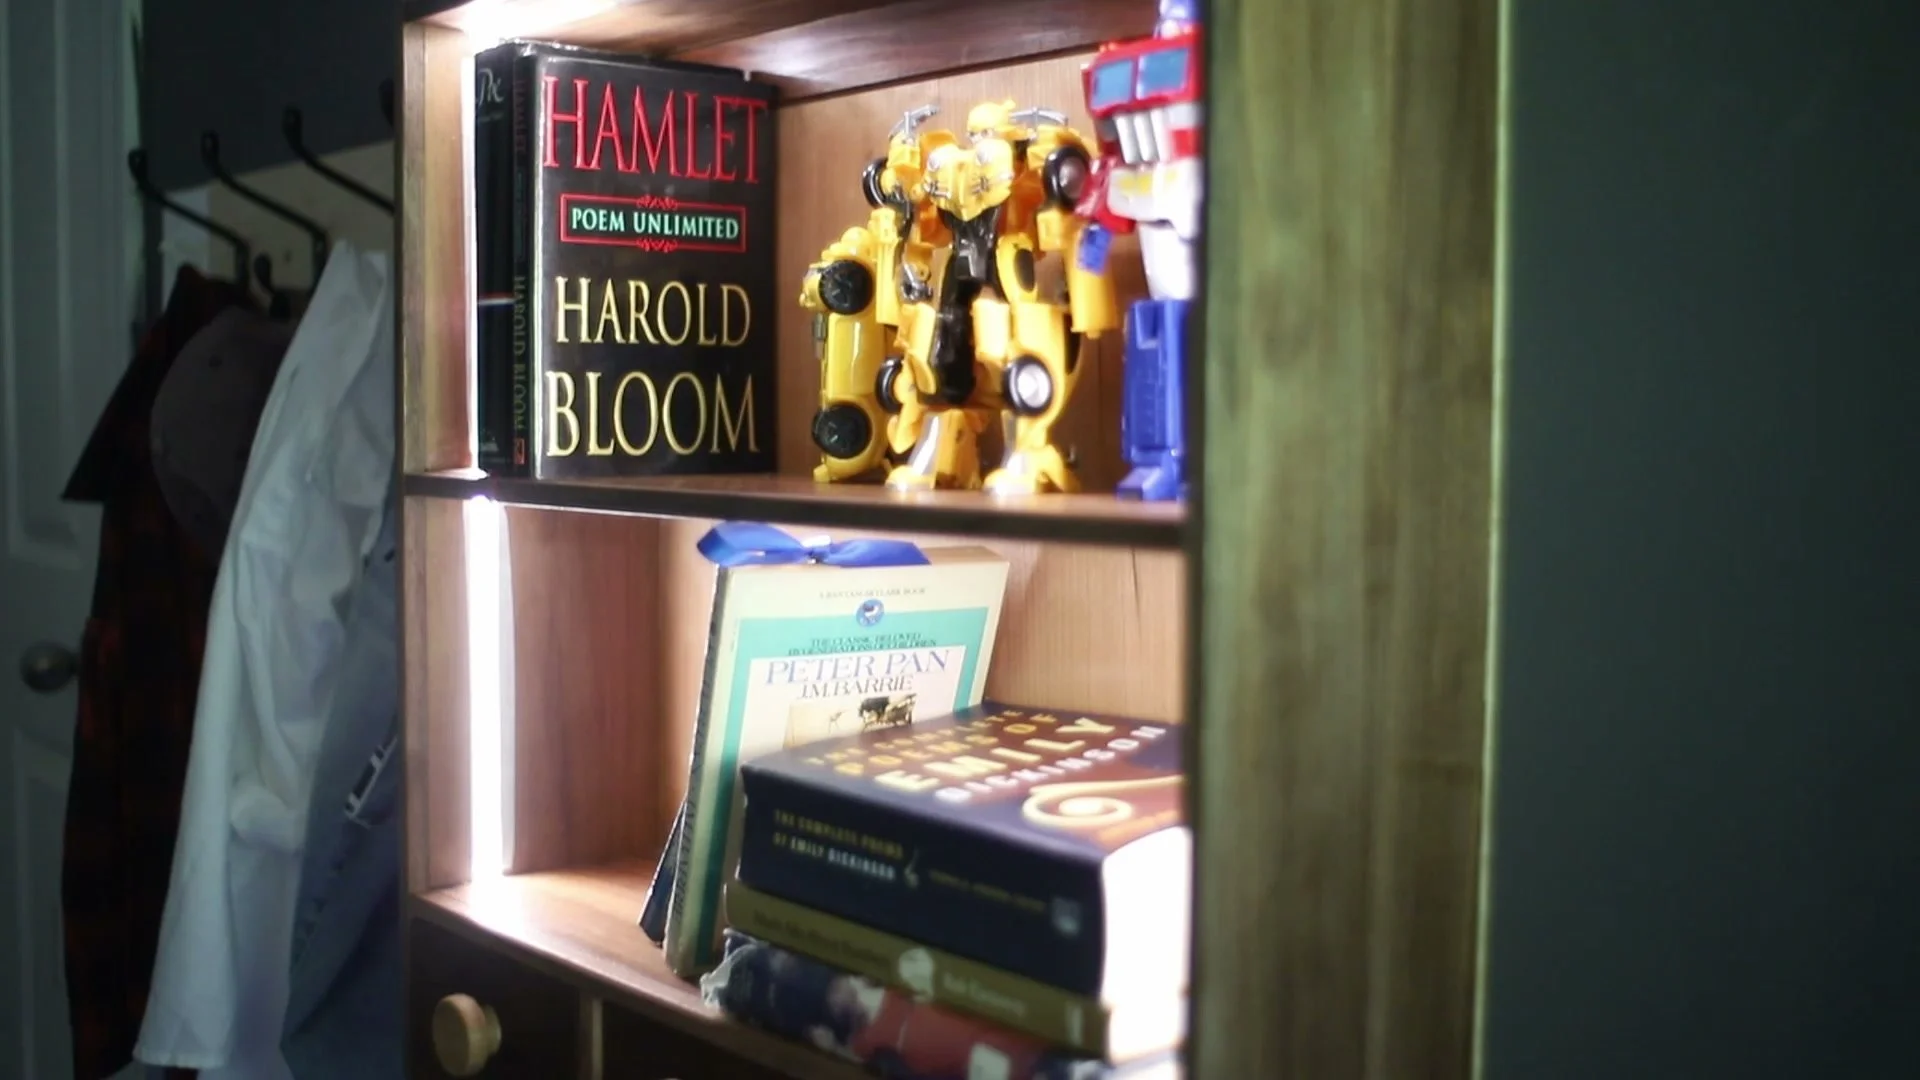
Books and favorite figures give the finished shelves their personality.
The full video shows how those stages fit together, from the first cabinet parts on the bench to the lights coming on in the finished room.
Watch the complete build here.
What would you put on illuminated shelves: books, tools, or a favorite collection?