SawStop Table Saw Review - November 2016 Shop Update
I get to review my Saw Stop table saw and show where I've been traveling in my latest Shop Update!
Building & Making on Youtube
Darbin Orvar - Girl in a Shop
My adventures in building, diy, construction, testing and finishing.
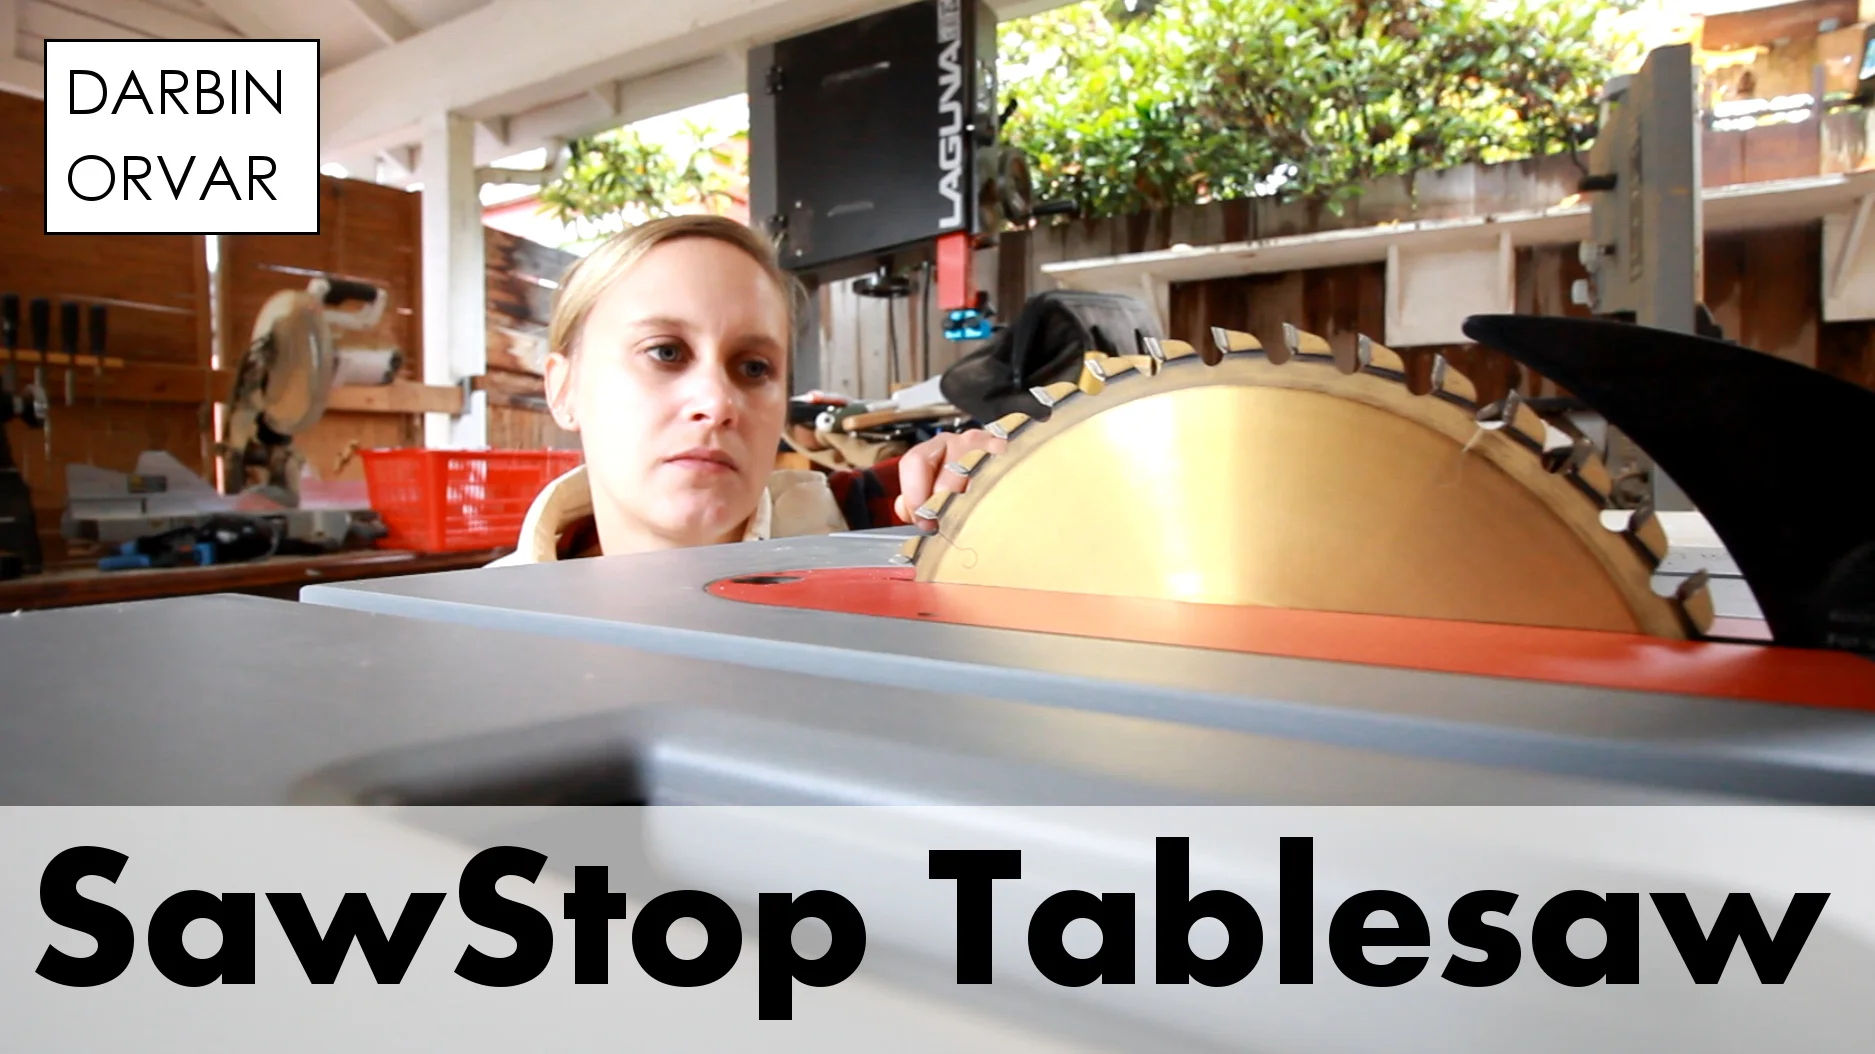
I get to review my Saw Stop table saw and show where I've been traveling in my latest Shop Update!
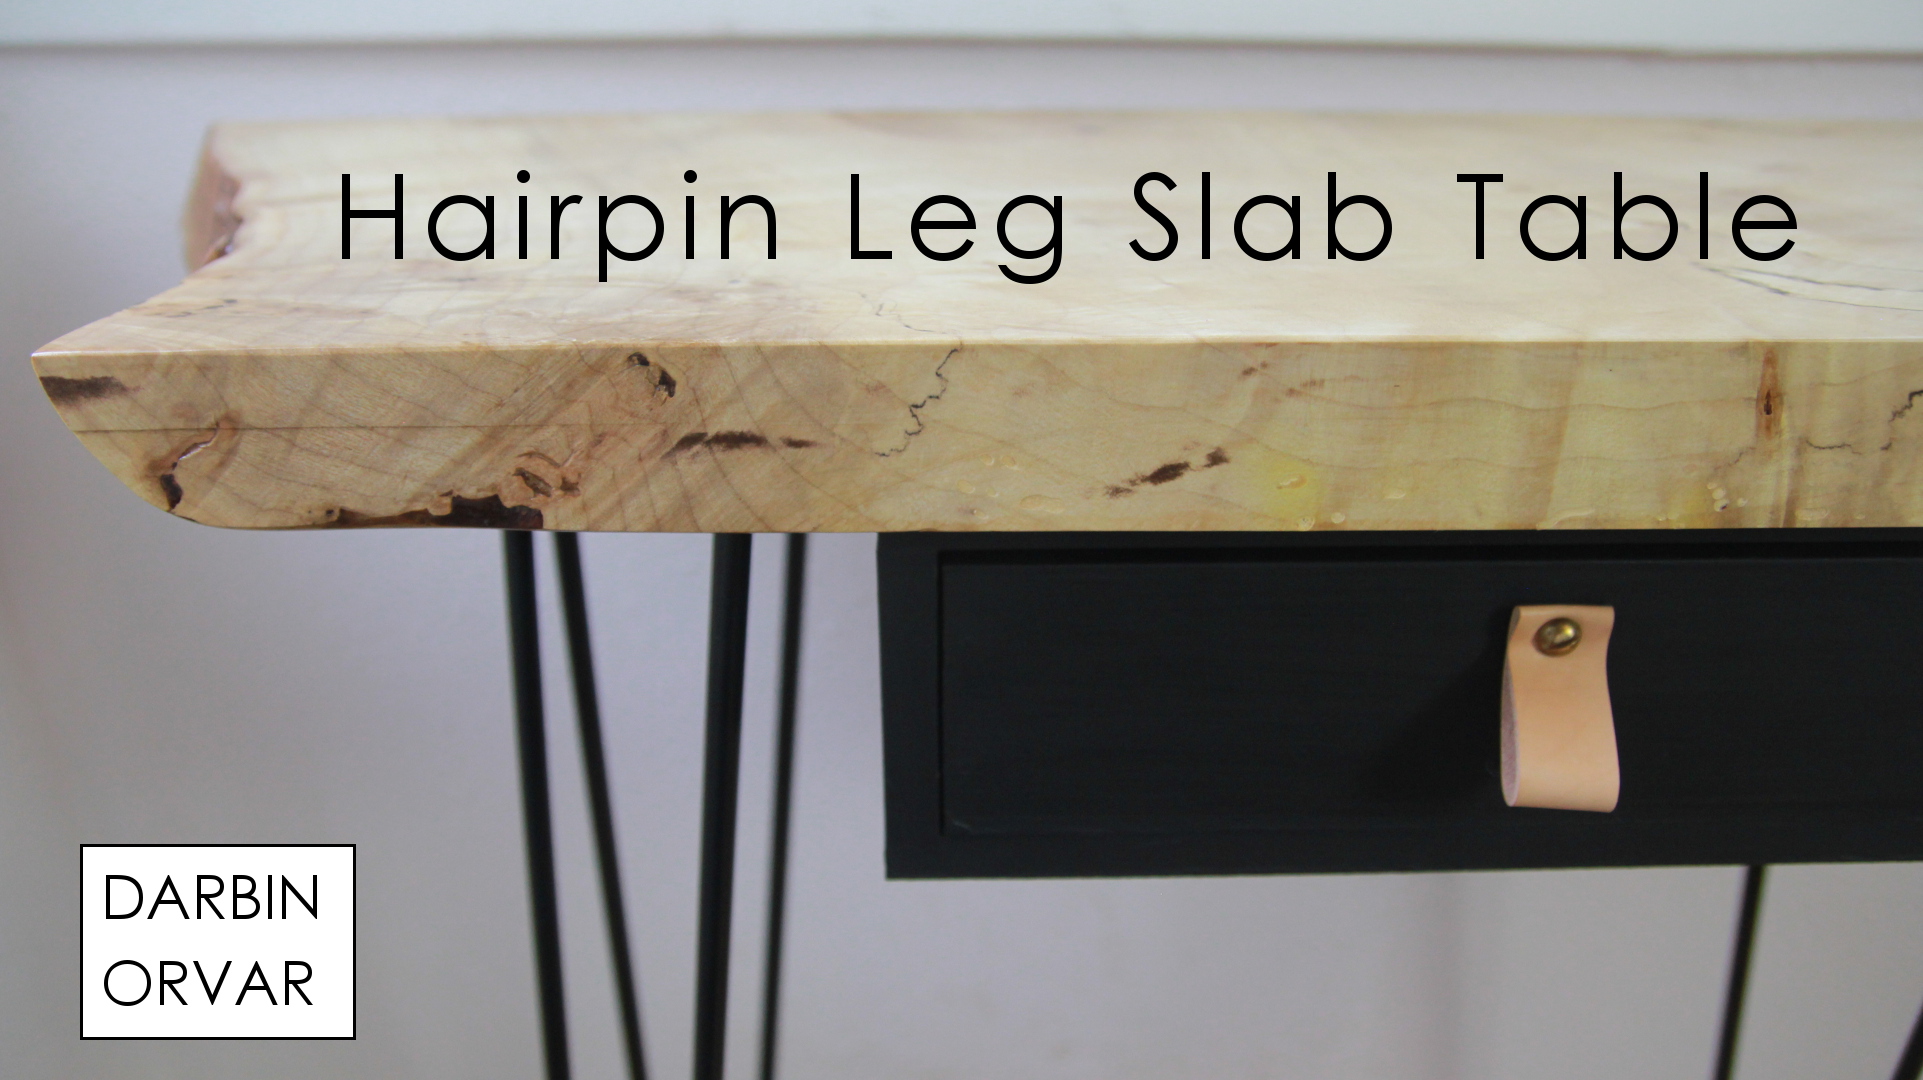
Hairpin legs are a great way to add some style and function to a project. I'm going to build a maple slab table with a drop drawer, using these mid-century modern looking legs. What's great about this is how simple the concept is - a piece of wood on top, a box underneath for a drawer and then the legs which gets screwed down.
So first of all, I got this beautiful maple slab and I immediately though this would make the perfect table top. It's a little spalted and has so much variation in the grain, I just think it's beautiful.
To got with this, I figured hair pin legs would be perfect!
Of course the wood is not exactly flat, so I'm wedging it to plane it. I'm starting with the scrub plane which cuts out large amounts of material and creates divets, and then I'm also going to use the low angle jack plane to smooth it out.

This was a really challenging wood to plane, because the grain is going in every direction, so it took some time to get flat. And because I'm using the scrub plane and because the grain goes in every direction, I can also plane from every direction too and switch positions.
Planing is a lot of work but it's also a lot of fun work that's really relaxing.
So I'm working towards getting one side flat, so I can bring it out to my thickness planer, and flatten the other side from there.
But first, I want to clean up the edges, so I'm squaring up the slab and cleaning it up with a circular saw, and then I can run the straight side against the fence on the table saw.
And at this point, I did a whole lot of planing, over and over and over until it was flat.
I also put on some epoxy to fill in any voids. And once that was dried I sanded, a lot.
I'm going for a drawer underneath, and I want to look like it's floating. For the drawer I'm using MDF, so cutting that up to pieces. I basically need two boxes - one (the drawer) that goes inside the other (the case).
I've got all the pieces here, and it's pretty much a box within a box, cause of the drawer. So really simple construction, just glue and the nail gun, which I really like when you don't want to mess around to much. And of course it's important to get these nice and square.

In terms of paint I'm going with black chalk paint, because I really like that matte color, and I thought it would look nice.
For the slab, I'm going with a first coat of shellac all sides, and then I did polyurethane on top of that.
Sometimes I really like these kind of projects where each part is quite simple, and it's just a matter of putting it all together. To attach the drawer to the slab I'm just using small brackets. And when it comes to the hair pin legs, you just drill holes and screw them down, very simple.

Now for the drawer, I need some kind of pull, and I decided to go with leather. I used strip of veg tanned leather that I'm folding over, and also thinning make it less thick around the fold. To make the leather a touch darker I'm adding some of my mineral wax polish. I also picked up a nice brass bolt, and then I'm just securing it to the drawer with a nut on the other side.
To make sure the drawer runs smoothly in and out, I'm also applying some of the mineral oil polish on the bottom, and that makes a big difference. To make the top extra smooth I'm putting on some tung oil wax polish there.
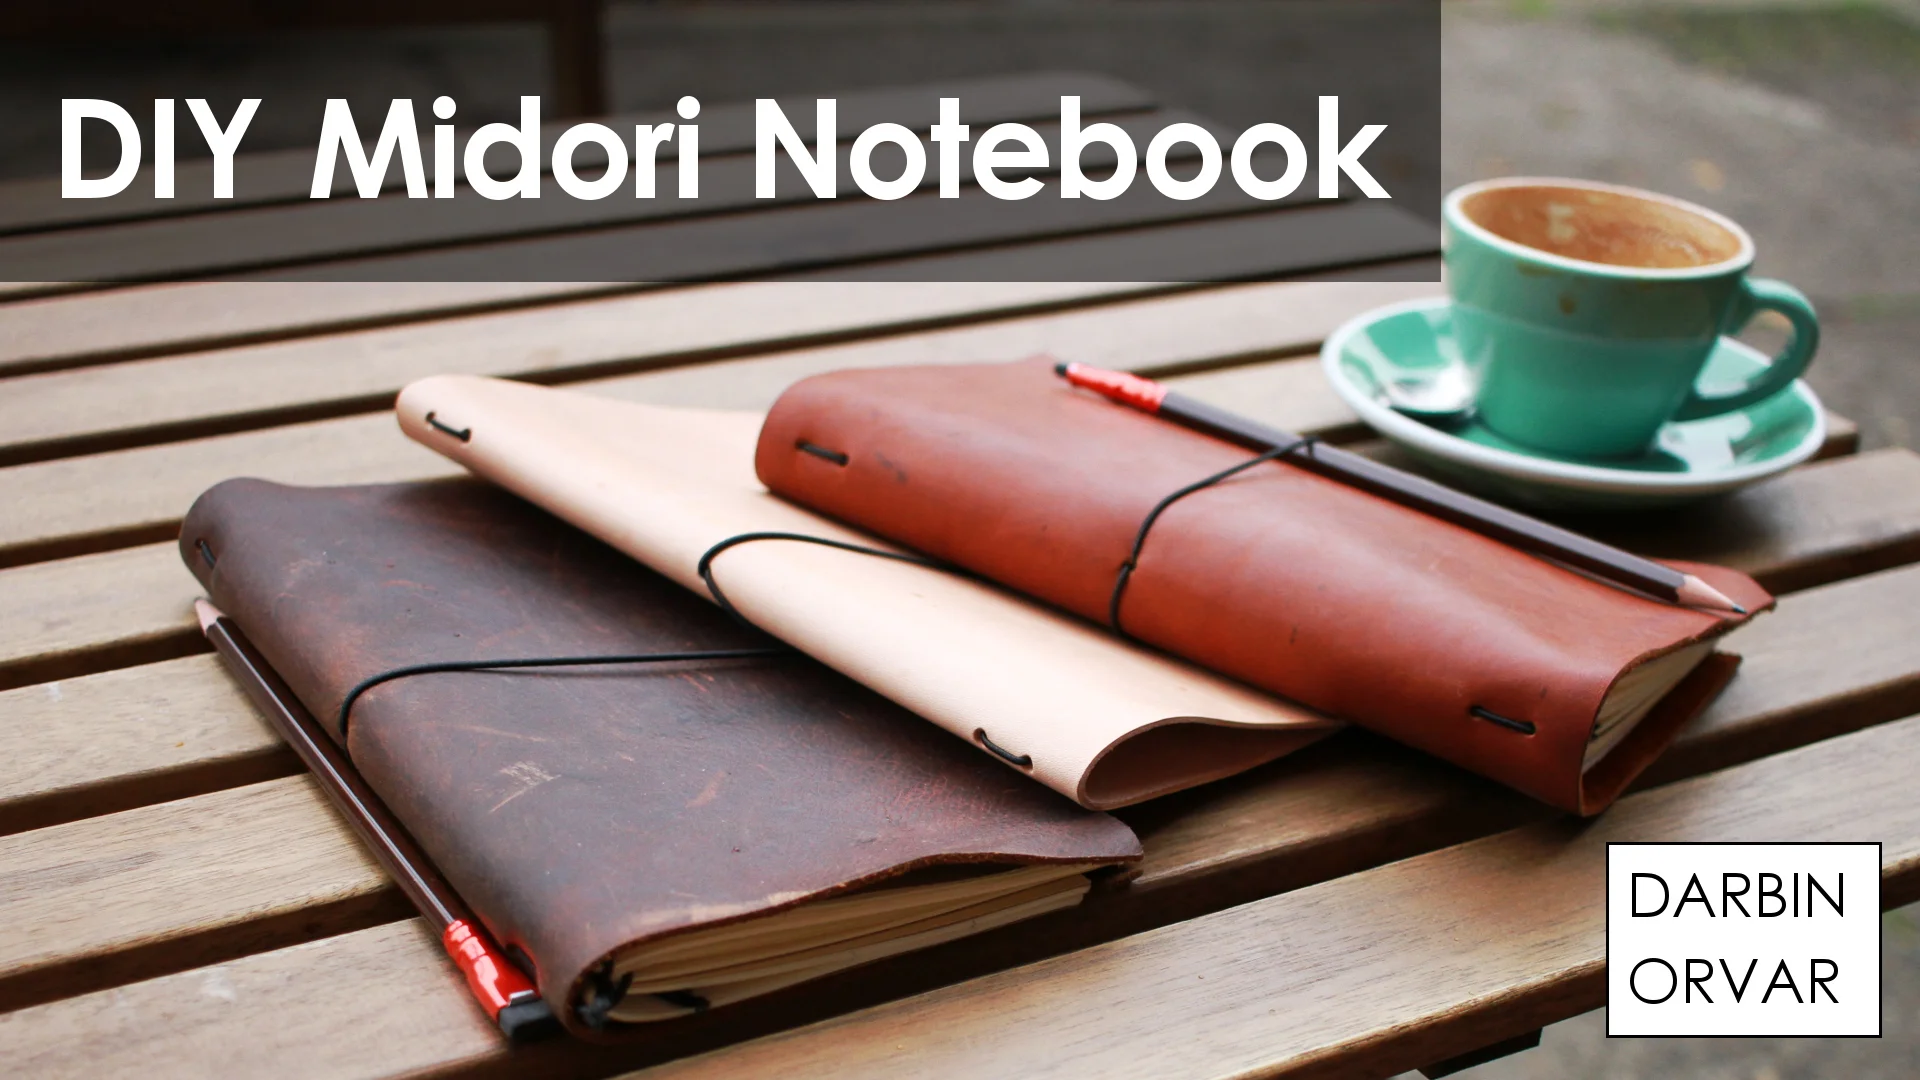
A midori style traveler's notebook is a great project - it's simple to make, and you can use whatever material you have on hand. I love the flexibility of this system, and the fact that you can keep several different books within one cover. I'm going to go over making the leather cover, the paper notebooks and a fabric insert with some pockets that can hold cards, receipts, money or whatever.
Products Used (Affiliate Links)
Original Midori - http://amzn.to/2ec0unM
Healing Mat - http://amzn.to/2dDwAps
Rotary Cutter - http://amzn.to/2ewWPf3
Cotton Paper - http://amzn.to/2ebZv73
20 lb ivory paper - http://amzn.to/2ey0El9
Elastic Cord - http://amzn.to/2e4QTeX
To create this, you'll need leather, a cutting mat, a square ruler, some way to cut the leather, small hole puncher, mallet, elastic band, marking pencils, small ruler, and a razer blade.
First of all, let's pick some leather. I'm working with three different kinds here - dark brown which is more like the traditional midori style, lighter brown and veg tanned. A medium thick leather, about 3-4 oz weight is great. You can either find this at the leather store, however they also sell small pieces at the craft store which would work great.
Now, measure out and cut the leather. I'm using a rolling cutter, however you could also use a regular razor blade or scissors. Next, I fold the leather in half, and mark out places for the holes, right in the middle. In total I made five holes. Using a hole punch like this will ensure the holes are cleaner. For the elastic band, I got a good arms length, and cut that to size.

Now, this is how I do this. I first fold the band in half and insert it in the middle of the book, leaving a loop on the other side. Then I pull each side through the holes like so. Make sure the loop in the back is still there, Then I insert a book and tie it tight. Of course this is easy to adjust to make it tighter or looser.
Of course you need notebooks inside, so let's make a couple. For that you're going to need hardstock for the covers, paper, a paper cutter, large paper clips, a mallet, and awl, thread, a needle and a razor blade.

I decided to make three books - one blank, one lined and one graph paper. I'm printing the lined and graph on both sides on thin ivory paper, and using thicker 24 lb cotton paper for the blank book, for sketching.
Making notebooks is super simple - I fold the paper in half. Then I arrange them in bunches of three.
Next, is cutting the paper to size, I chose to make my books 118 x 24 mm. It's a lot easier to cut this to size with a good paper cutter. Once everything is cut - insert paper and hardstock, it's time to bind. I'm using 12 sheets for my notebooks.
So arranging with paper clips. Marking out where the holes should go. And this is what I do. And then punching through with an awl.
Finally sewing the books together. I like to start in the middle, go to one side, go down and overlap.
Lastly, I clean the edge, by putting a ruler down and lightly scoring a bunch of times with a razor blade. The trick is to have a sharp blade and not push too hard, just do it over and over until the paper is all cut.
And then you're ready to put the books in the midori. And to put additional books in, I simply tie another elastic band through two books. Then those two books can slip underneath the middle book, and it's all held in place.

Now I love the idea of a system! So I decided to make a little extra insert that could work as a wallet, or just a pocket system for cards or whatever. To do this, I first measured out some canvas the same size as one of the notebooks. I cut out smaller sections as well, one larger piece for each side, and shorter sections for smaller pockets. And then I sewed it together. So a pocket section for one side with places for cards, and a blank pocket on the other side. Then I connected the two side sections to the middle piece, and sewed around the edges, leaving the pockets facing inwards open. I also added a little flap over the cards so nothing would fall out. And then that slips in to the midori book really easily, and you can use these pockets for receipts, money, your phone or whatever.
So, as you can see, this system is really very simple, and I love how you can have several books in one cover like this, and switch them out as you need it. I also think a little insert like this is kind of cool and makes it even more functional, and I've been keeping receipts in here when traveling, and it's just nice to have some extra pockets.
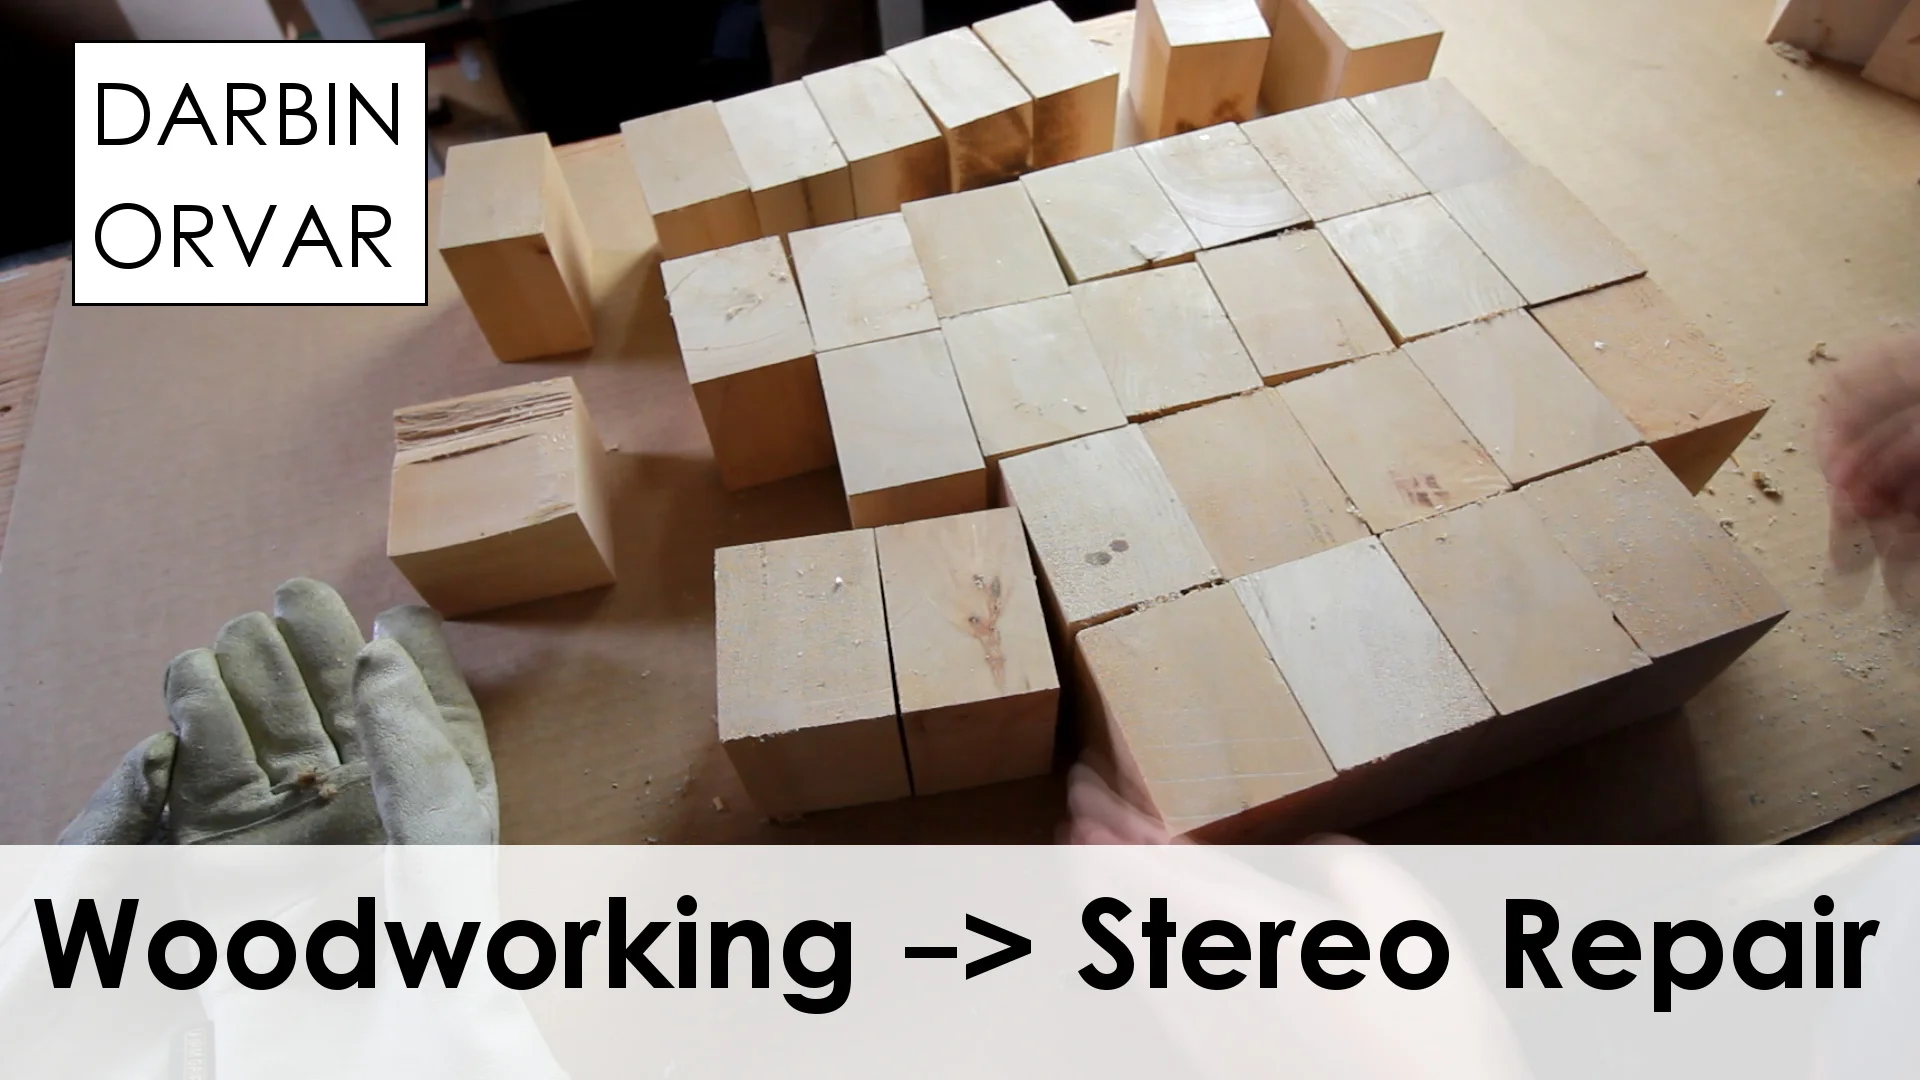
I decided to build a portable end-grain work station for the maker space - and ended up finishing up a stereo repair...
Parts Used (Affiliate Links)
LEDs - http://amzn.to/2dXJXPm
Diodes - http://amzn.to/2d8PNfc
Multimeter - http://amzn.to/2dQDvdE (want this one)
Soldering Iron - http://amzn.to/2d3YXyp
Building a MakerSpace for my Home.