LEGO, Concrete & Epoxy Mallet

This LEGO, concrete and epoxy mallet was a lot of fun to make, and actually works really well. What's so awesome about this mallet is the weight, so it's perfect for fine chisel work and the epoxy encapsulates the concrete perfectly. You don't need any tools really to make this, it's very cheap, plus you can make it any size you'd like depending on the size of the mold you make. So let's get started!
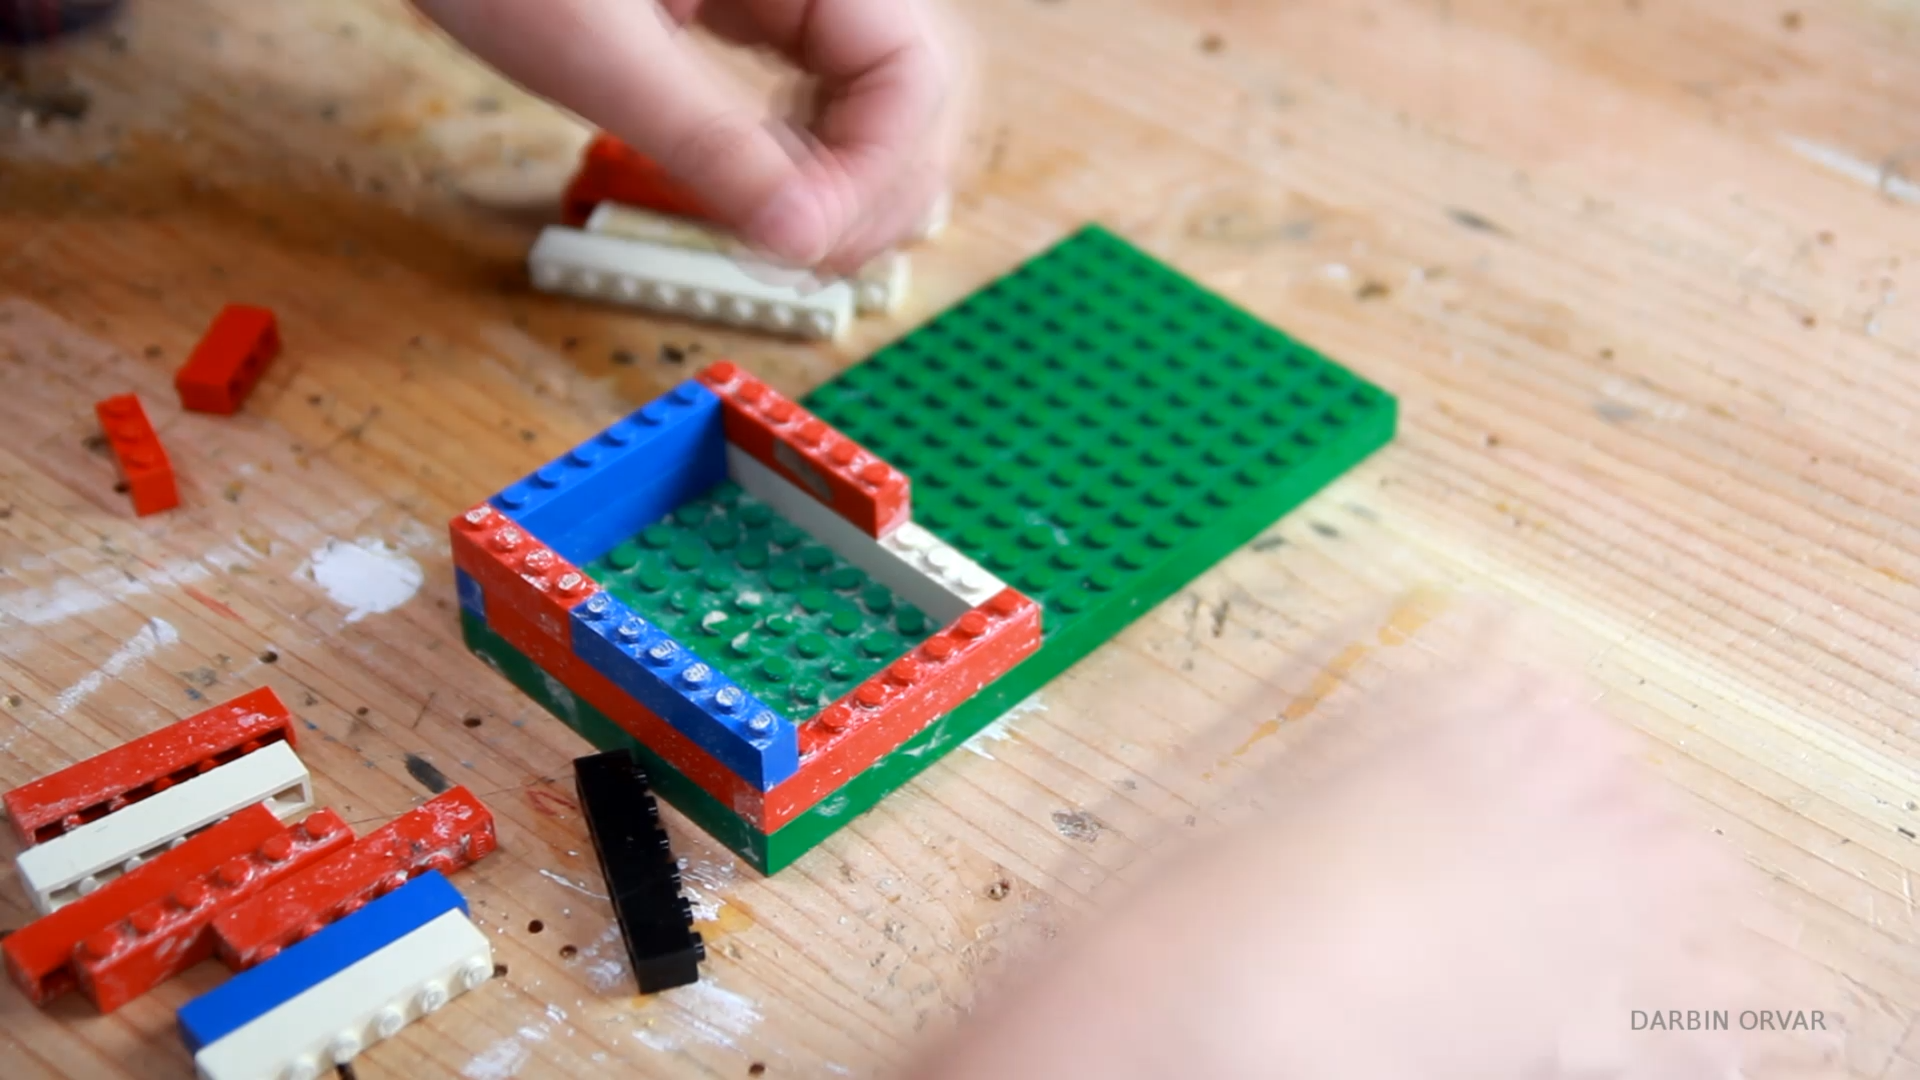
So I began with making a small mold out of Lego. And I really like how easy it is to make this any size you'd like. This seemed like a good size for a small mallet.
So I placed a piece of walnut in the middle (you can use any piece of wood), and then I mixed up some mortar mix, and I used this instead of concrete mix because I want this nice and smooth without any pebbles in it. So just mixing that up.
And then I started packing the mortar in the Lego box, around the walnut, pressing it down with my finger, trying to remove any air pockets, then filling it all way to the top. Making sure the walnut is square.

Then a few hours later, I'm carefully removing it from the mold here, and taking the Lego apart. And of course you can always spray the lego first with some vegetable oil to make it even easier to remove, but it wasn't too bad. And then lastly, getting it off the plate. And that has a nice weight to it.

Now, time to mix some epoxy up here. I'm just blending this up, and then I'm applying a pretty thick coat on each side with a pencil here. And I'm trying to make sure I apply a liberal, yet smooth amount on the sides, and especially on the edges. So covering all the concrete. Then letting dry over night.
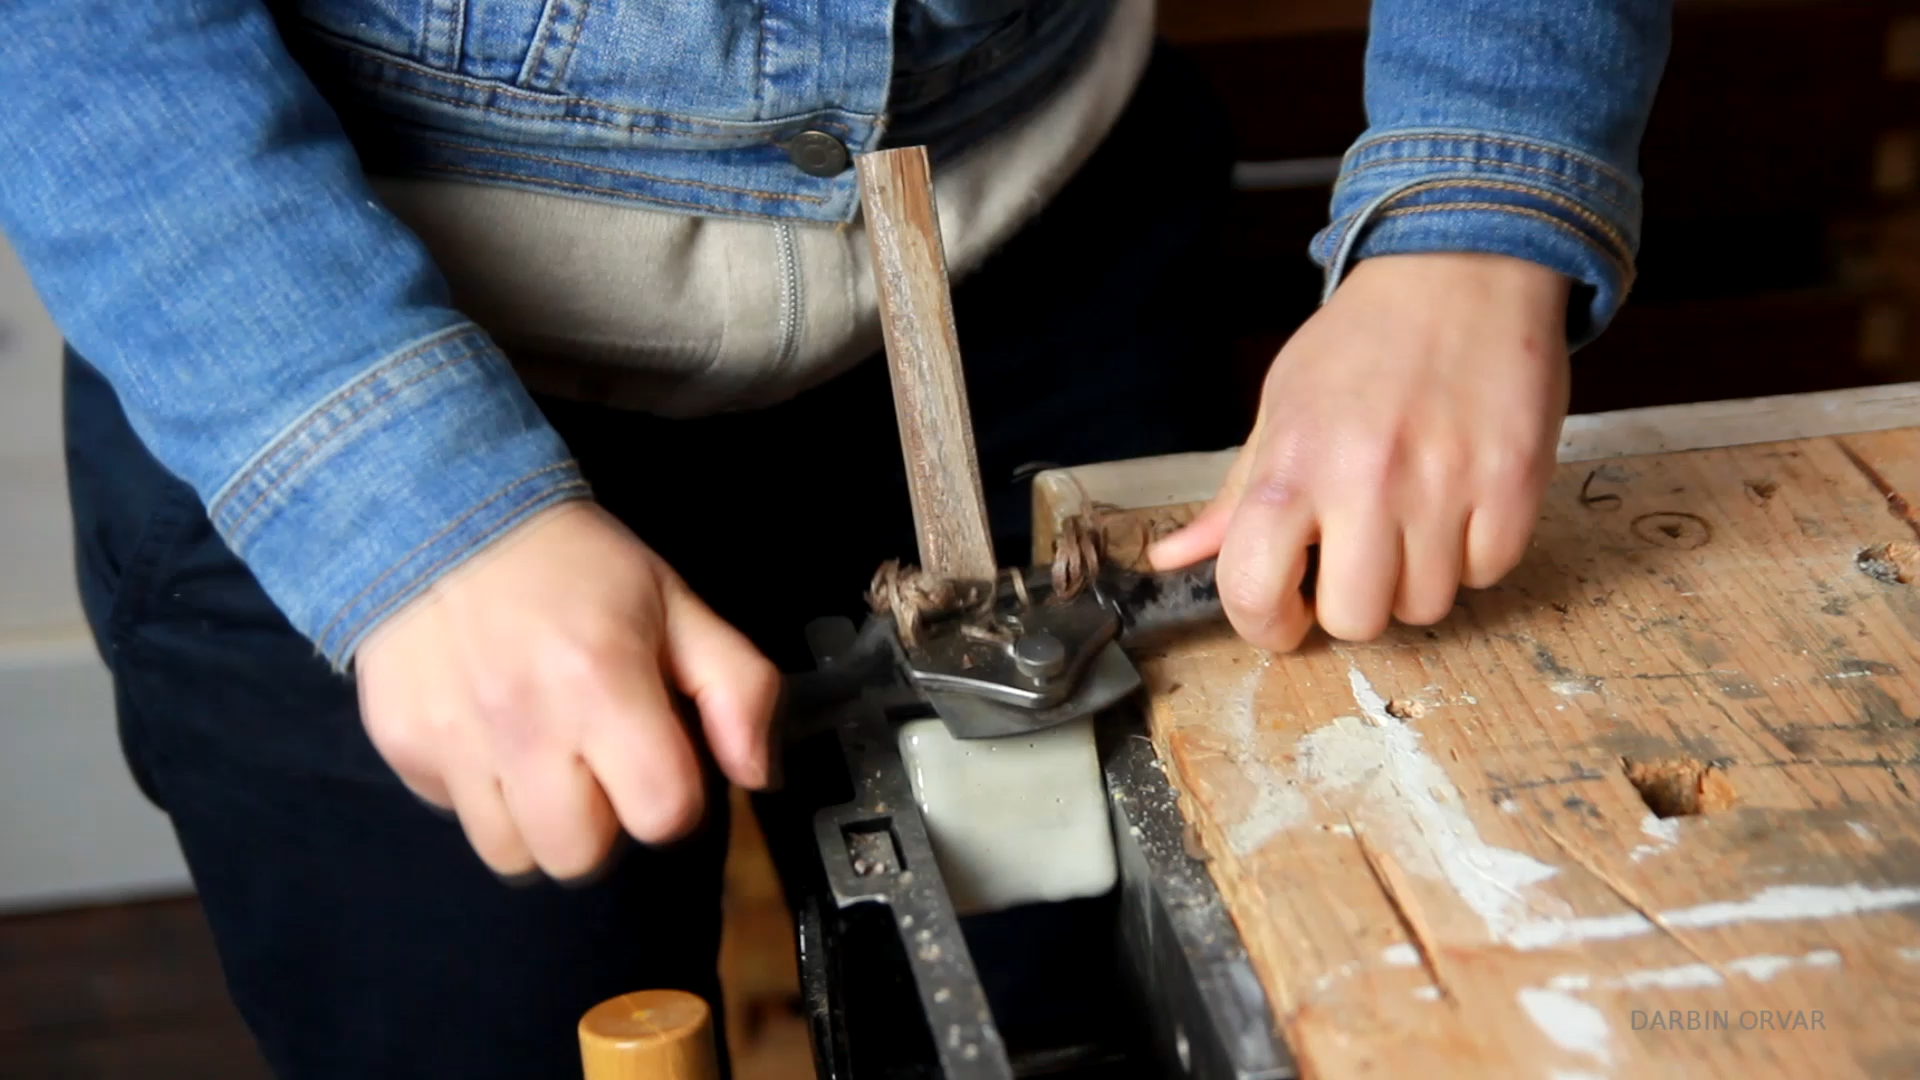
The next day, I'm shaping the handle, and I'm using a spoke shave which is one of my favorite tools. Just making sure the handle is nice and smooth to grab without any sharp corners. Also doing the very end part here. Then a little sanding, starting coarse and moving finer. And finally I'm applying some of my tung oil beeswax polish for a nice finish.
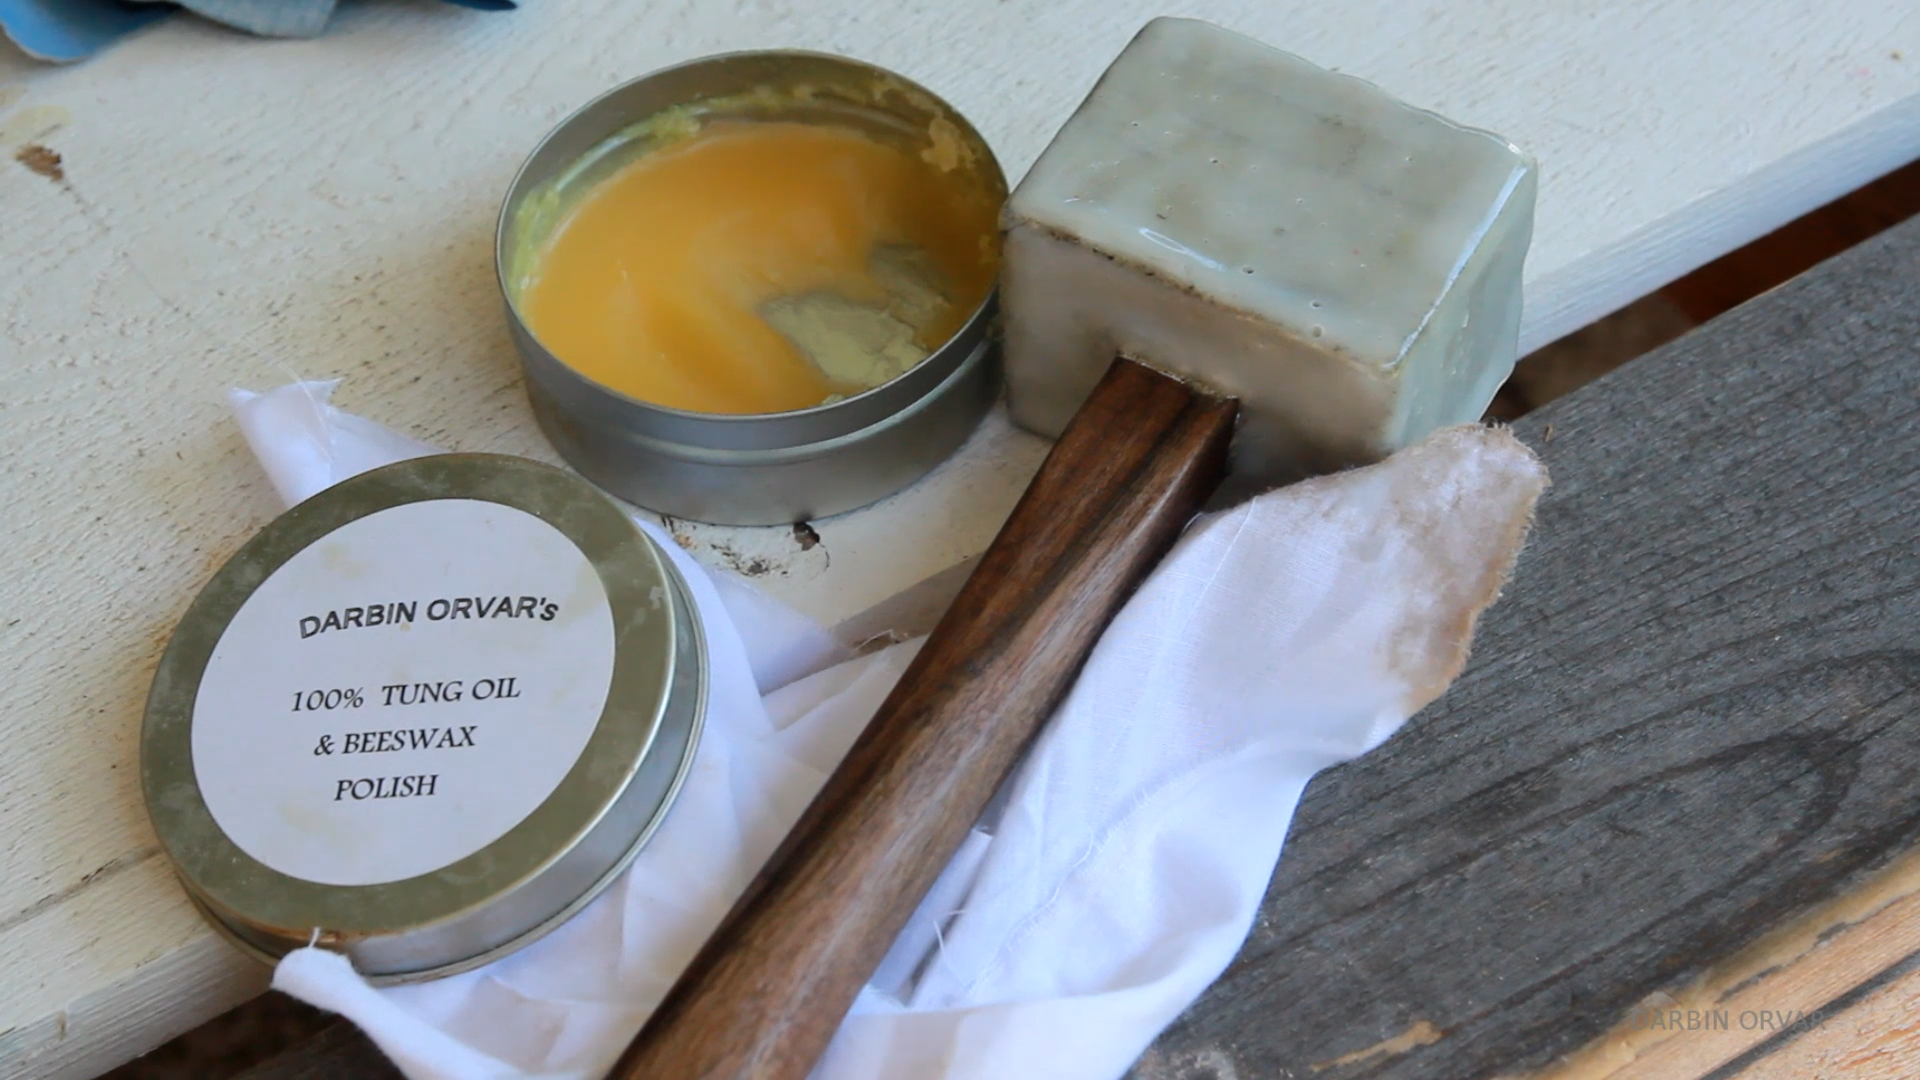
And, let's try it out. So it works really very well, it has a great weight, great feel. The epoxy makes it feel almost a little rubbery, and it really encapsulates the concrete very well. I used it quite a bit, and there's barely a mark on the mallet.
Double-click to edit...
Exotic Woods - Awesome vs Awful!

xotic hardwoods are quite spectacular, featuring bold colors and interesting grains. Many of them are very hard and dense which makes them great to turn on the lathe. I didn't have much experience with turning different tropical hardwoods, so I thought it would be interesting to test a variety and make some cheese knives handles in the process. Here's my experience(hint, some woods I absolutely loved, and some I hated!)

So I got a bunch of different exotic hardwoods, some which I never heard of before, never mind actually worked with. I also got a set of cheese knives that needed handles. First up, I started with playing with design concepts. How big of a handle did I want for each knife? I settled on a similar shape for all of them, however a slightly different thickness and length, depending on the knife. Then I paired each knife, with a different wood. So today I'm going to work with African Blackwood, Desert Ironwood, Redheart, Black Palm and Osage Orange.
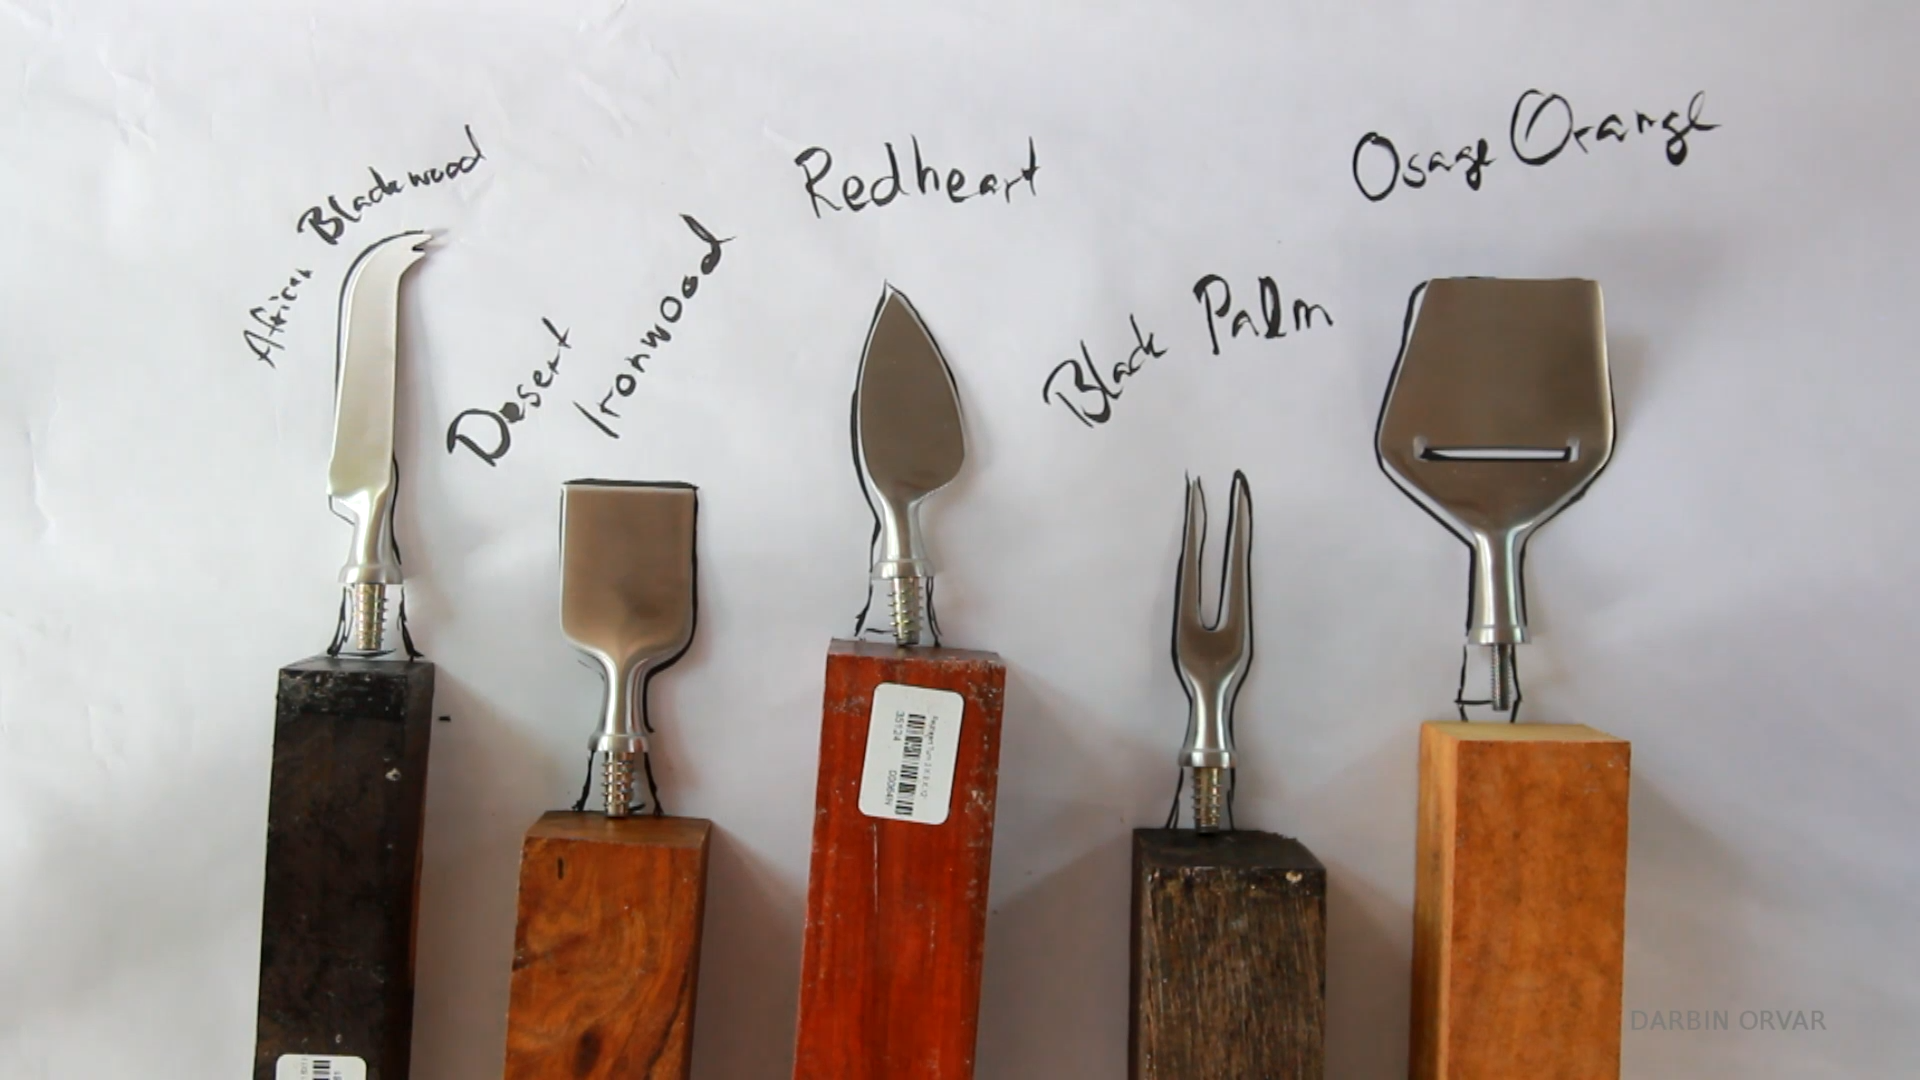
Right off the bat, I cut the blocks to size on the miter saw.
Next, finding and marking out the center in each.
Then, drilling a hole in each one.
Finally, screwing in the insert attached to each cheese knife. Now I can screw in a mandrel that you attach to the lathe.

Now, in my highly scientific study, let's go to the lathe and start turning.
First up - African blackwood.
This wood grows in central & southern Africa, and measures 3,670 on the Janka hardness scale.

When I first started turning this I couldn't believe how awesome it was. It felt like turning butter, I got nice thick shavings, it was super smooth, and I felt like I was off to a great start here. It was really fun to turn. I did some sanding, and finishing with shellac, cut off the end part, sanded that smooth, then took it off the mandril and attached it to one of the knives.
Next up we have redheart - this one grows in the region from southern mexico to southern brazil and ranks 1,210 on the janka hardness scale.

Now redheart really lives up to its name. It's super red! I could definitely tell that this one wasn't as hard and buttery as the blackwood, however it still turned really nicely, I got some beautiful thick shavings, it wasn't too dry, plus I was just so memorized by the color, I thought it was so cool.
So just finishing up this redheart handle, and the color really pops when you get some finish on there, and this is the shellac again. Then cutting it off, sanding, finishing adding some wax polish, and trying it on. I really liked this wood as well.
Now let's move on to the black palm wood. This one grows in tropical Asia and Africa, and ranks 2,020 on the Janka hardness scale. When I first started to handle this, you could really see how fibrous it is, it looks really interesting, unlike the other species in terms of the grain.

Right off the bat, I got dry hard little needles coming at me, that flew surprisingly far, the dust was really dry, and the shavings came off not in beautiful curls, but in angry little needles. I had to stop a couple of times to shake them off, and you can see here how dry and dusty it was. At this point I was sure I hated black palm and I never want to turn it again. It was uneven to finish, and looks pretty interesting with the super open grain, but after turning this one, I had to take a break, wash my clothes and take a shower.
So back the next day, and this time I'm working with desert Iron wood, which is grown in the southwestern US & northwestern Mexico. This one ranks 3,260 on the Janka hardness scale, so pretty high up there.

Immediately as I started turning this one, I loved it. It's really dense and hard, yet buttery to turn and I was able to get those really nice shavings. Throughout this project, I've really come to appreciate certain types of shavings - if they flow almost like water, like they're connected, and they're pretty thick and not too dry - well, then the wood is gold. Desert iron wood is gold. Loved this one. There was however a knot so I got a small crack right where the insert was, so I simply mixed up some epoxy, filled in the crack and glued the insert back in place. Then I finished it up on the lathe, sanded, and finished it.

Ok, so the final wood I'm turning is Argentine Osage Orange. This one grows in tropical America, so west indies, central & south america and measures 2,380 on the janka scale. This one turned pretty nice. A little dry, and not quite as buttery to turn as the african blackwood or the desert ironwood, yet still really nice. It sanded really nice, and of course that yellow really pops when you put on a finish. And like with all the handles, I started with shellac, and then ended with a final coat of wax polish. And this one is for the cheese slicer, which is a tool that you'll find in every single Swedish household.

Now, since these are cheese knives, I figured I need a cheese board, and I have some beautiful very interesting looking walnut boards here which I'm just squaring up with a plane. Making sure they're nice and even so the boards go together without a seam. Then gluing these together and clamping them down. Once dry, I drew some lines, softened up the corners, and cut it to shape on the bandsaw. I used the router table here for smoother corners, and then sanded both sides until super smooth. A little mineral oil polish, and it was ready to use.
Double-click to edit...
Making an LED Night Light w/ Star Pattern

This LED nightlight features a star pattern and it lights up a dark room in a magical way. I used ipe for the wood, however any dark wood, or painted MDF for example would work well. This is a really fun project and would be great as an accent light in a room, in the middle of a table, or as a night light in the bedroom.
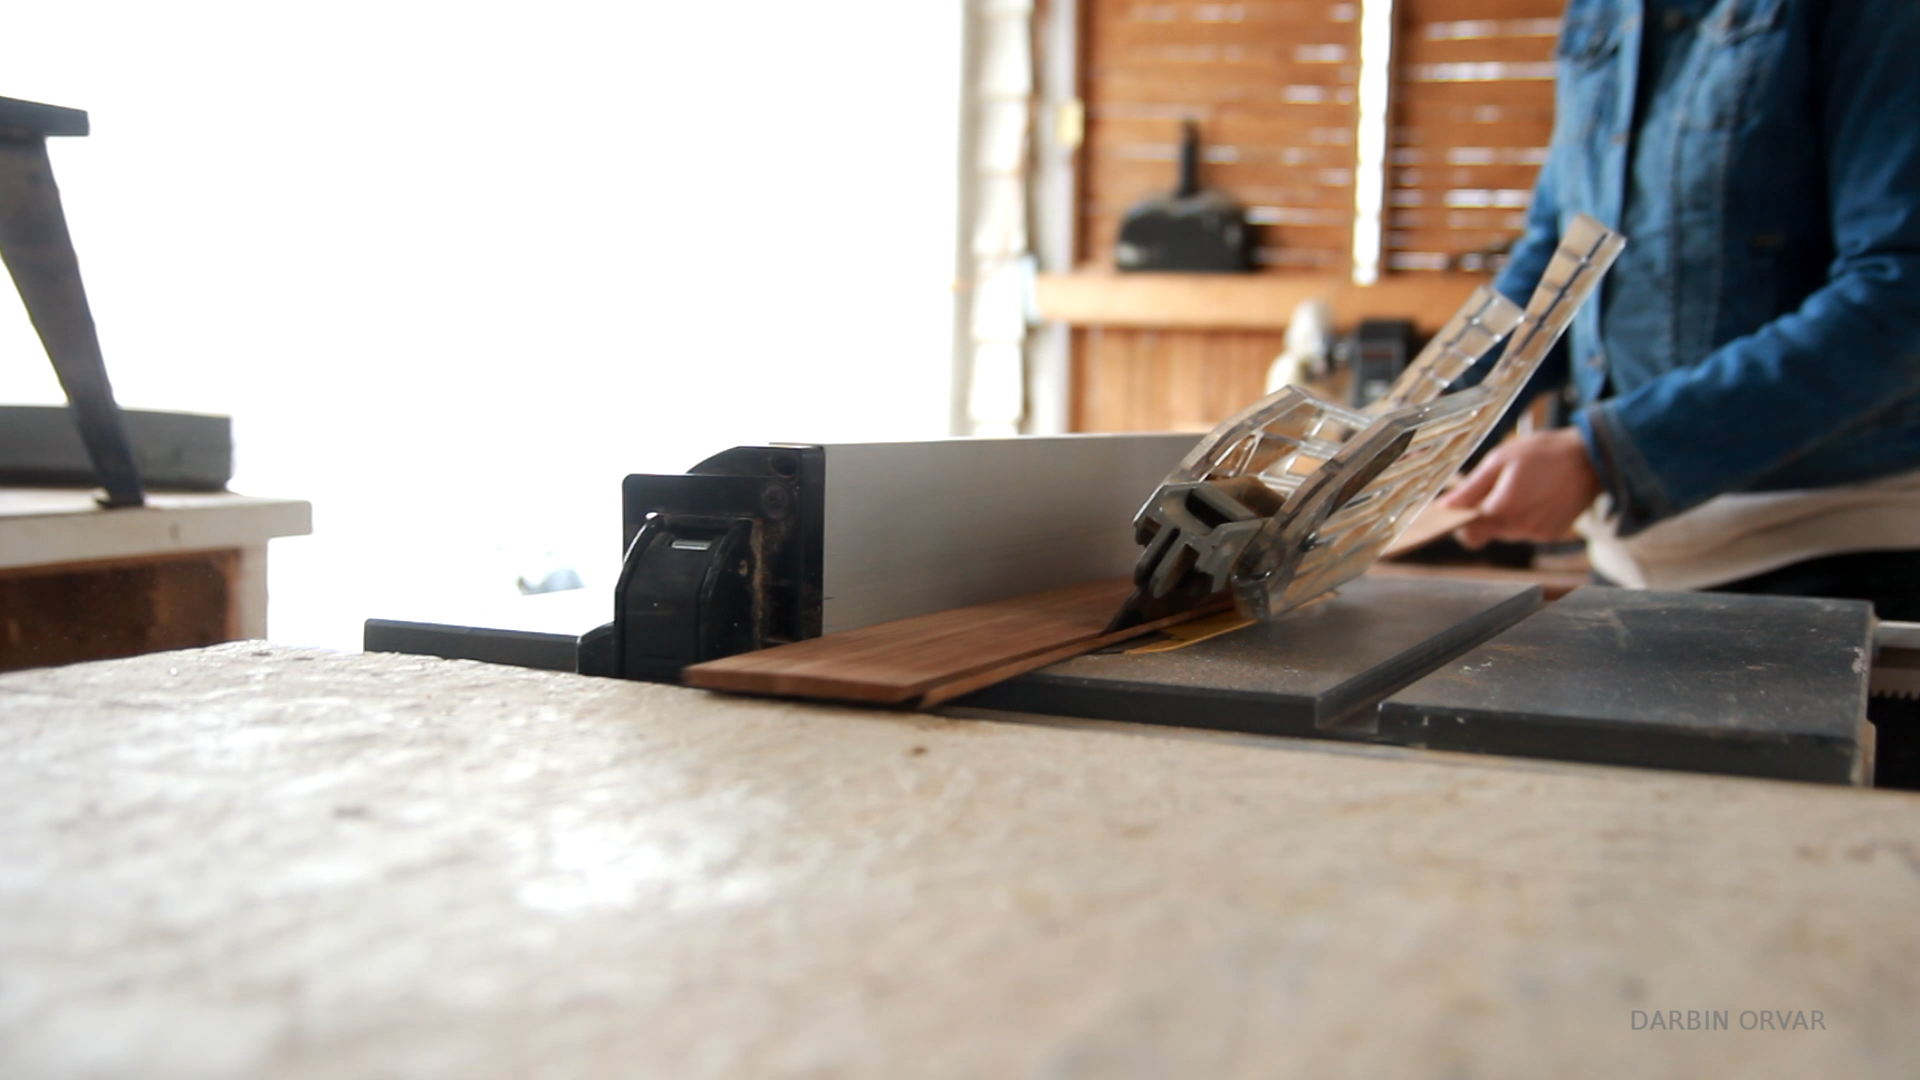
I started with setting up the blade on the table saw to the right angle, and I'm using this angle gauge to mesaure it correctly. Now a circle has 360 degrees, and I'm using 6 pieces, so divided by 6, we have 60. However to find the one side of the 60 degree angle, we divide in two, and it comes to 30. So here I'm cutting this thin piece of ipe I had left over from a different project, and giving it a 30 degree angle on both sides. Then I cut it in six pieces on the miter saw.
So I got in the shop, and figured I should test it out, so using some masking tape here, and that worked perfectly.

Next up I'm marking each side with some cha lk, and then I also marked how far in the top and the bottom will sit. Then I started marking out a pattern. So I wanted a starry design, nothing that felt too uniform, so I just played around with a basic clusters here of stars, it's all very scientific you see.
Then I just took off the tape, and improved the design wherever it needed it.
Now off to the drillpress. So I simply used a variety of bits and basically followed the design more or less. I started with the larger bit and then gradually moved down smaller.
So this took a little while to accomplish, the smaller the holes became, the more holes I drilled to fill in all that space, but overall it was quite fun to create the design.
Now for the top and the bottom, I had some thicker ipe, that I'm just gluing together.
And then while that dried, I sanded each of the sides down.
On one of the sides I need material removed to fit a small switch, so just marking it out, sawing down the side, and using a chisel to remove the wood. Next I'm marking out where the holes need to go, and just drilling some small holes. I also drilled a hole in the side for the power plug.

Now time to connect these together again with some tape, and that's because I need to mark out the inside for the top and the bottom. Once I had that marked out I took the piece out to the bandsaw and cut it to size.
I also drilled some holes in the top piece, and then I began gluing everything up. And here I made sure I had the order right of the sides which I marked out earlier, to preserve the pattern. Then clamping it, and I'm just gluing the top piece on, however I did slide in the bottom piece with some wax paper covering it for some support while the pieces glued up.

So I have a square piece of wood which I'll put light strips on, and this block will fit into the bottom, then the starry shade will slip on top of it. So I need to carve out a section in the middle of the bottom so the block can sit inset. So I started with drilling out a hole on the drill press, and then I did some chisel work to remove the corners, and that fits in pretty good.
Next to the carved out area I'm drilling a hole where the wires can go through, and on the underside I'm drilling out a couple holes to make room for the electronics.

Now I have the block of wood, and I'm using common 12 volt LED strips. Basically I'm gluing a few strips down one side, and then overlaying a few more down the other side. And there's my new LED strip bulb!
To solder the lights together, I'm soldering all the positives on one side, and all the negatives on the other, and that's just because it was neater that way.
So on the block of wood I have the light strips with the positives connected on one side and the negatives on the other. That sits in the base, and I have a switch a power plug. The power connects to the positive side and the switch, and the switch connects to the negative side, and that's it.

I connected slightly thinner wires to a power plug, and putting on some heat shrink. Then I secured the wires to the underside with some hot glue. So the wires to the lights go through the wood, I can place the block in the bottom, and then flick the switch. OK, and then the shade goes on top of that. Then I'm securing the switch in place with some tiny screws, and I also have another screw on the side connecting the shade to the bottom.
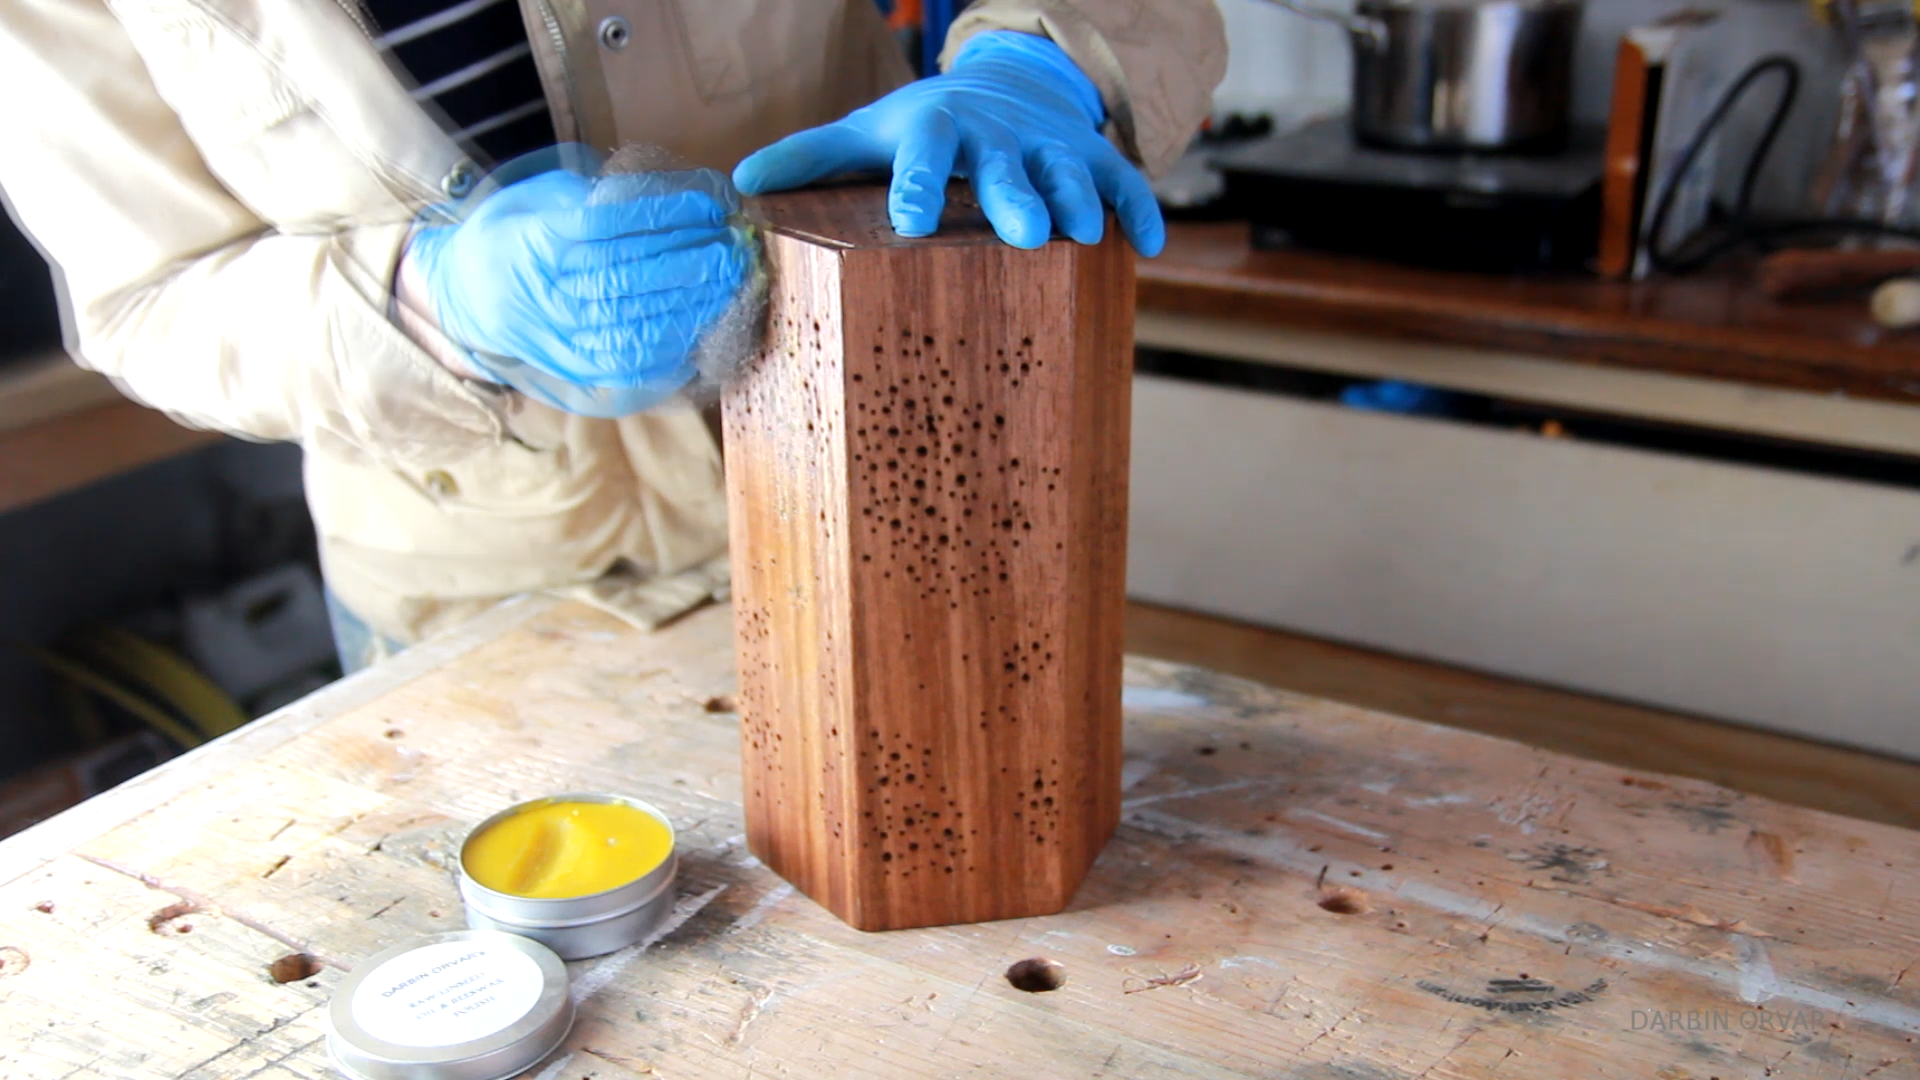
Now for a finish, I'm starting with some shellac, and I'm simply putting it on with a cloth, and I really like this, because it's a natural finish, and it dries really quickly, so I can sand it lightly, and then put on a second coat. Now to make the shade super smooth, I'm applying some of my raw linseed oil beeswax polish with some steel wool, and then buffing it dry a few minutes later.
To finish the bottom, I cut up some black fabric to size, and then I hot glued it down.
So in total, this setup uses about 6 watts of power. I'm often asked if these lights produce a lot of heat, and after an hour of being used the LED bulb I created can safely be handled. LEDs are very low powered type of lights and as long as they have a lot of air flow I have never had any problem using them.
Double-click to edit...
Making an Articulating Screen w/ Raspberry Pi

Here is where I am so far on thinking about my Raspberry Pi Computer for my tinker table and a little about my articulating task light.
Product Links (Affiliates)
Raspberry Pi - http://amzn.to/1SDbf9y
Small Screen - http://amzn.to/1p18bfF
LEDs - http://amzn.to/20ECtmh
Remote - http://amzn.to/20ECuqt
Power Supply -
Double-click to edit...
Beautiful Entryway Table w/ Dovetail Drawers

This entryway table is made with a hardwood counter, matching tapered legs and knobs, as well as a plywood frame. I needed something rather small to fit the area next to my front door, so this is what I built. It has two drawers, both of which are dovetailed, and two shelves.
I started with the top. I had some extra ipe I had cut up for a media stand I built a few weeks back, which is matching
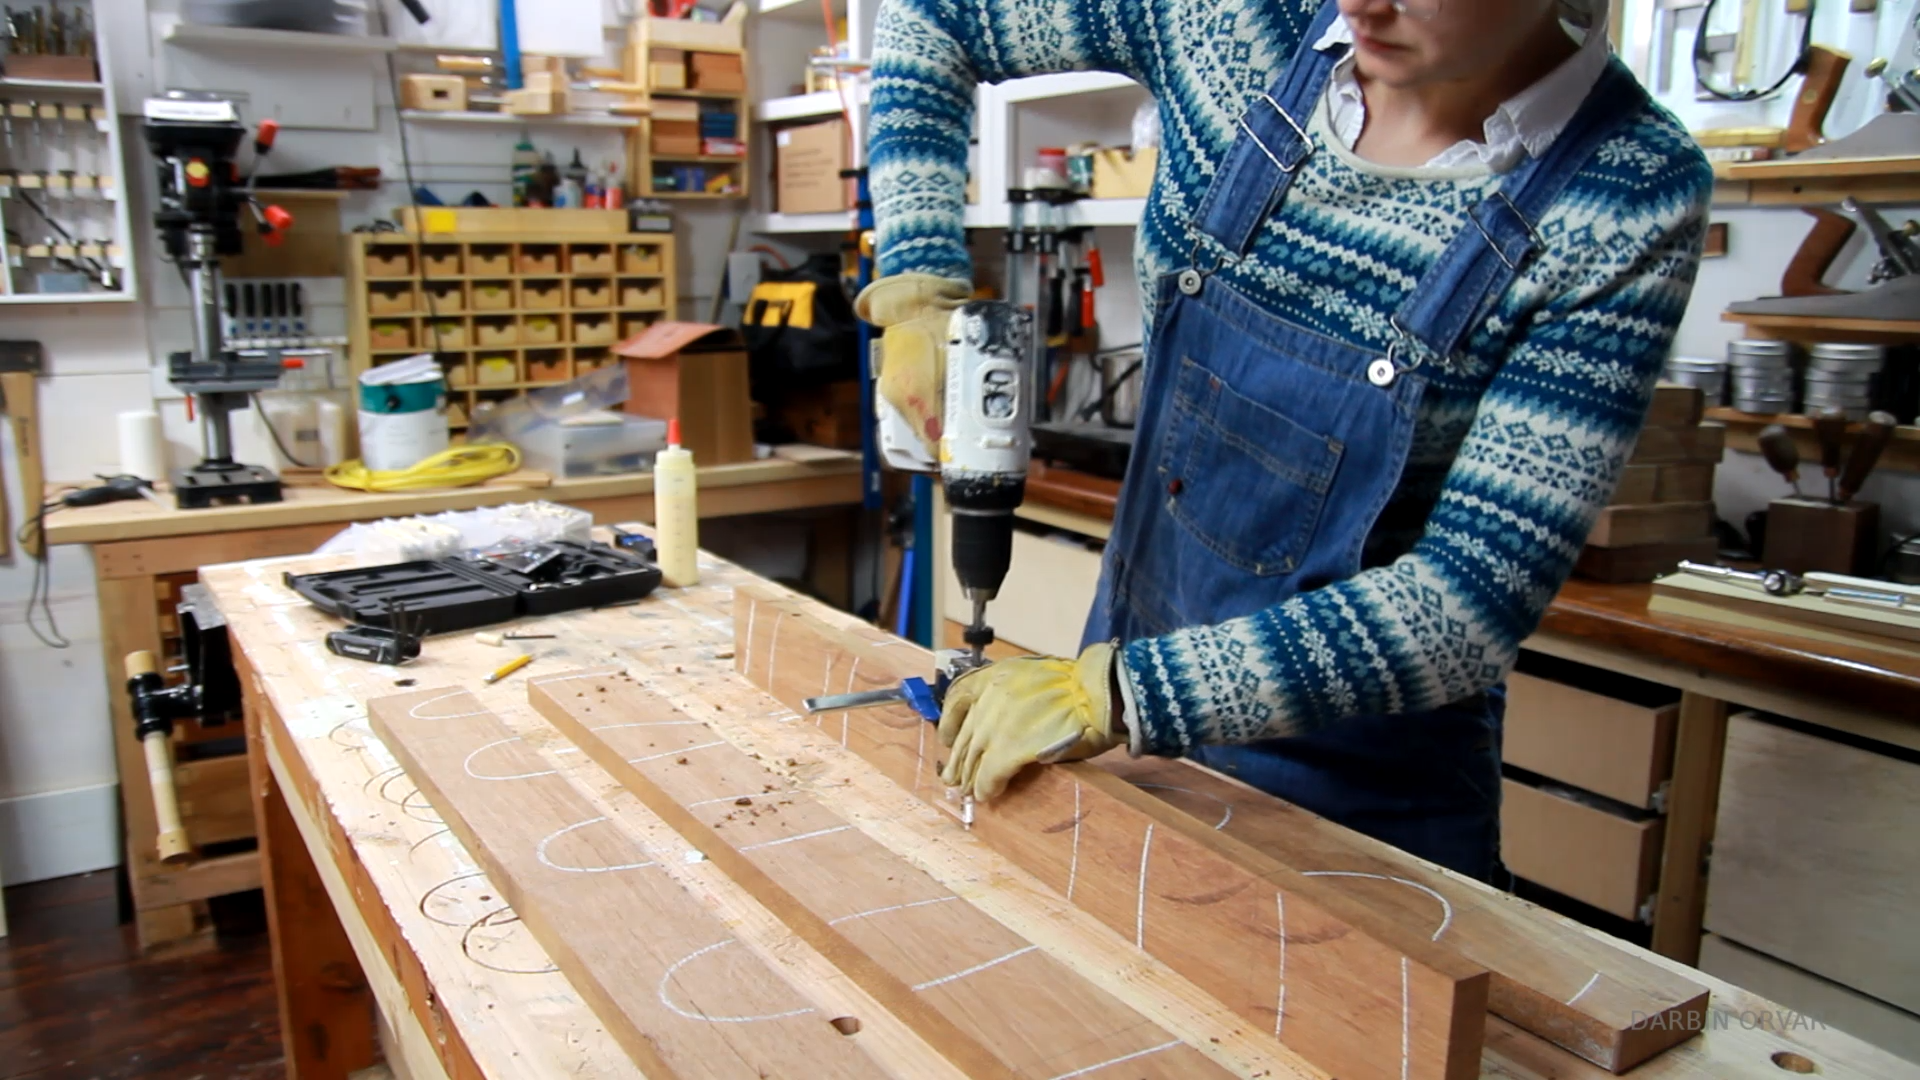
First I'm arranging the wood, drawing the lines to remind myself which side is up, marking out where the dowels need to go, and then using the doweling jig here to drill holes. I figured three dowel holes accross the piece should be plenty, so just going down the line on each board. Putting down some glue, and clamping the whole thing together.
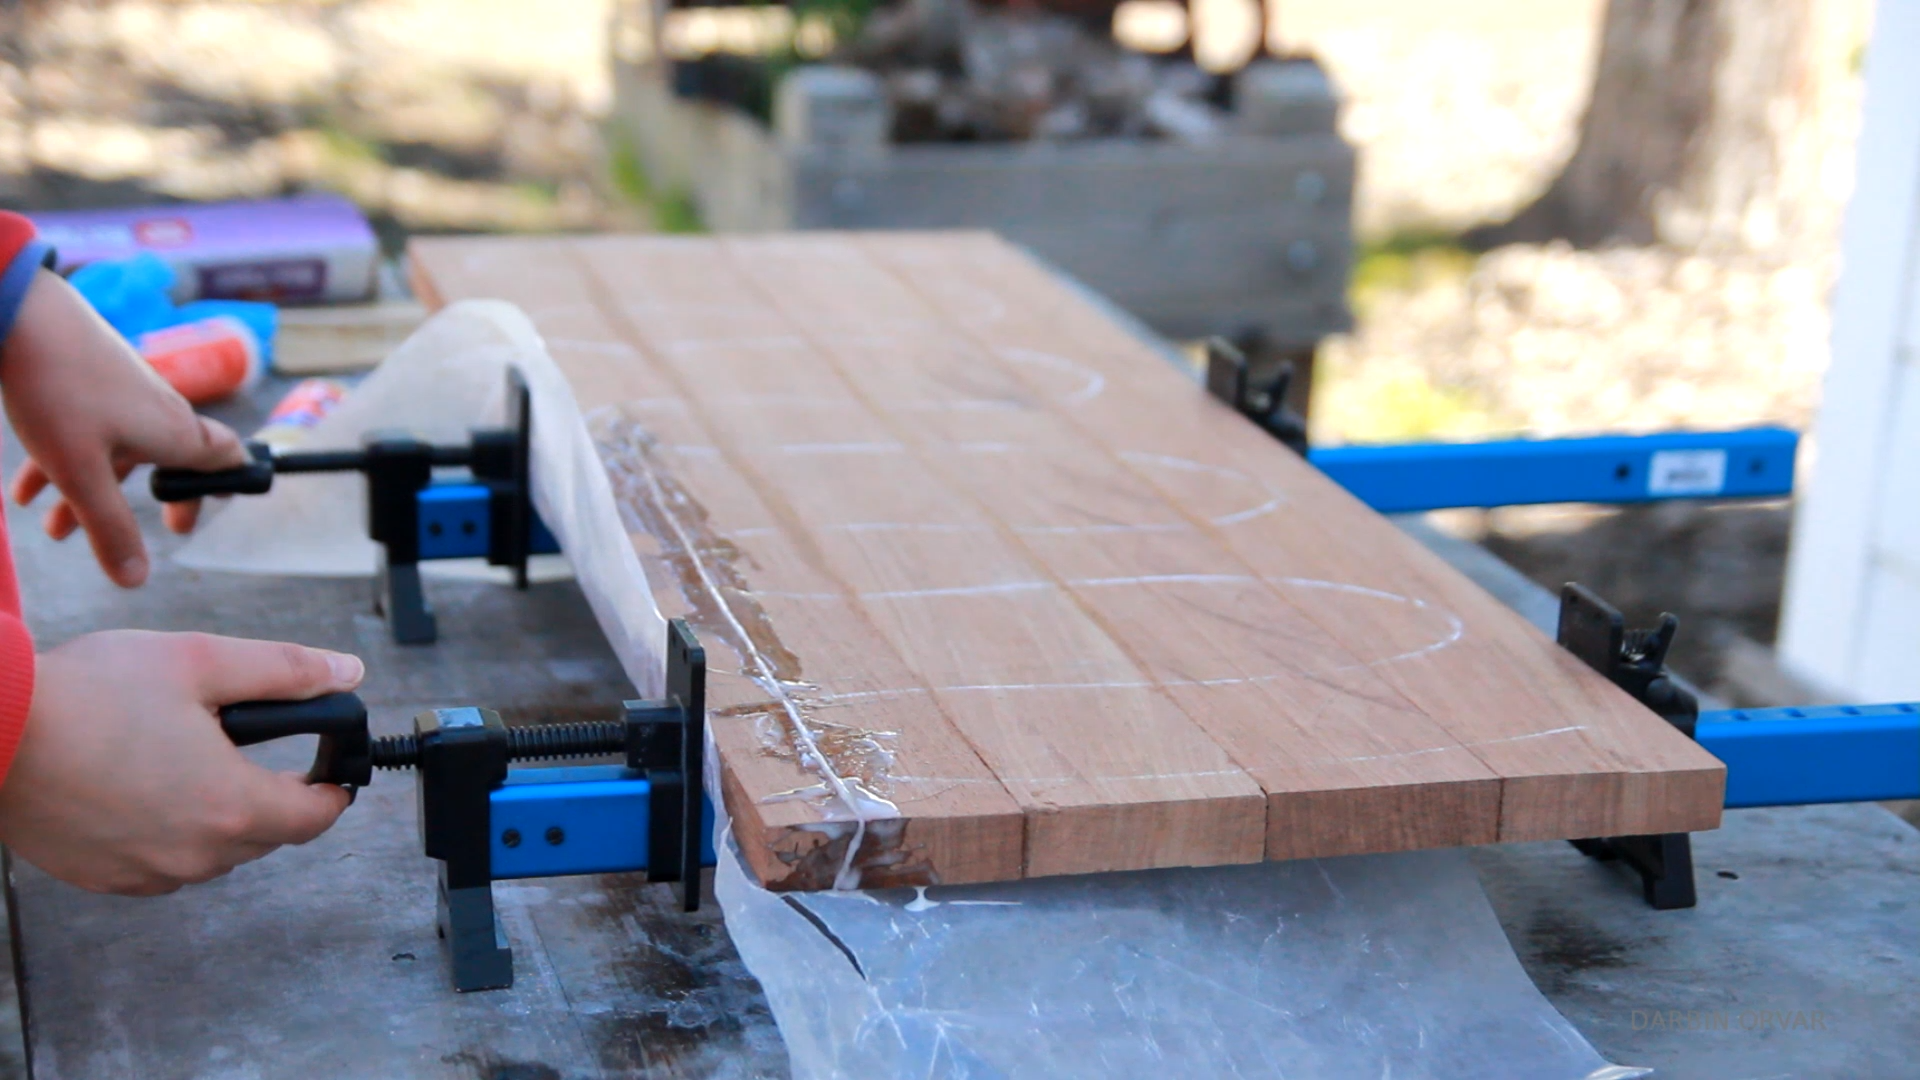
Then I let that set up. Now, the next day I realized the crack which previously was quite small in one section, had drastically increased, so I mixed some epoxy, fixer of everything, and clamped it up, and it actually worked out really great.
Once the epoxy had dried, I set up the circular saw and cut the piece to size. And then started the process of thorough sanding. To chamfer the edges, I used a block plane, and I really like using the hand tools here, it gives you great control. Then time for more sanding and finally finishing. I'm using a wipe on gel urethane which gives the pieces a really nice feel without being overly glossy, totally I put on three coats.
Now let's focus on the base. I started with cutting the plywood to size. Then I began building the base here, and corner clamps really make it easy to get perfectly square corners. For the construction I'm simply using glue and screws, and I'm pretty much building a box. So putting in a middle shelf here, and then separator and I'm using a clamp to keep it in place.

Then painting the unit, and I'm also adding some additional support in the back with some pocket screws.
Now the drawer fronts are going to go on the outside here, so I've got some thin strips of plywood that I'm going attach to the sides to create an even look. And I'm just cutting these to size, and then attaching with a nail gun.

Once that was complete I brought the piece out and I started with adding some spackle on the sides of the plywood. And this actually makes a huge difference when you want to create a nice smooth surface including the end grain, when using plwyood. So I put on a pretty liberal amount, let it dry and then sand it. And then I gave the whole piece a couple of coats of paint, and it's looking good.
Now, let's move on to the feet. So I'm making tapered legs out of ipe, these are matching the pieces in the media stand, however they're a touch shorter. This time I was a little smarter and I cut the pieces the perfect length first, and then shaped that one piece, so I didn't do any cutting which was a lot faster. I actually really like these legs - both making them, and the look of them.
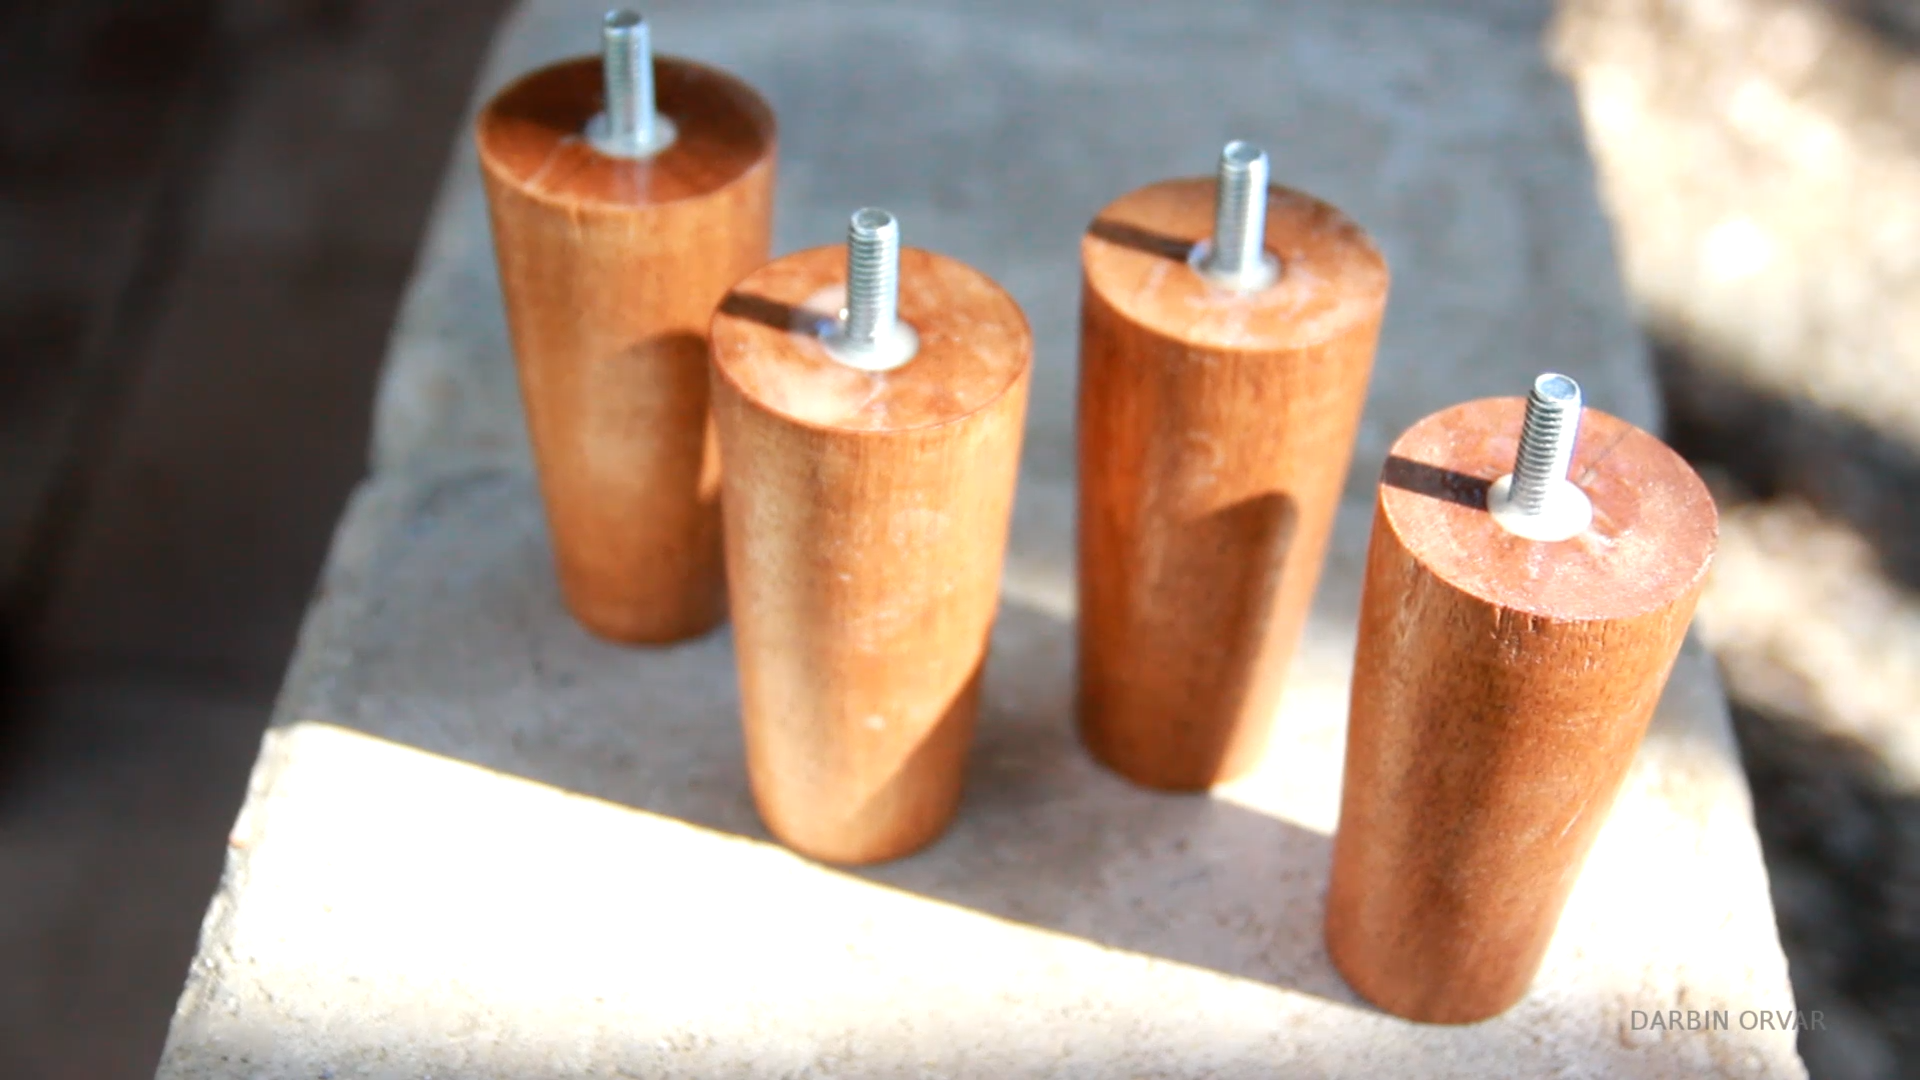
Then after drilling a hole in each leg, I epoxied in a bolt. Then I used a clamp to attach a tee-nut in each corner of the bottom shelf.
OK, so I have the drawers to work on now. I'm actually using some really nice maple here that I'm cutting to size. Now to connect the drawers together, I'm using a dovetail jig, and once you have this set up right, it's really fun to use, and it makes for very handsome drawers. I could definitely see using this more, especially if I was making a lot of drawers.
For the bottom of the drawers I have some 1/4 inch maple glued up here. Now to hold the drawers in place, I'm routing out a 1/4 inch groove in the sides. Then to make the drawer slide in easily, I'm chamfering the edges with a block plane here, and this is so the bottom can float freely. Then it was simply a matter of gluing the drawers together, inserting the bottom, and gluing on the final piece.

I decided to finish the drawers with a water based polyurethane, which is really nice because it dries so quickly.
To attach the drawers, I'm using some really nice drawer slides, and this jig makes it easier to attach. The sound when they click in place is just awesome. And both the drawers are in.
Now to attach the drawer fronts, I first put on some hot glue to fit them perfectly, and then I used some of these really handy clamp before screwing it in from the back.

Only one last thing missing - the hardware. So I'm making some matching ipe knobs on the lathe here. So I've got a 2 inch block here, with a 15/64 inch hole drilled all the way through. Then I'm forming a knob, making sure it's the right size, sanding and finishing with some shellac before cutting it off. And then repeating with the second one. Then I've got some really cool hardware, that makes it very easy to create this and attach it to your project.

And for a final touch, I'm adding some of my tung oil beeswax polish on all the hardwood parts with some steel wool, and it just makes it super smooth. And it's done.
Double-click to edit...